Week 9 - Project - A pillar Design with Master Section
Objective:
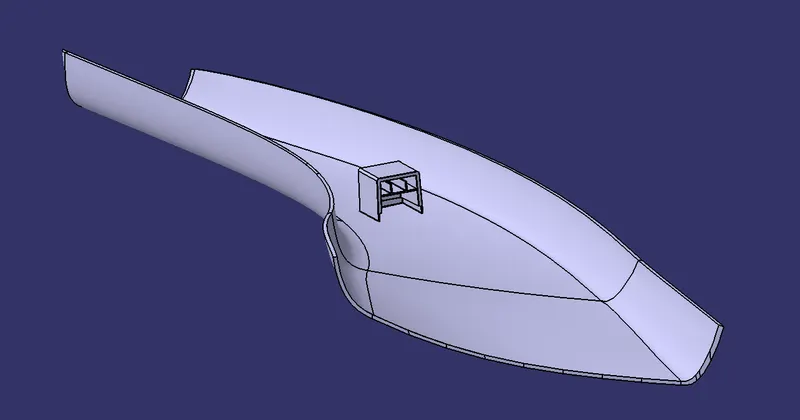
- The main objective of this challenge is to create A PILLAR through understand the give master section
- To create solid body and B-side features for a given class A surface, by considering all the design parameters.
PILLARS:
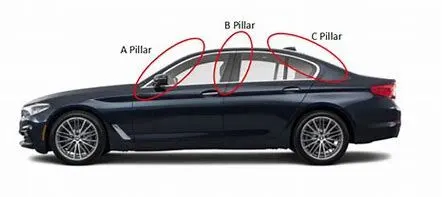
A-Pillars straddle the windshield, B-Pillars are in the middle of the passenger compartment (just behind the front doors) and C-Pillars are those at the rear of the passenger compartment.
Why Do You Need to Differentiate the Pillars?
Perhaps the most likely reason for differentiation is to make parts easier to identify for the consumer. You might read a review of a car indicating something to the effect of, “The A-Pillars are very thick, blocking your view.” This would mean that the front roof pillars are wide enough to obstruct visibility of the front corners. This can be an issue when pulling left out onto a cross street or when pedestrians walk across the street in front of your car.
Supporting this context is that visibility has become a much larger issue in recent years. If you look at many cars from the ‘50s, ’60s and ‘70s, their roof pillars often appear spaghetti-thin by today’s standards. That was great for visibility but not so much for rollover protection in a crash. Furthermore, many cars during this period were “hardtops,” meaning they had no B-Pillars behind the front doors; when you opened all four side windows, they left a big hole. Again, great for visibility — and appearance — but not great for roof support.
Back in their day, hardtops — offered as two-doors, four-doors and even station wagons — were considered more upscale than sedans, which had B-Pillars. Today, due to safety requirements, hardtops have all but vanished, but the hardtop look lives on. This is demonstrated by the number of vehicles that have black B-Pillars, often with chrome trim surrounding the outside of the window area. Some of today’s SUVs use the same technique in the back, hiding the D-Pillars.
OVERVIEW:
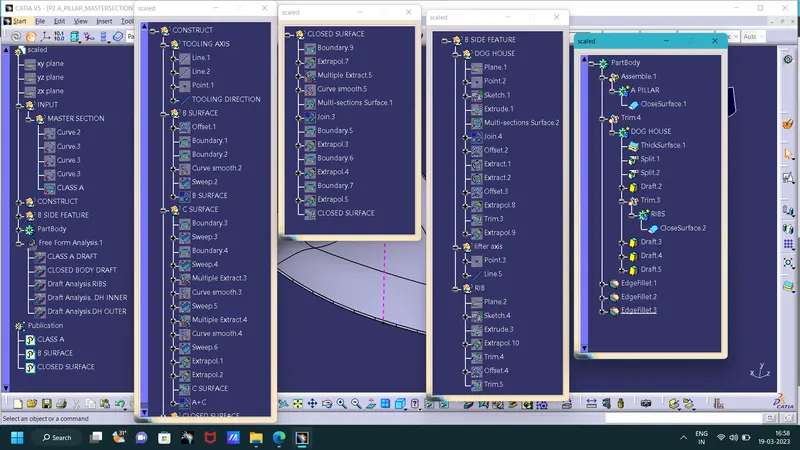
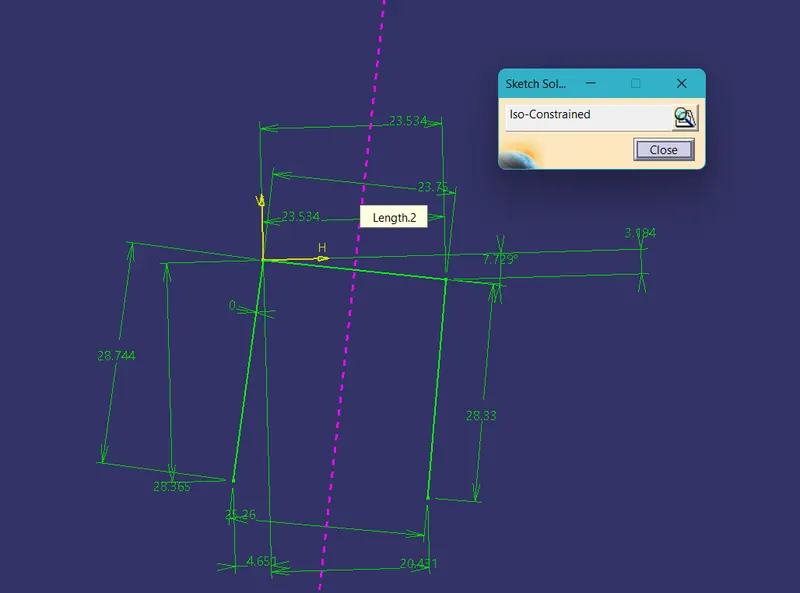
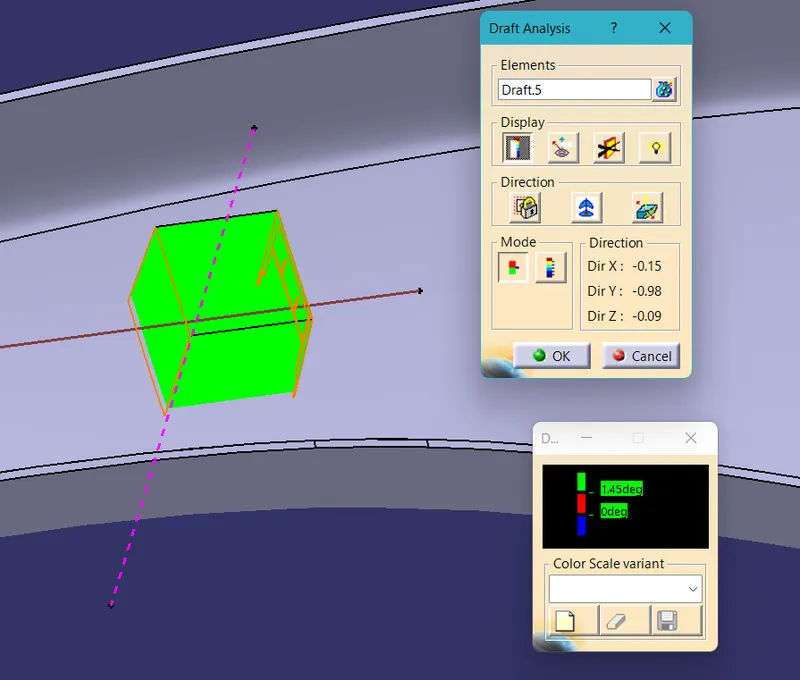
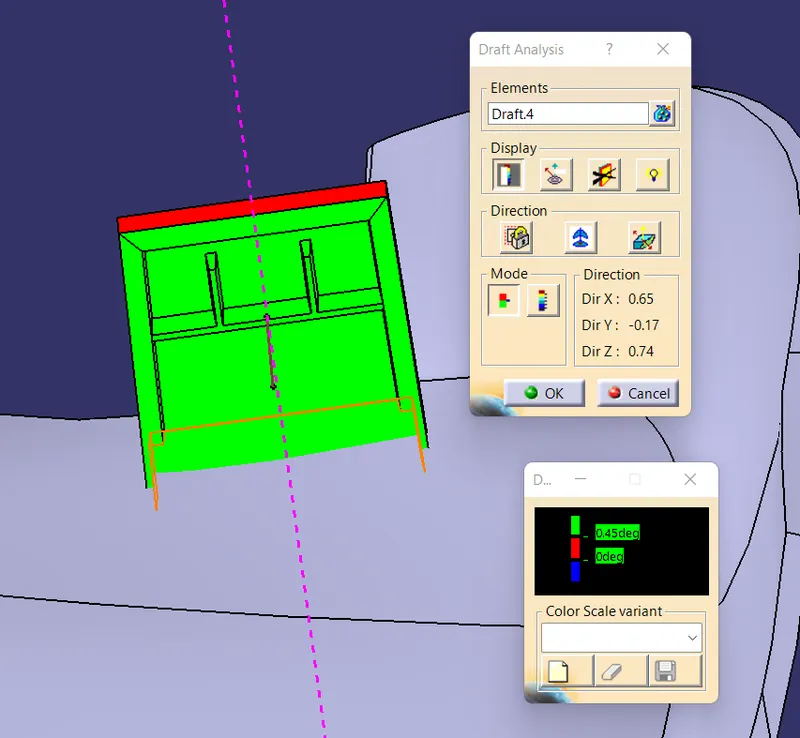
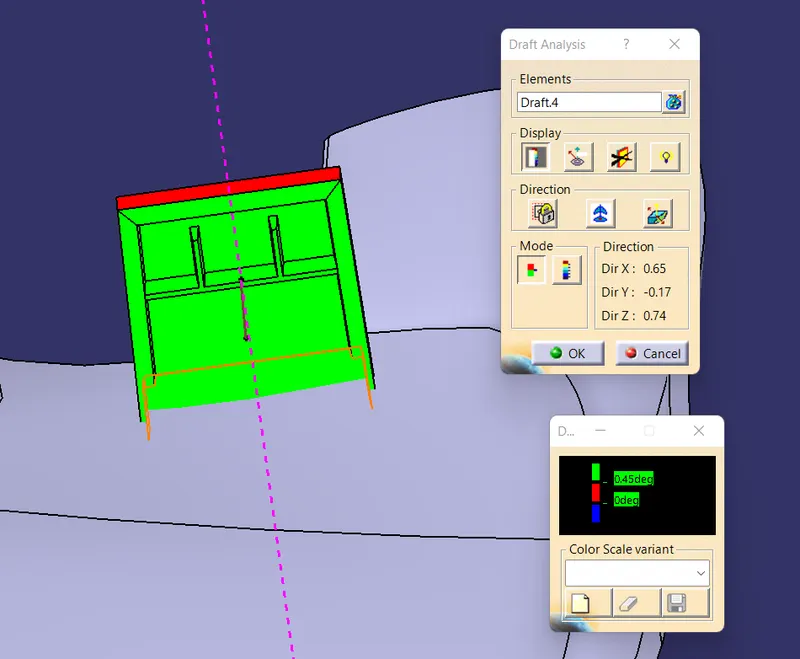
In this challenge, I created the solid part body from the class A surface and B-side features (DOG HOUSE) for the class A surface. The master section measurements are considered to make the solid part body and Dog house. Created a tooling axis by using the bisecting line method and created a lifter axis for clearing the B-side features of the dog house. The draft angle is provided to the dog house outer face concerning the Tooling axis, and the draft angle to insides face are provided concerning the lifter axis.
TOOLING DIRECTION:
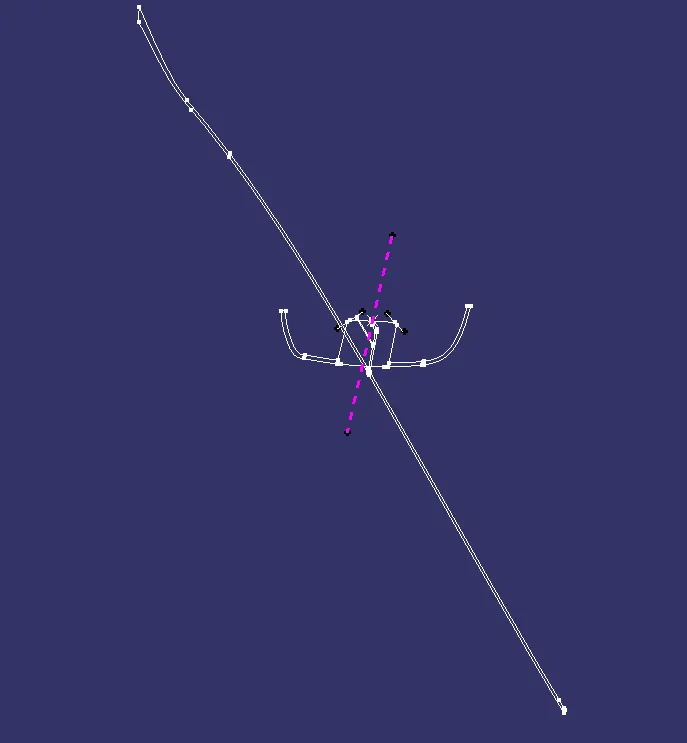
To create the tooling axis, I used the 'bisection' line mathod. Initially, I created two lines on the master section by using ' pointline' and the I created a bisection line at the centre of the two lines.
DRAFT ANALYSIS:
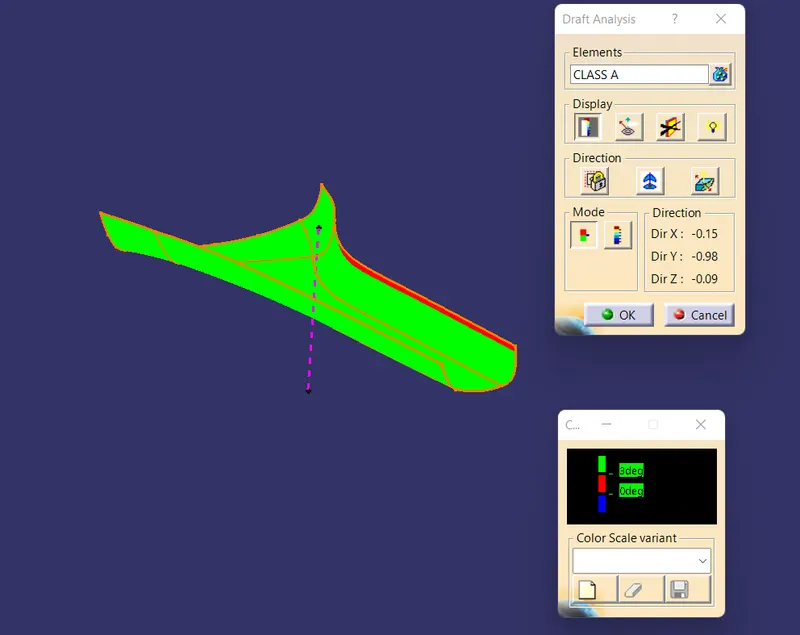
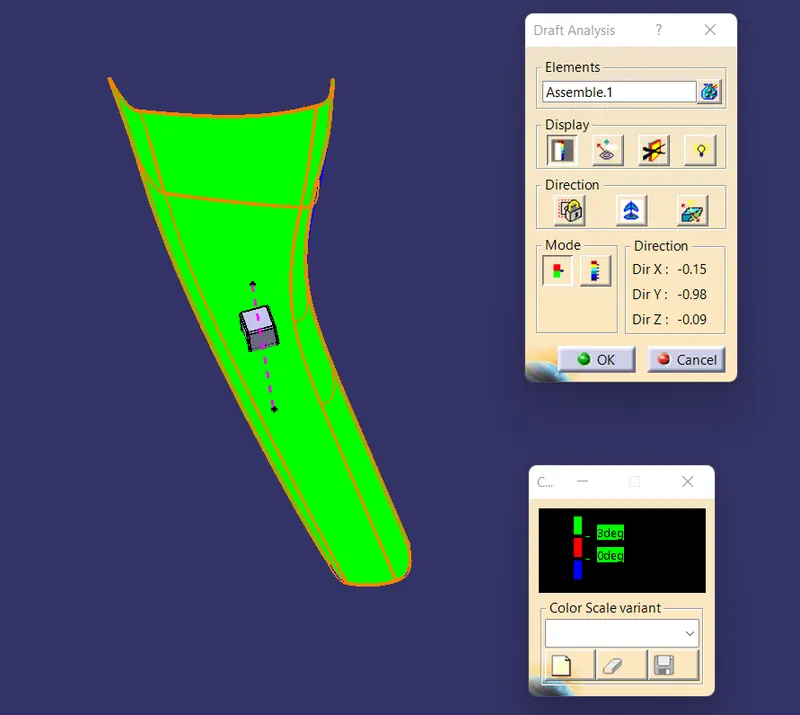
- First the class - A surface is checked before creating the class B&C surface and finally the solid body must be analysis. Both can be done by following procedures.
- By changing the view mode to custom view parameters material mode then the feature draft analysis is enabled.
- Then the compass was activated and placed with the tooling axis by dragging the red pointer and then locked it.
- Then, by selecting the quick analysis mode, the nominal value will be 3 degree and checked for the component's draft angle.
- The green colour area shows thast it satisfies the 3- degree draft angle. if not satisfied then by using running point tool the area is measured and then altered to get a successful draft for the created tooling direction.
DRAFT ANALYSIS FOR CLASS A:
DRAFT ANALYSIS FOR CLOSED BODY:
B SIDE FEATURES:
DOG HOUSE:
Dog house is an engineering feature used in the plastic trim design. Dog houses are used as supporting features. Sometimes other engineering features like snaps, locators, etc. are mounded on them to increase the strength and stiffness.
DOG HOUSE SKETCH:
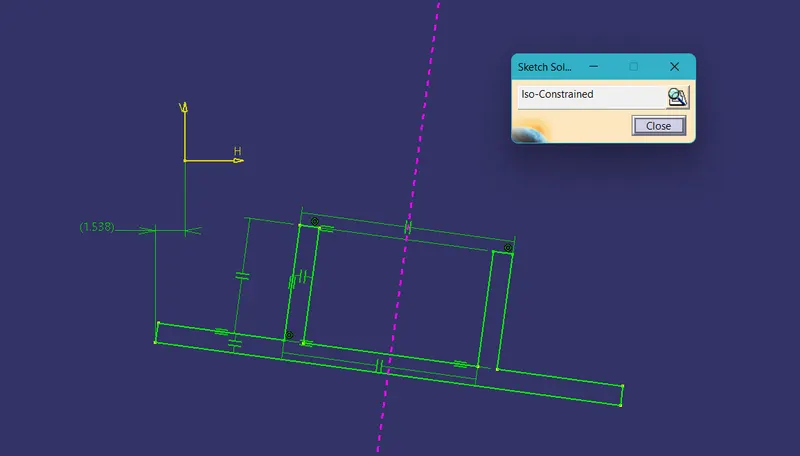
RIBS SKETCH:
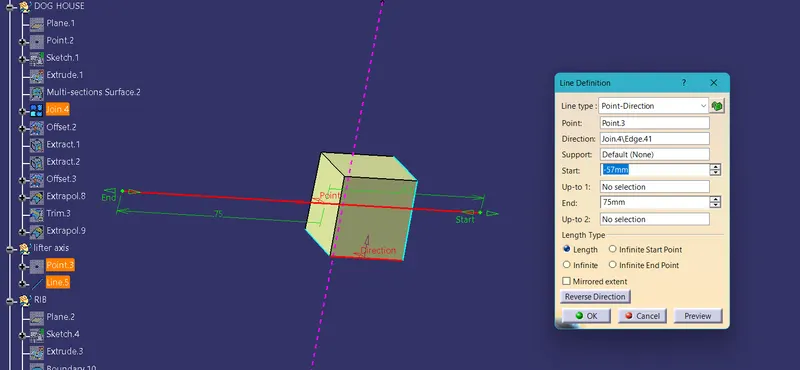
LIFTER AXIS:
I created the lifter axis by using the line and point command.
DRAFT ANALYSIS FOR DOG HOUSE:
DRAFT ANALYSIS FOR DOG HOUSE INSIDE:
DRAFT ANALYSIS FOR RIBS:
A PILLAR:
RIGHT SIDE VIEW:
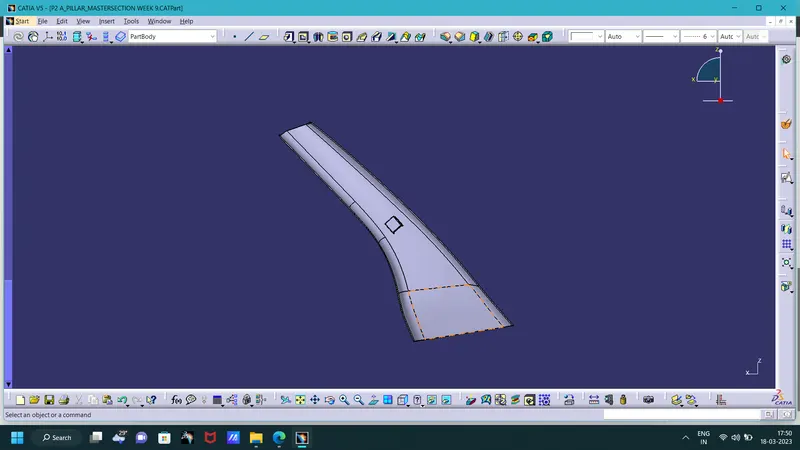
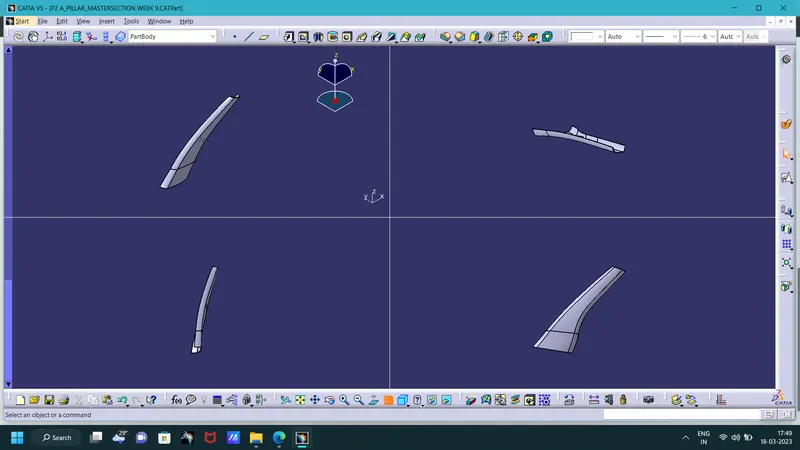
Isometric, Front, Side, and Top View:
TREE STRUCTURE: