Week 9 - Project - A pillar Design with Master Section
A PILLER DESIGN WITH MASTER SECTION
In the case of cars, “pillars” refer to roof pillars, and they're lettered front to back. A-Pillars straddle the windshield, B-Pillars are in the middle of the passenger compartment (just behind the front doors) and C-Pillars are those at the rear of the passenger compartment.
Master sections are the guides for design requirements which decide the component packaging after technical (Styling, Concept or Class-A) surfaces.
In this surface model we create a surface model using catia with given class a surface and master section
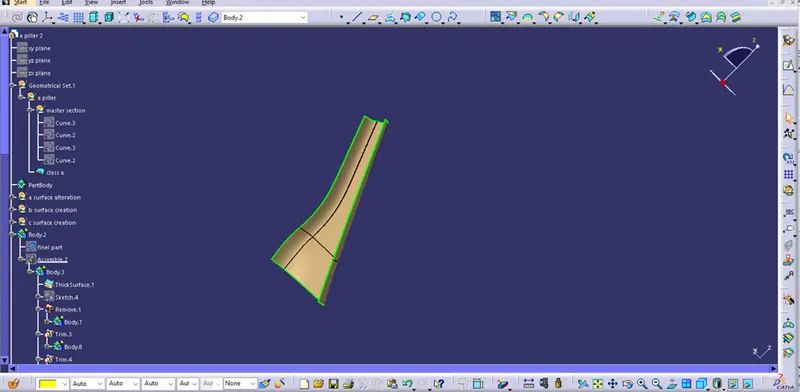
The given class a surface are
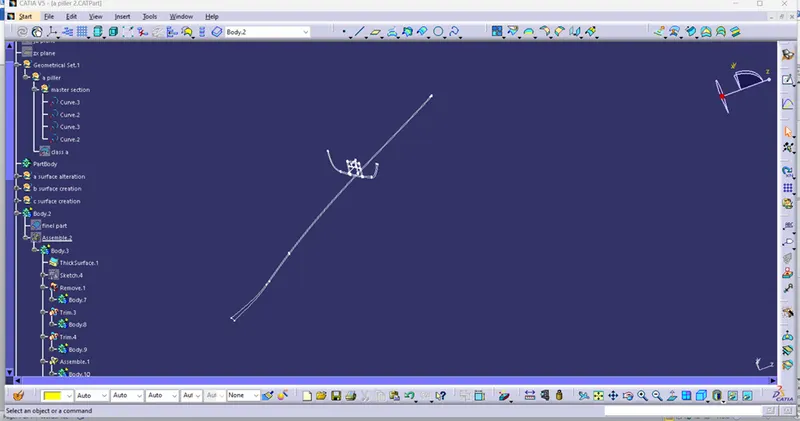
And the master section are :
First we analysis the class a model given is correct are not:
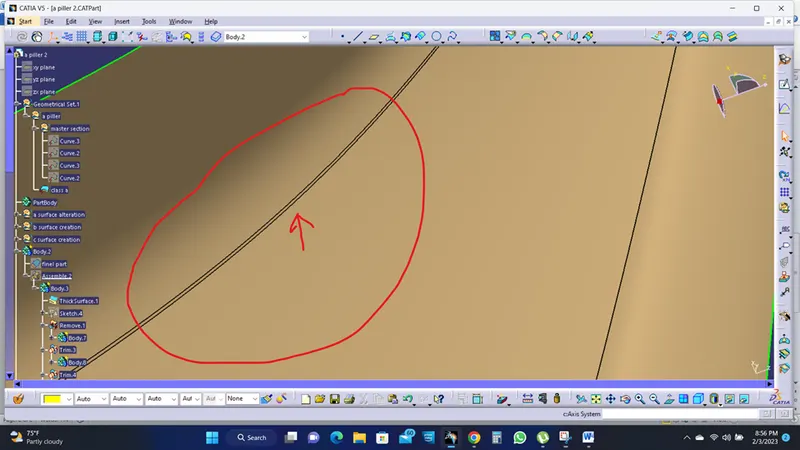
In this given class a model has a small patch here this will affect our class b surface when offsetting.so we suppose to remove the small patch with the help of JOIN and using SUB ELEMENT TO REMOVE in join.
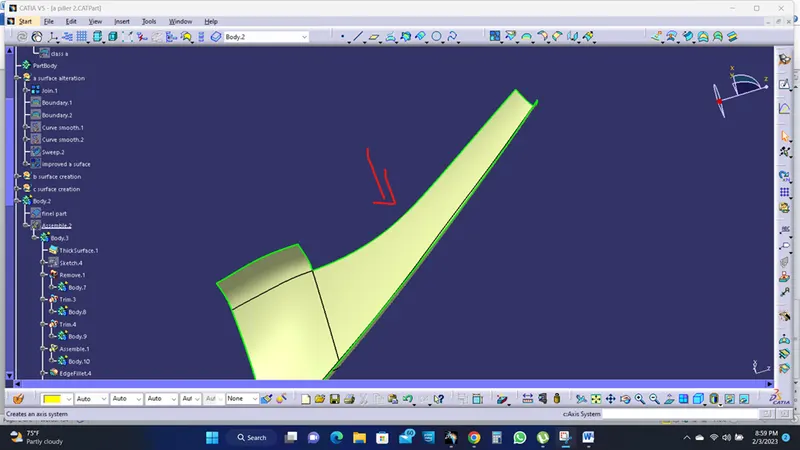
The batch and the curve is also removed from the given class A.
If we don’t remove the batch we can offset the surface but we also create some extra surfaces like below
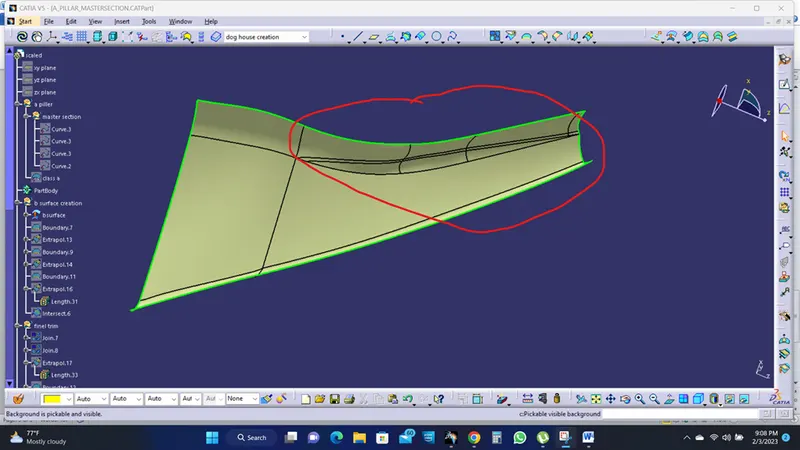
These extra surfaces are affecting the product in manufacturing and it not even correct.
Next we create a improved class a surface.
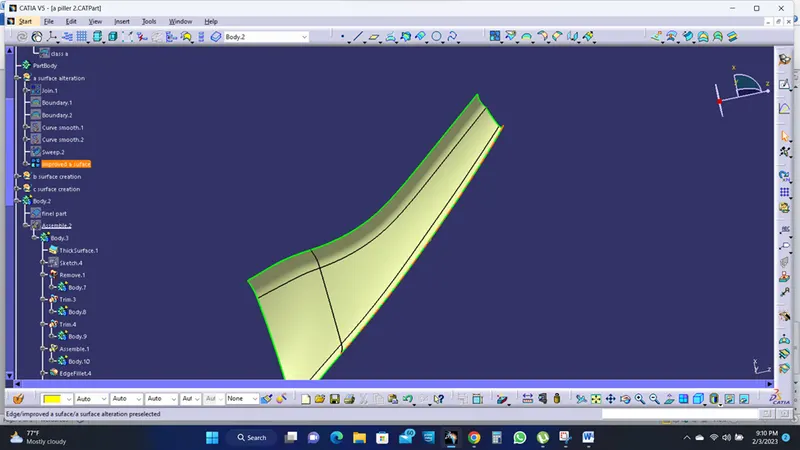
Seen in above surface the batch is removed and the surface is much better than the given class a model.
then go for the class b surface we offset the class a surface.
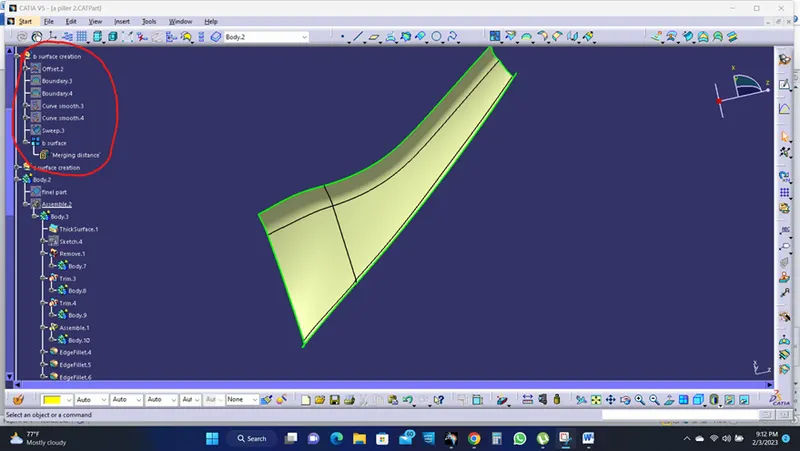
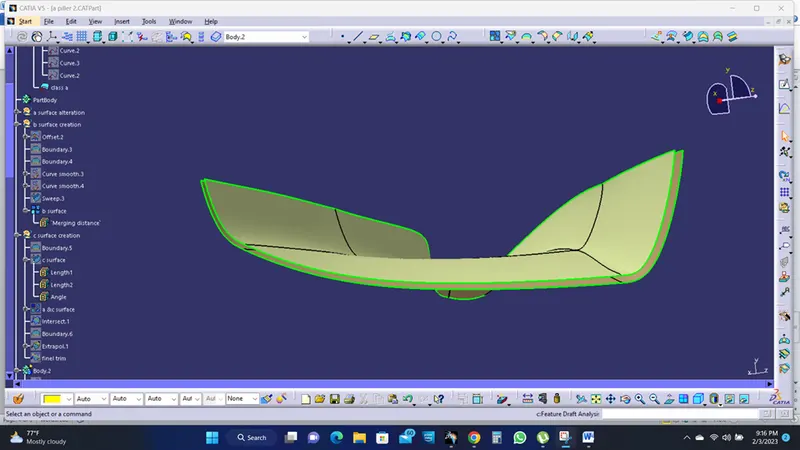
while offset the curve is also not offset so we do again the SWEEP operation like we do in a class A model.
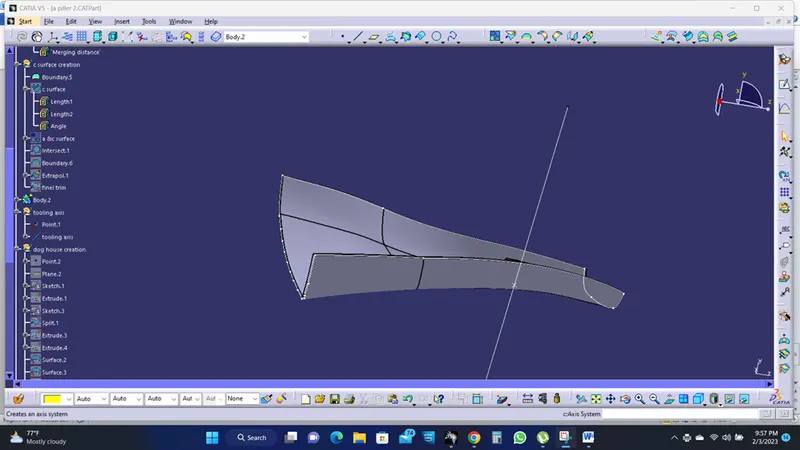
Then next go for the c surface creation use BOUNDARY and SWEEP to create the c surface.
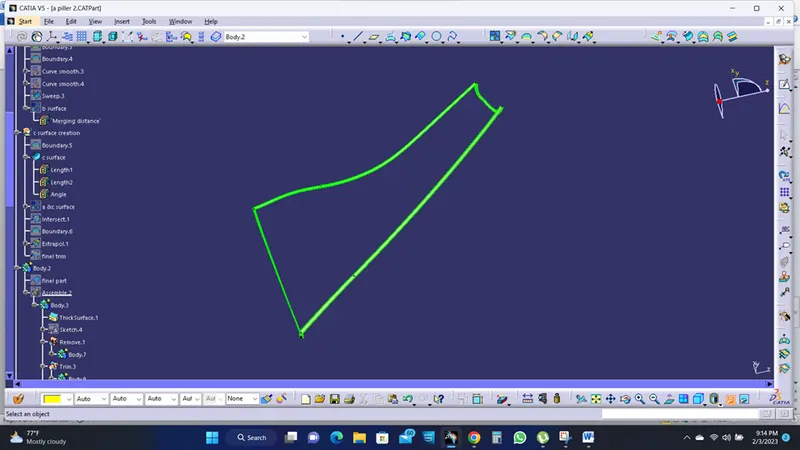
After create a c surface we join both A&C surfaces
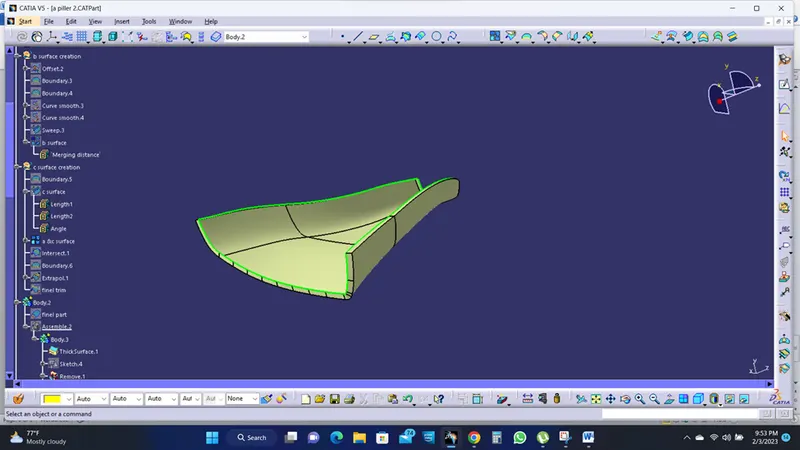
Then make the surface model to soild by using CLOSEBODY in part design.
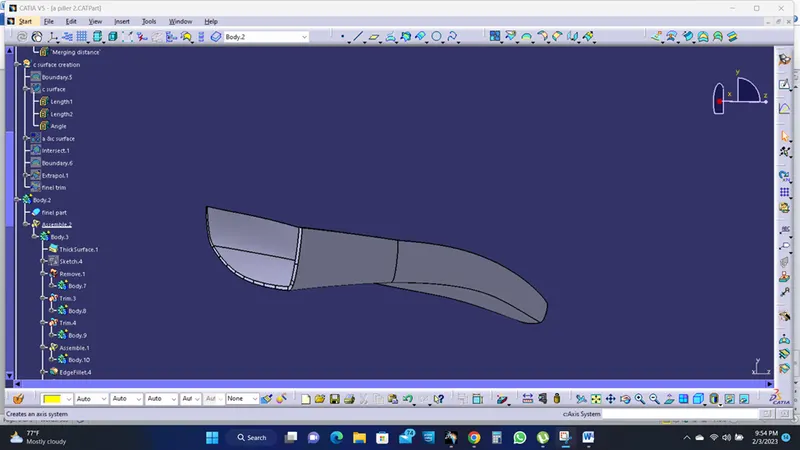
Then create a tooling axis by using point and create a line by normal to surface.
Then follow the master section to create the dog house.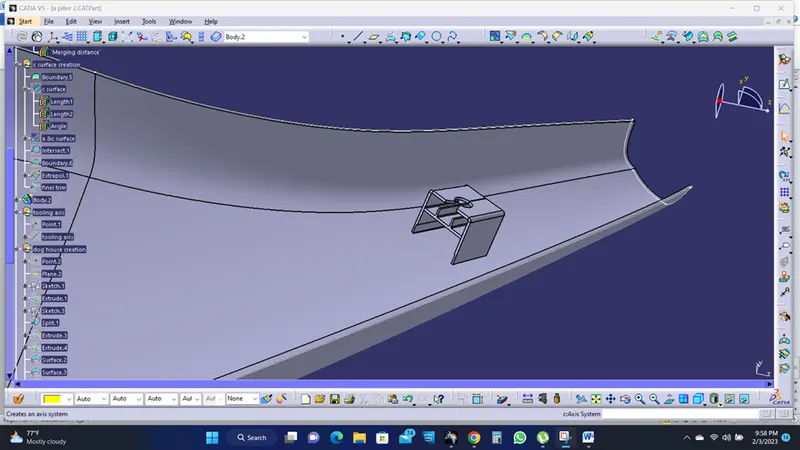
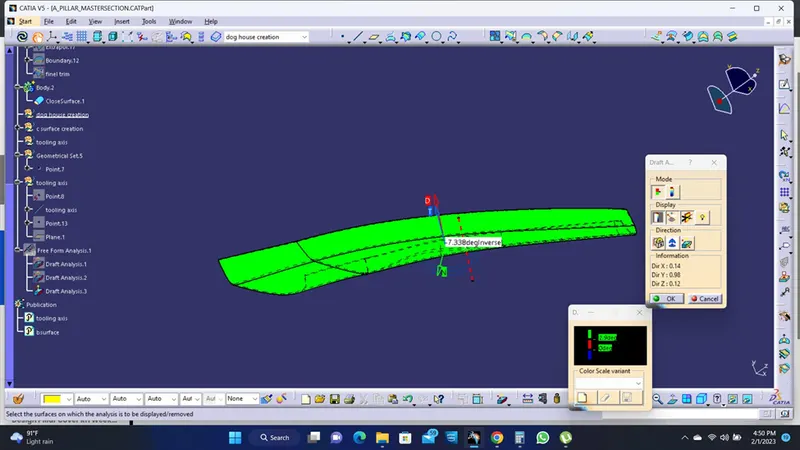
Finelly do draft analysis on this part.