Week 9 - Project - A pillar Design with Master Section
REPORT FOR A PILLAR AND DOG HOUSE DESIGN WITH MASTER SECTION:
Aim :
- To create the A Pillar Plastic component through the given Class-A surface.
- To create a Dog House component using through the given Master Section.
- To create the tooling axis for the given Class-A Surface meeting the requirements of the draft angle and at the end perform the Draft analysis on the final model.
Introduction:
The “A” pillar of an automobile is the structure that connects the side of the body of the car with the roof of the car. It is the first (from the front) support for the roof and, thus, is called the “A” pillar. A-Pillars straddle the windshield, B-Pillars are in the middle of the passenger compartment (just behind the front doors) and C-Pillars are those at the rear of the passenger compartment.
Design Methodology:
The input of the product designer is in the form of the Class A Surface. The job of the product designer is to create the B and C surfaces and the create the dog houses in the required areas using through the given Master Section with keeping all the aspects for the mold.
Master Sections:
Master sections are the guides for design requirements which decide the component packaging after technical (Styling, Concept or Class-A) surfaces. Creating this master section should need 5 to 6 years of experience. This helps you to decide the feasibility, clearance, the packaging and the fixation strategy before working it on a 3D.
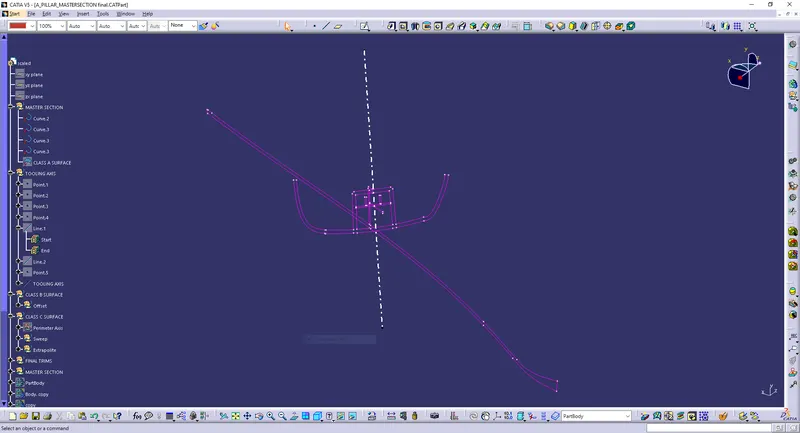
Master Section given for creating the Dog House:
Creation of Tooling Axis:
The tooling axis is the direction of drawing a sheet metal where the finished component is easily ejected on a particular direction and axis. In Molding, machine arrangement is given to open the mould along a direction which is known as Tooling Direction. In other words. The mould is built from two separate halves (Core and Cavity) and tooling direction basically defines the direction of mould pulls apart.
In the given model we are using the Bisecting method.
- The Tooling Axis is created using by creating points with reference to the master section.
- Then it is used to create the lines over the points by point to point method.
- By reference to the created lines a bisecting line is created using the bisecting method in the line definition.
- Hence in this method the required Tooling Axis is created.
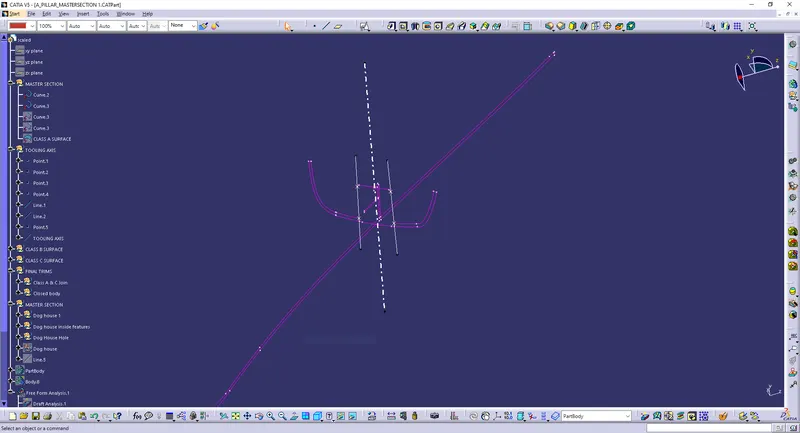
Class A surface with Tooling Axis:
Material Selection:
Interior pillars must provide multiple properties that support a high-quality aesthetic appearance, high impact protection, safety functionalities, and medium to high heat resistance. When airbag deployment functionalities are required, interior pillars also need materials with low-temperature impact resistance. For unpainted pillar applications, low-gloss aesthetics and easy flow are required. The material can be used for manufacturing A Pillar is Acrylonitrile Butadiene Styrene (ABS). Because of its some features such as:
- The styrene provides the copolymer with a shiny, tough exterior.
- Provides quality surfaces and good resistance to chemical agents.
- A wide variety of adjustments can be made to enhance impact resistance, durability and heat resistance.
Class A,B & C Surface
Class A Surface:
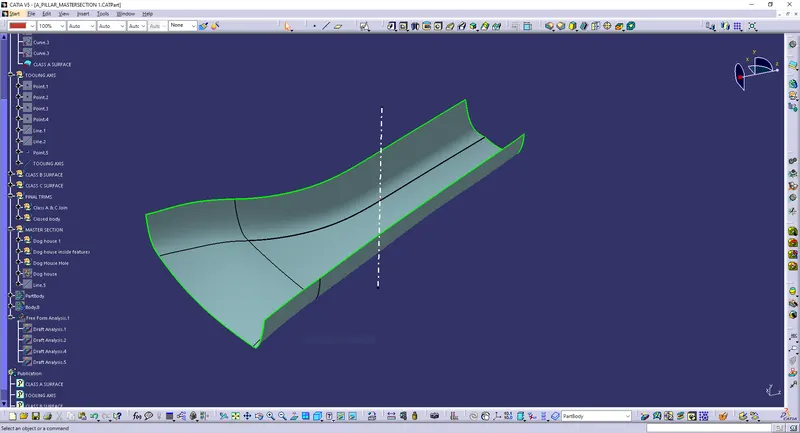
It is the outermost aesthetic surface which is visible to customers (the outermost visible surface of a product).
Here, class A surface is given:
The class A surface is joined inorder to make it a single part and then checked the boundary to confirm that it is closed.
Class B Surface:
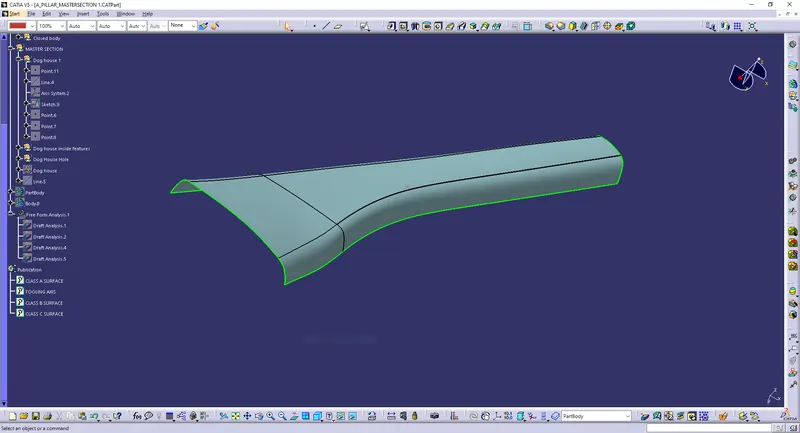
It is the offset of the class A surface at a particular distance. The offset distance depends on the thickness between Class A and Class B surface.
Here, the thickness given = 2.5mm.
Procedures to build class B surface:
- Offsetted the joined surfaces from class A to 2.5mm inorder to create class B surface.
- Extrapolated the offseted surfaces inorder to make sure all the surfaces are in contact.
- Trimmed the offsets to get an output same as class A surface
- Fillets are given to the required edges based on the thickness and curvature of the class A fillets.
Class C Surface:
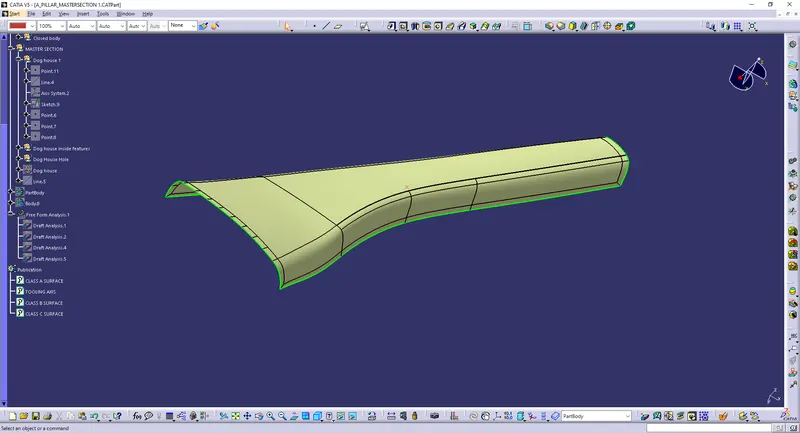
This surface connects the Class A and Class B surfaces. (Surface in between Class A & B surfaces)
Procedure to build Class C surface:
- Boundary of class A surface is extracted and then smoothcurved the boundaries if its required
- Also here Multi-Section Surface command is used to create the Class C Surface
- Both the sweep surface and multi-section surface are joined together to form as a single one.
- Then that boundary is swept perpendicular to the Class A Surface until it gets coincided with the offseted class B surface.
Joined and Closed Class A,B & C surface:
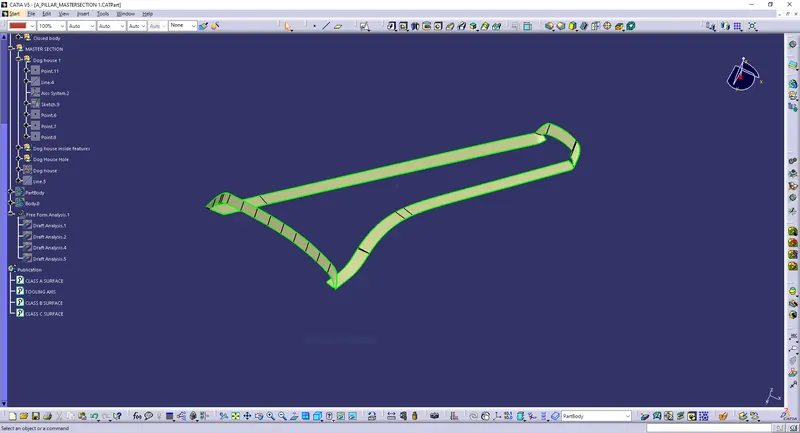
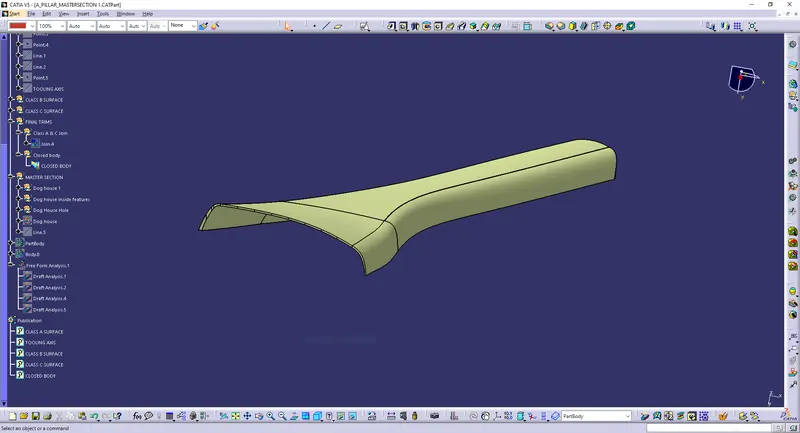
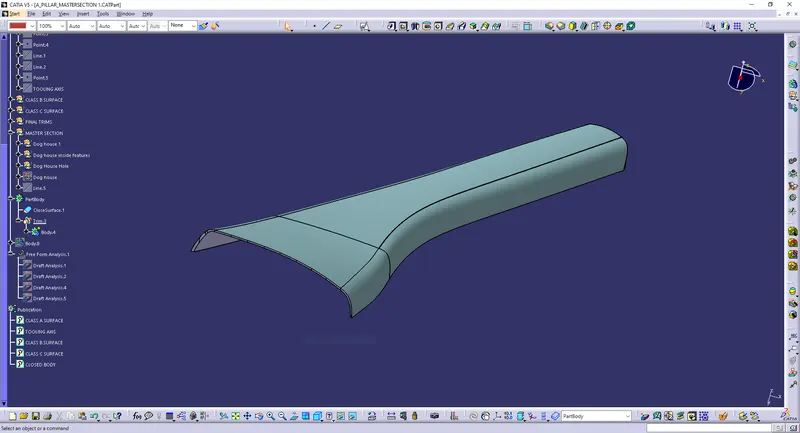
After creating class B & C surfaces, joining operation is done between class A and class C surfaces. Then, Class B surface is trimmed with joined Class A & C surfaces to get a whole closed single surface. Then in the part workbench using closed body command, a solid body is generated.
Closed surface:
Solid Body:
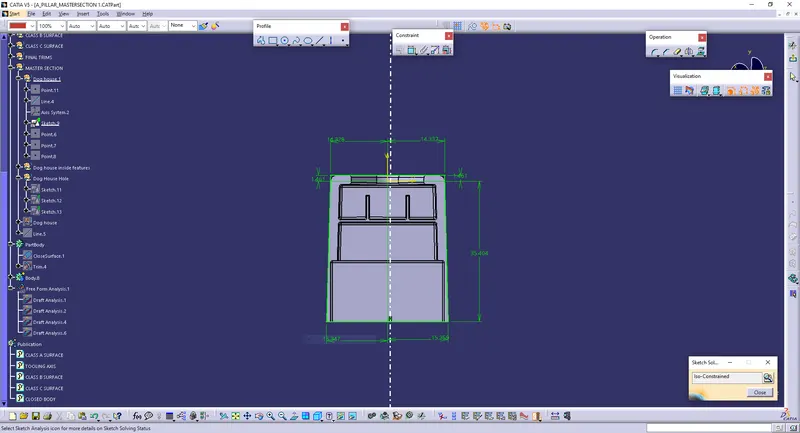
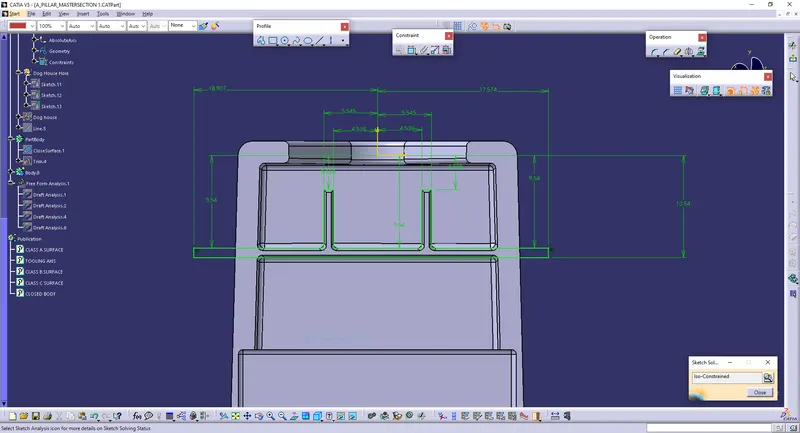
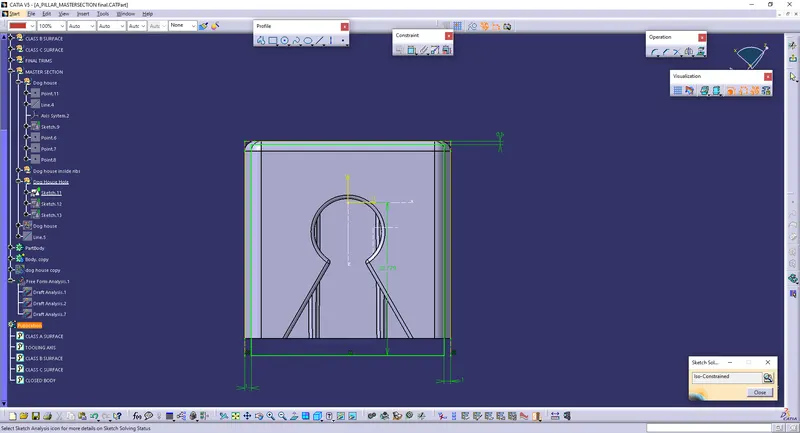
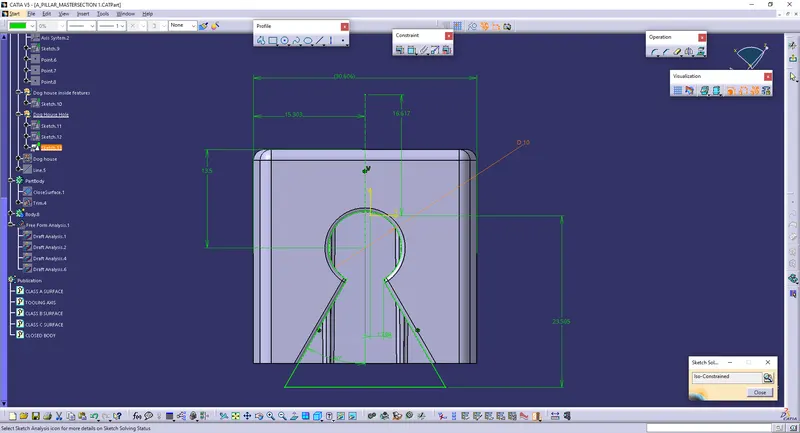
DOG HOUSE CREATION:
Dog house is an engineering feature used in plastic trim design. Dog houses are used as supporting feature. Sometimes other engineering features like snaps, locators etc. are mounded on them to increase their strength. Dog houses are subjected to draft analysis to prevent breakage of the component during ejection from mould cavity. Dog house and other engineering components are built on B-surface.
Procedures to create the Dog house using Master section:
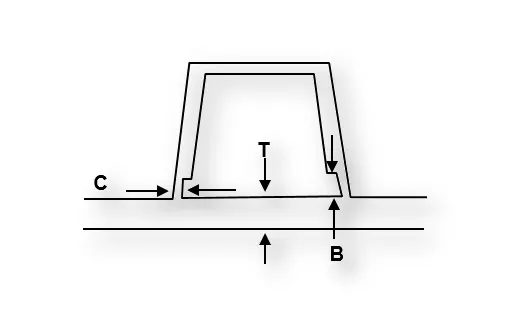
- C thickness should be 40% of the main wall thickness T
- Minimum width of the dog house is 12 mm.
- Height of B should be 3-6 mm
- Minimum draft for the do house is 1.5 degree to die draw.
Inserting point and Axis to create dog house sketch:
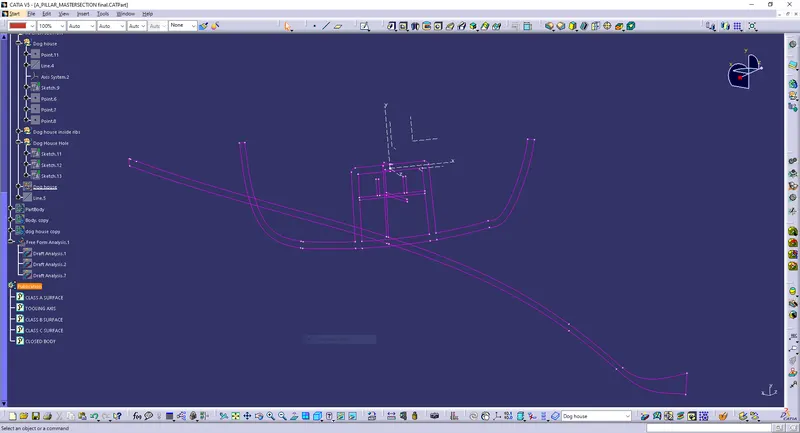
Sketches for padding the dog house:
Final Solid Body of Dog House:
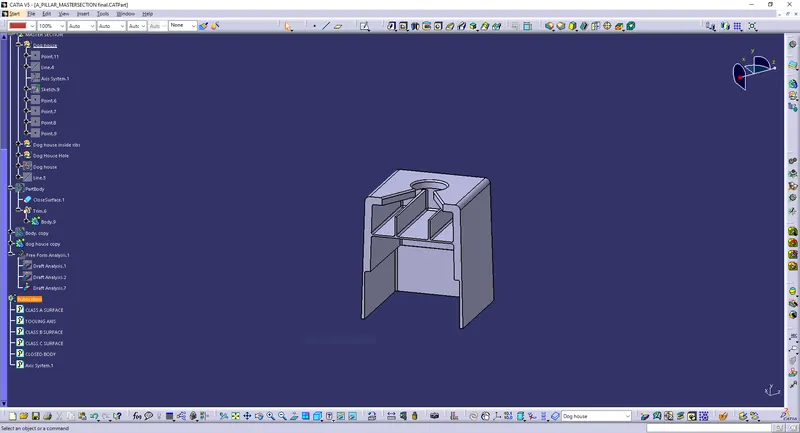
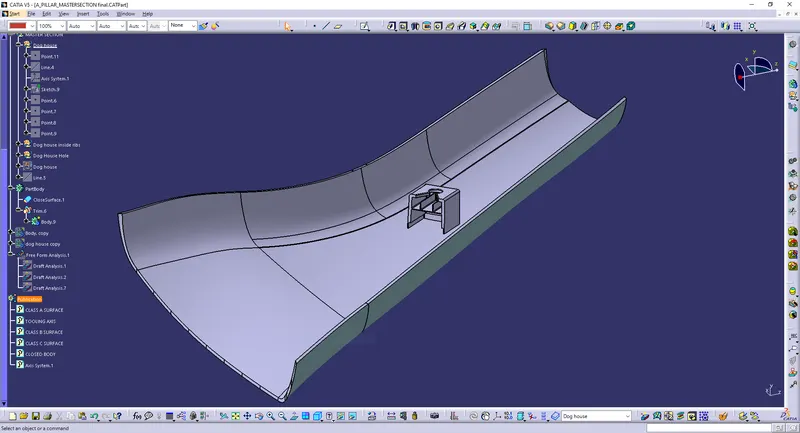
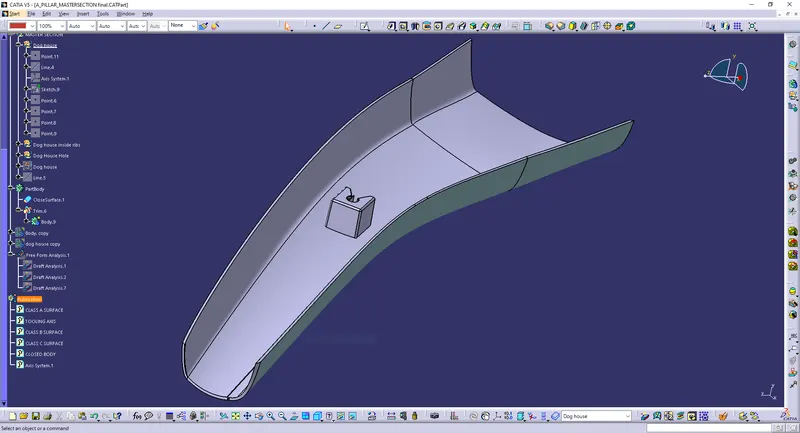
Final Solid body of Dog House attached with part:
Draft Analysis:
In the criteria of making a plastic material, the mold should release the material when finished. if the mold surfaces are 90 degrees the material won't release from the mold because of friction due to contraction of material when cooled.The ejection of the part from mold depends on the draft. A zero draft can result in difficult or no ejection. It is recommended to add a draft of 3 degree or above inorder to remove it from the mold without any damage.
Procedure:
- Change the view mode to customize view parameters and give material as view mode.
- In the draft analysis toolbar, set the draft values and color (3 degree and above - green, 0 to 3 degree - blue, less than 0 - red).
- Drag and drop the axis system on the tooling axis and lock it.
- Perform draft analysis.
Draft analysis of Class A surface:
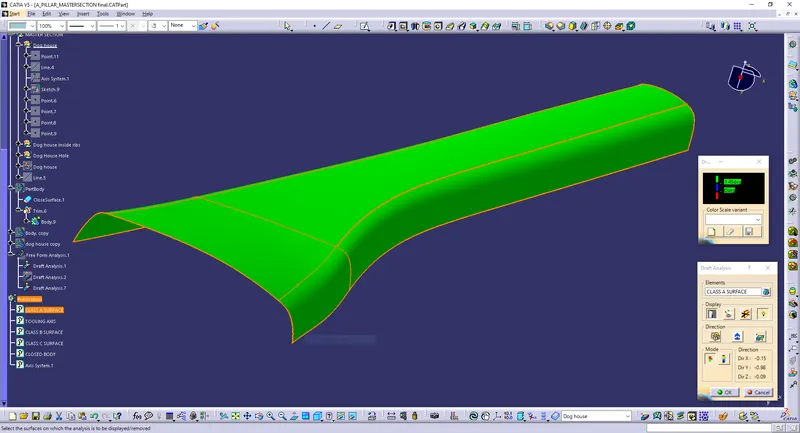
Draft analysis of final plastic component:
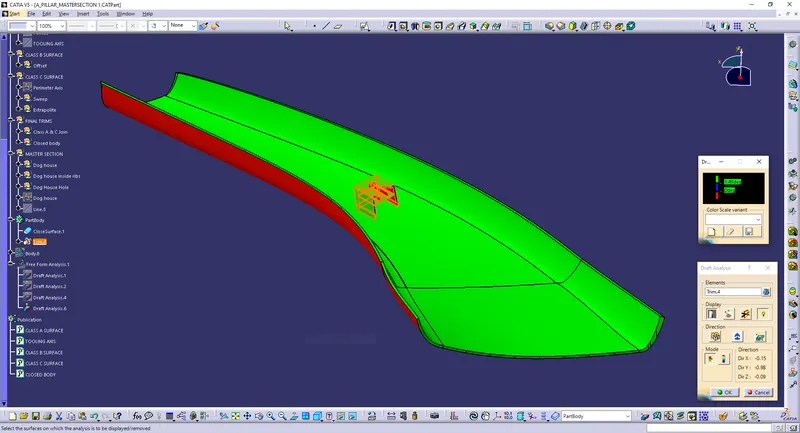
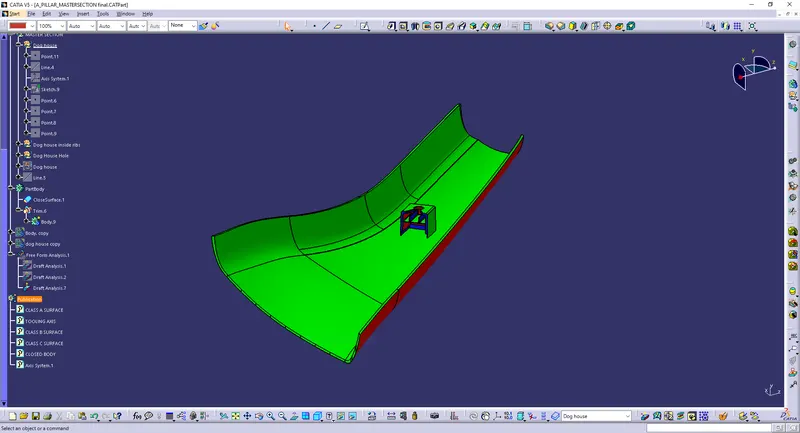
In the above draft analysis image it is clearly shows that in the designed Class C Surface and Dog house is clearing according to the draft analysis report with respect to draft angle of 1.45 degree. Thus the designed component is ready to manufacturable.
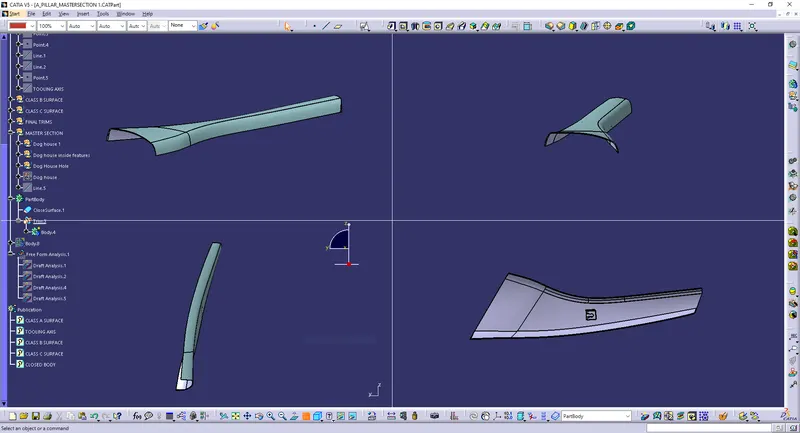
Screenshots of the solid model with in various orientations:
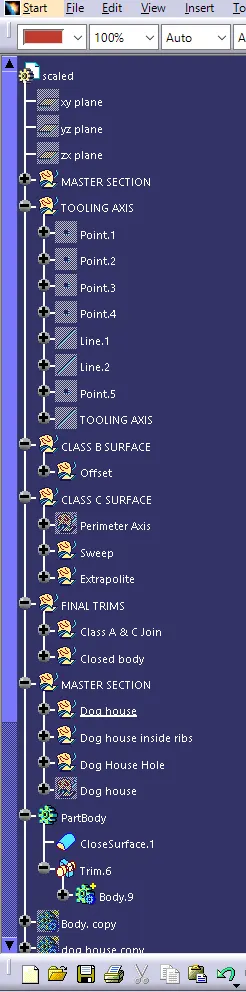
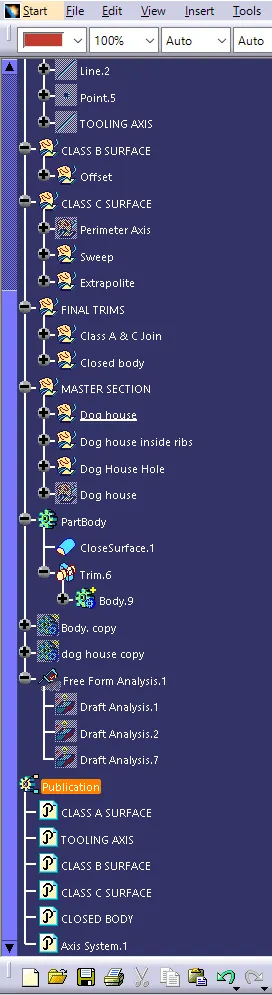
Tree Structure: