Week 9 - Project - A pillar Design with Master Section
Aim: Creating A pillar with master section given in the question.
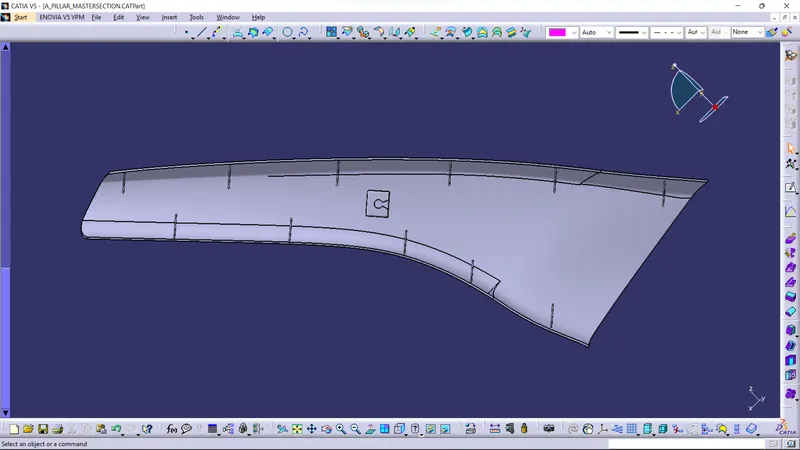
The Class A surface and master section has been given in question we have to create closed body of A pillar and doghouse with the reference of master section.
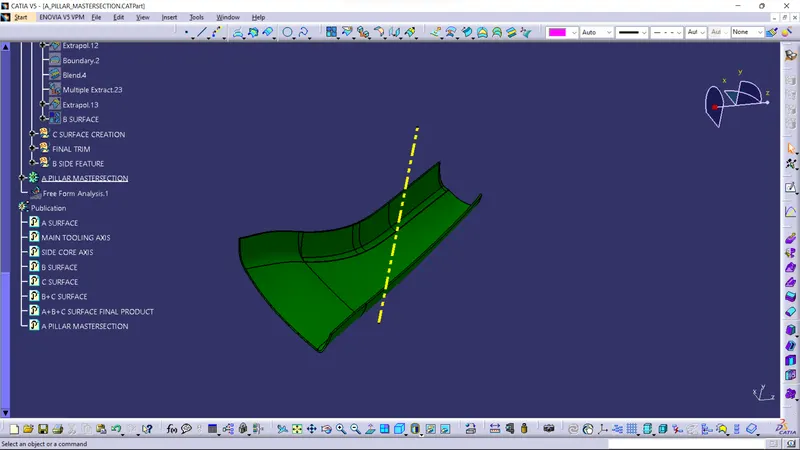
Creation of Tooling axis: I have used Master section of given A pillar to create the tooling axis as shown in the below image. i extracted the dog house master section and created a bisecting line with reference of the point. The yellow dotted line is the main tooling axis.
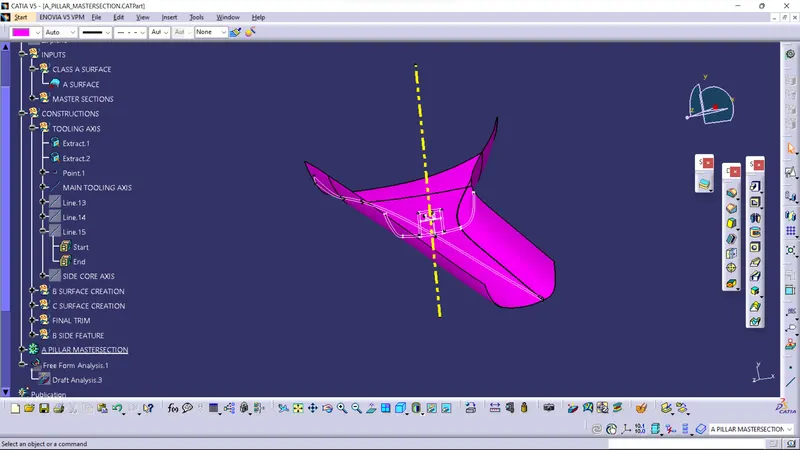
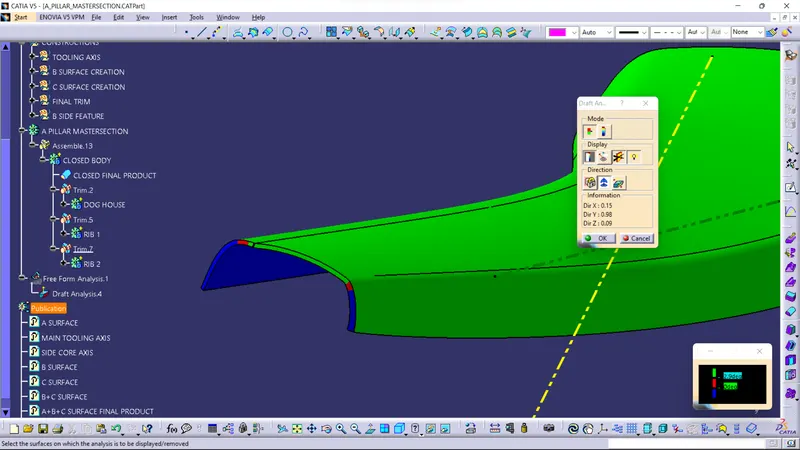
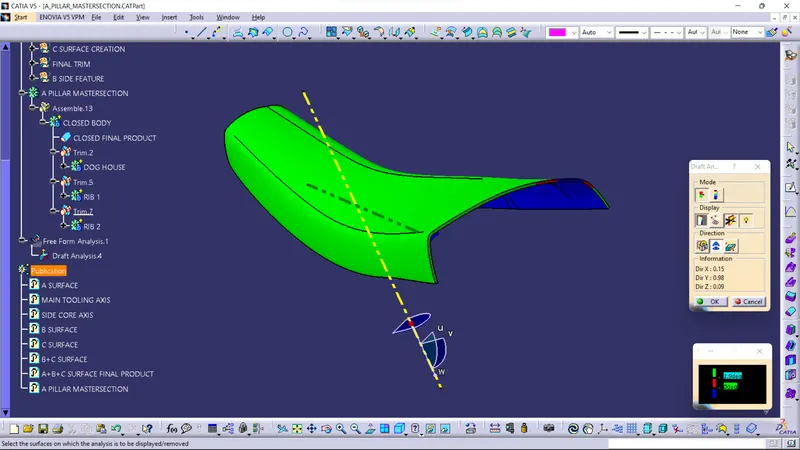
Draft Analysis of Class A: We have to do feature draft analysis for the given A surface with main tooling axis the results are in image. The green color means it is clearing
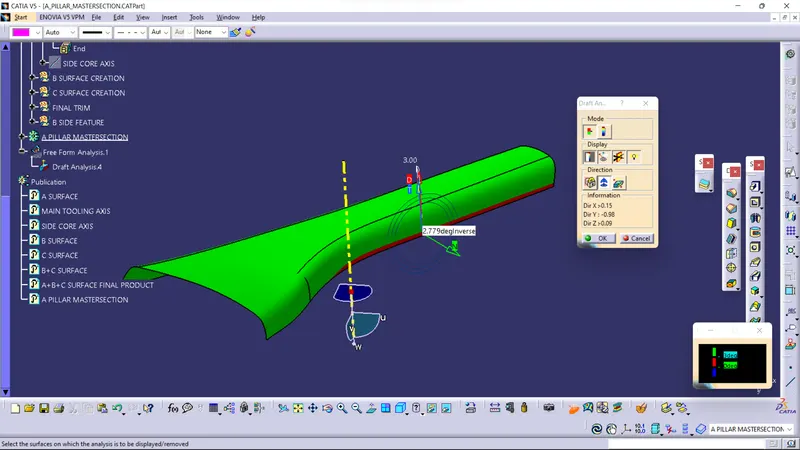
Most of the A surface is green and it is clearing. There is a very small surface which is red in color. This is the defect of Class A engineer we have to report this to Class A engineer.
Creation of Class B surface: The offset of the A surface is B surface; The thickness of the A pillar is not given but in master section we can measure the thickness and while offset there was a whole patch i have filled it using sweep command and the below image is the class B.
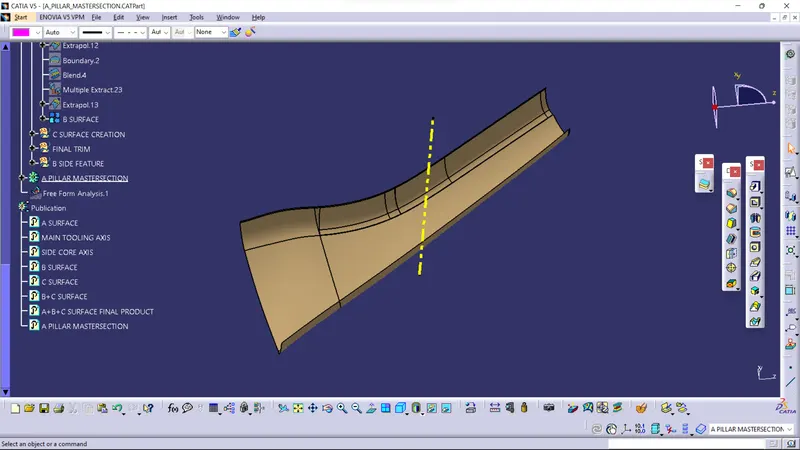
Creation of Class C surface: The class c surface is the thickness of the component. we have to extract the A surface edges and sweep it with draft direction and with reference surface respectively. The image below is the C surface
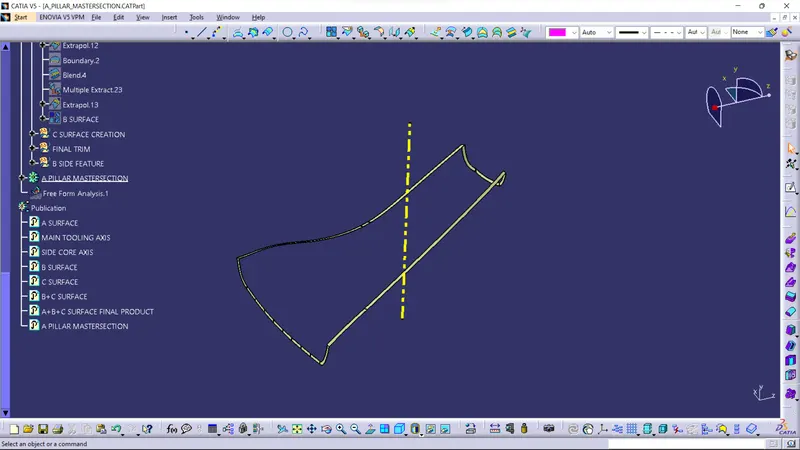
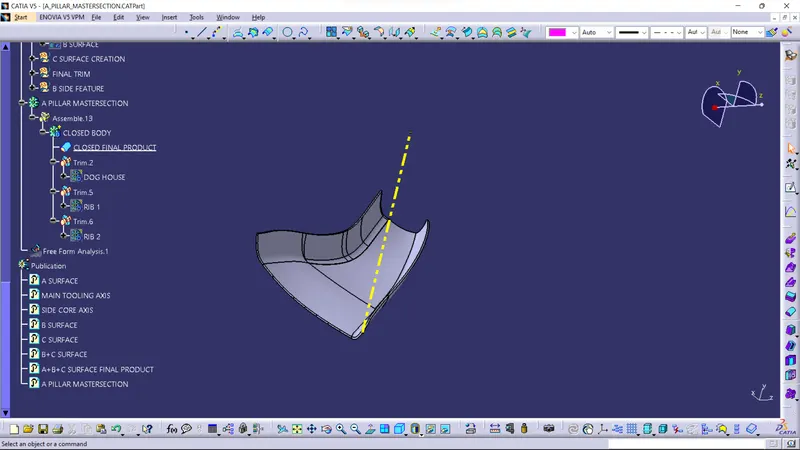
Final trims: Trim B surface with C surface then it is B+C surface. then join the B+C surface with A surface that is A+B+C surface that is the final component.
Then with the closed body command make that final component as solid.
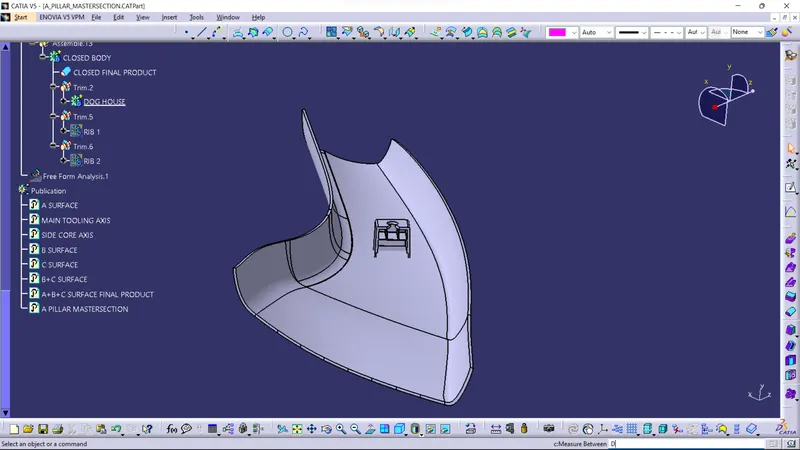
Attachment Features: in Master section they have given the dog house with inside rib and a cut out at top.
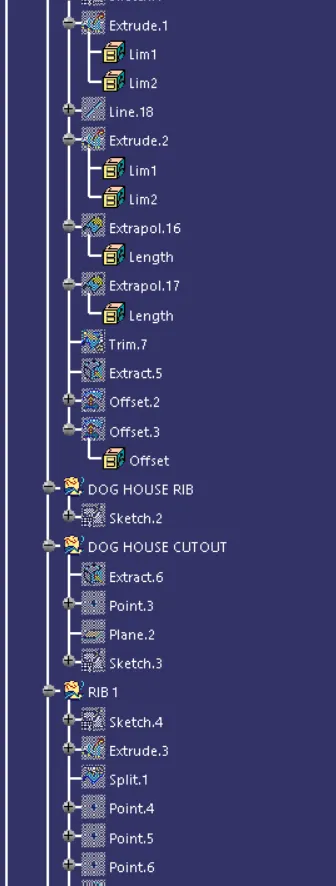
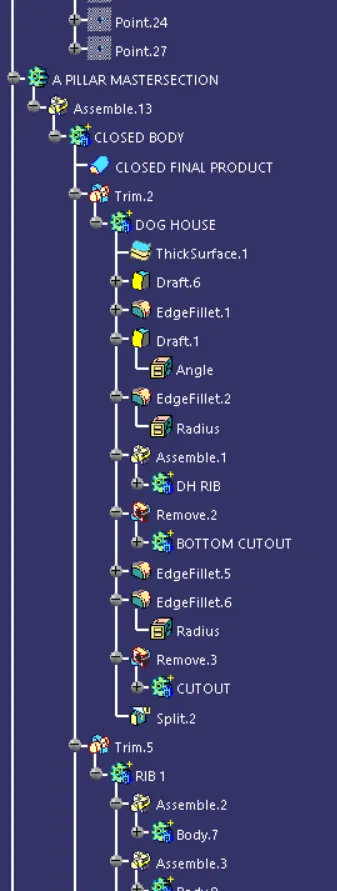
To create a dog house i used the master section and created the extrude and then thicken it with thickness given in master section. then i gave the draft value according to design rules outside body 1.5deg and inside body 0.5 deg. then given the fillet value. To create the inside rib i used a sketch and extruded it and union trimmed it with dog house body. the i used a sketch to create a cutout at the top of the dog house. and i pad it and removed it from dog house. the below image is Dog house. then i union trimmed the dog house with the a pillar slid body.
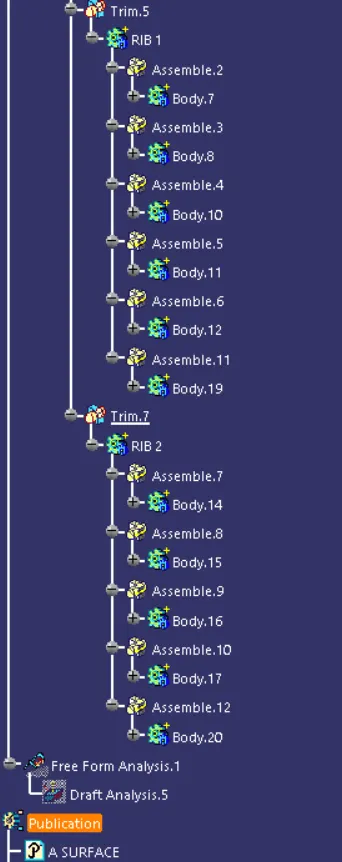
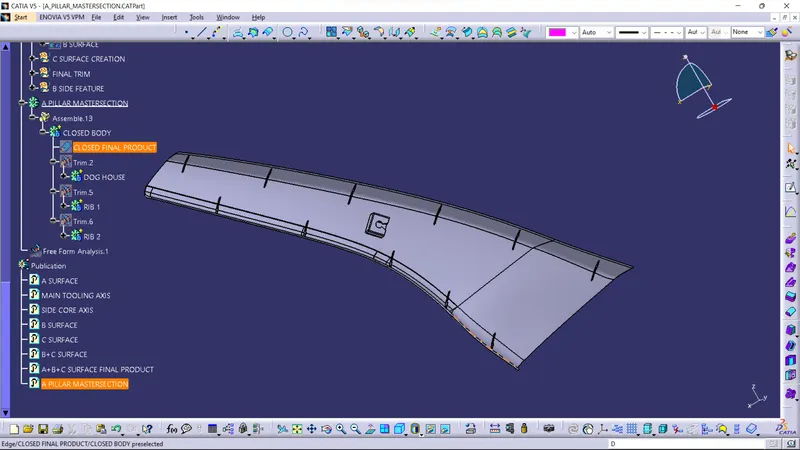
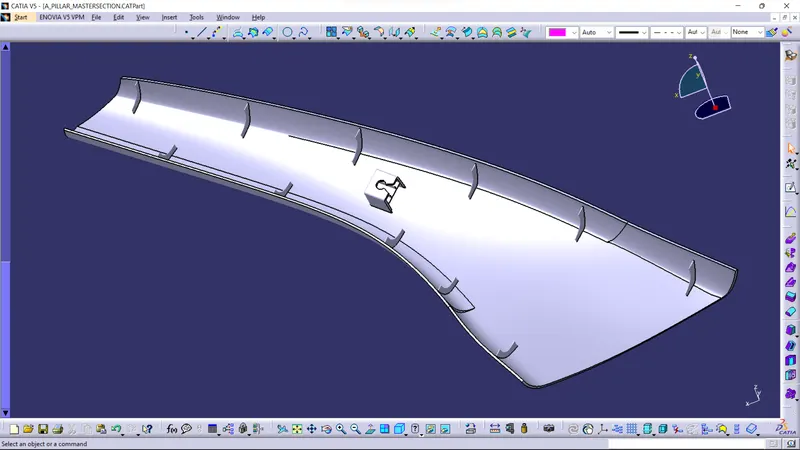
Then in the video they told us to create Ribs. i used sketch to create a line and then i extruded it split it with main body then for the shape i used spine and trimmed it. and for the rib i have given the thicken value as 1mm because 40% of the main body thickness is the rib thickness. then drafted it according to the rules 0.5deg. and given the minimum fillet value. then i created point and copied and translate it with points.
Creation of Side Core Axis: i used the master section to create side core axis.
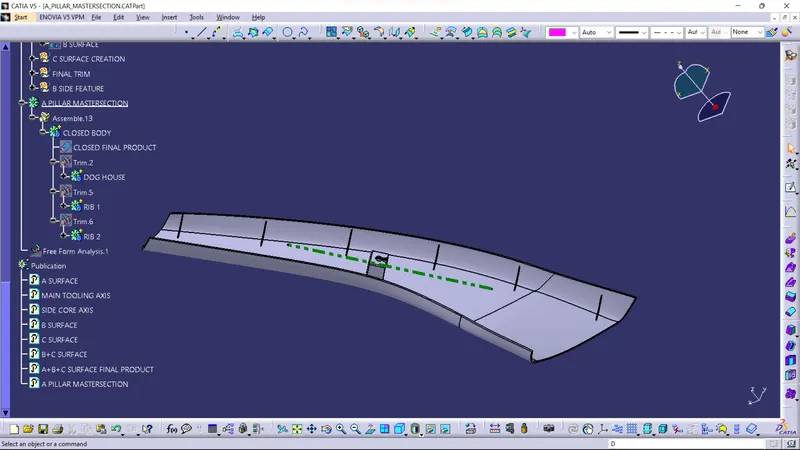
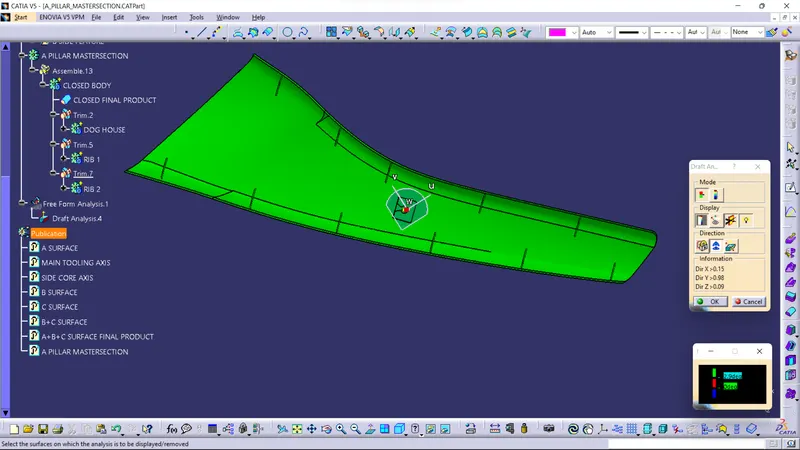
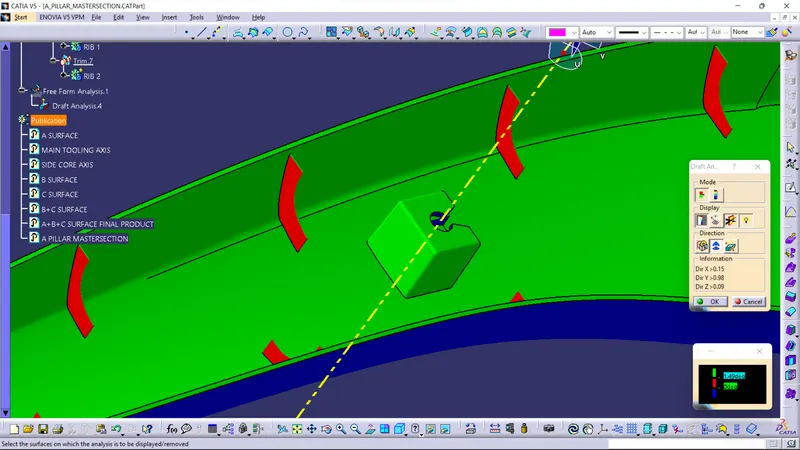
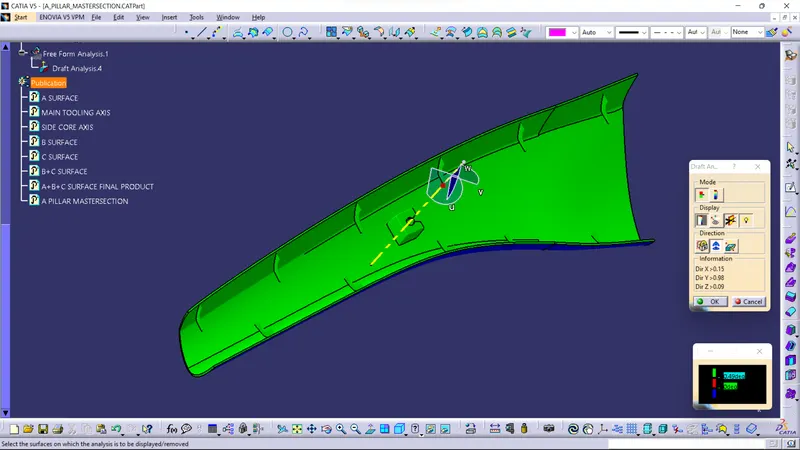
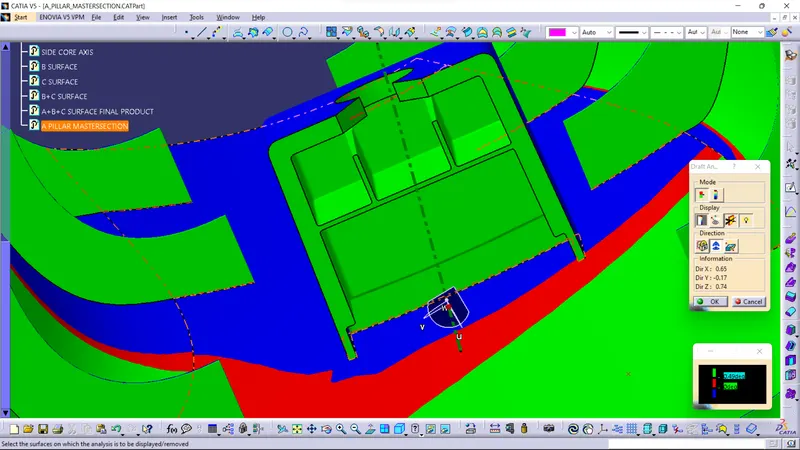
Draft analysis of final solid A pillar: First analysis of the whole body with 3 deg. From surface A we can see the c surface that means we have to start it from surface A. in C surface there are some blue and red color defect is there. but i have talk with the OE engineer he told to proceed with that same and mention it in report. then switch the color now we can see that b surface is also clearing with B surface. Then decrease the degree to 1.5deg and analysis the dog house as you can see it is clearing with 1.49 deg and also see the ribs with 0.5 deg it is also clearing. Now with Side Core axis analysis the inside doghouse with 0.5 deg and as you can see it is clearing with 0.49 deg.
MAIN TOOLING AXIS:
A SURFACE AND C SURFACE:
In some areas of C surface there is a negative value. I have talked with the support engineer and we have tried all the methods because of Class A curve it is not clearing. He told me to proceed with the same and mention in report and ppt.
B SURFACE:
DOG HOUSE:
RIBS:
SIDE CORE AXIS:
DOG HOUSE:
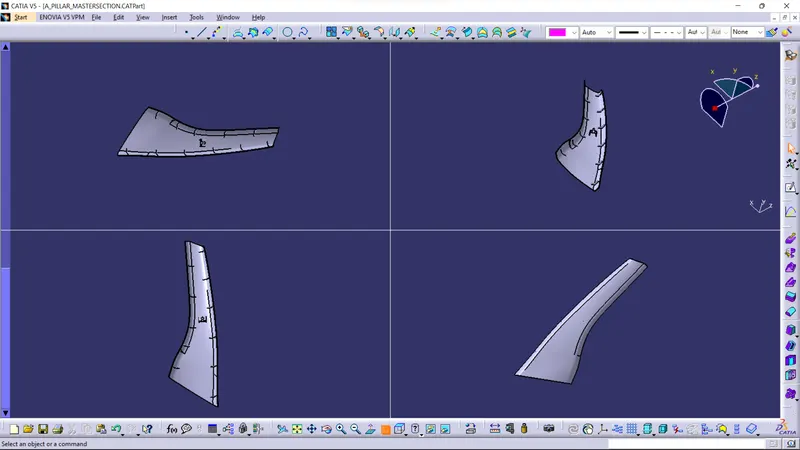
Different views:
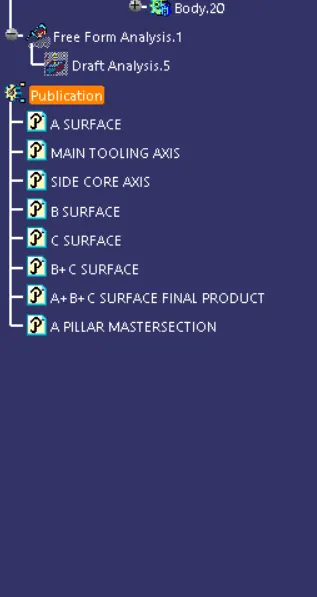
Geometrical set:
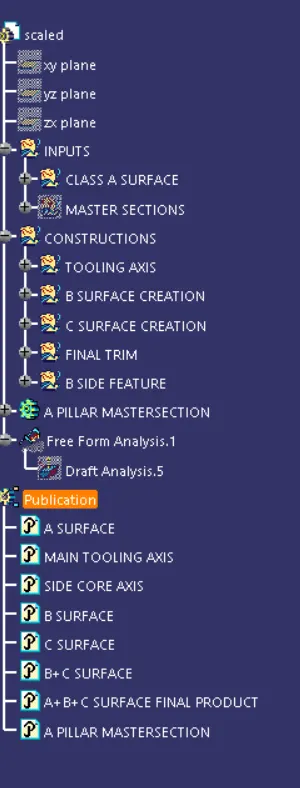
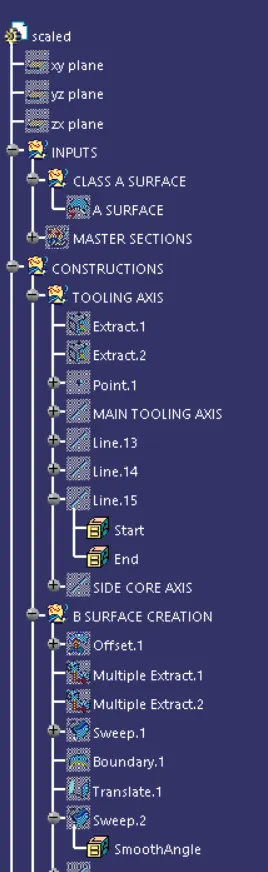
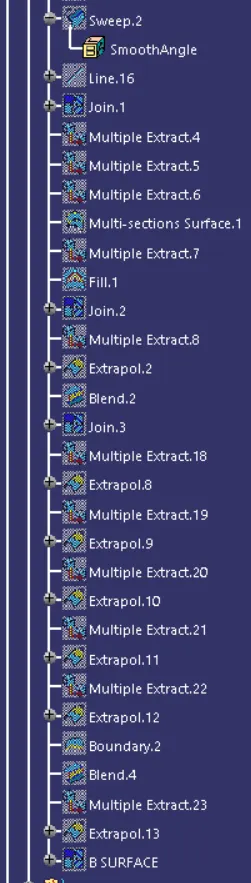
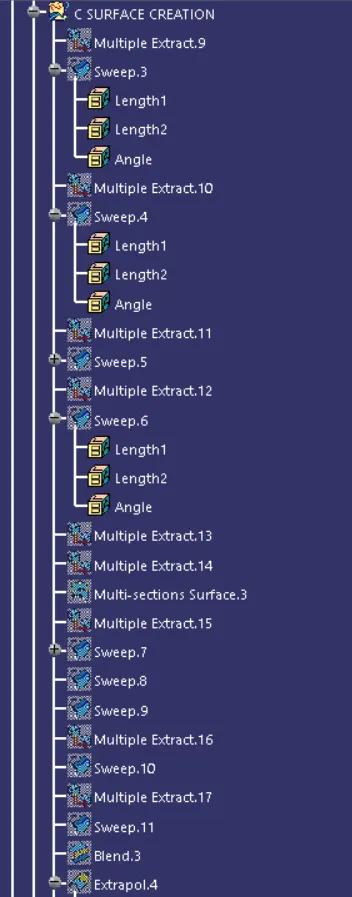
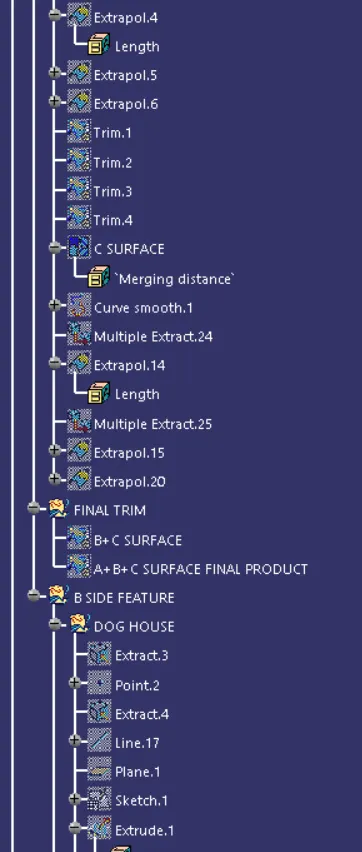
Detailed tree structure: