Week 9 - Project - A pillar Design with Master Section
DESIGNING A PILLAR USING MASTER SECTION
OBJECTIVES
- To improvise the Class A surface by resolving bad patches and adding flanges to it.
- To create A pillar solid model with the help of improvised class A surface.
- To create B side features for the A Pillar using the master section given to us as an input.
- To create main and side core tooling axis for A pillar and its B side features.
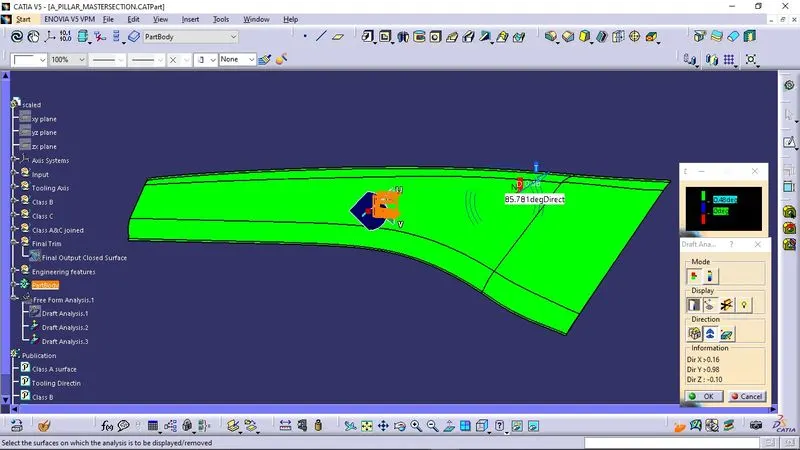
- To do the draft analysis of the overall model of the A pillar i.e including B side features.
INTRODUCTION
MASTER SECTION: Master sections development takes place during feasibility check and concept validation stages of the product life cycle. These are typically the guides for design requirements and which decides the component packaging after the development of the concept design, i.e class A surfaces.
Master section helps us to decide the feasibility of the concept design, the clearances, the packaging and the fixation strategy of a component before converting the concept design into a solid 3D engineering design.
During the period of vehicle concept design the evaluation of the master section performance depends mainly on the reference vehicle data and experience of structure design engineer.
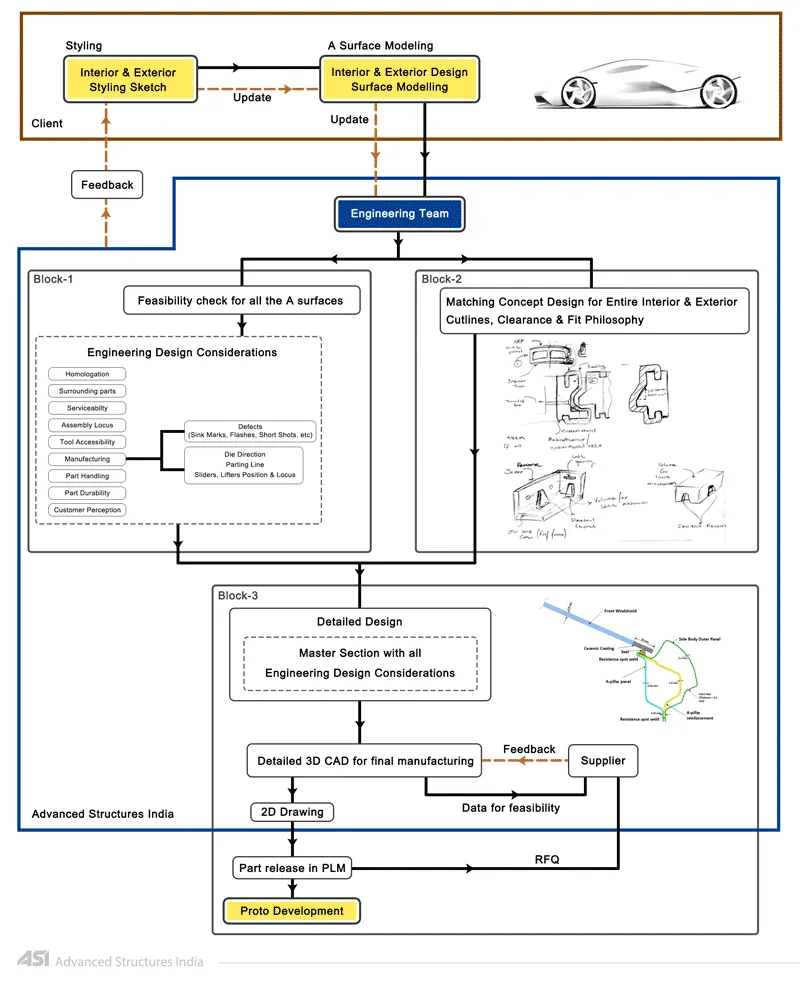
Overview Design Life Cycle Automotive Industry
The Stages Of Design Life Cycle Are
-Concept Sketches:
Concept Sketches Are Rough Idea Of Free Hand Sketch Obtained Through Styling Team And Will Be Used To Prepare The Model. It Is Usually Done Through Pen And Paper And Through The Painting Software. This Is Will Be Used To Generate The Concept For Preparing The Model By Incorporating Various Styles And Information Obtained Through The Stakeholders
Class A Creation:
After Finalizing The Concept The Sketches Are Usually Worked In Software’s Such As Auto-Desk Alias To Create Class A Surface
Clay Modeling :
The Class A Surface Is Concurrently Worked By Clay Modelers To Brainstorm And Benchmark The Styling Of The Product And Later The Concept Is Validated By Bringing Up a Rough Clay Model And Then It Is Passed On To The Design Team For The Preparation Of New Product Design (Npd) Cad.
Npd Cad:
This Where The Development Of Surfaces To Parts In Cad Kick Off And Design Engineers Involvement Is Vital In This Stage.
The Designers Will Work On The Input Class A Surfaces Which Are Validated From The Feasibility Team
The Procedure Followed In Creation Of The Plastic New Product Design Are
Tooling Axis
B Surface Creation
C Surface Creation
Closed Body Creation
Draft Analysis
Tooling Axis:
The Given Class A Input Is Analyzed To Envision The Part To Manufacture And Tooling Axis Or Tooling Direction Or Die Line Is The Direction That Molds Pull Apart In Injection Molding. There Are Two Mold Pieces Names Core And Cavity. Thus Tooling Direction Determines Mold Separation And Also Becomes Vital In Developing The Plastic Product Which Is Drafted To Desired Nominal Angle For Feasible Clearance And Ejection Of Final Part From The Mold.
-A Reference Point Is Created Along The Surface Zero And New Axis System Is Created
-The X Direction And Y Direction Along The Class A Were Used To Create Tooling Direction
-Finally The Tooling Axis Is Created By Bisecting The Two Lines And It Is Published. Class A Surface As Input Using Surface Operation Commands Class B Is Developed
-The Tooling Axis Determines The Direction Of Class C Boundary Swept With Draft Direction.
-When Viewing From Tooling Direction Normal All The Parts That Are Drafted Should Be Visible So It Gives An Rough Idea To Determine Product Manufacturing In Injection Molding
Class A surface
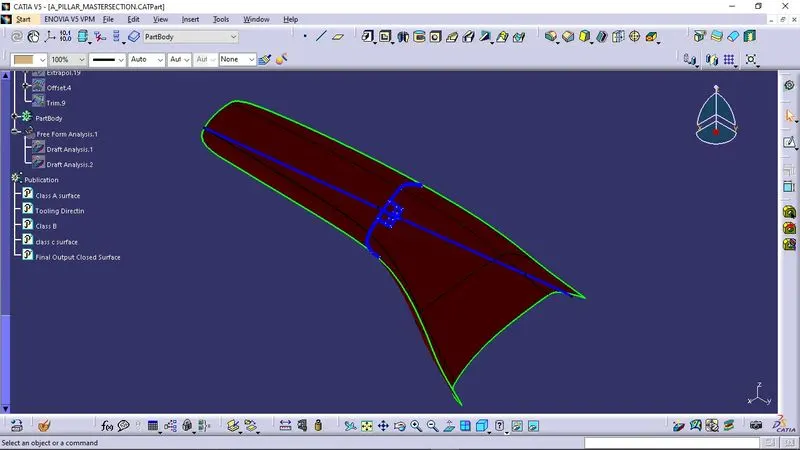
Tooling Axis
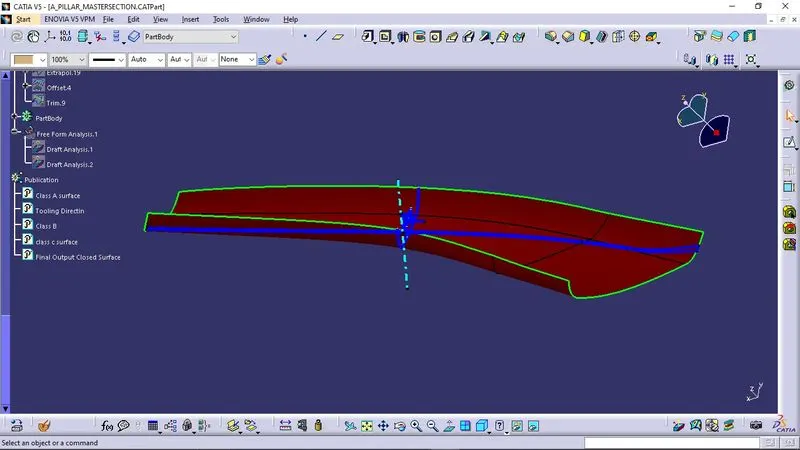
Initial Draft Analysis
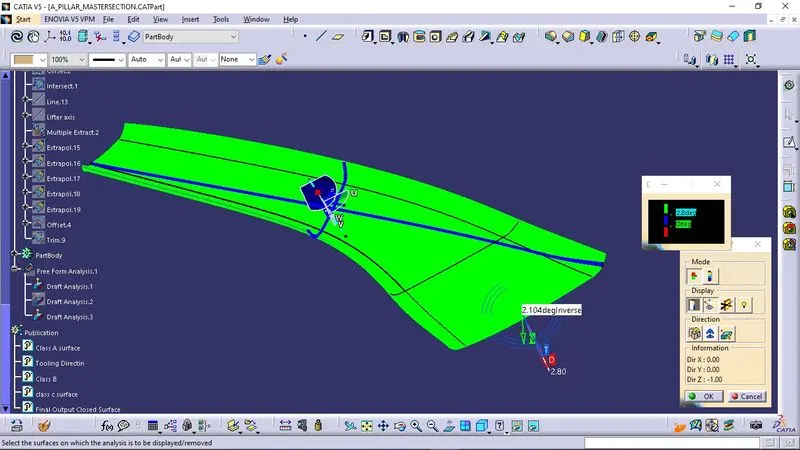
Class B surface
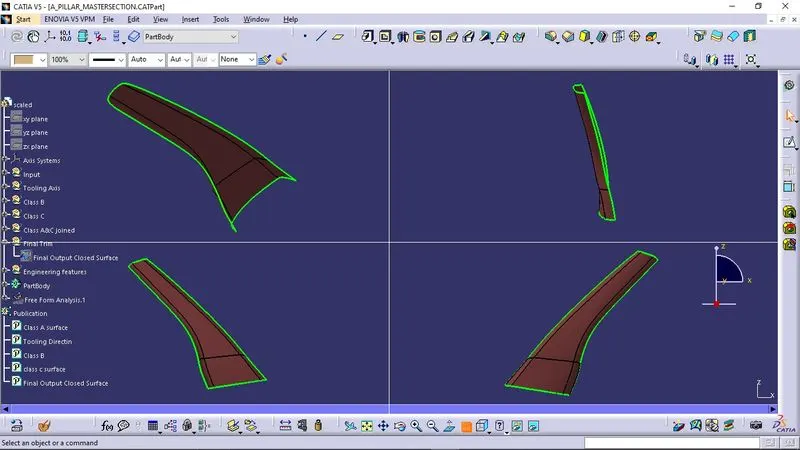
Class C Surface
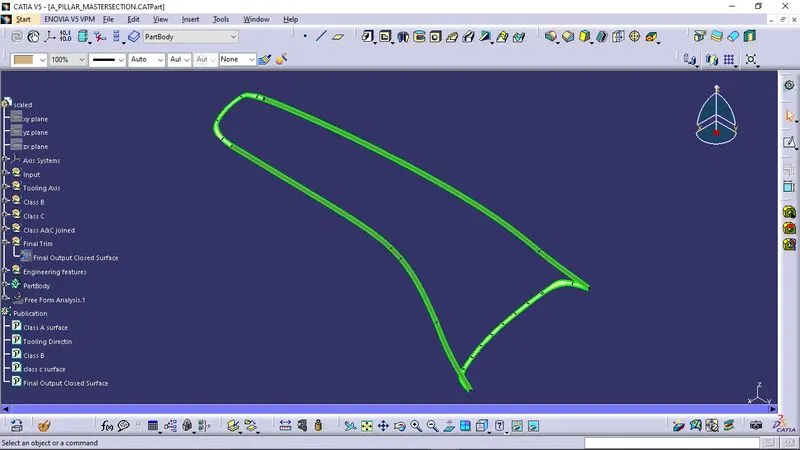
Engineering Features
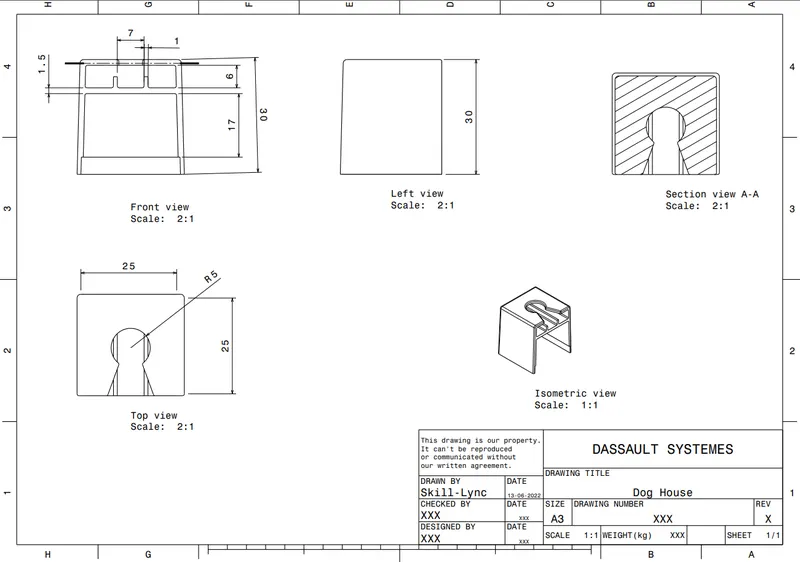
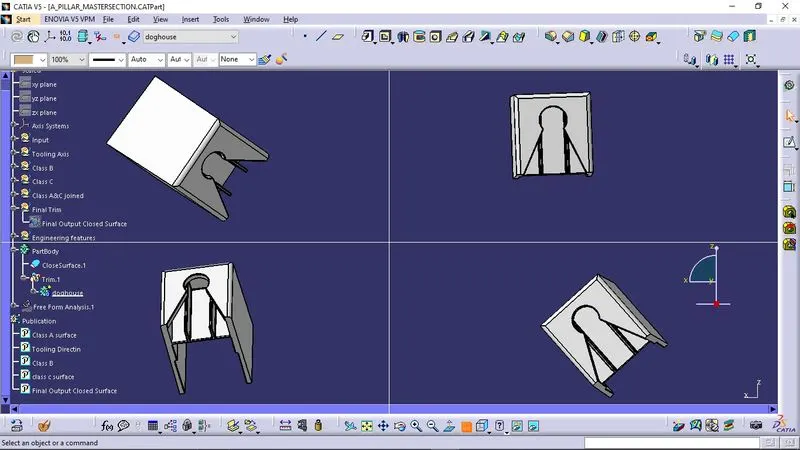
- Doghouse
Using The Master Section The Doghouse Is Created And Then Part Modelled Using Thickness Option
-The 4 Way Locator Is Formed Above The Dog House Which Locates The B Pillar Towards The Mating Surfaces
-The Dog House Design Rules Are
-The Thickness Of The Connecting Surface Towards B Side Should Be 40% Off The Main Thickness
-The Walls Are Drafted With Min 0.5 Degrees Along The Main Tooling Direction
-The Attachement Feature Created Needs a Seperate Tooling Axis To Clear The Part Hence a Lifter Axis Is Used
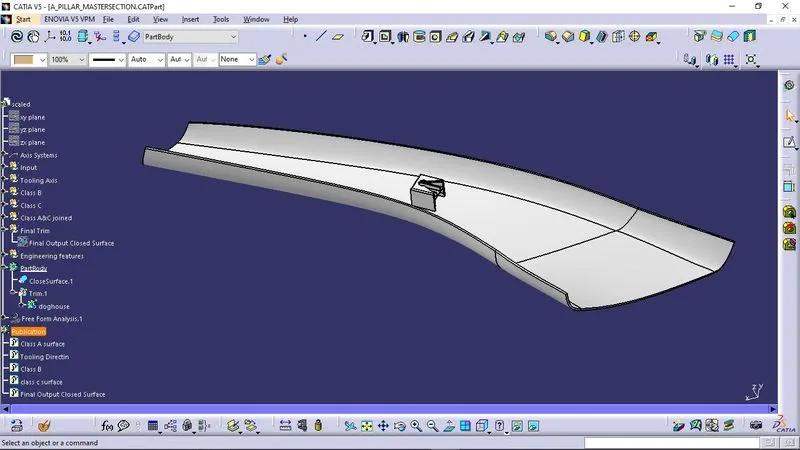
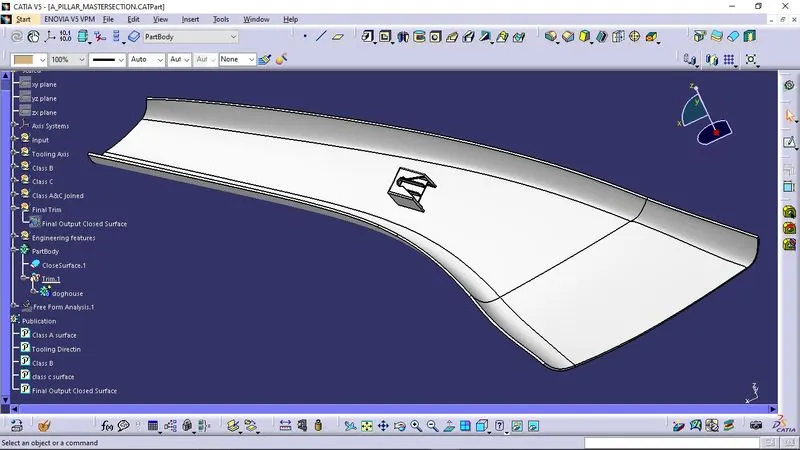
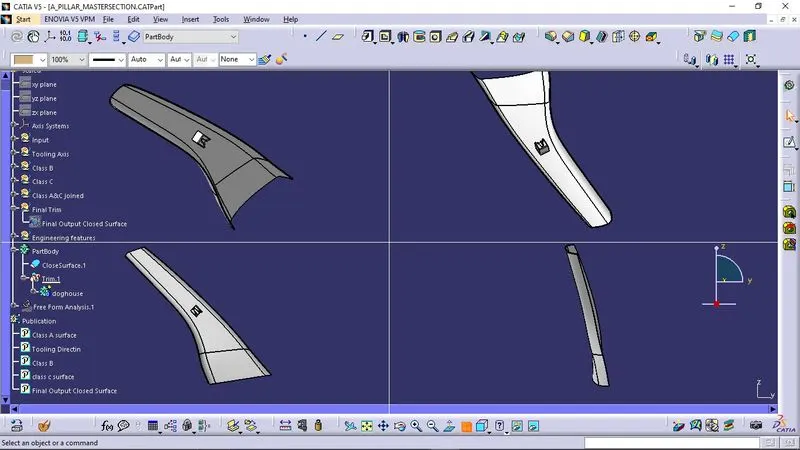
Output
Conclusion
The complete understanding about A-pillar Design Using Mastersection is thus concluded.