Week 9 - Project 1 - Door Trim Lower with Engineering Features
REPORT
Draft Analysis
- Draft allows a part to release from the mold. Draft is required on all parts in the direction of the mold movement in order to allow parts to release or eject from the mold properly.
- Draft is the angle in the part is tapered to allowed it to release. As the part cools it tends to shrink to the core side of the mode.
- The given Class-A-Surface is analised for draft angle.
- The Draft Analysis Toolbar in CATIA V5 is used. After importing the Class-A-Surface the View Mode Customization is selected and in the custumization windows, in the shading section Material is selected.
- After that the Draft Analysis Toolbar is selected and in the draft analysis window the Compass is selected and it is repositioned at top side of the Tool Axis.
- Then the surface is selected and the surface colour is shown according to the draft given to it.
- For Draft angle above 2.9 degrees the surface is colored Green, for Draft angle with 0 degrees the surface is colored Red and for draft angle less than 0 degrees the surface is colored Blue.
- It is observed that for the given Class-A-Surface the observed Color is green, so the draft given to the surface is sufficient and all the surfaces of the Class A is clered for draft angle, no surface is visible with 0 or negative draft angle.
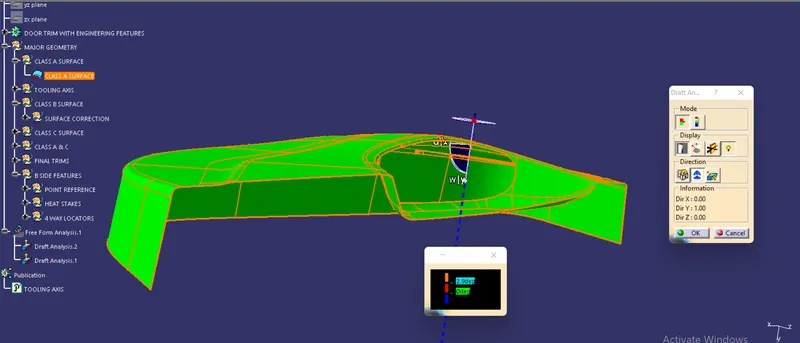
Figure 1: Draft analysis of the Class A Surface
- After the surfacing and close surfacing, the Final Plastic Part is Analysed and the draft is observed to be above 2.9 degrees on the outer walls which is to the Core side and for the inner walls the the draft angle is negative since it is to the cavity side.
- Since the Class A has no thickness both the side was cleared.
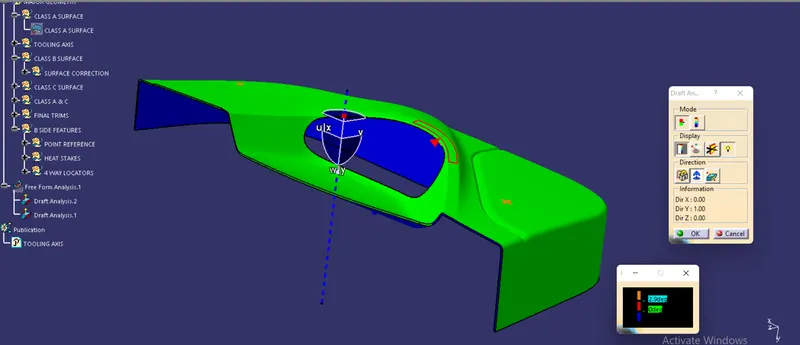
Figure 2: Draft Analysis of the solid body part.
- It was also observed that the draft analysis for the B side Features (Heat Stakes and Locators) was also cleared with a draft angle of more than 0.45.
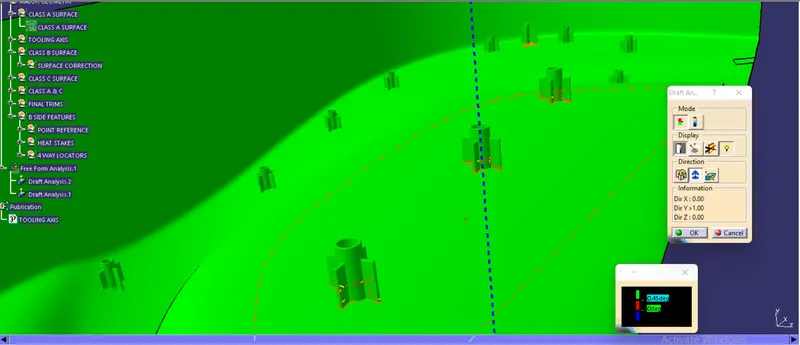
Figure 3: Draft analysis of the Heat Stakes.
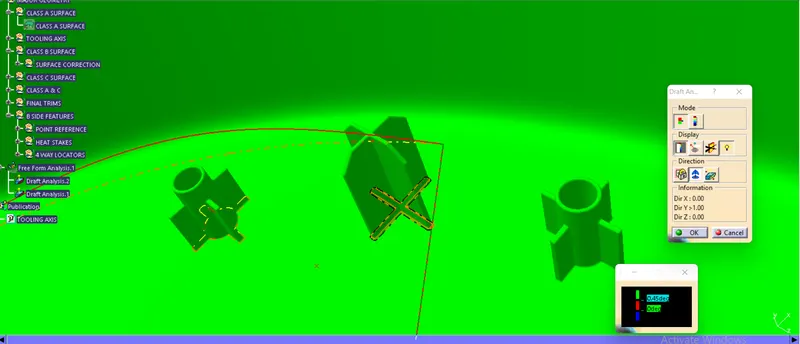
Figure 4: Draft analysis of the 4 way locators.
- So the draft analysis was observed to be adequate for producion.
Tooling Axis
- Tooling axis indicates the direction through which the tooling (molding, core and cavity movement) is done.
- The axis should be created in such a way that all the parts of the body can be created through that axis.
- For the given Class-A-Surface the tooling axis is in the direction normal to the selected plane.
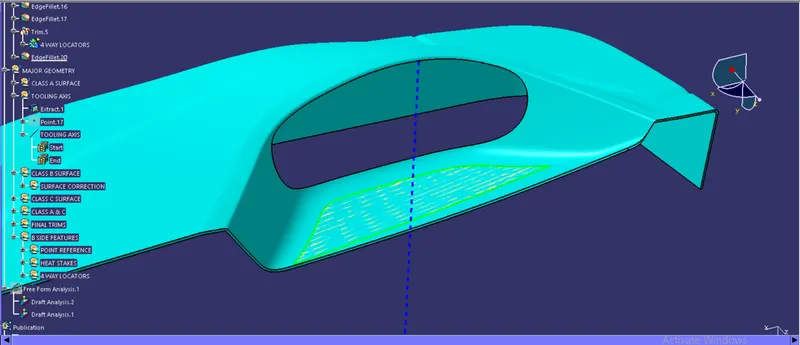
Figure 5: Creation of Tooling Axis
- We can use the Compass from the draft analysis toolbar to move around and placing the compass on to the surfaces can show how much area is cleared in draft analysis by the line that is normal to that surface.
- By this method, the shown area is selected and the line normal to that surface will be the required Tooling Axis.
- It was also to be considered that the tooling axis should clear the B side feature as well.
- This formed line is the required Tooling Axis. Draft analysis and core-cavity design for the plastic part and B side features (Heatis done along this tooling axis.
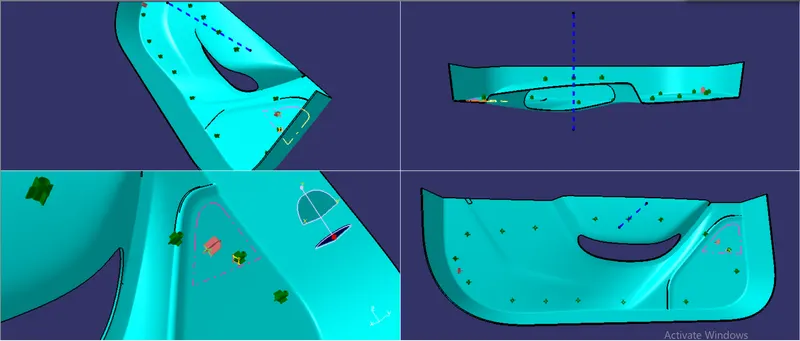
Screenshots of the completed design in various orientations