Week 9 - Project 1 - Door Trim Lower with Engineering Features
Aim:
To create a Heat stack and positioning ribs for the given model.
Procedure:
Class A Creation:
- The given surface is taken as class A.
Class B Creation:
- the given surface is get offset to 2.5mm distance.
- there are some patches still can't able to get offset.
- use multi-Body to get fill those patches and trim it with main body.
- now extrapolated the boundaries to 5mm.
Class C Creation:
- the outer walls boundaries get extract from and get sweep with draft direction.
- the chamfer areas are sweep with reference to surface.
- in the fillet area C surface is created by multibody.
- now connect all the surfaces with Trim commend.
- there is cavity inside the door trim.
- take the boundaries and multi-extract surfaces related to those boundaries.
- sweep it to 93deg.
Body Creation:
- Join the class A and Class C together.
- Now trim it with Class B Check with it.
- now open part workbench and create a close body.
Dog House creation:
- position a point in the area were the dog house is required.
- now extract a surface and create a plane in it.
- now create a position sketch and create a square of 20mmx20mm and put one wall as construction element.
- now sweep it with respect to draft direction for 22mm.
- and then offset the bottom surface to 20mm and trim it with the extract.
- now open part workbench and thicken the surface.
- now create a tooling direction to clear inside faces for dog house.
- now select inside face and select pulling direction which is the line that created now and do draft.
- now select the inside faces and extract the surface from solid body.
- offset to 1mm from solid surface and offset the bottom surface and trim both to create the attachment surface and splint the surface to the solid object.
- now select the top surface of the splitten area and do draft with respect to pulling direction of side core.
- now copy the dog house part body and paste to the main tree structure with past special -->past with link.
- now translate it to the required area.
- now uni-Trim the dog house body to the main body
Heat-Stacking Creation:
- select a flat surface and position a point.
- now create a plane respect to that surface with the offset of 15mm.
- now create a position sketch and and draw the required shape.
- now insert a new body and pad it to up to surface and select class A.
- now give the ribs for support with position sketch and pad it with thick option with neutral fibre and the thickness of 1.25mm.
- now uni-trim it with the previous body.
- now select the side walls to get draft and select the base as neutral element and set the tooling axis as pulling direction.
- apply the edge fillet to the required area of 0.25mm.
- now uni-trim with the main body.
- lick wise copy the heat stack body and past special with link to required number of times.
- now attach with the main body with uni-trim so the edges are complectly connect with the main body it won’t project outword to the main body.
Position Rib Creation:
- Insert new geometrical set and position a point where the positioning rib is required.
- now create a position sketch for it, then pad it with the thickness of 1.25mm with neutral fibre and the height of -5mm (Here I used the same plane used for heat stack) up to the class A surface.
- now select the sides of the rib and draft it to 0.5deg, bottom as neutral element, tooling axis as pulling direction.
- now give chamfer for four edges and then give edge fillet of 0.25mm.
- and copy it and past as special and with link.
- Now transfer it to required place.
- untrimmed it to main body so that edges of the element will not project outside in various surfaces.
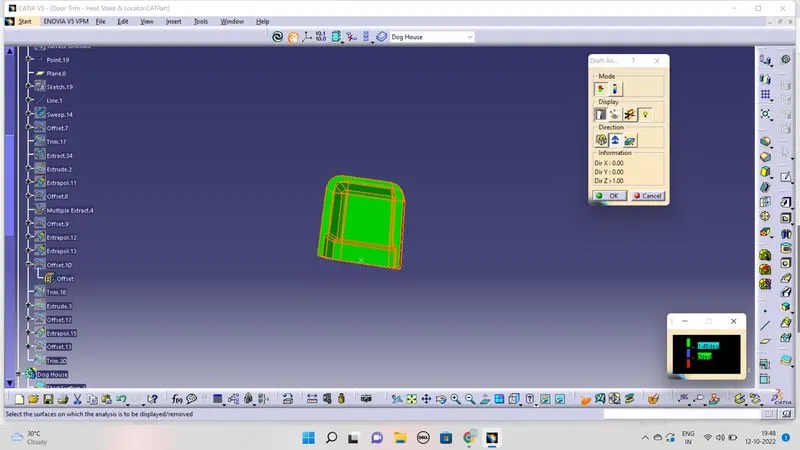
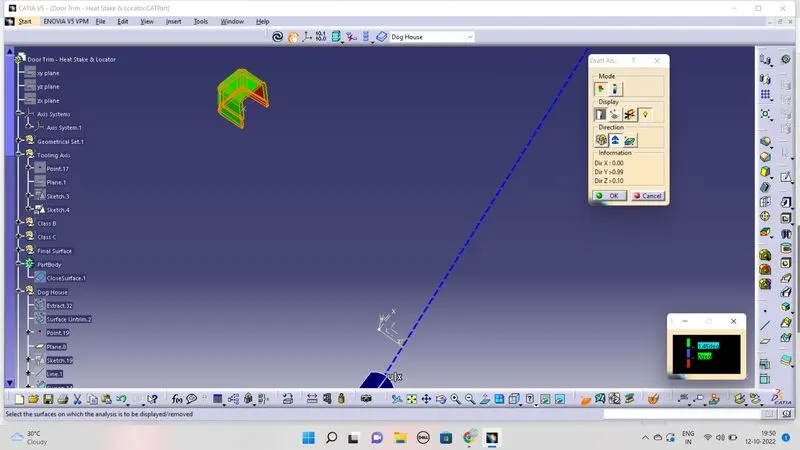
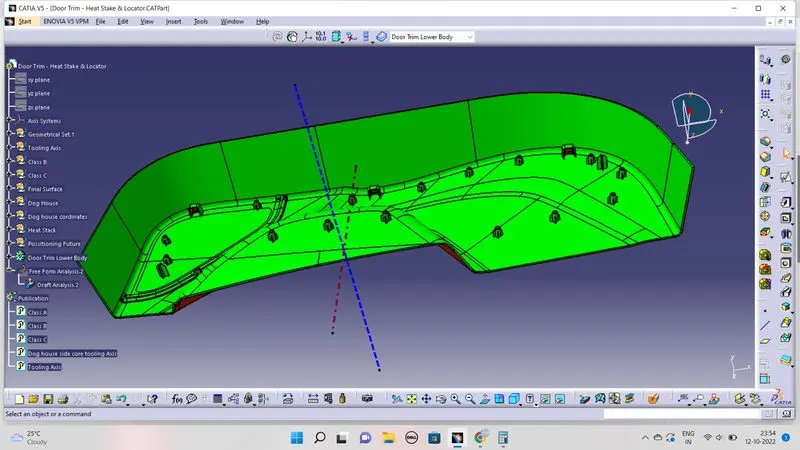
Draft Analysis Pictures:
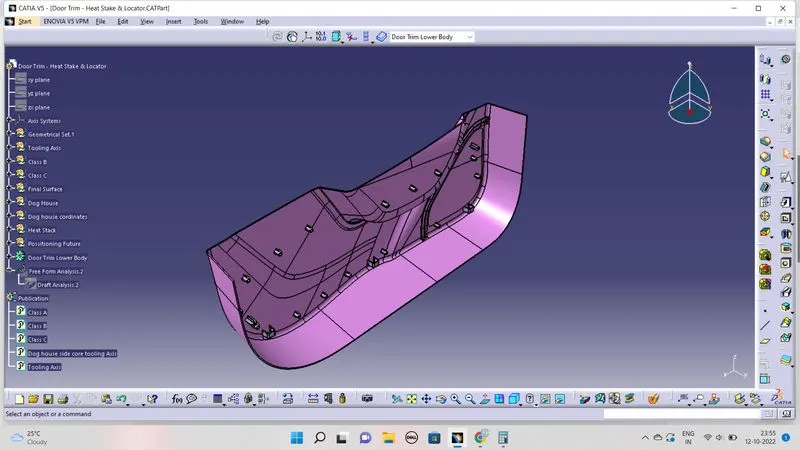
Part Body Picture:
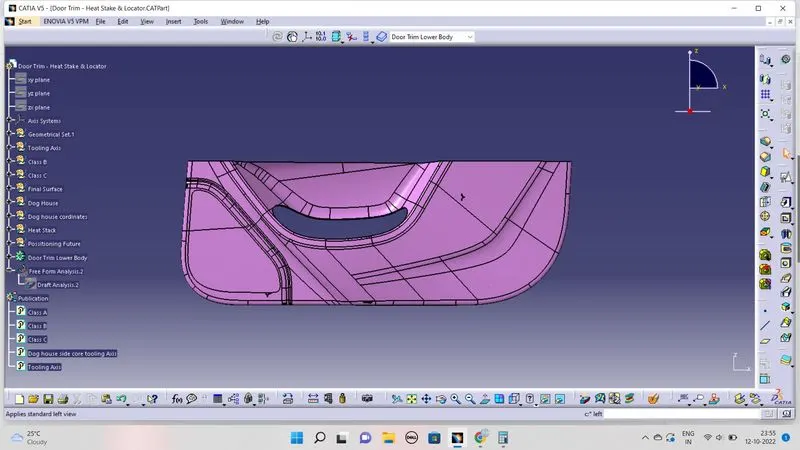
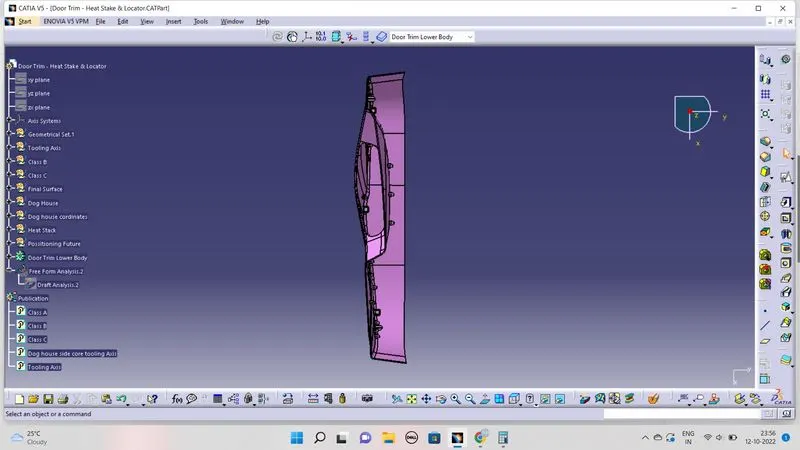
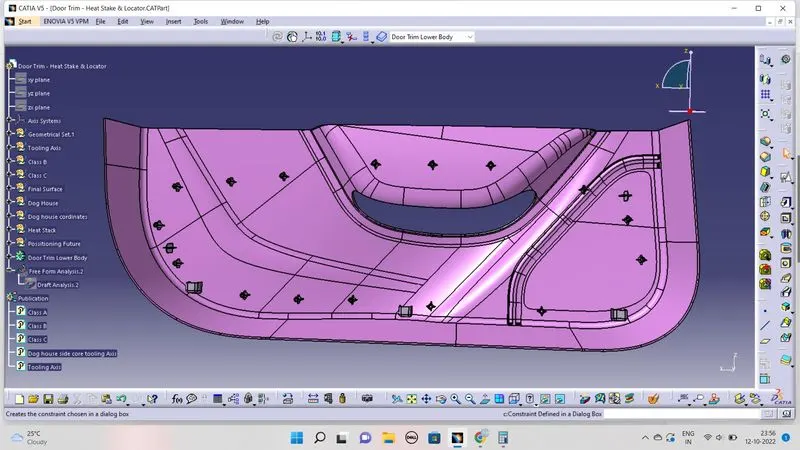
Result:
Thus the part body created with the attachment fetures.