Week 9 - Project 1 - Door Applique Design with Engineering Features
AIM:
To create a Door Applique plastic component through the given class A surface and perform draft analysis. Also, to create heat stakes and locators on the door applique.
HEAT STAKING:
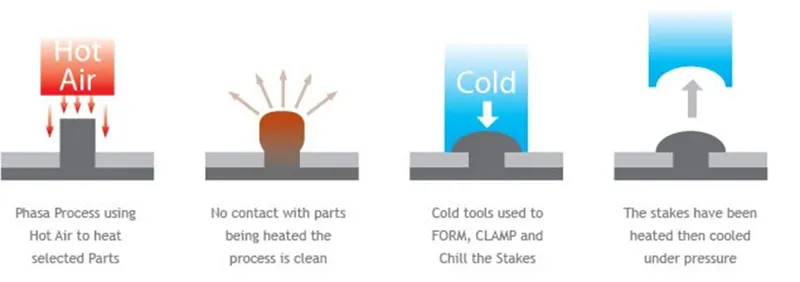
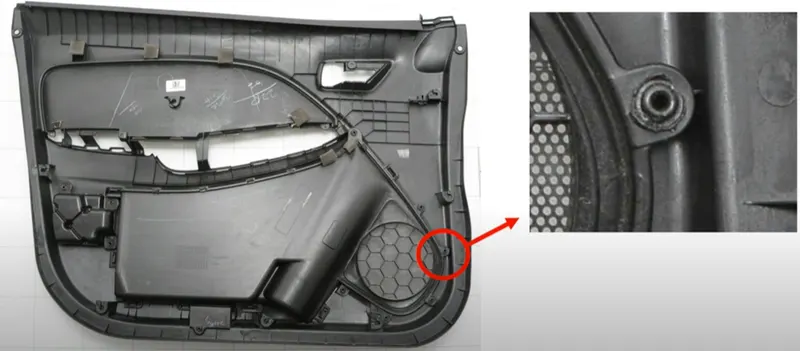
Heat staking also known as thermoplastic staking is the process of joining two similar or dissimilar materials together. In heat staking, we use local heating and cooling to raise the temperature of plastic components and allow plastic reforming to be carried out. This reforming can be used in a wide variety of applications.
The progressive melting of plastic under continuous pressure forms the head. When staking, the right combination of heat and pressure for the application is critical.
ADVANTAGES:
- Simplification of machinery
- Reduced cost of machinery
- Multiple fastening points
- Allows higher density of welds compared to hot air cold form or ultrasonic welding.
- No mechanical vibration.
DISADVANTAGES:
- If formers are too cold they will strain the stake causing stress, which may also impact breakages leading to failure.
- Temperature control is difficult to achieve with large multiple staking applications.
APPLICATIONS:
- Attaching metal grilles and screens to plastic frames
- Automotive panel
- Automotive dash mat
- Mobile phone assembly machines
- Antennas in handheld devices
LOCATORS:
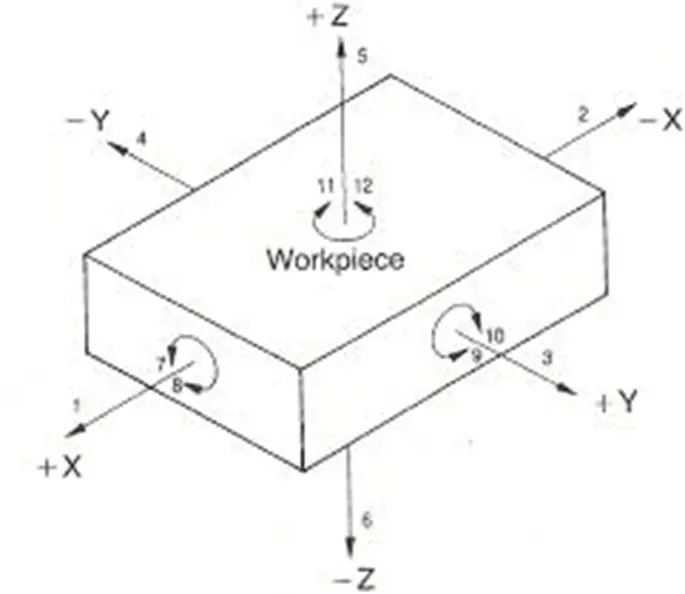
Before a manufacturing process, the component has to be fixed to withstand the cutting forces. This is done by locating and clamping the component. Usually, a component has 12 degrees of freedom.
- Translational movement along X-axis
- Translational movement along Y-axis
- Translational movement along Z-axis
- Rotational movement along X-axis
- Rotational movement along Y-axis
- Rotational movement along Z-axis
3-2-1 PRINCIPLE:
The 3-2-1 principle states that the six locators are sufficient to restrict the required degree of freedom of any work piece. In this, motion is restricted using clamps and locators. A three-pin base can restrict five motions and six pins restrict nine motions.
METHODOLOGY:
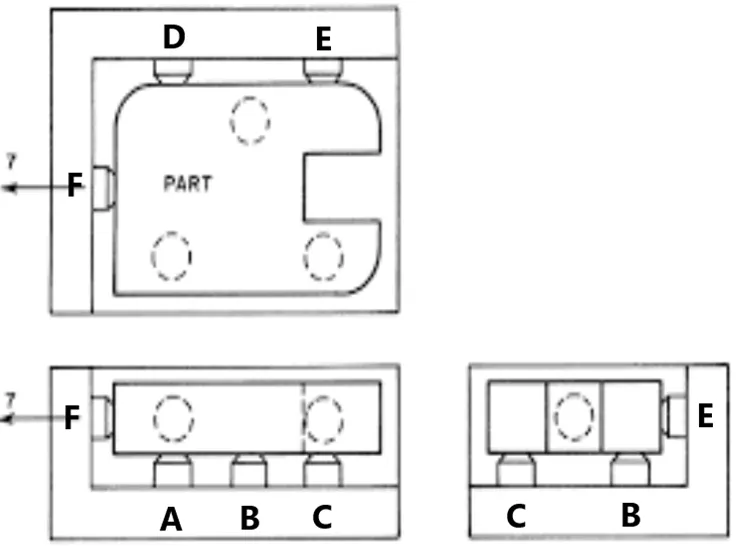
In this diagram, the pins A, B and C arrest the translational motion along Z axis (negative) and rotational motions along X and Y axes (clockwise & anti-clockwise). So, three pins arrest five degrees of freedom. The pins D and E arrest translational motion along X axis (negative) and rotational motions along Z axis (clockwise & anticlockwise). The pin F arrest the translational motion along Y axis (negative). Thus, totally nine degrees of freedom are arrested by 6 pins. Now, the object can move along X, Y and Z axes in positive direction. These can be arrested by clamping the object.
CREATION OF TOOLING AXIS:
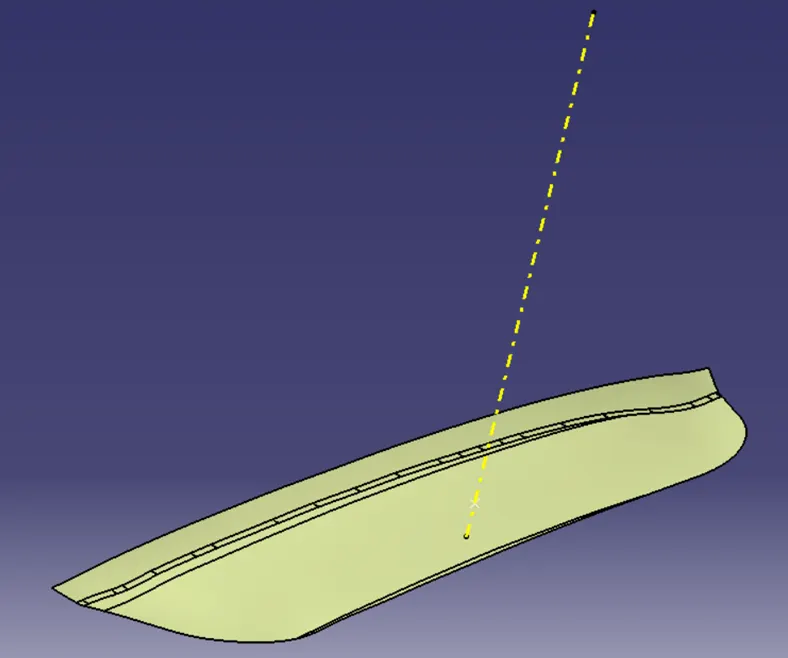
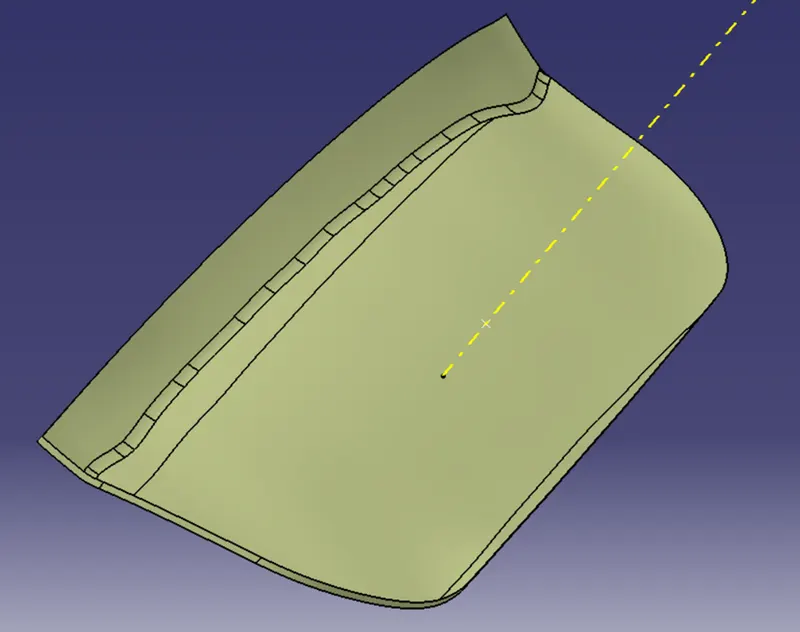
Step 1: Check the boundary of the given class A surface and ensure that there is no gap in between the surface.
Step 2: Create a point in the middle of the given class A surface.
Step 3: Draw a line through this point along Y direction and this line denotes the tooling axis.
DRAFT ANALYSIS ON CLASS A SURFACE:
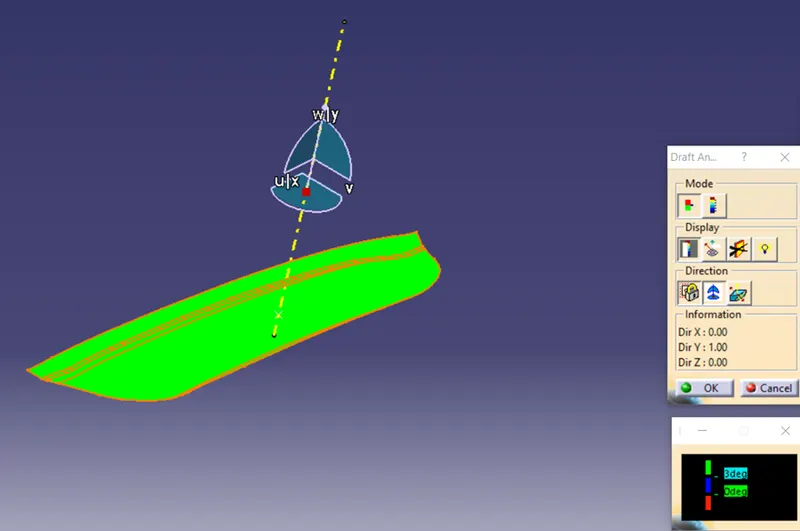
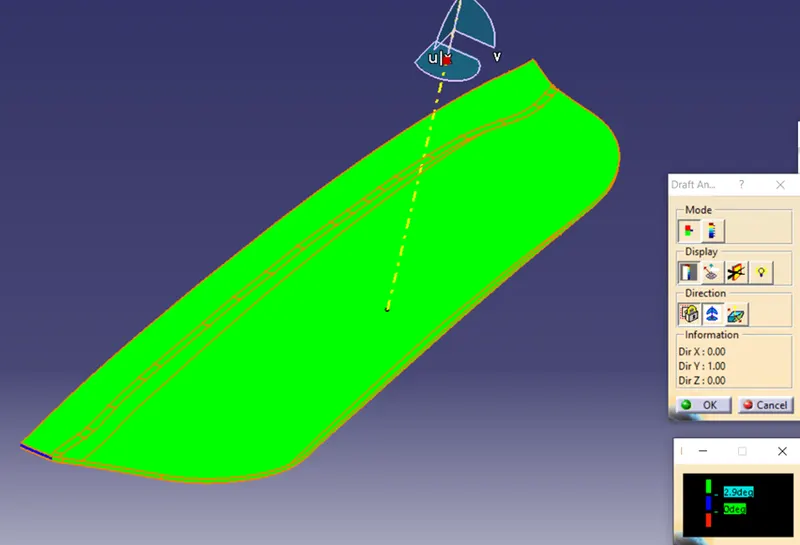
Step 1: Change the view to customized view and enable the material in shading option.
Step 2: Insert the feature draft analysis.
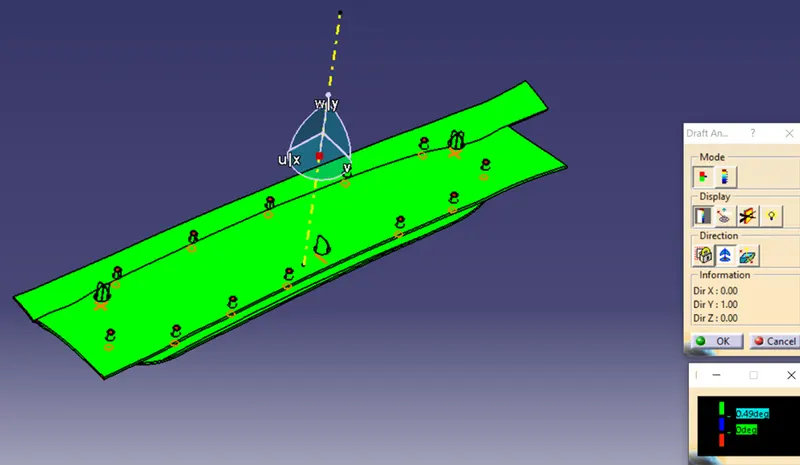
Step 3: Click the compass icon and place the compass along the tooling direction.
Step 4: Lock the draft direction and select the component to draft.
Step 5: Enable the color scale and change the draft value as required. Here 0.5 degree is given as draft angle.
Step 6: The green color indicates that the surface is more than 3 degree from the tooling direction. The blue color indicates that the surface is 0 to 3 degree from tooling direction. Red color indicates that the surface is less than 0 degree from tooling direction which indicates the negative draft.
CLASS B SURFACE:
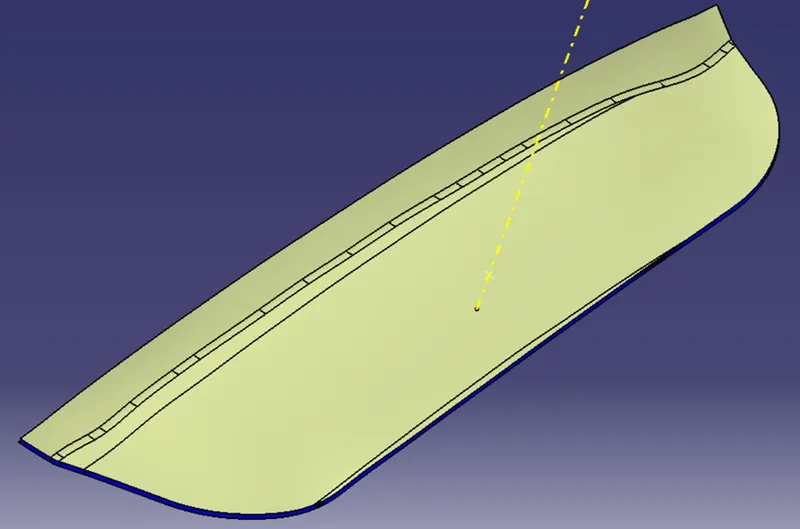
Step 1: Offset the class A surface to 2.5mm inwards to get the class B surface.
Step 2: Extrapolate the class B surface as much as required for further trims.
CLASS C SURFACE:
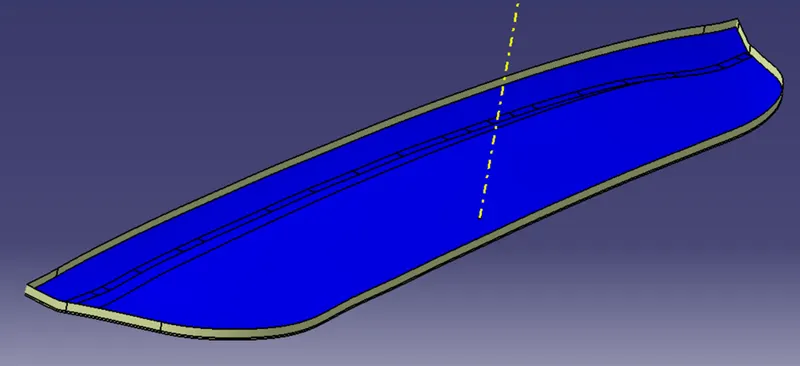
Step 1: Extract the boundary of the class A surface and make it a smooth curve.
Step 2: Sweep this smooth curve at an angle of degree along the tooling direction to get the class C surface.
FINAL TRIMS:
Then trim all class A, B and C surfaces together to get a closed surface and ensure that there is no gap in between them. Finally perform draft analysis as mentioned above.
DOOR APPLIQUE:
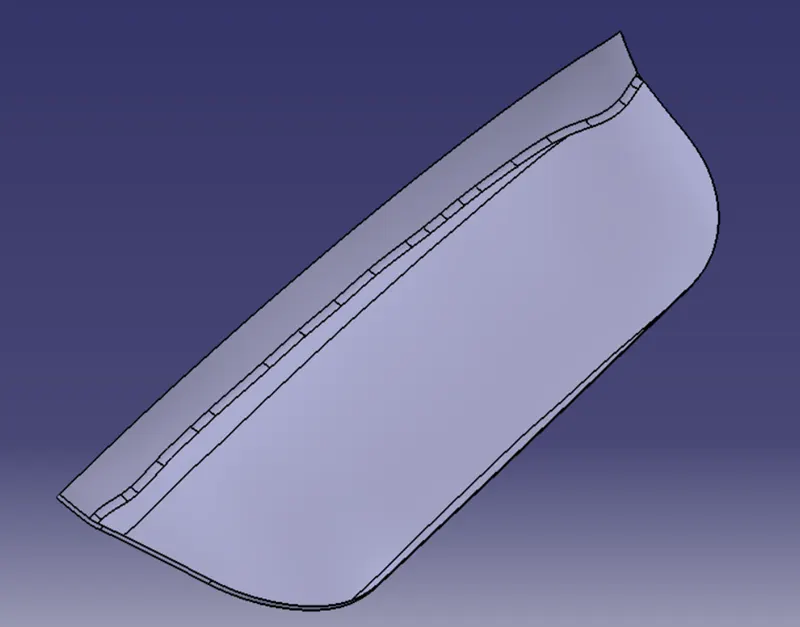
Then use close surface feature on the final trim to get the door applique component.
COUNTER PART:
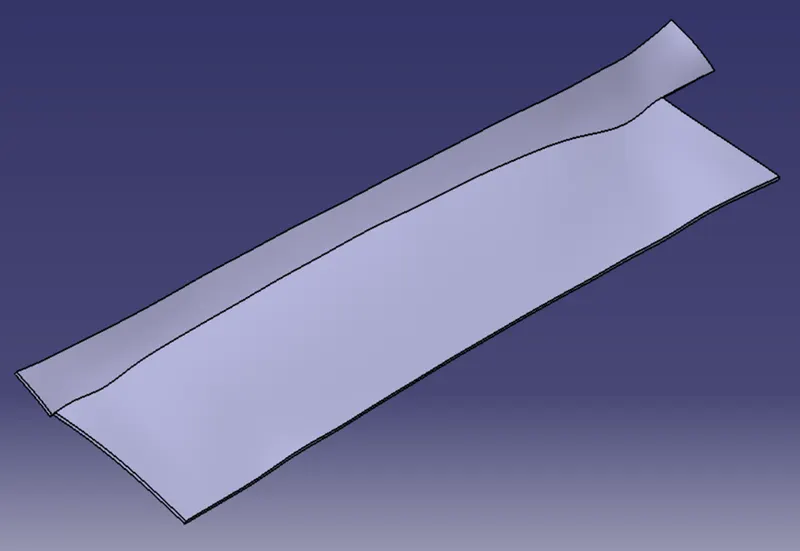
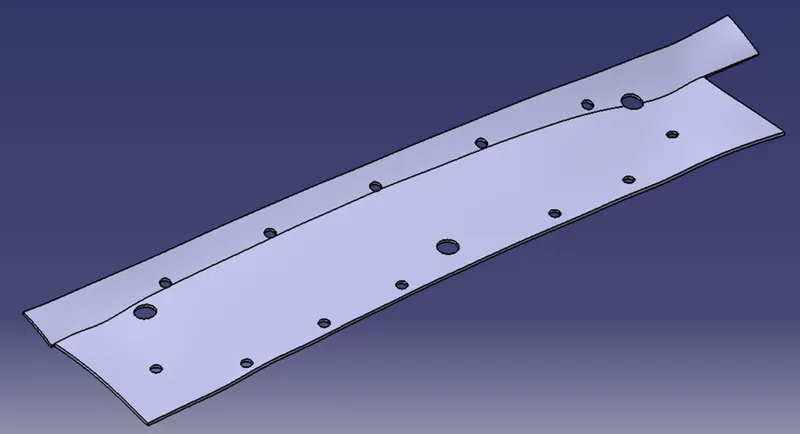
Then make the given counterpart surface as a solid by using thick surface feature.
LOCATOR DESIGN:
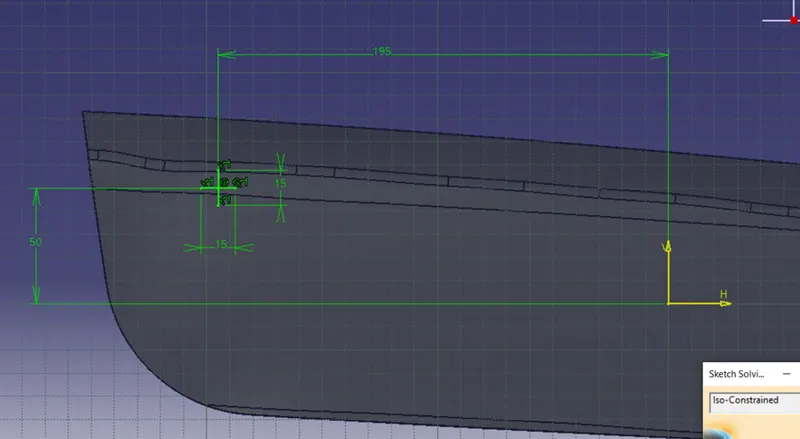
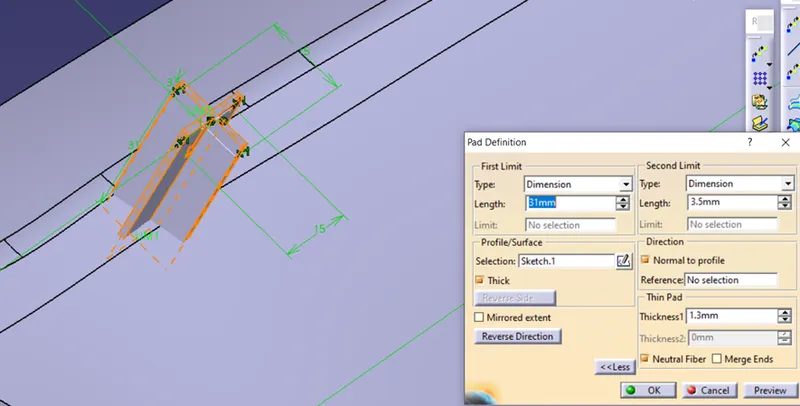
Step 1: Draw two lines intersecting each other and pad them with required thickness to get a four way locator.
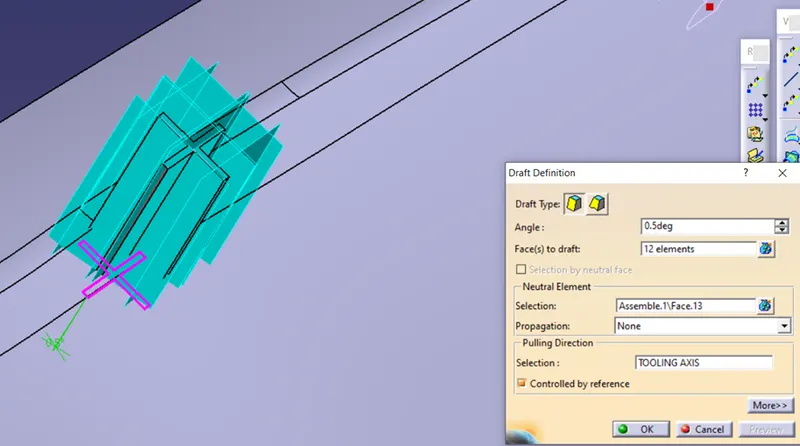
Step 2: Provide a draft of 0.5 degree on all sides along the tooling direction.
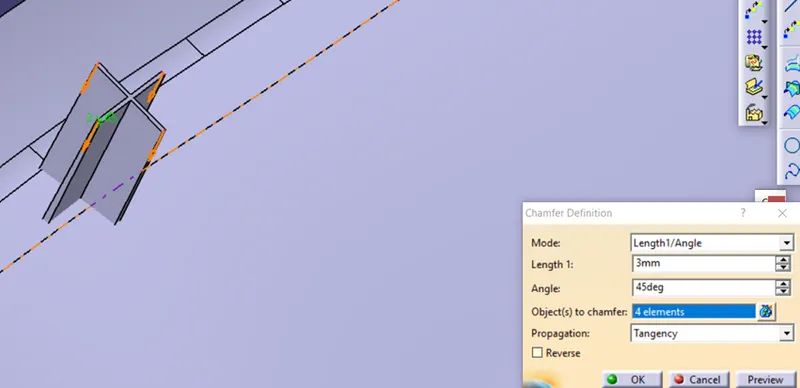
Step 3: Provide chamfer of length 3mm at an angle of 45 degree for the top edges
Step 4: Then provide fillets to all edges of the locator as required.
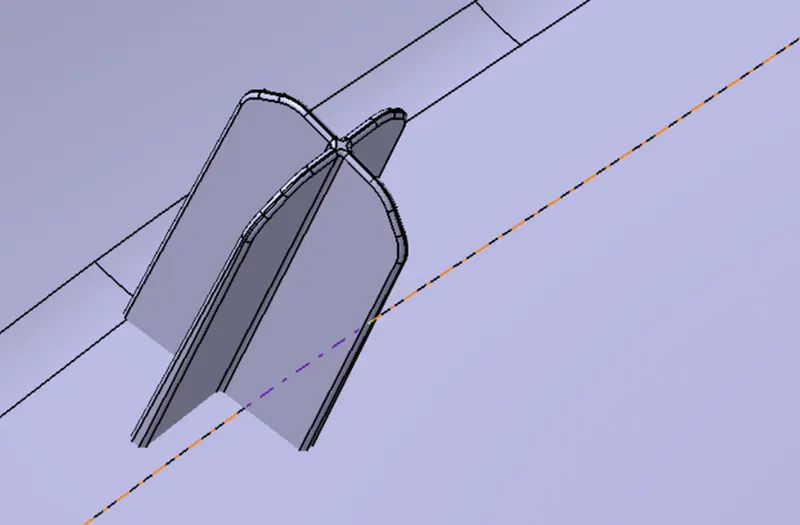
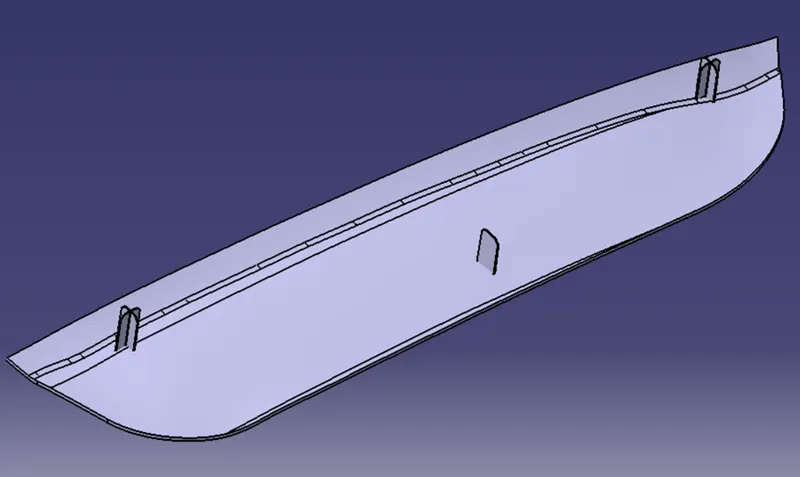
Step 5: Then copy, paste and translate the locator wherever required.
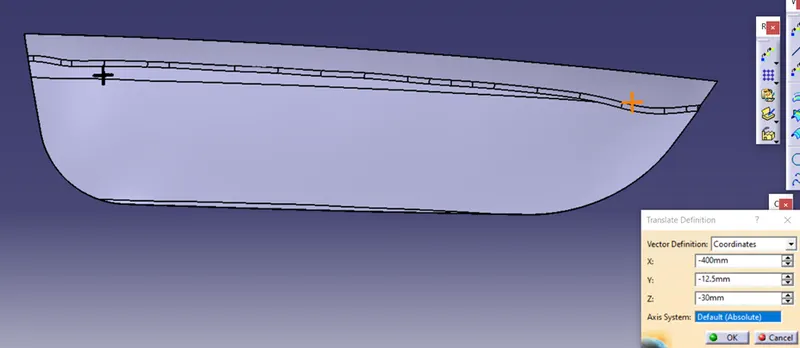
Step 6: Similarly, create a two way locator by drawing a single line.
HEAT STAKES:
Step 1: Extract the boundary of the class A surface and move the curve to certain distance by using parallel curve feature.
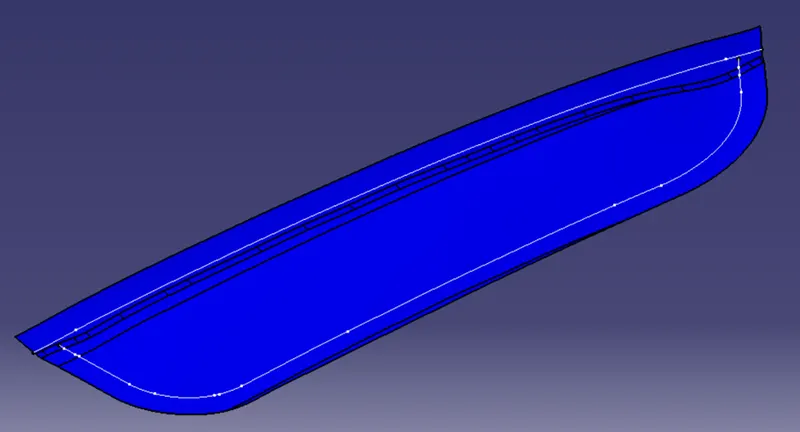
Step 2: Create multiple points as required using points and planes repetition feature.
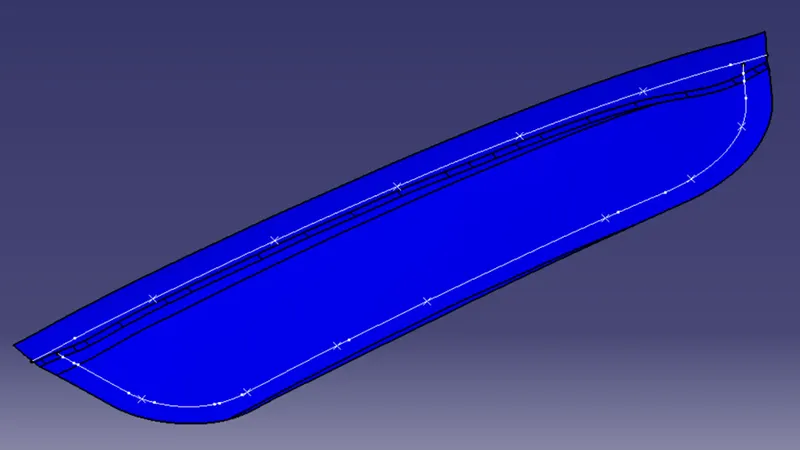
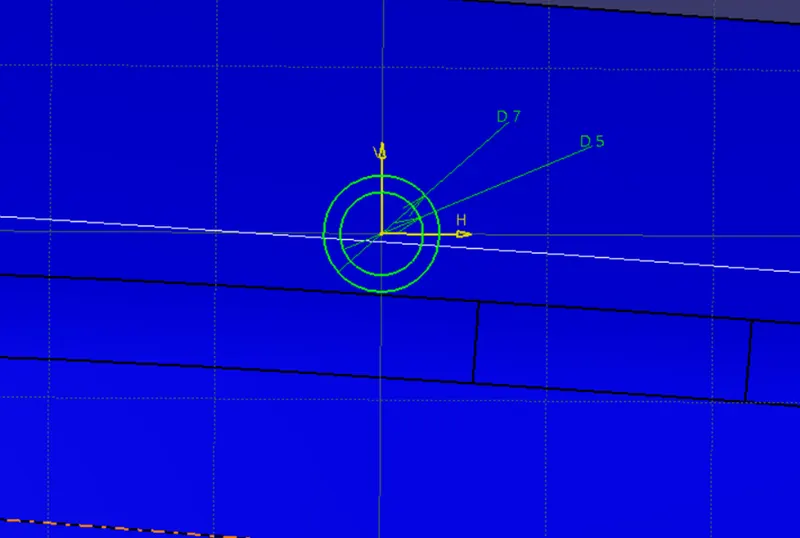
Step 3: Draw two circles at a point created above as center and pad them to certain distance. Make sure that the height of heat stakes is less than that of the locators.
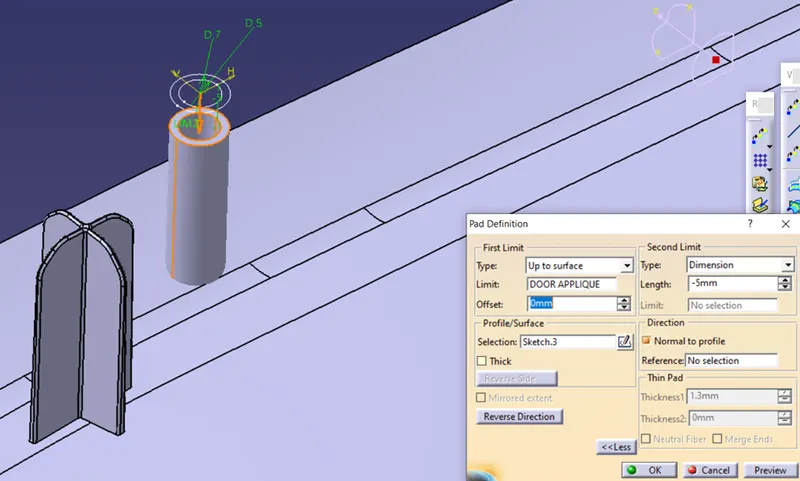
Step 4: Provide draft to the heat stakes for an angle of 0.5 degree along the tooling direction.
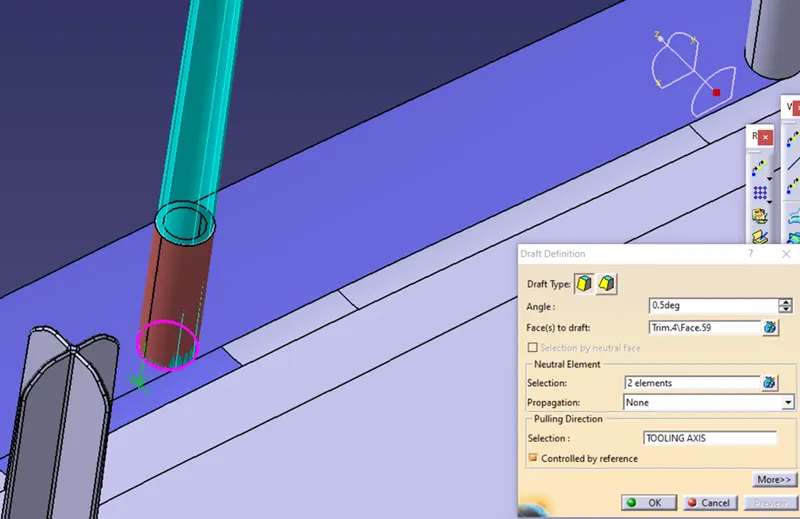
Step 5: Copy, paste and translate this heat stake to multiple points created above.
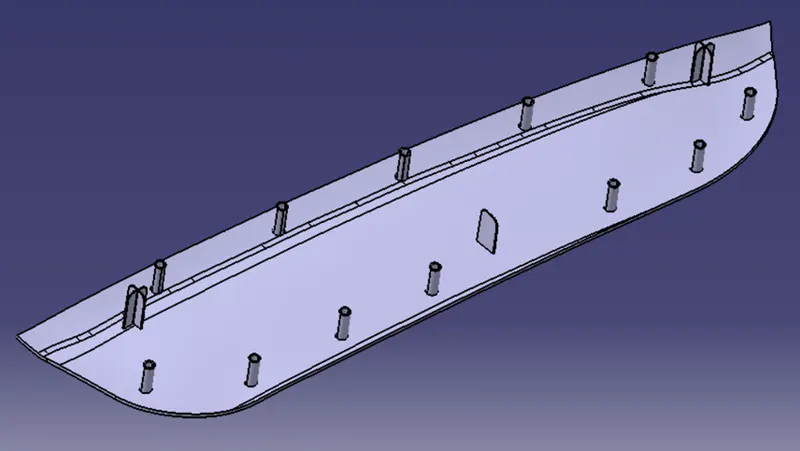
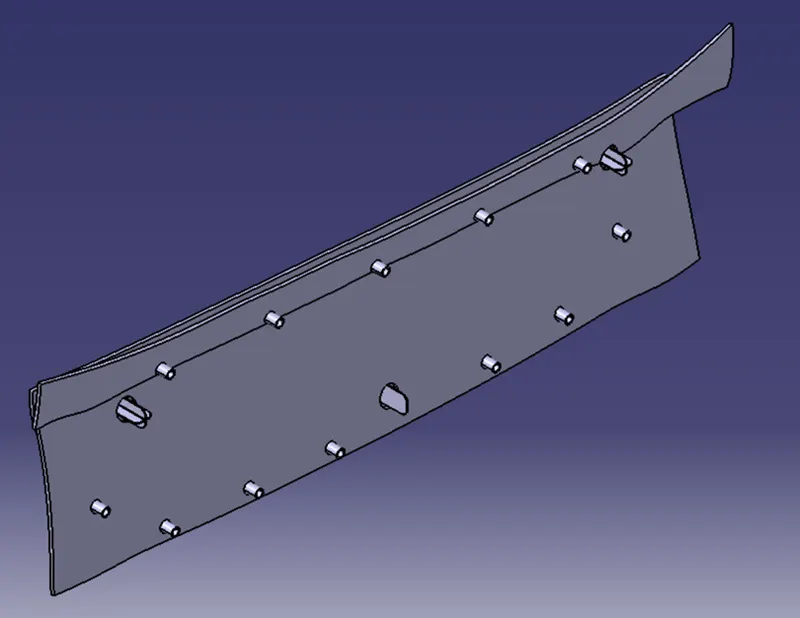
Step 6: Finally, assemble all these locators and heat stakes to the door applique component.
Step 7: Create holes with clearances on the counterpart so that the door applique is located and heat staked on the counterpart. For the locators, the clearance should be 0.1mm and for heat stakes, the clearance is 0.5mm.
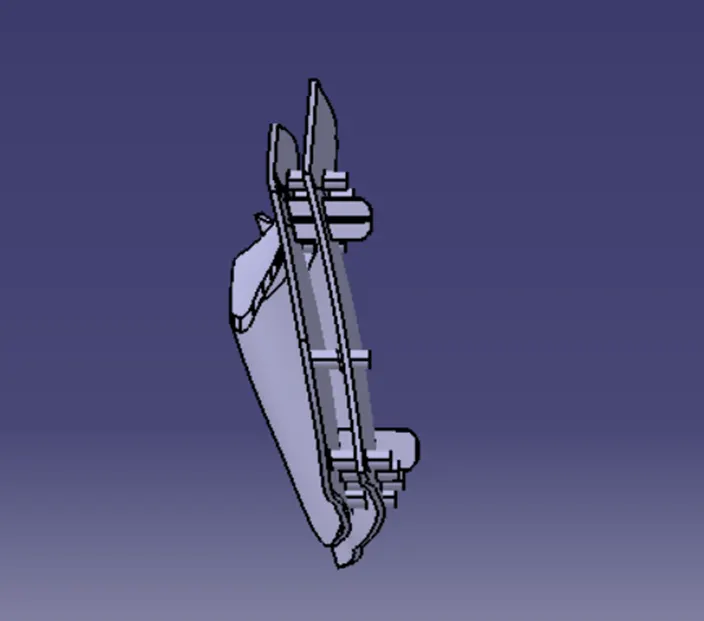
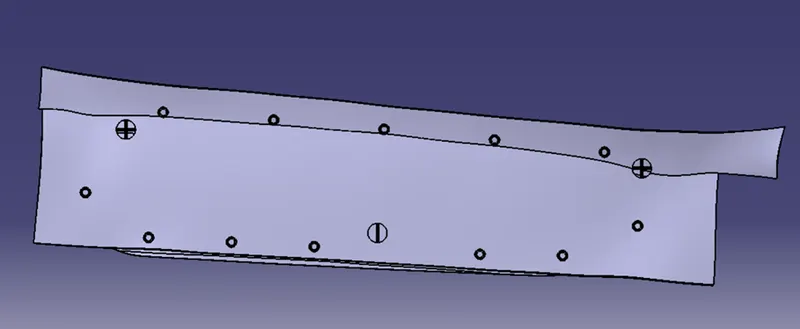
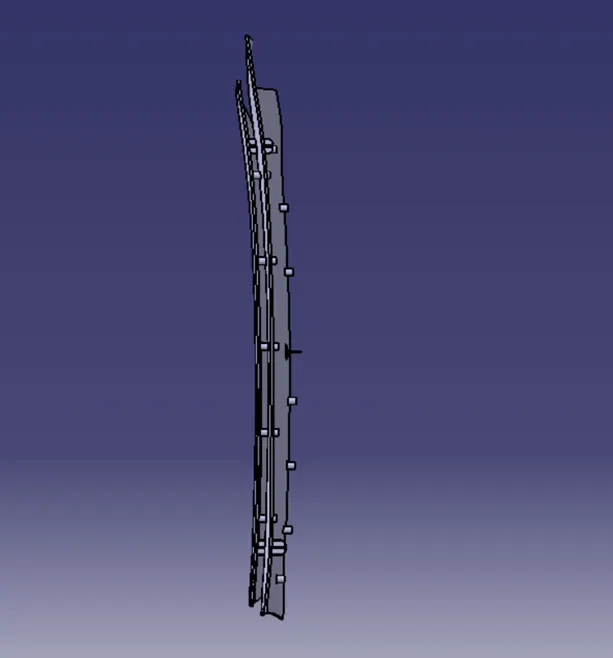
DRAFT ANALYSIS ON FINAL COMPONENT:
ISOMETRIC VIEW:
FRONT VIEW:
SIDE VIEW:
TOP VIEW:
RESULT:
Thus, door applique is created with the given class A surface and draft analysis is performed on it. Also, locators and heat stakes are created on the door applique.