Week 9-Creation of 1D Connectors Challenge
Aim: To mesh the component with given quality criteria and create a connector and Attach the various parts of the given model.
Objective:
- To mesh the component with suitable quality criteria.
- create connectors and attach the various parts.
Procedure:
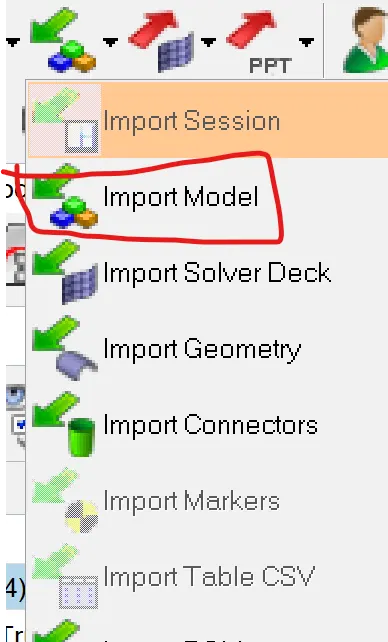
1. import the model
import model -
2. geometry clean-up by using a quick edit panel [F11].
3. Mesh generation as per the given quality criteria[F12].
4. creating the connectors.
- seam-quad(angled+capped+L) for right rail2 & front truss 1
steps:
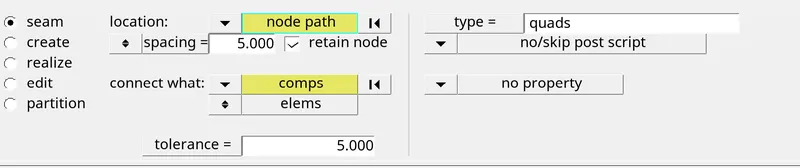
- select 1d/2d - connectors - seam option.
- select the location where the weld has to be created by clicking the "node list".
- tick the check box of "retain node" option to retain the position of the nodes while creating & realising a connector.
- specify the spacing value & select the "comp" option under "connect what" in order or create the weld between those two components.
- specify the tolerance value based on the distance between two component.


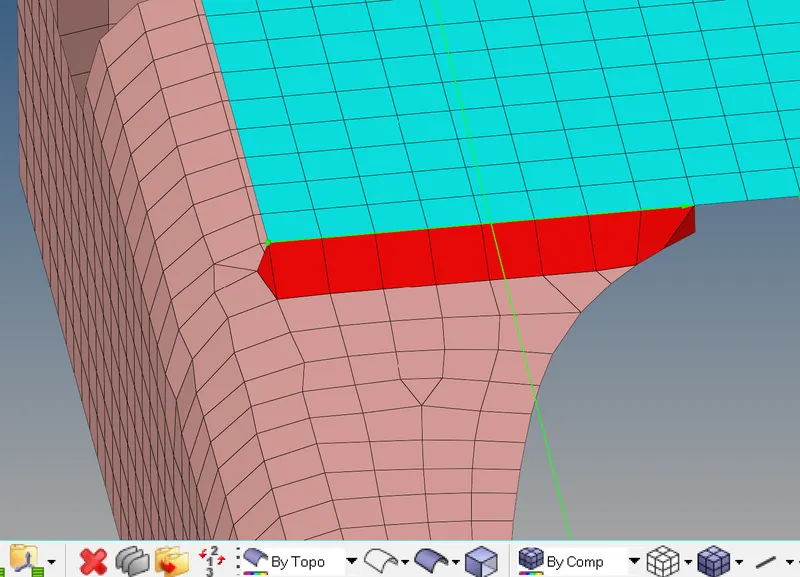
2. seam - quad elements: for left rail and front truss 1
- select 1d/2d - connectors - seam option.
- select the location where the weld has to be created by clicking the "node list".
- tick the check box of "retain node" option to retain the position of the nodes while creating & realising a connector.
- specify the spacing value & select the "comp" option under "connect what" in order or create the weld between those two components.
- select the type of seam as quad.
- specify the tolerance value based on the distance between two components.
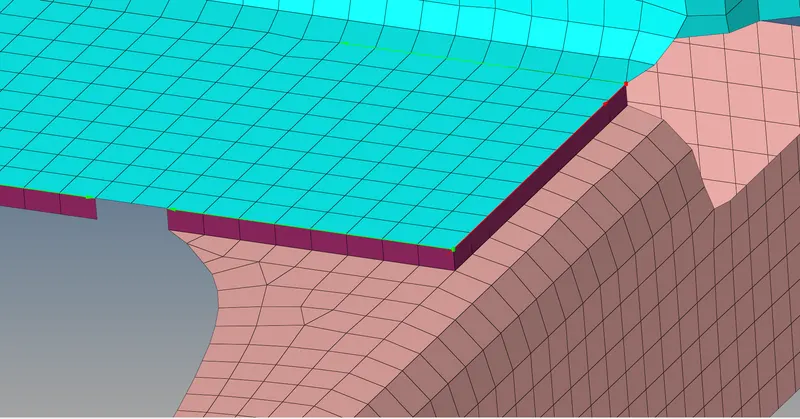
3. spot weld with 2 layers and 5mm diameter.
steps:
- 1d/2d - connectors - spot option- select the location, where the weld ratio has to created by "nodelist".
- select the "no.of layers".
- type as"weld".
- diameter value is specified.
- create.
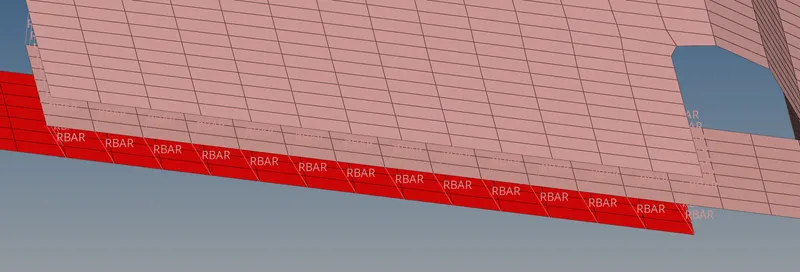
4. Hexa adhesive:
- select 1d/2d - connectors - seam option.
- select the location where the weld has to be created by clicking the "node list".
- tick the check box of "retain node" option to retain the position of the nodes while creating & realising a connector.
- specify the spacing value & select the "comp" option under "connect what" in order or create the weld between those two components.
- select the type of seam as hexa adhesive.
- specify the tolerance value based on the distance between two components.
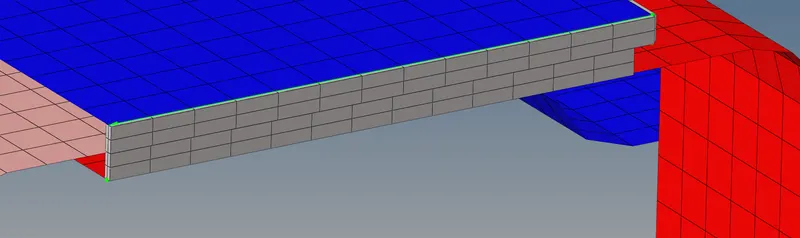
5. bolt connector:
steps
- In order to create a bolt connection we had to create a hole if not present in the component.
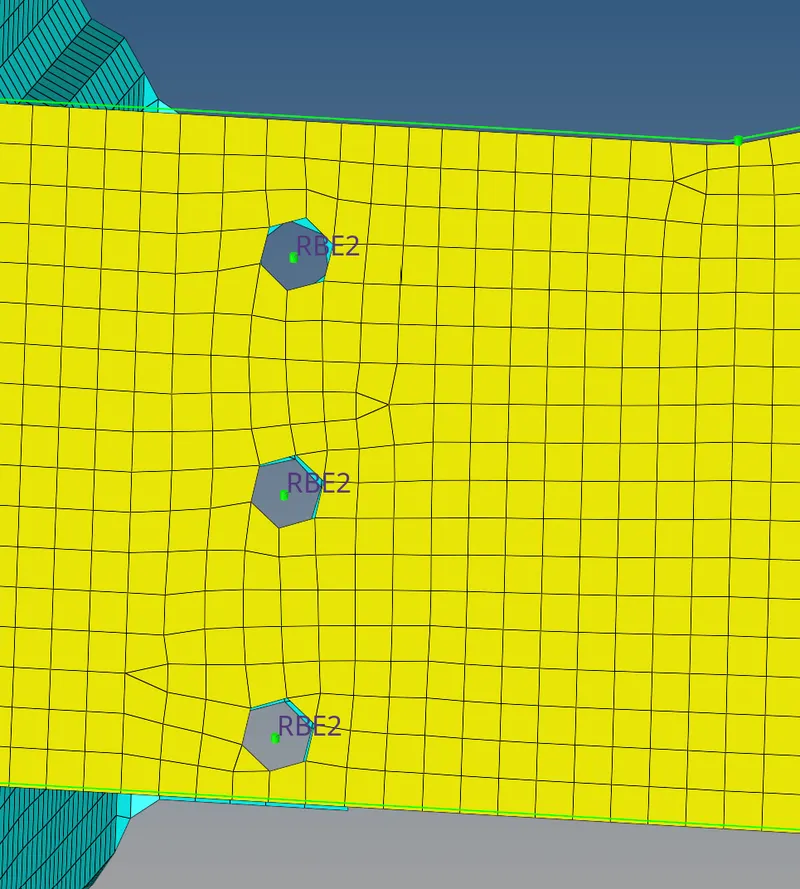
6 .spot weld with rigid elements:
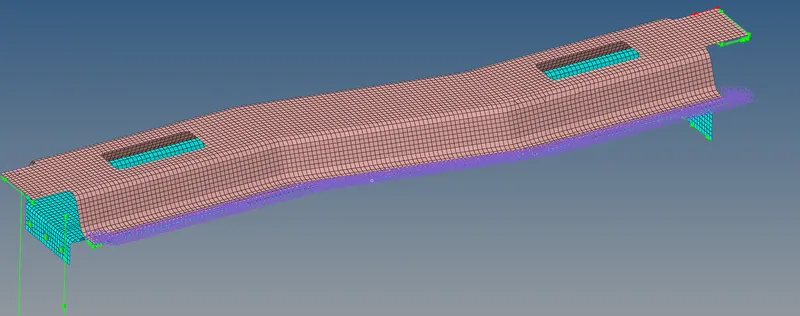
7.spot weld with spring element:
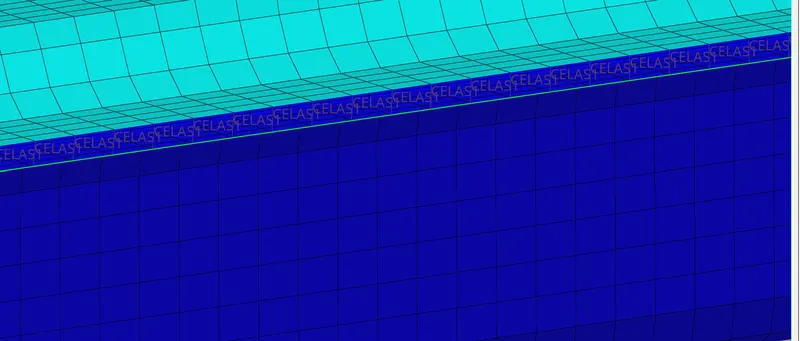
The remaining parts are connected with suitable connectors.
model:
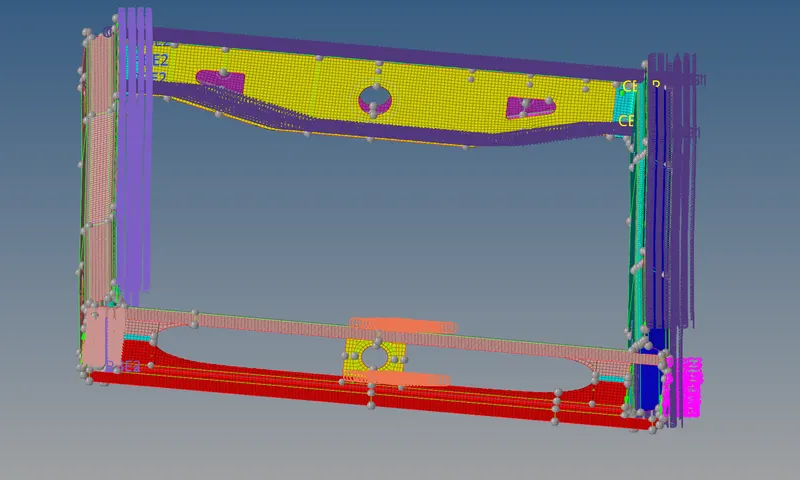
Result : the component is meshed and connected with connectors as per the given criteria.
conclusion:
In this challenge we learn process of how to create the different connectors.