Week 9-Creation of 1D Connectors Challenge
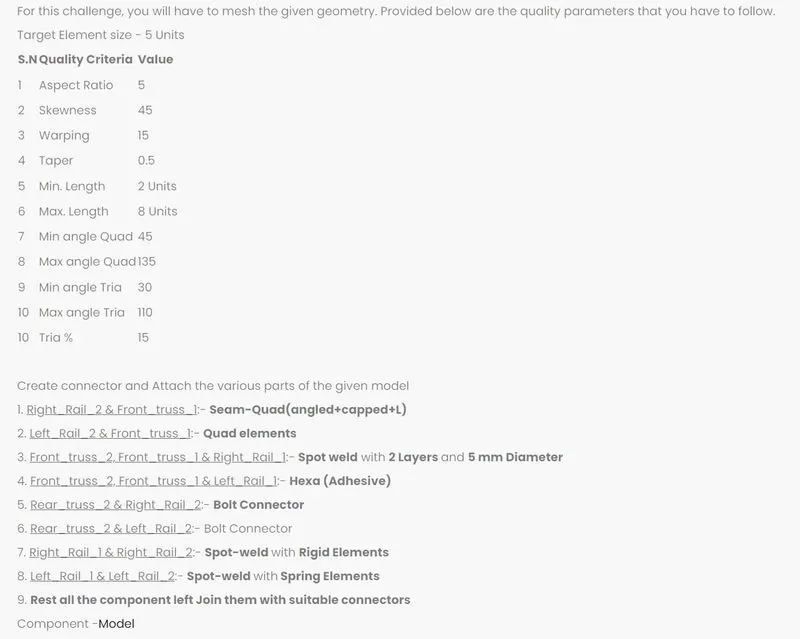
Aim: To mesh the given assembly with the given quality criteria with target element size as 5 units and create connectors to attach the various components of the given model.
Procedure:
- Let us first import the given assembly into Hypermesh.
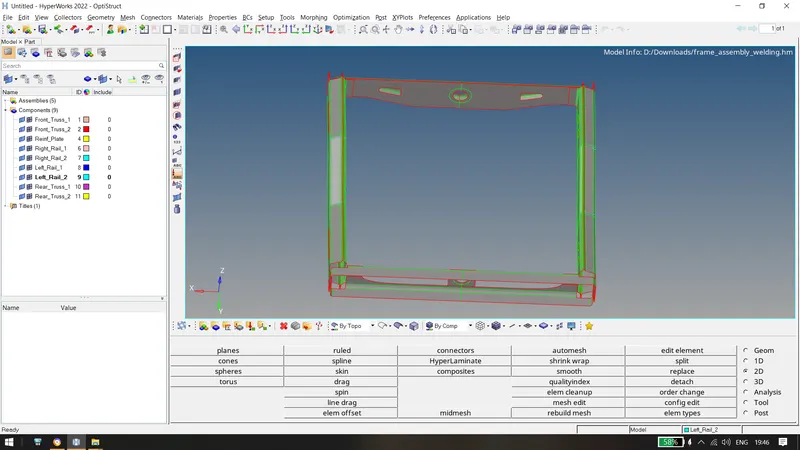
- Let us mesh the first component i.e. FrontTruss1 by cleaning the geometry, automesh to mesh the component and rebuilding the elements.
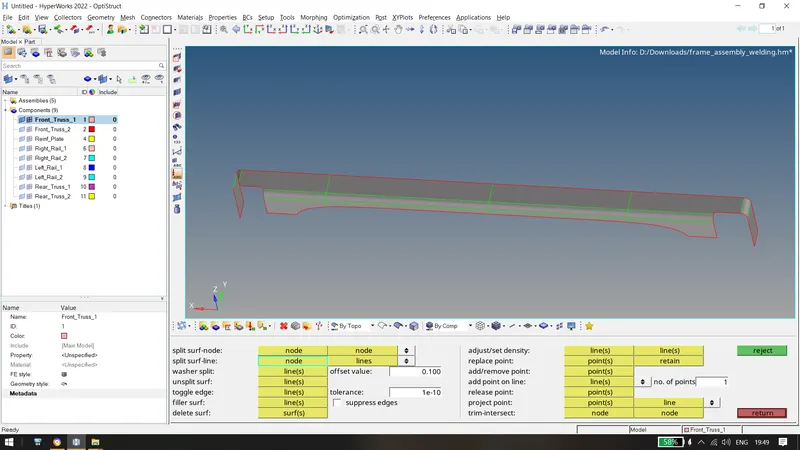
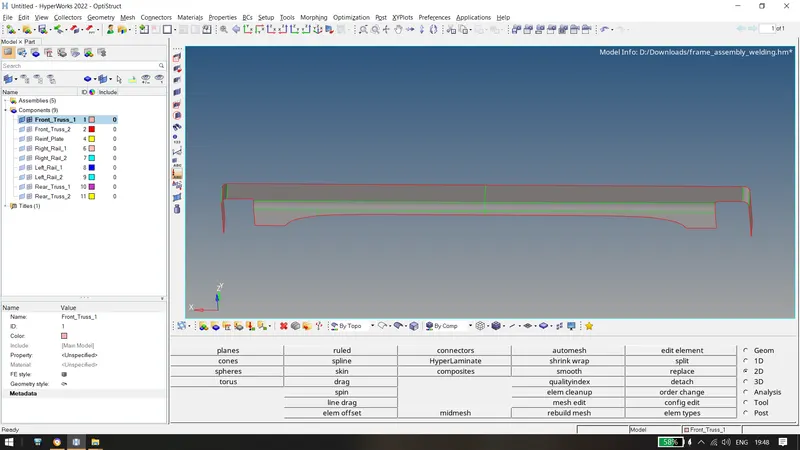
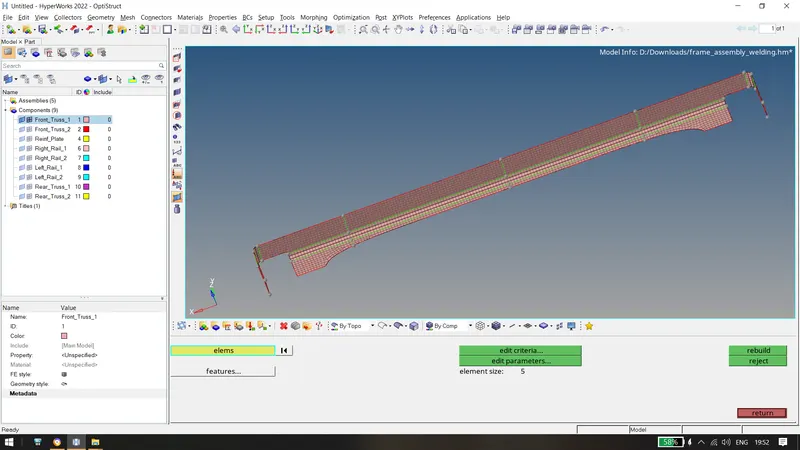
- Similarily, after meshing all the components; we obtain the following
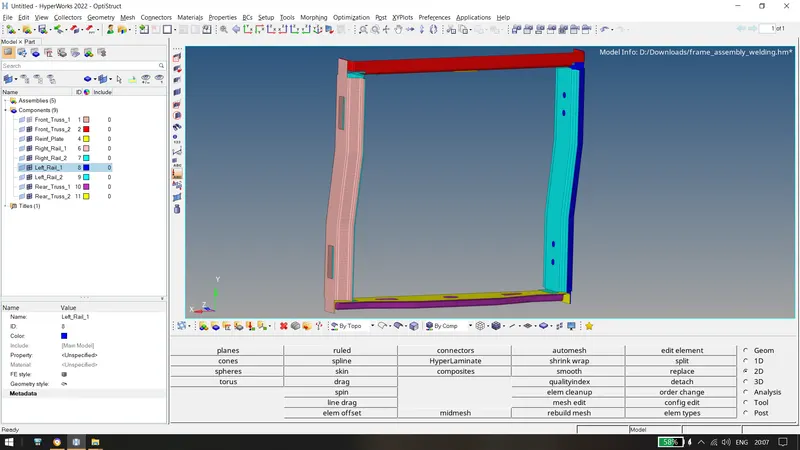
- Now lets create the connectors as given in the challenge.
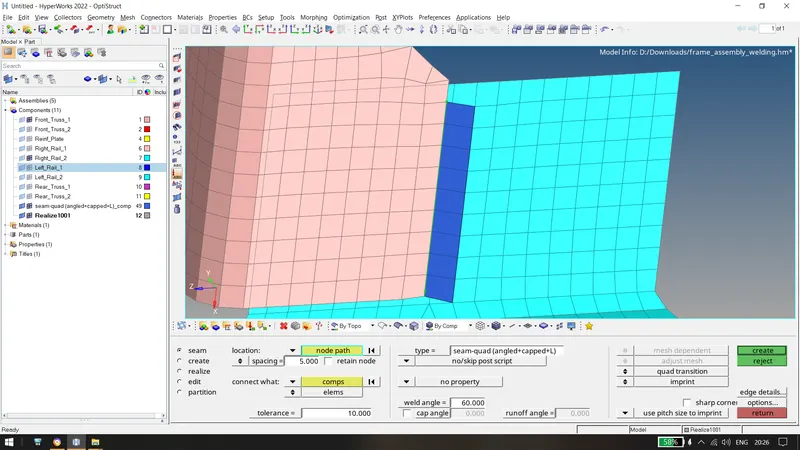
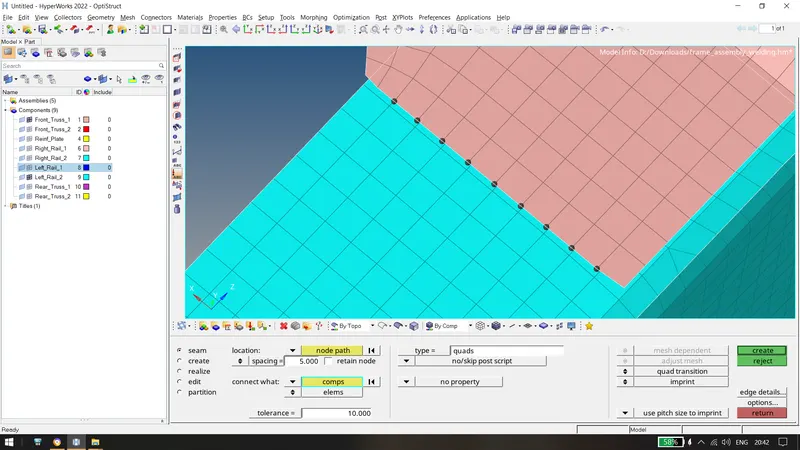
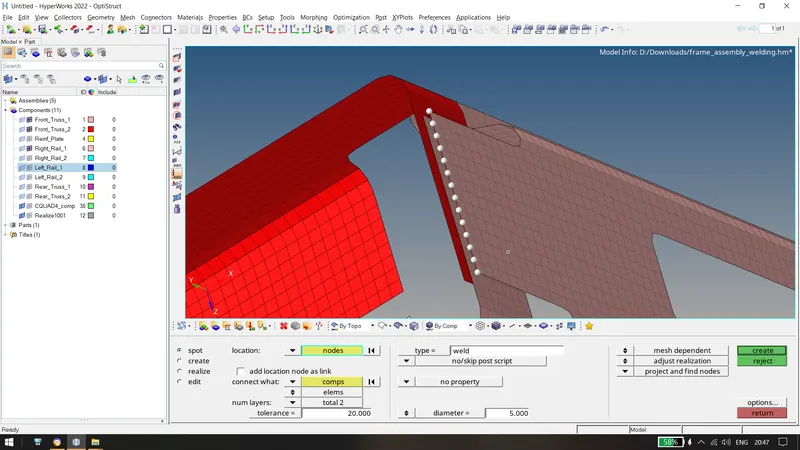
- The connectors can be created from the 2D connectors tab where we need to give the specifications of the connectors as shown below. We will always first select the nodes by a given path and then we will be selecting the components and then hit create. AFter the creation of a connector we will be renaming the connector acoording to its given name.
- Steps: 2D > connectors > seam, bolt, spot (depending upon the specification) > type (depending upon the specification) > select nodes by path > select components > create.
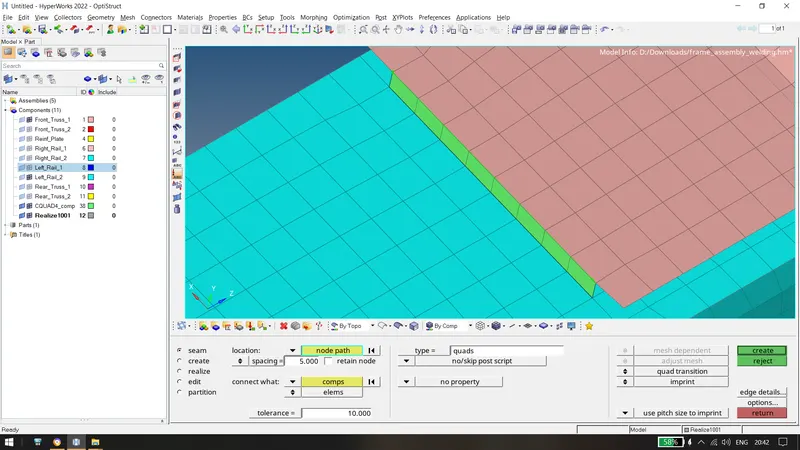
- Also check whether the connectors created are realized or not.
1) RightRail2 & FrontTruss1: Seam-Quad(angled+capped+L)
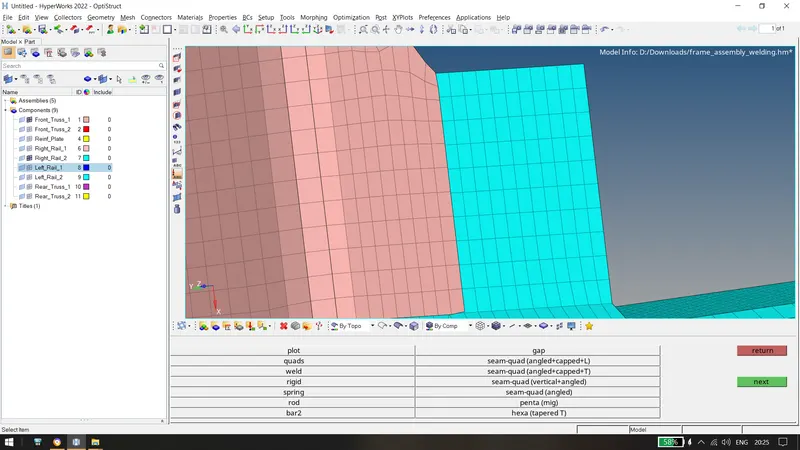
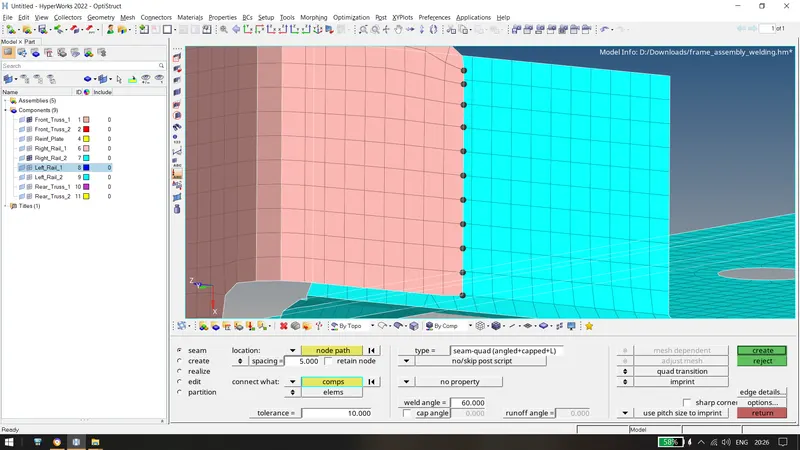
2. Left_Rail_2 & Front_truss_1:- Quad elements
3. Front_truss_2, Front_truss_1 & Right_Rail_1:- Spot weld with 2 Layers and 5 mm Diameter
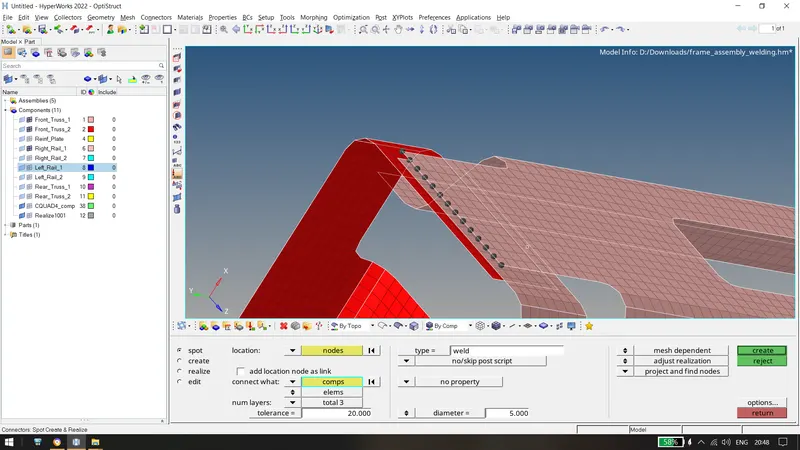
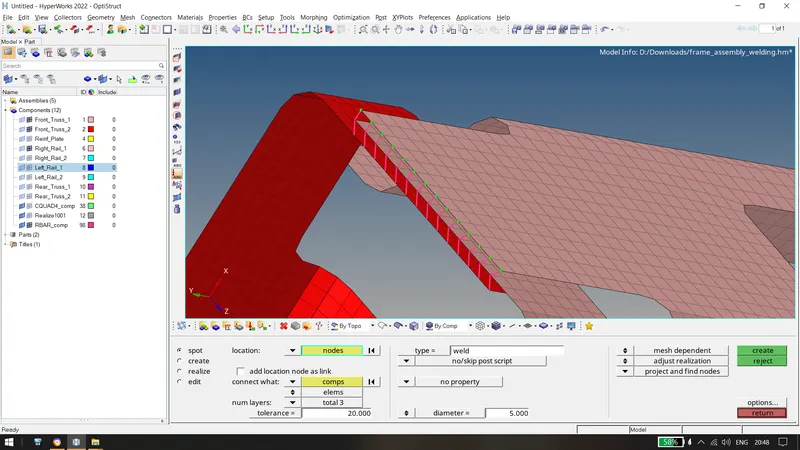
4) Front_truss_2, Front_truss_1 & Left_Rail_1:- Hexa (Adhesive)
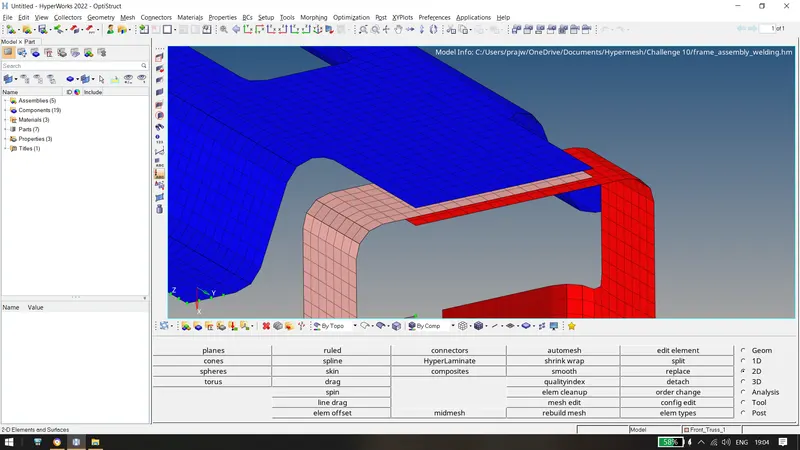
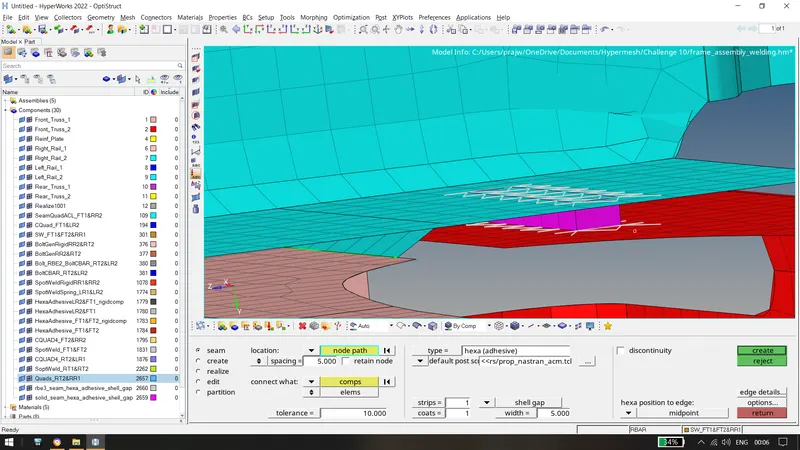
We can find the hexa adhesive tab in SEAM tab and the details about connectors are mentioned below. We will connect LeftRail1 and FrontTruss1 first and then the other two component.
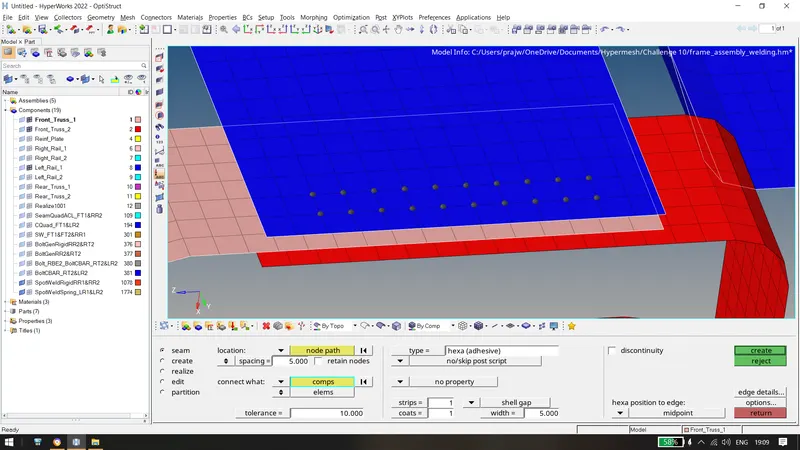
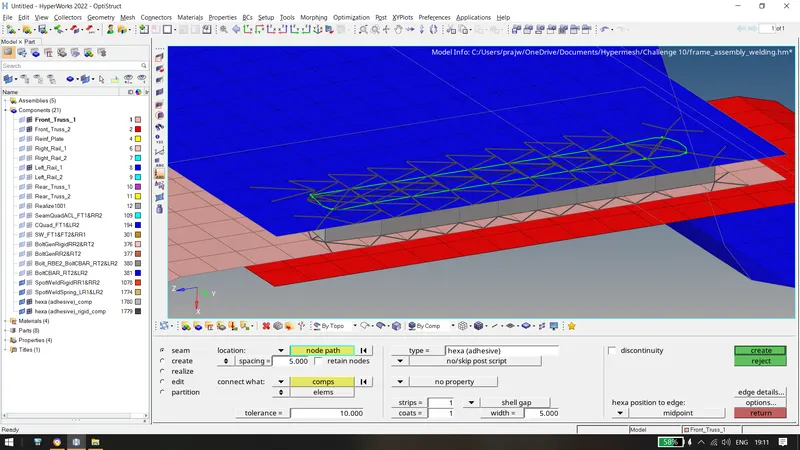
The following HexaAdhesive connection has appeared and we do for the other two components.
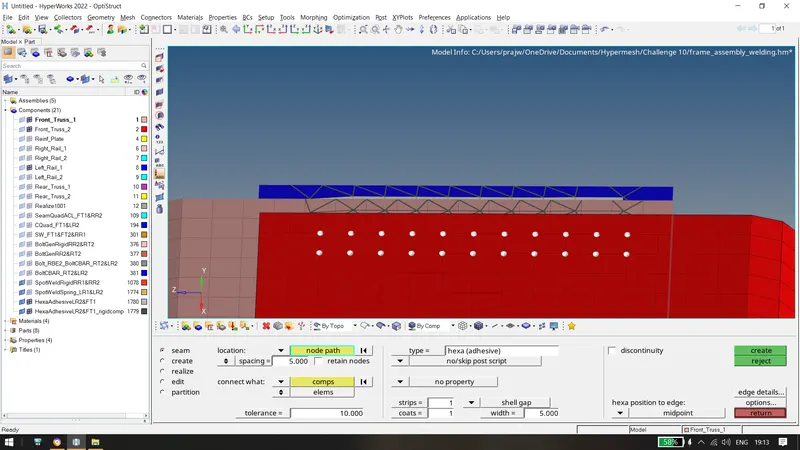
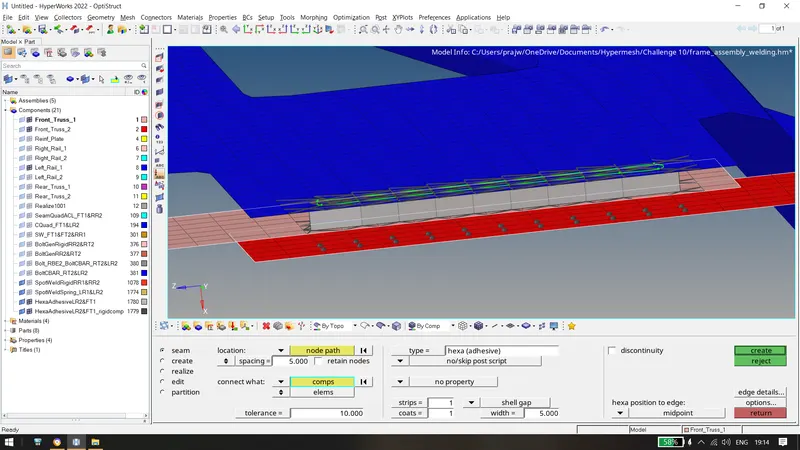
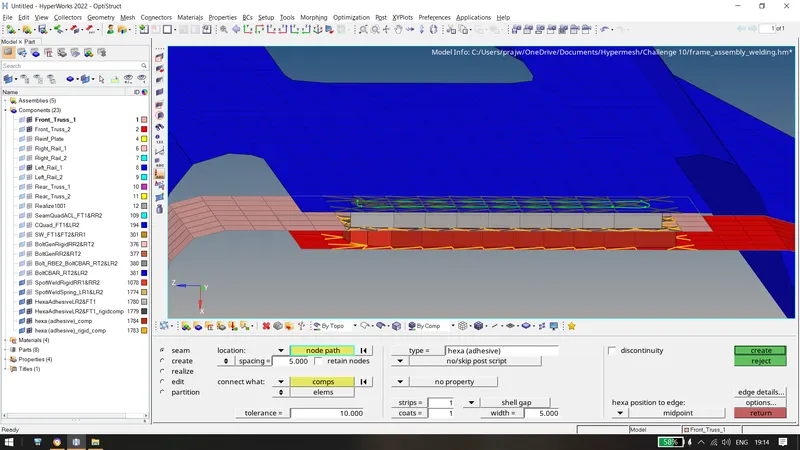
5. Rear_truss_2 & Right_Rail_2:- Bolt Connector
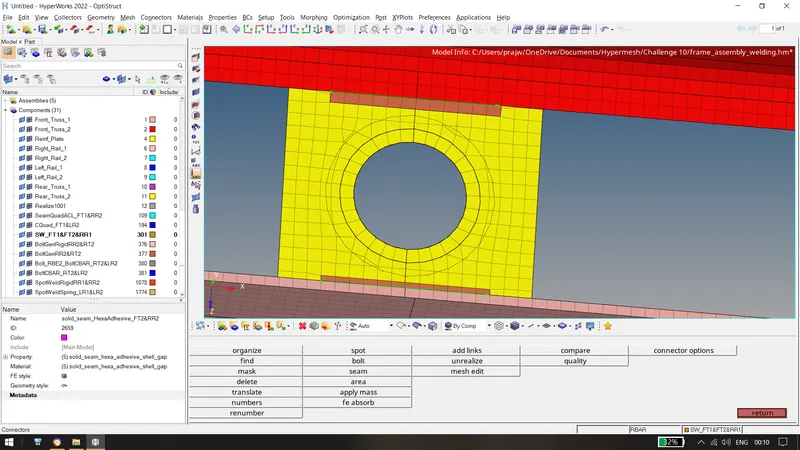
We will be creating a bolt connection at the given nodes and we need to create a hole if none.
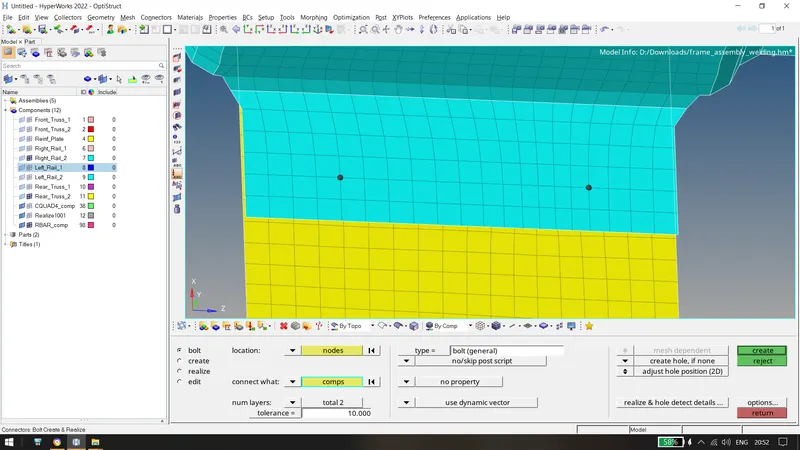
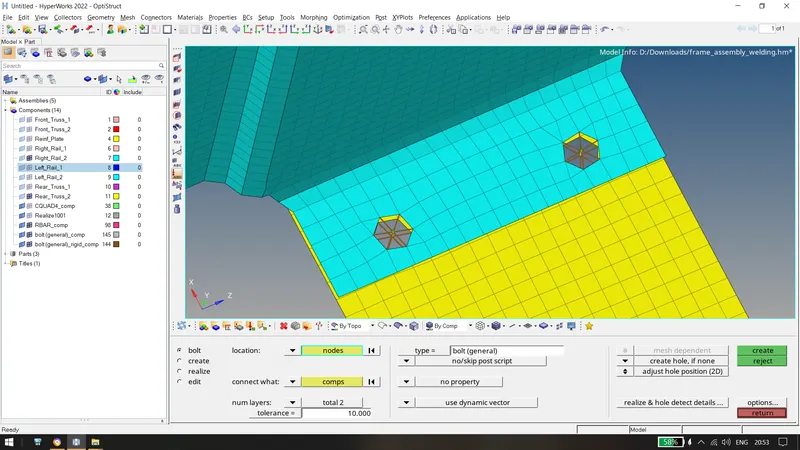
We need to rebuild the mesh near the bolt connector and the following will be obtained.
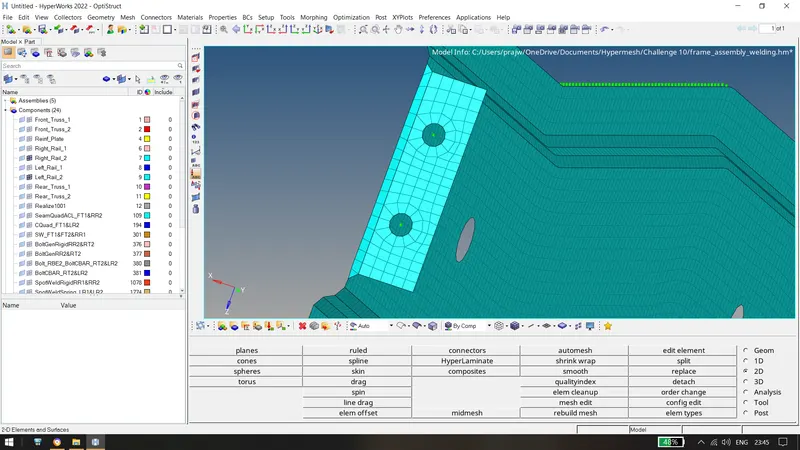
6. Rear_truss_2 & Left_Rail_2:- Bolt Connector
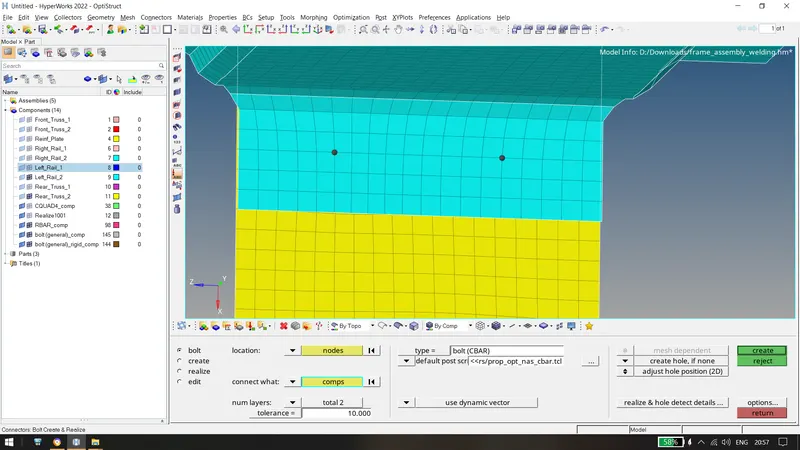
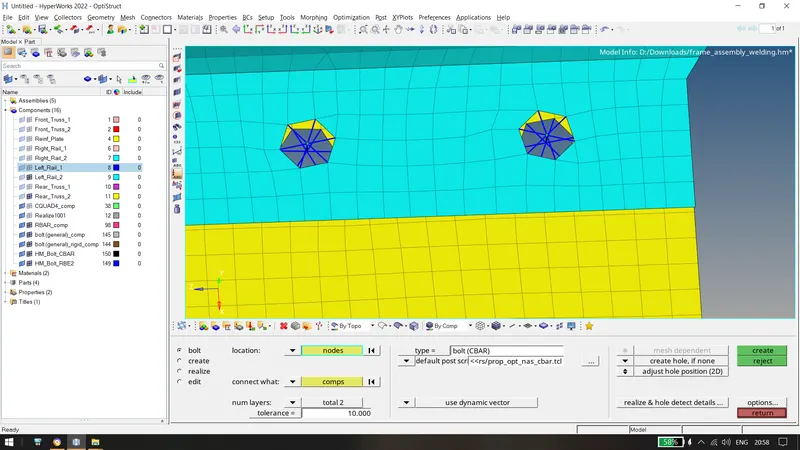
Similarily we will eliiminate the trias as done above.
7. Right_Rail_1 & Right_Rail_2:- Spot-weld with Rigid Elements
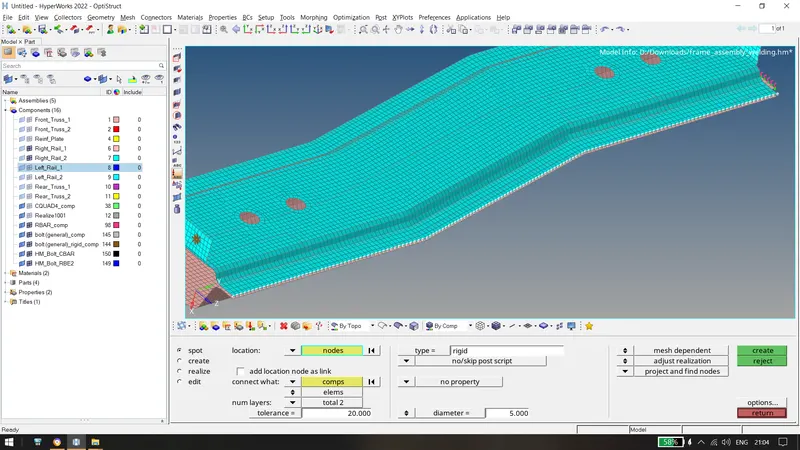
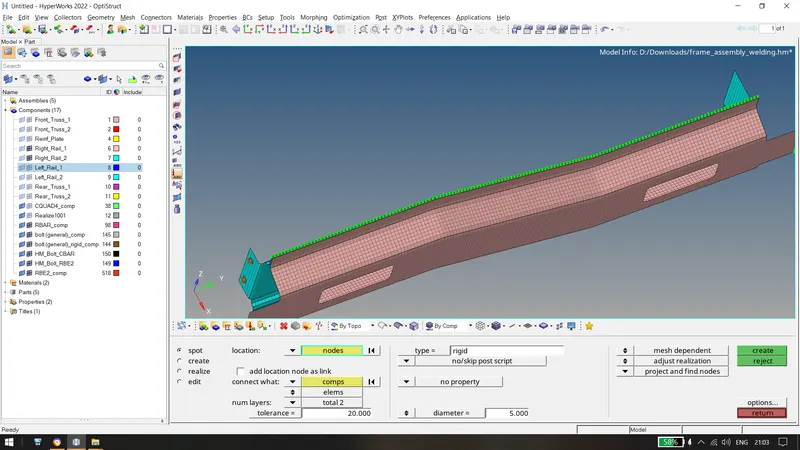
8. Left_Rail_1 & Left_Rail_2:- Spot-weld with Spring Elements
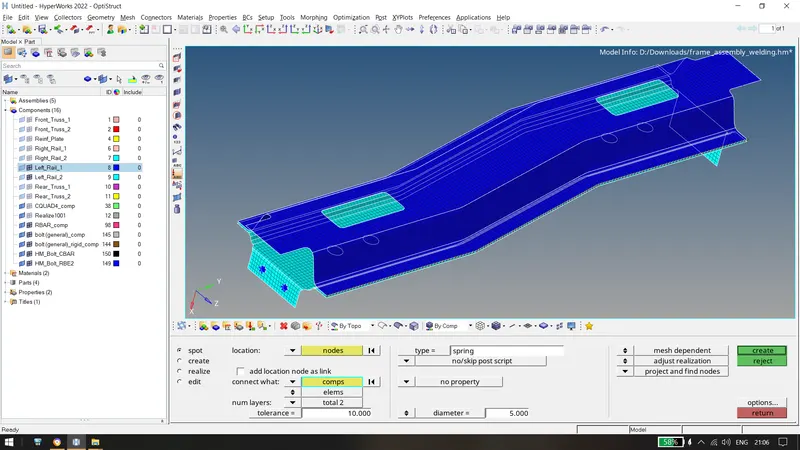
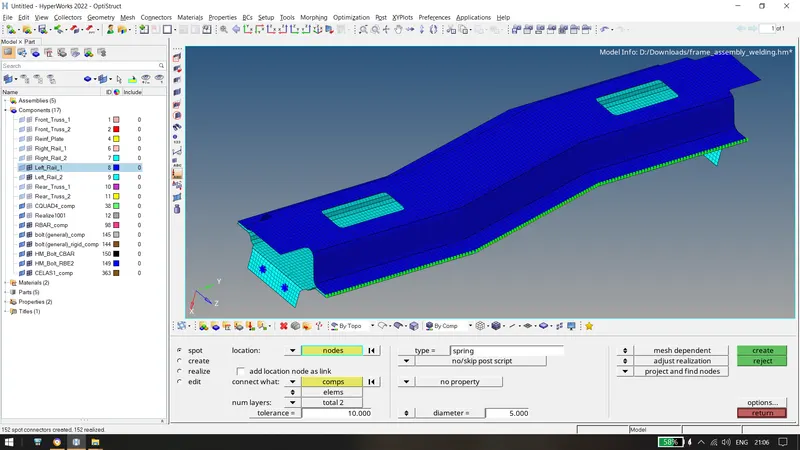
- After joining all the connectors given in the challenge, the following is obtained and also renaming them.
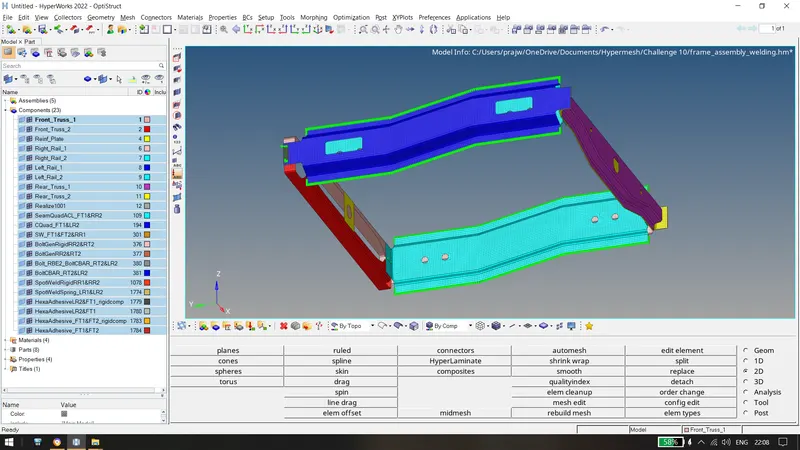
- Now, let us join the remaining components using spotweld, seam quads, hexa adhesive and seam angled + capped + L.
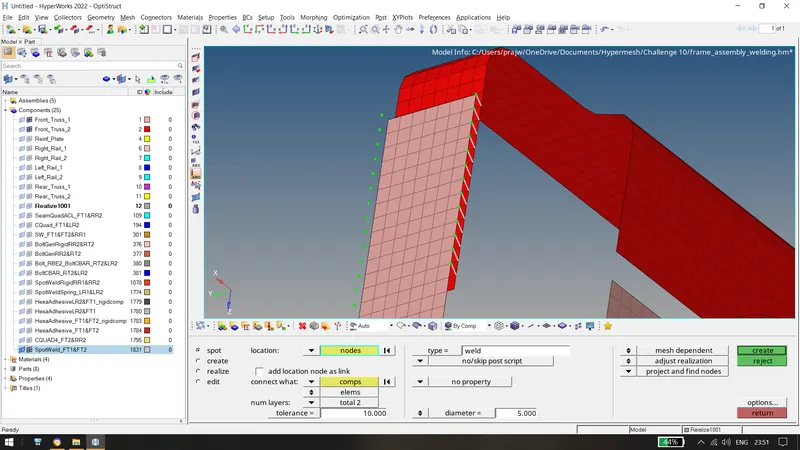
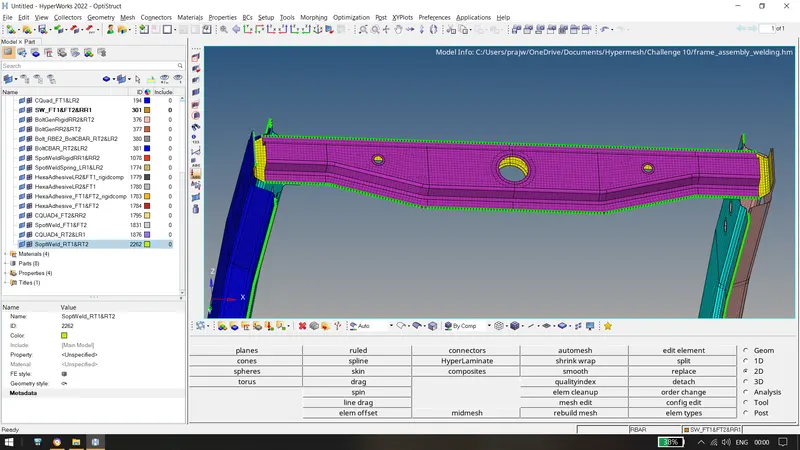
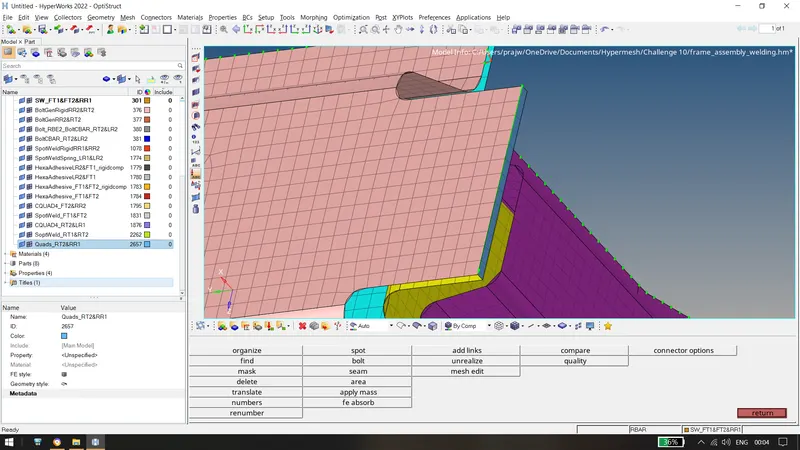
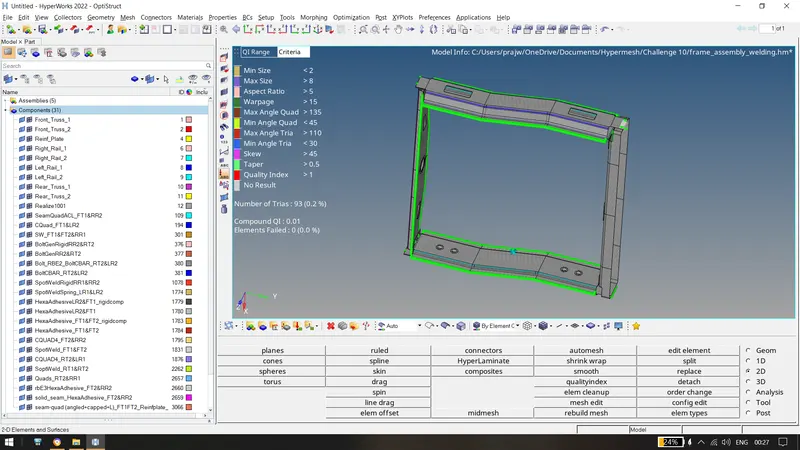
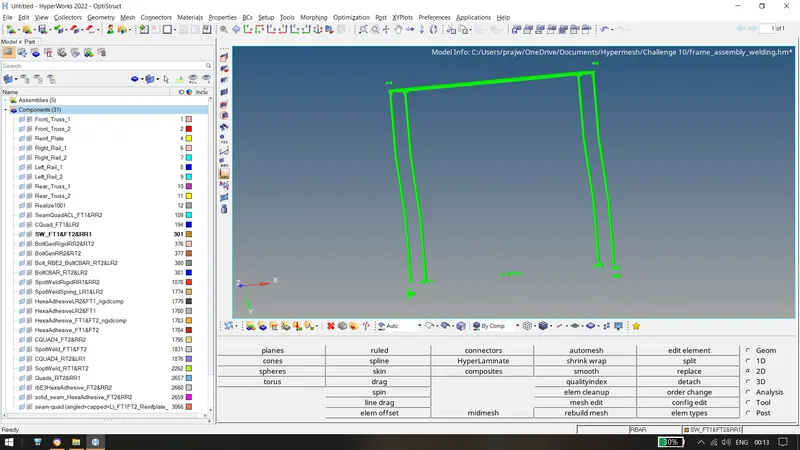
- Hence, the final asssembly with quality mesh is obtained with all connections is given below, also the realization is all green in colour. We have also given proper naming in the component tree.
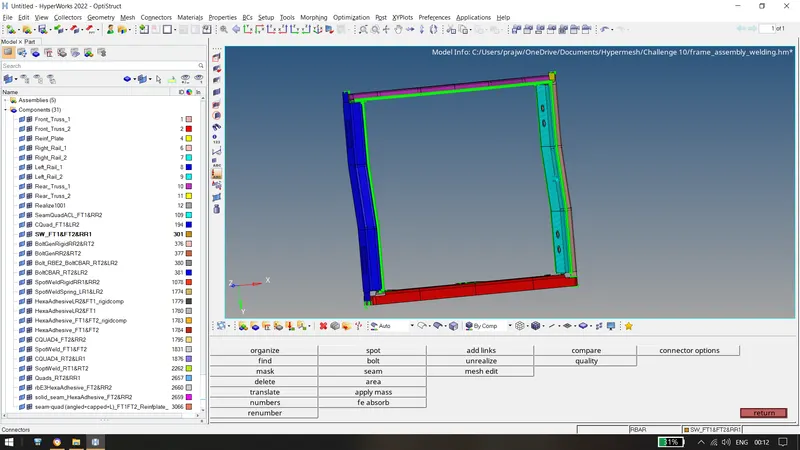
Conclusion: Hence we have successfully meshed the assembly with the given quality criteria and also created all the given connectors in the challenge.