Week 9-Creation of 1D Connectors Challenge
Aim :
- Creation of 1D Collectors
Objective :
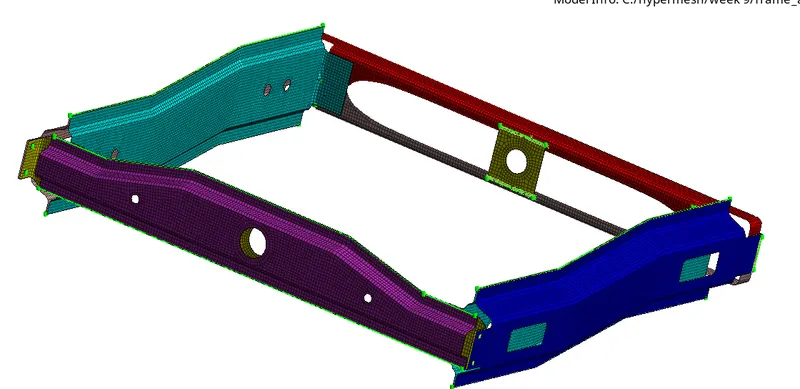
Create connector and Attach the various parts of the given model
1. Right_Rail_2 & Front_truss_1:- Seam-Quad(angled+capped+L)
2. Left_Rail_2 & Front_truss_1:- Quad elements
3. Front_truss_2, Front_truss_1 & Right_Rail_1:- Spot weld with 2 Layers and 5 mm Diameter
4. Front_truss_2, Front_truss_1 & Left_Rail_1:- Hexa (Adhesive)
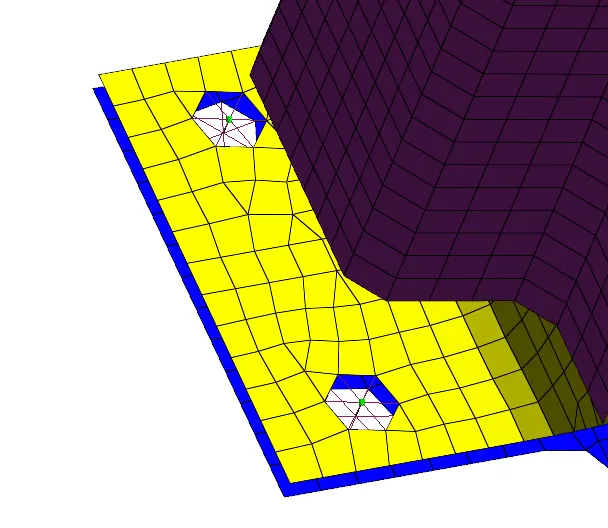
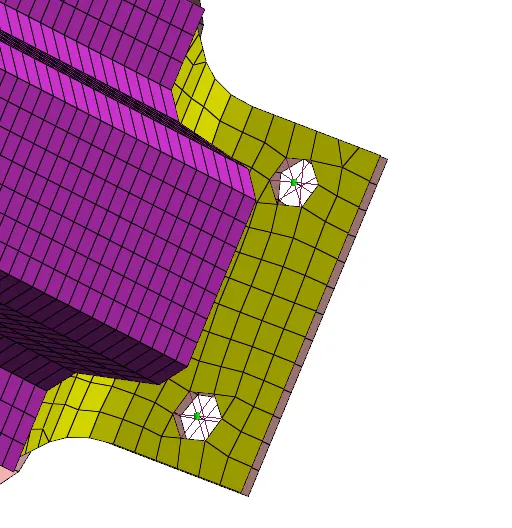
5. Rear_truss_2 & Right_Rail_2:- Bolt Connector
6. Rear_truss_2 & Left_Rail_2:- Bolt Connector
7. Right_Rail_1 & Right_Rail_2:- Spot-weld with Rigid Elements
8. Left_Rail_1 & Left_Rail_2:- Spot-weld with Spring Elements
9. Rest all the component left Join them with suitable connectors
Procedure :
Open the given .hm model file
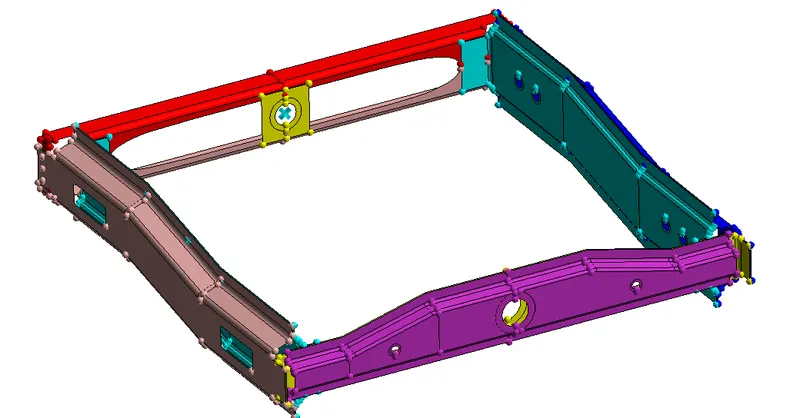
first, we need to clean up the geometry as per the need
2D meshing to the individual component
2D >> automesh >> mixed type mesh (element size 5)
Front truss_1
split the surfaces for creating the proper mesh. Geometry >> Quick edit (F11)
Generate 2D mesh. Then reflect on the mesh.
Tool >> reflect
Do equivalence. Tool >> edges >> preview equivalence >> equivalence
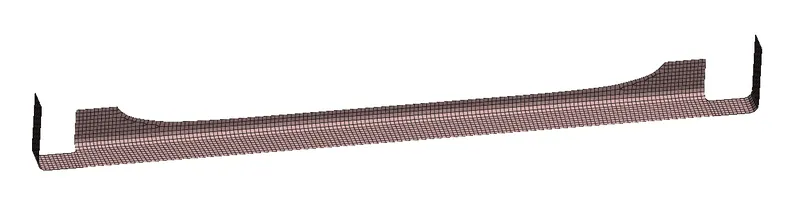
Keep the same process for every component while meshing
Front Truss _2

Reinf plate, Right rail_1, Right rail_2
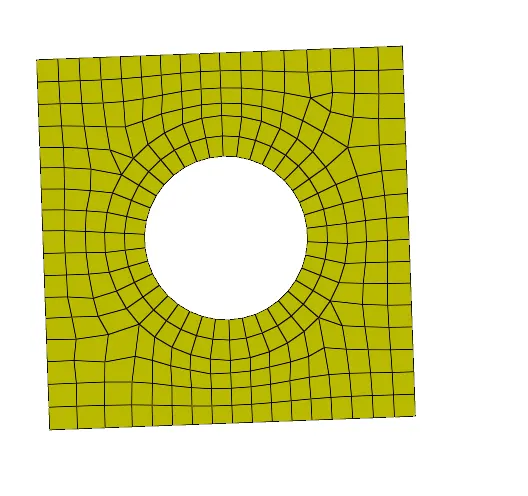
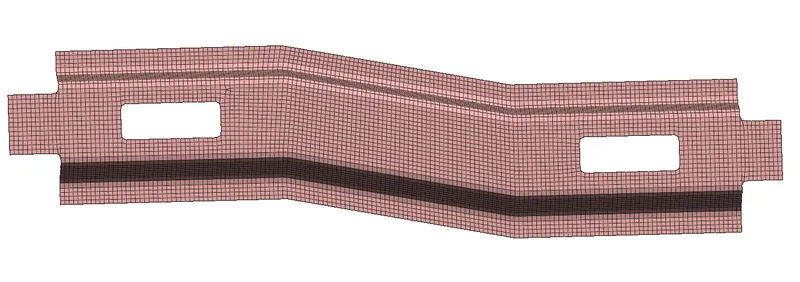
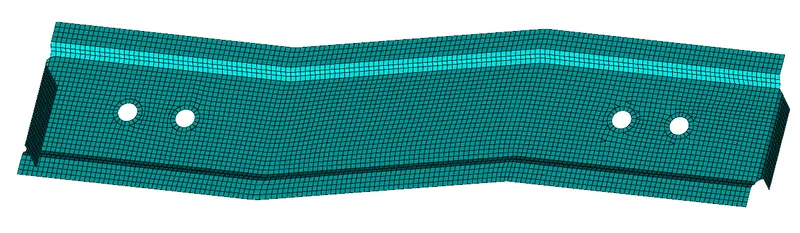
Left rail_1,Left rail_2,Rear truss_1,Rear truss_2
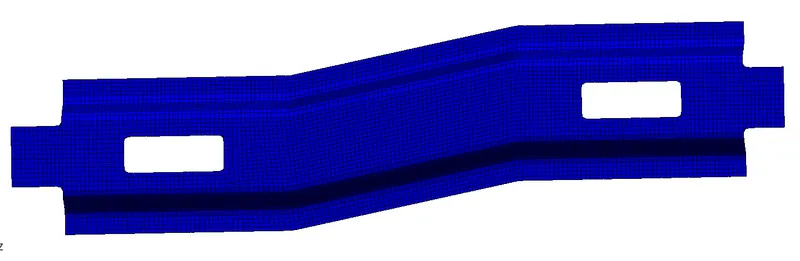
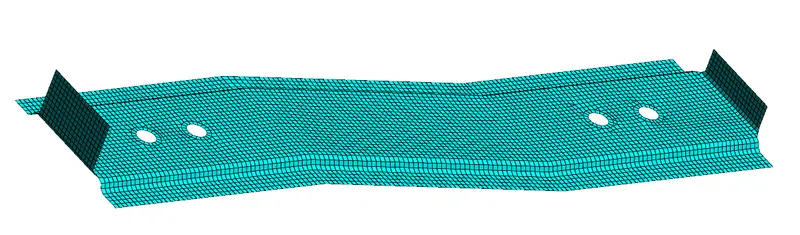
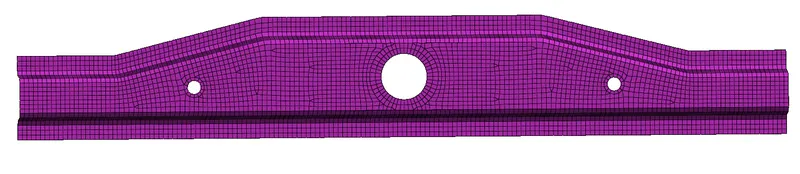

Assigning the Property Card:
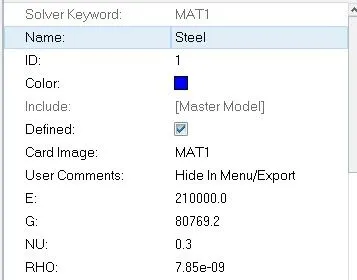
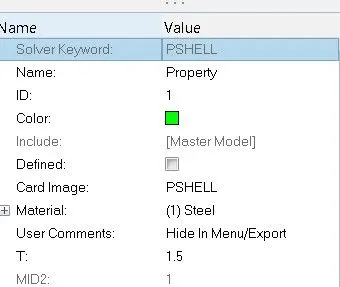
- one property card is added to every component
- Assuming every comp has an identical thickness and material, a single card is added to each
- To create a material card:name=steel-type=ISOTROPIC-card=MAT1
- Then the necessary material value like Poisson's ratio, young modulus, etc are specified
- The thickness of the component is also specified in the property card
- each card is assigned the property card which is linked to the martial card
1D Connectors
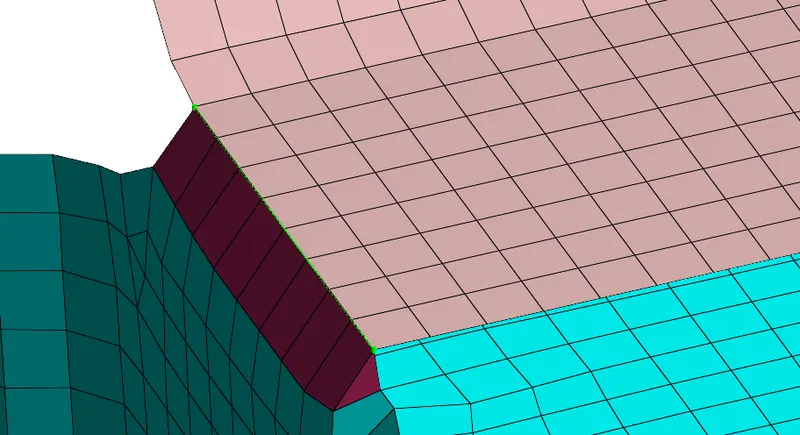
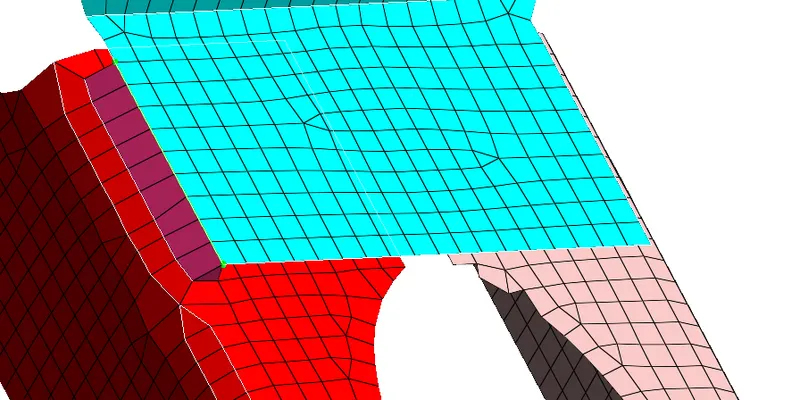
1. Seam-Quad(angled+capped+L)
For Right_Rail_2 & Front_truss_1
- To create the seam weld:2D >> connectors >> seam
- select the node (by path) on one of the components
- tolerance= specify the distance between two components which is 3mm
- select the two-component and keep imprint check on
- weld type is set as seam-quad (angled+capped+L)
- spacing is set as a target element size of 5mm

2. Quad elements
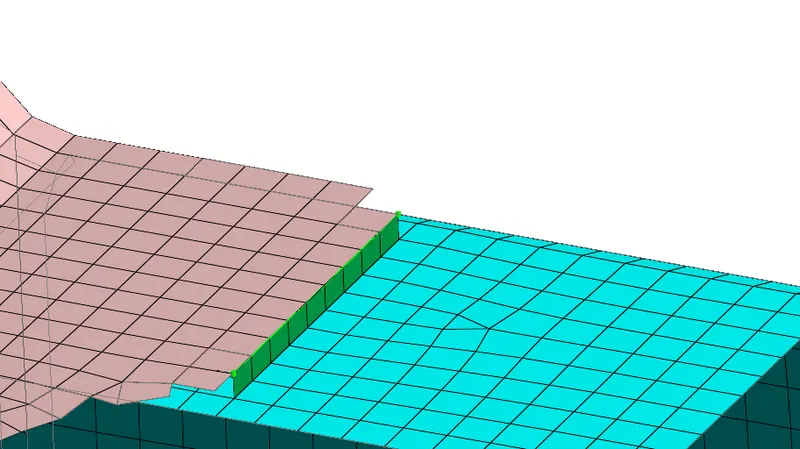
For Left_Rail_2 & Front_truss_1:-
- To create the seam weld:2D >> connectors >> seam
- select the node (by path) on one of the components
- tolerance= specify the distance between two components which is 3mm
- select the two-component and keep imprint check on
- weld type is set as quads
- spacing is set as a target element size of 5mm

3. Spot weld with 2 Layers and 5 mm Diameter
for Front_truss_2, Front_truss_1 & Right_Rail_1
- create the spot weld : 2D >> connector >> spot
- select the node (by path) on one of the components
- tolerance= specify the distance between two components which is 10mm
- select the two-component and keep imprint check on
- type weld
- spacing is set as a target element size of 5mm
- as we create the spot weld with 3 layers select num layers total3

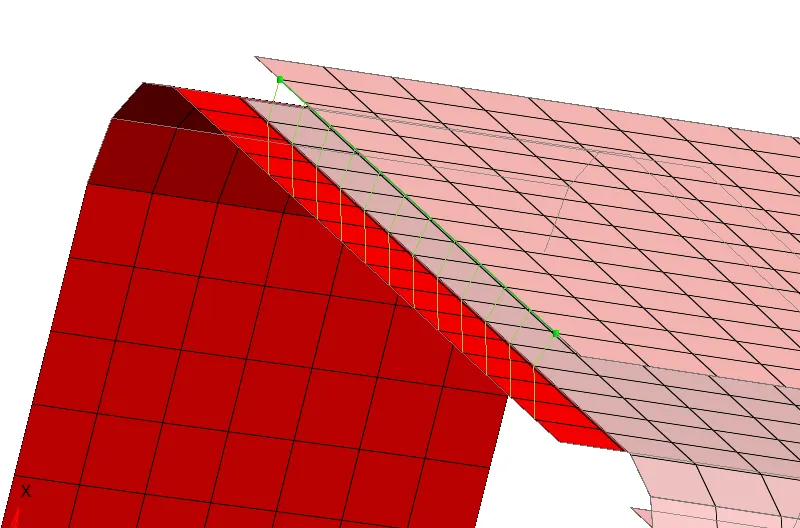
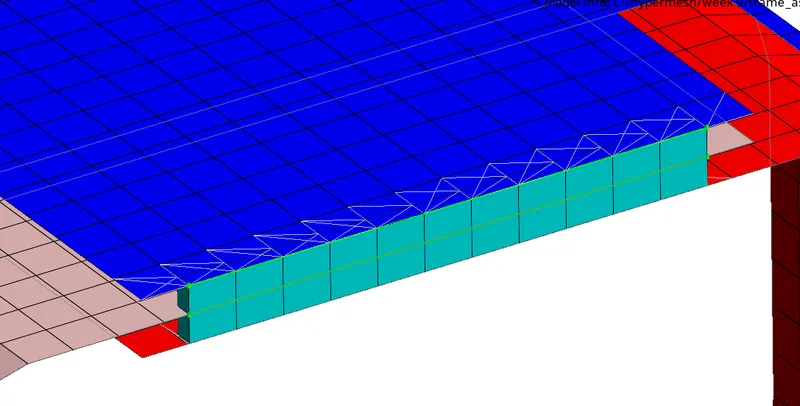
4. Hexa (Adhesive)
for Front_truss_2, Front_truss_1 & Left_Rail_1
- To create the seam weld:2D >> connectors >> seam
- select the node (by path) on one of the components
- tolerance= specify the distance between two components which is 10 mm
- select the two-component and keep imprint check on
- weld type is set as Hexa Adhesive
- width as 2mm,strips 1,coats 1, Hexa position to negative edge
- spacing is set as a target element size of 5mm

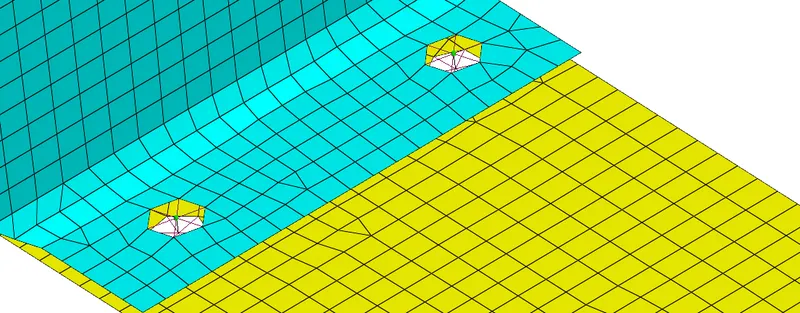
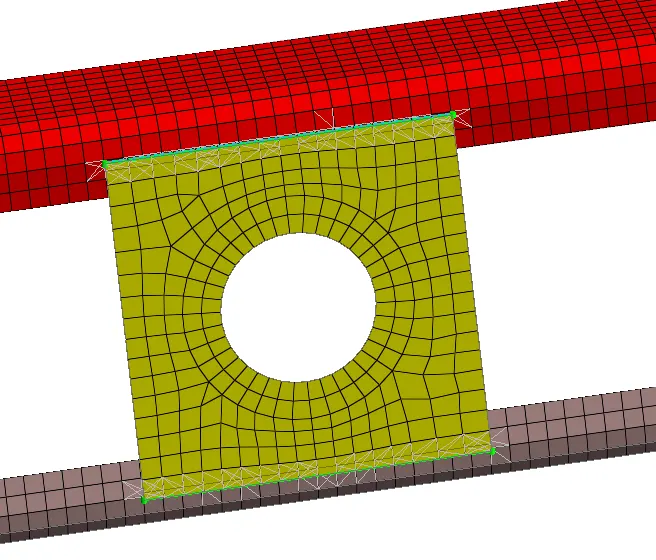
5. Bolt Connector:
For Rear_truss_2 & Right_Rail_2
- To create the seam weld:2D >> connectors >> bolt
- select the location we need bolt connection
- select the two-component which needed to fix
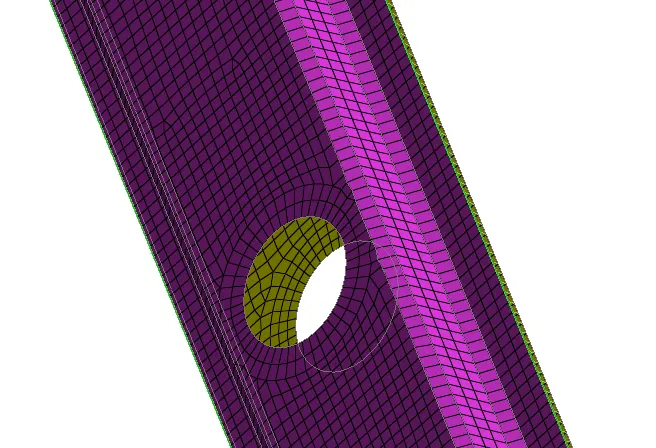
- note select the option to create the hole if none, as we don't have a physical hole this option, will create the hole
- select the tolerance value as 15

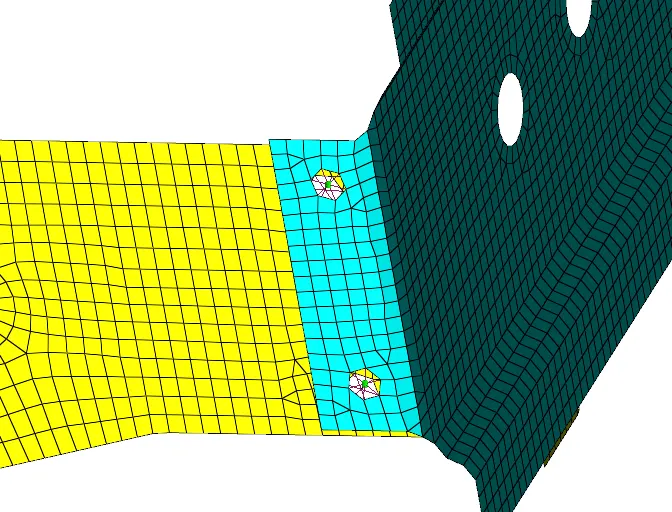
6. Bolt Connector
for Rear_truss_2 & Left_Rail_2
- To create the seam weld:2D >> connectors >> bolt
- select the location we need bolt connection
- select the two-component which needed to fix
- note select the option to create the hole if none, as we don't have a physical hole this option, will create the hole
- select the tolerance value as 15
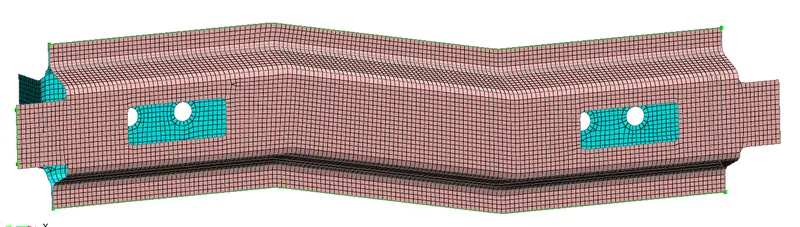
7. Spot-weld with Rigid Elements
for Right_Rail_1 & Right_Rail_2
- to create the spot weld : 2D>> connector >> spot weld
- select the node by path
- select the two components
- type as rigid
- spacing as 5mm and tolerance as 10mm

8. Spot-weld with Spring Elements
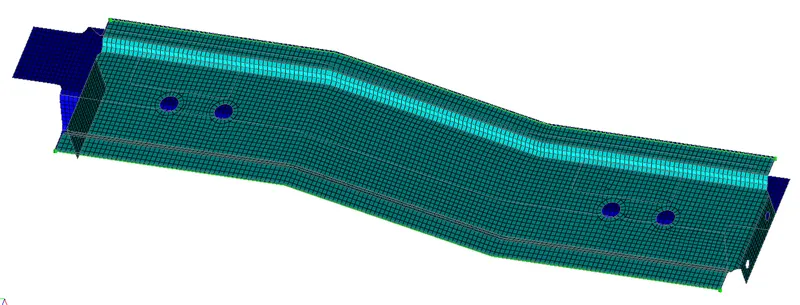
for Left_Rail_1 & Left_Rail_2
- to create the spot weld : 2D>> connector >> spot weld
- select the node by path
- select the two components
- type as springs
- spacing as 5mm and tolerance as 10mm

9. Rest all the components left Join them with suitable connectors
Seam-Quad(angled+capped+L)
Hexa (Adhesive)
Bolt Connector
Spot-weld with Rigid Elements
Conclusion :
- All the components have meshed and all connectors are defined also successfully realized