Week 9-Creation of 1D Connectors Challenge
craetion of different type od 1D connectORS on the truss using Hypermesh.
The gioven model is openesd using in the hypermesh.
The model is meshed using 2d meh auto mesh tool with target elewment size of 5mm.
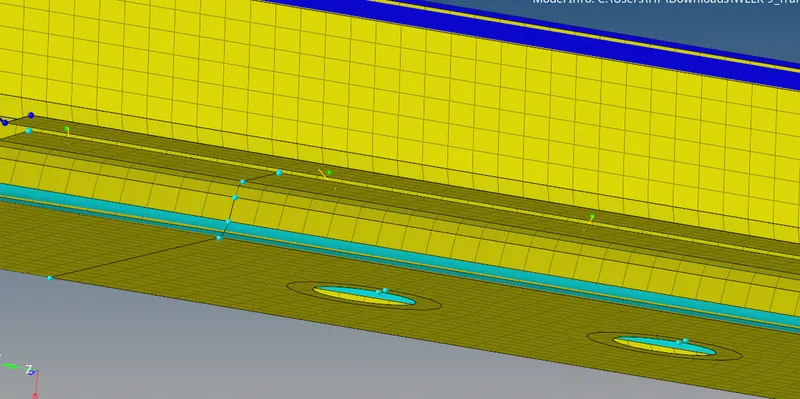
The rail and trusses have no connection bewween them using 1D connection the rail and trusses are connected.
1.Right_Rail_2 & Front_truss_1:- Seam-Quad(angled+capped+L)
In the connectors menu,the seam tool was used in which typpe of seam was selected as seam the nodes on one one of the surafaces are selected . the spacing of 5mm was kept as thge mesh and the comps selecgted here which connection is to be reliased.
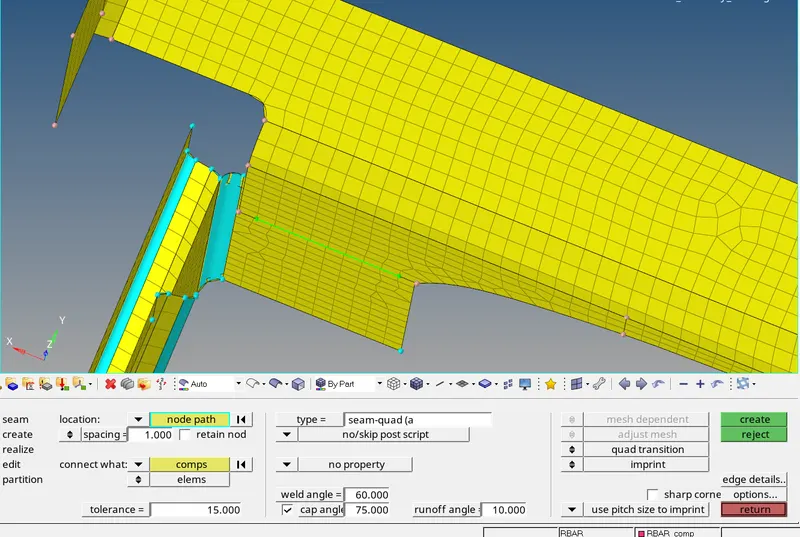
2.Left_Rail_2 & Front_truss_1:- Quad elements-
In the same tool i.e seam tyupe of connection is changed to the quad and the connection is reliased as done in the first case.
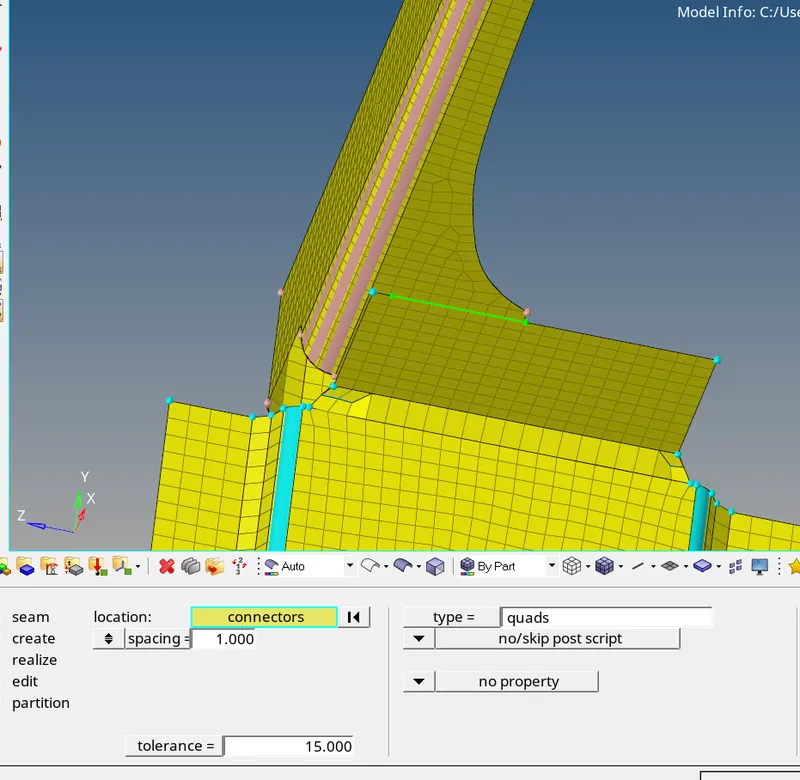
3.Front_truss_2, Front_truss_1 & Right_Rail_1:- Spot weld with 2 Layers and 5 mm Diameter
The spot weld tool is avaliable under the spot tool in the connection menu . the prodycer followed here is also same .the type of spot is changed to the weld and the number of larers required is 3 so thew num of larers is set to 3.
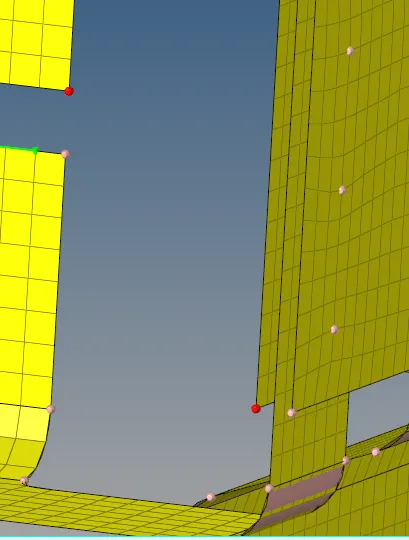
4.Front_truss_2, Front_truss_1 & Left_Rail_1:- Hexa (Adhesive)
The hexa (adhesieve)is avaliable under the seam and the producer is same for relizing the connection.
5.Rear_truss_2 & Right_Rail_2:- Bolt Connector
The bolt tool is avaliable under the connection menu . the procedure is similiar selecting nodes of the compoment .the mesh doesnt have any holes so setting is changed to the create hole if none.
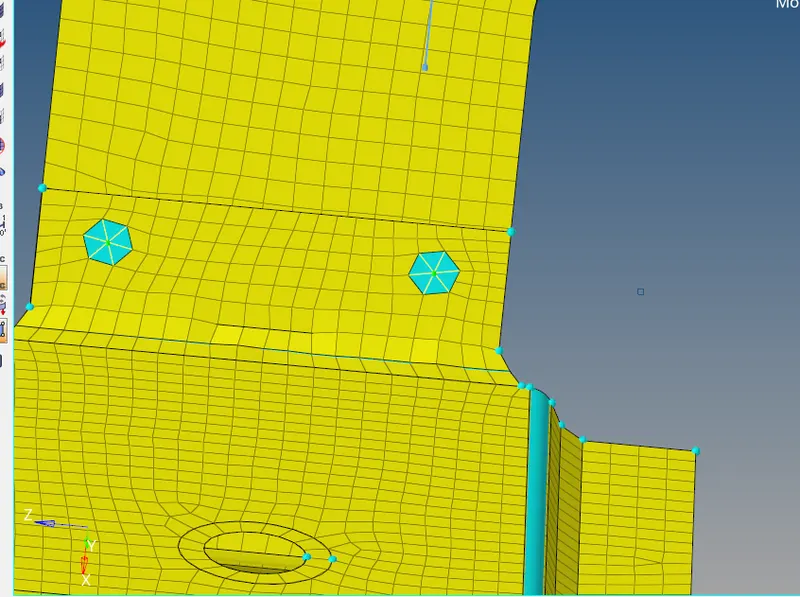
6.. Rear_truss_2 & Left_Rail_2:- Bolt Connector
The connection is same as what was done in the previous step .
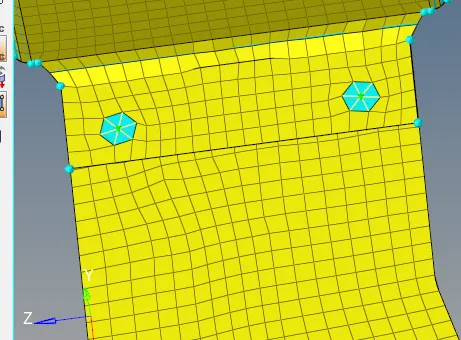
7.Right_Rail_1 & Right_Rail_2:- Spot-weld with Rigid Elements
This type of connection is done using rigids form the types of connection in the spot menu .the process of relisaing the connection is same as done in the previous step by choosing nodes of the given copments.
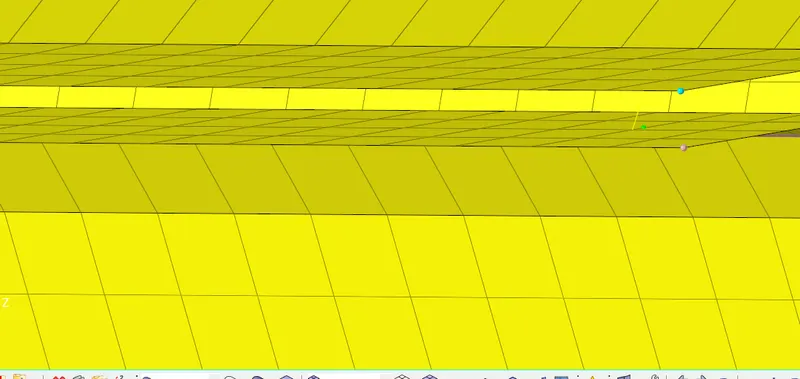
8.eft_Rail_1 & Left_Rail_2:- Spot-weld with Spring Elements
Just changing the type to the spring by folllowing the process followed in the previous step sopt with spring elements can be reliased.