Week 9-Creation of 1D Connectors Challenge
AIM : Mesh the given geometry.
OBJECTIVE:
1) Mesh the given geometry.
2) Create connector as specified above.
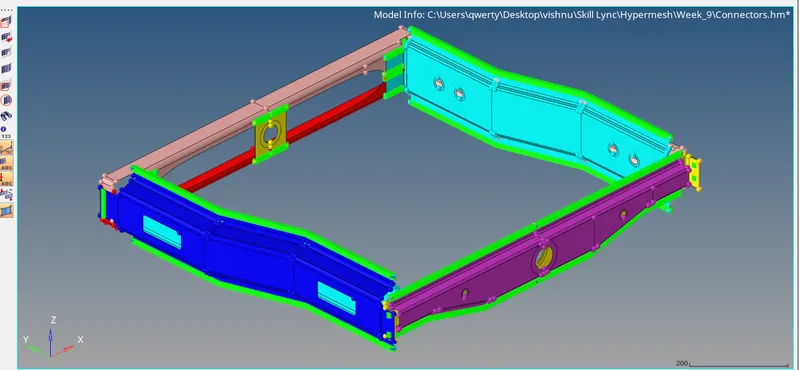
CAD MODEL IMAGE :
PROCEDURE :
1) Intially Import the required file. (.i.e Frame assembly.stp)
2) Perform Cleanup if required.
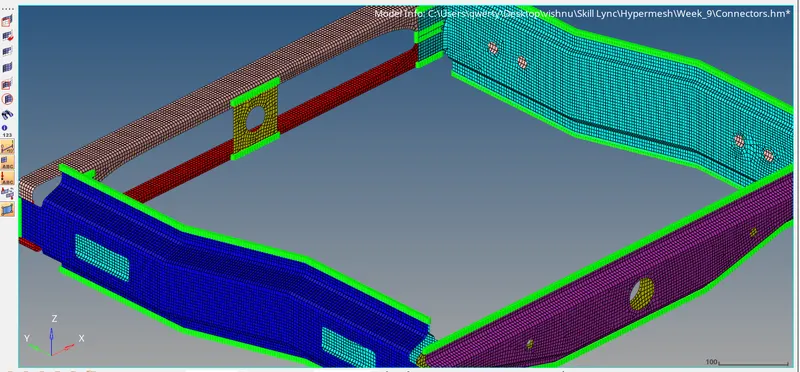
3) Now Mesh the surface and check for the quality criteria.
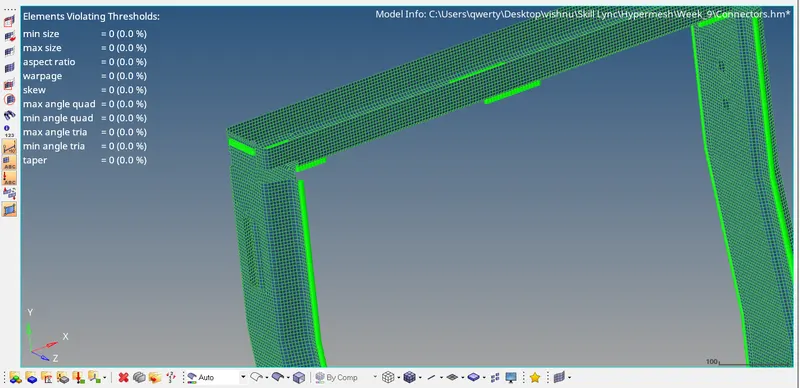
4) Check for the Quality Criteria.
5) Now go to connectors in the 2D panel.
6) Go for the Seam-Quad (angled + capped + L) to connect Right Rail 2 and Front Truss 1.
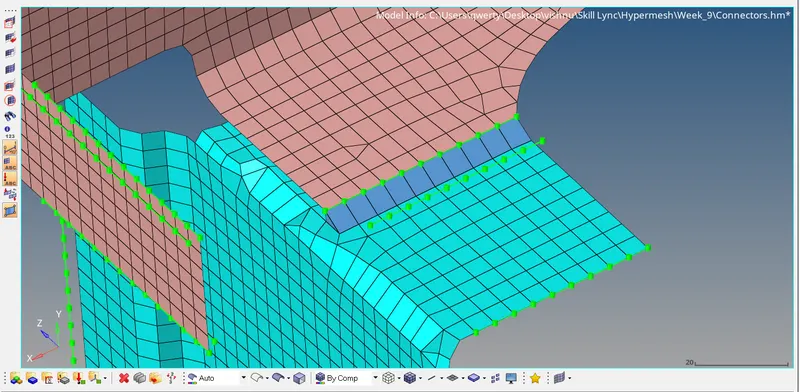
7) Now go for the quad elements connector to connect Left Rail 2 and Front Truss 1.
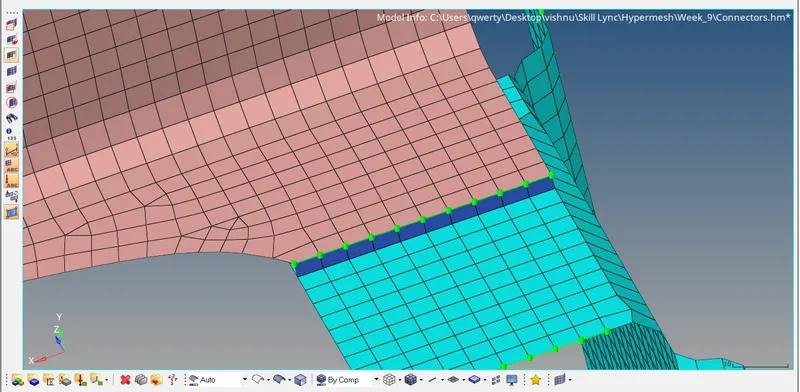
8) Next Front Truss 2, Front Truss 1 and Right Rail 1 with Spot with having 2 layer of 5mm diameter.
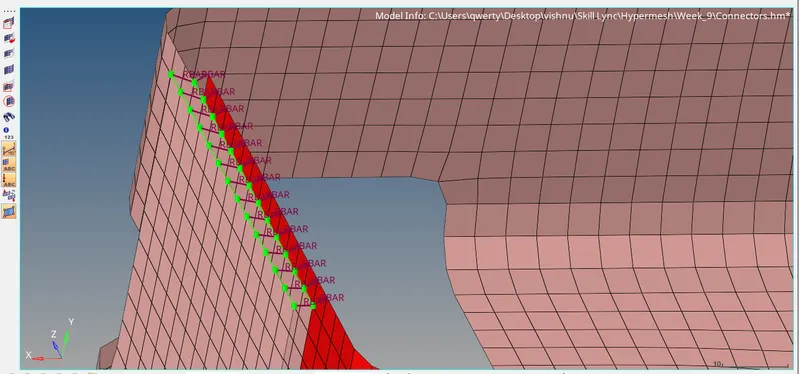
9) Next Front Truss 2, Front Truss 1 and Left Rail 1 with Hexa(Adhesive)
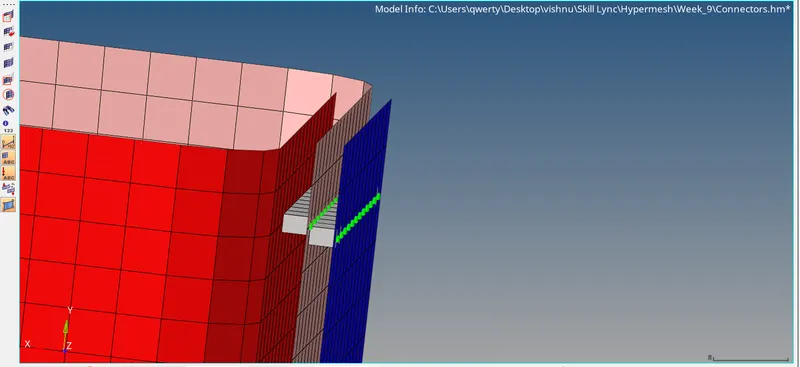
10) Next Connect Rear Truss 2 and Right Rail 2 with Bolt Connector.
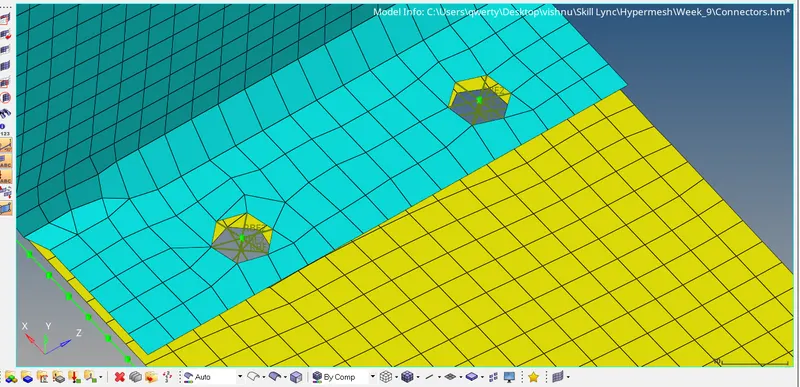
11) Next Connect Rear Truss 2 and Left Rail 2 with Bolt Connector.
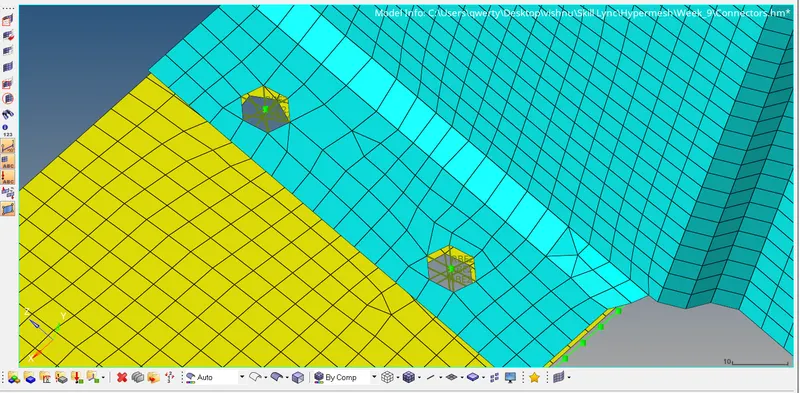
12) Now connect Right Rail 1 and Right Rail 2 with Spot Weld having Rigid Elements.
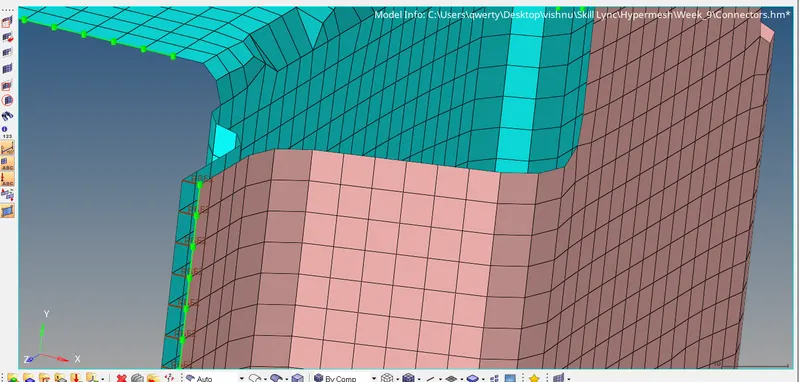
13) Now connect Left Rail 1 and Left Rail 2 with Spot Weld having Spring Elements.
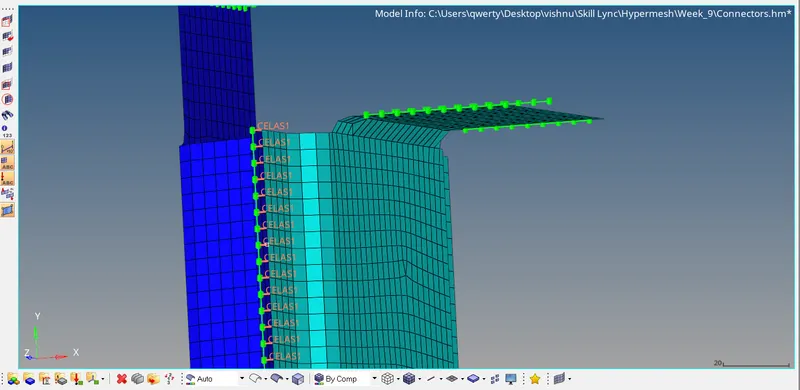
14) Then Connect the rest of the rail with suitable connectors.
RESULT:
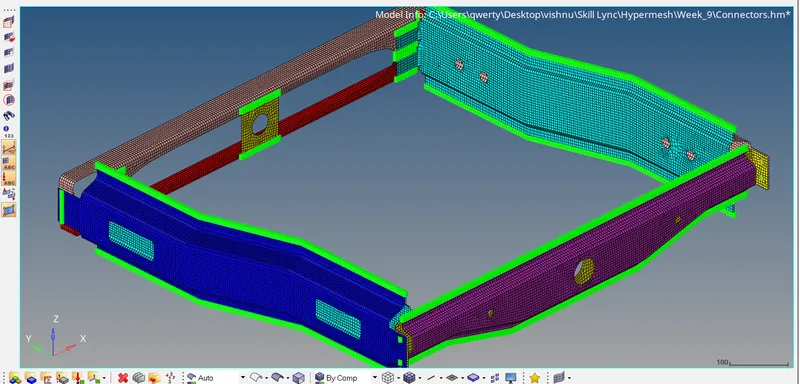
Completed the Meshing and Connected with suitable Connectors.
FINAL MODEL IMAGE: