Week 9-Creation of 1D Connectors Challenge
OBJECTIVE:
To mesh the given component under given criteria and Create connector and Attach the various parts.
GIVEN:
Criteria for mesh
Target Element size - 5 Units
|
S.NO |
Quality Criteria |
Value |
|
1 |
Aspect Ratio |
5 |
|
2 |
Skewness |
45 |
|
3 |
Warping |
15 |
|
4 |
Taper |
0.5 |
|
5 |
Min. Length |
2 Units |
|
6 |
Max. Length |
8 Units |
|
7 |
Min angle Quad |
45 |
|
8 |
Max angle Quad |
135 |
|
9 |
Min angle Tria |
30 |
|
10 |
Max angle Tria |
110 |
|
10 |
Tria % |
15 |
Criteria for connector and Attach the various parts
1. Right_Rail_2 & Front_truss_1:- Seam-Quad(angled+capped+L)
2. Left_Rail_2 & Front_truss_1:- Quad elements
3. Front_truss_2, Front_truss_1 & Right_Rail_1:- Spot weld with 2 Layers and 5 mm Diameter
4. Front_truss_2, Front_truss_1 & Left_Rail_1:- Hexa (Adhesive)
5. Rear_truss_2 & Right_Rail_2:- Bolt Connector
6. Rear_truss_2 & Left_Rail_2:- Bolt Connector
7. Right_Rail_1 & Right_Rail_2:- Spot-weld with Rigid Elements
8. Left_Rail_1 & Left_Rail_2:- Spot-weld with Spring Elements
9. Rest all the component left Join them with suitable connectors
SOFTWARE USED:
Hyper Works 2021
GIVEN MODEL:
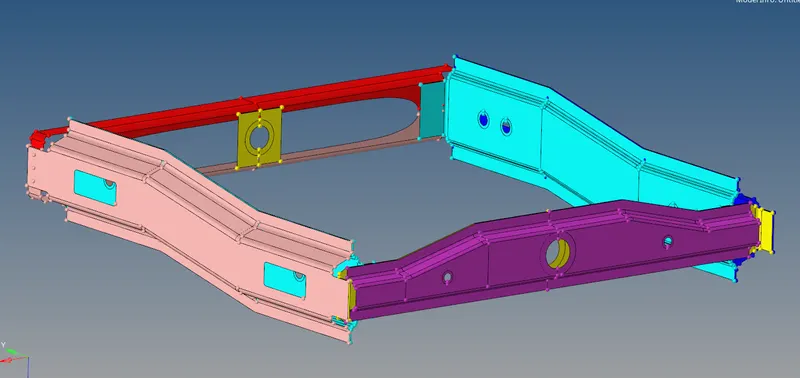
GIVEN MODEL
PROCEDURE:
MESHING:
- The mesh is done for each parts by using following steps
2D→automesh
- In this model some parts are symentric so we just mirror the mesh so it save our time and work load
Tool→reflect
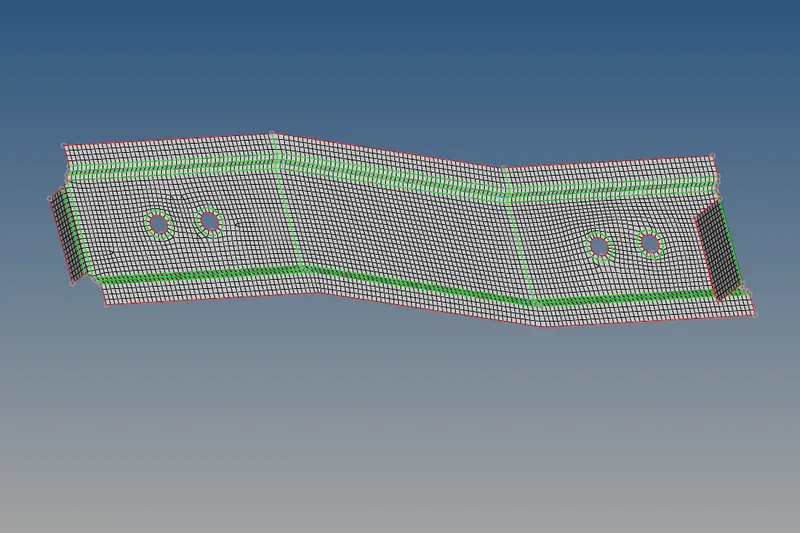
RIGHT RAIL 2
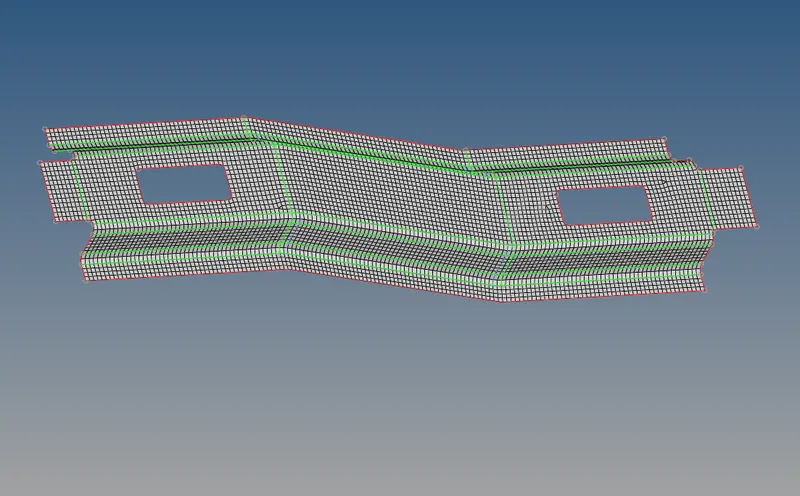
RIGHT RAIL 1
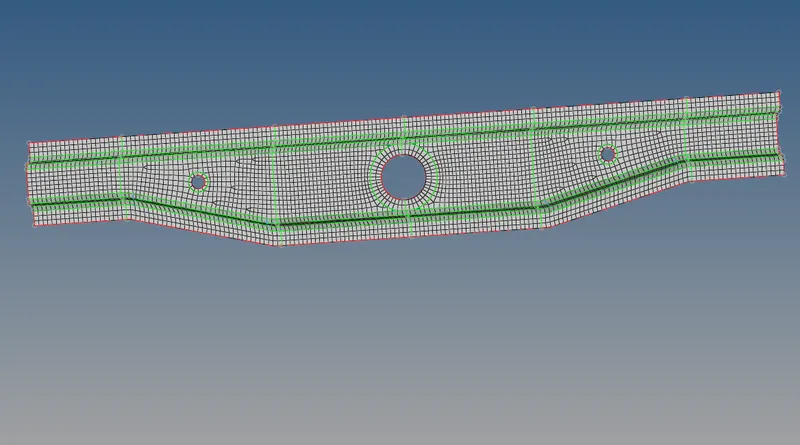
REAR TRUSS 1
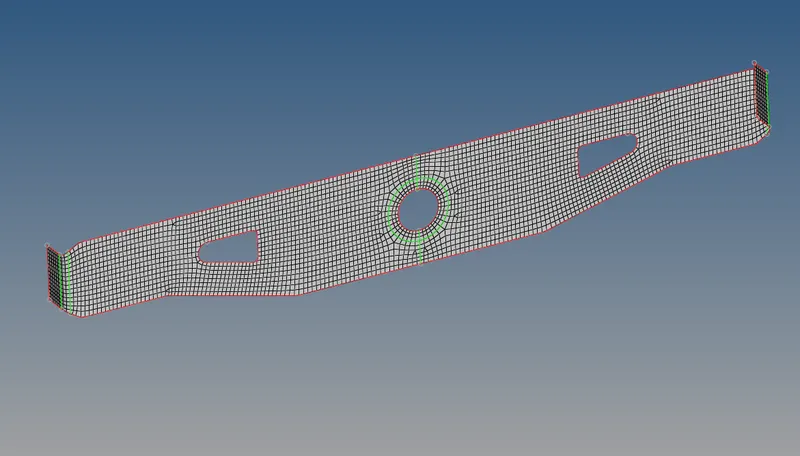
REAR TRUSS 2
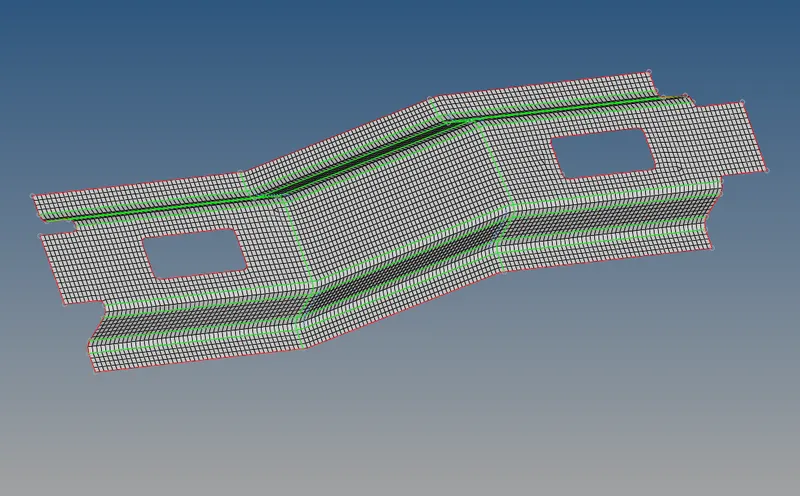
LEFT RAIL 1
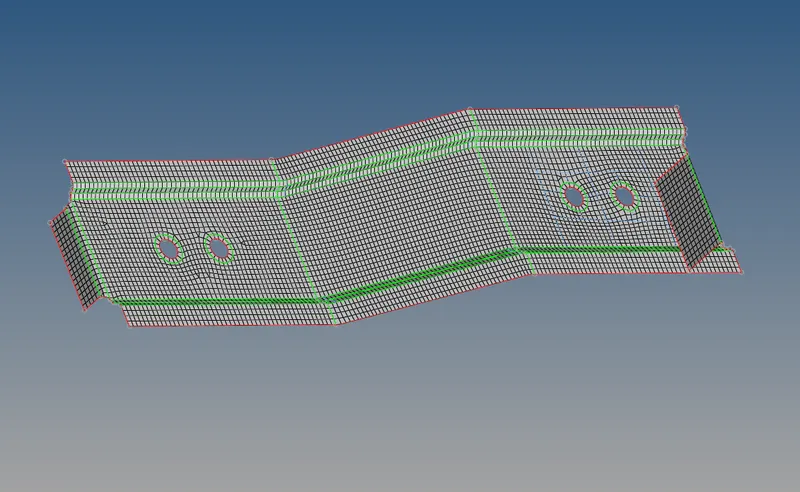
LEFT RAIL 2
FRONT TRUSS 1&2
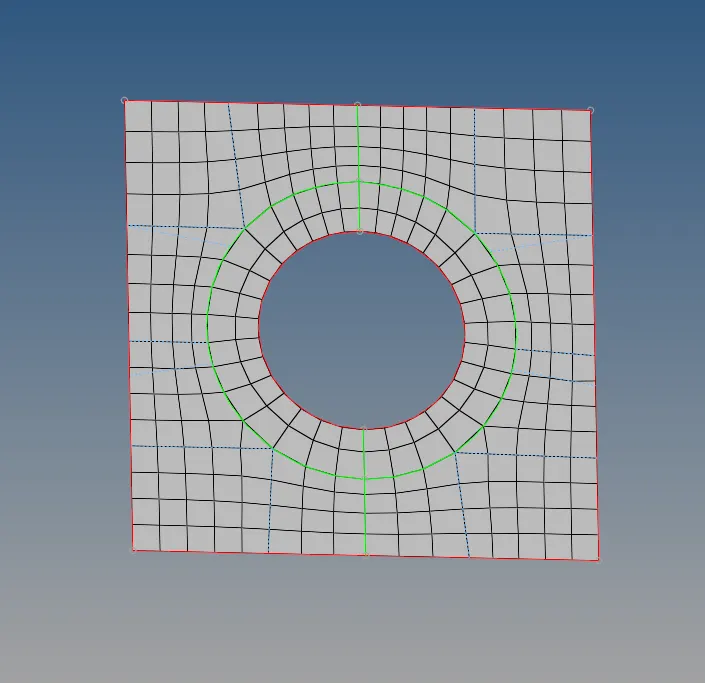
REINF PLATE
1. SEAM WELD CONNECTION
- Hide all components except right rail 2 and front truss 1.
1D→connectors [seam type as seam-quad(angled+capped+L)]
- Select the node list on front truss and components to connect with remesh option.
- Increase tolerance value to 10 and Click create and remesh the area for proper mesh flow.
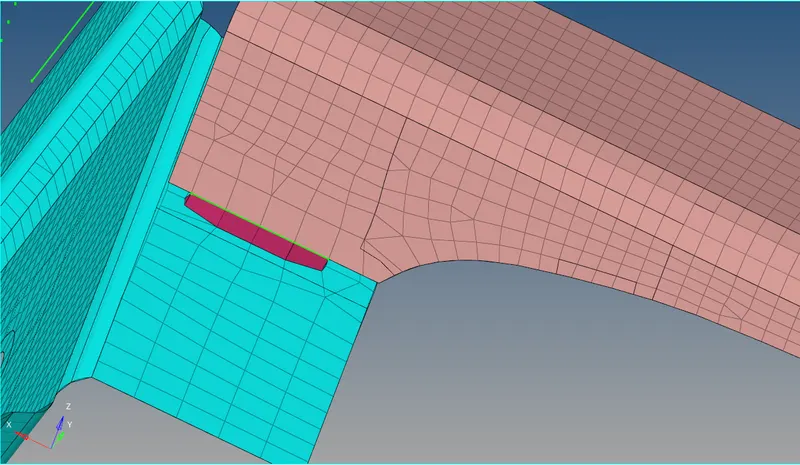
SEAM-QUAD(ANGLED+CAPPED+L)
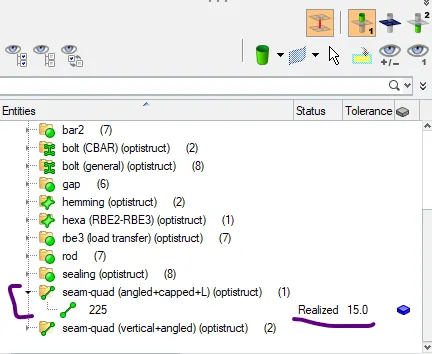
REALIZED STATUS
2. QUAD ELEMETS
- Hide all components except left rail 2 and front truss 1.
1D→connectors (seam type as seam-quad)
- Select the node list on front truss and components to connect, with remesh option.
- Increase tolerance value to 10 and Click create and remesh the area for proper mesh flow.
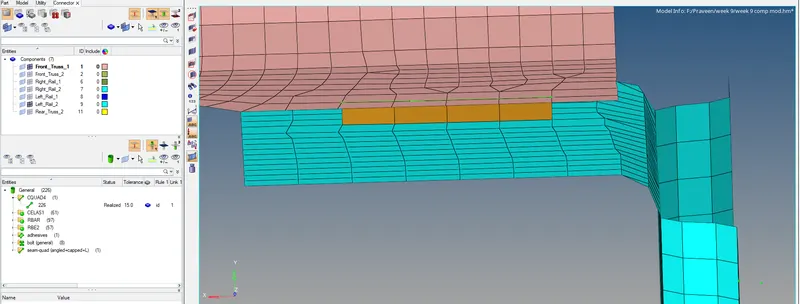
QUAD ELEMENTS
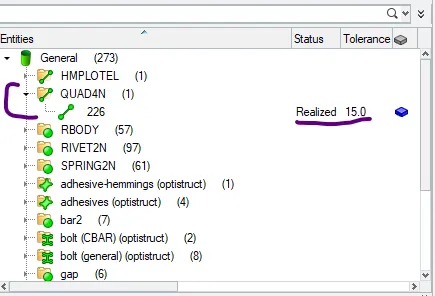
REALIZED STATUS
3. SPOT WELD
- Hide all components except Front truss 2 , Front truss 1 and right rail 1.
1D→connectors(spot type as weld)
- Select the nodes to spot weld and components to connect with 2 layers and diameter as 5mm.
- Click create with tolerance 20.
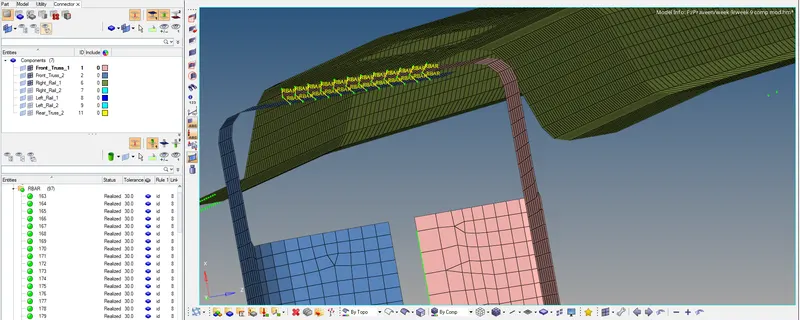
SPOT WELD WITH 2 LAYER AND 5MM DIAMETER
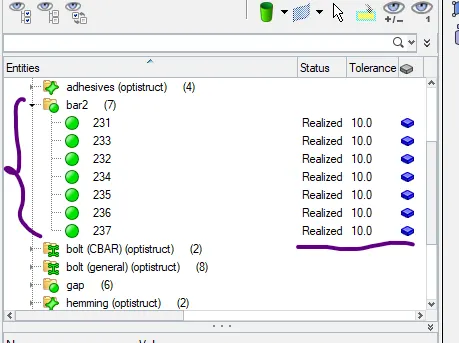
REALIZED STATUS
4. HEXA ADHESIVE
- Hide all components except Front_truss_2, Front_truss_1 and Left_Rail_1 .
1D→connectors[seam type as Hexa (adhesive)].
- Increase tolerance to 50
- select nodes in one component and select components to connect then Create.
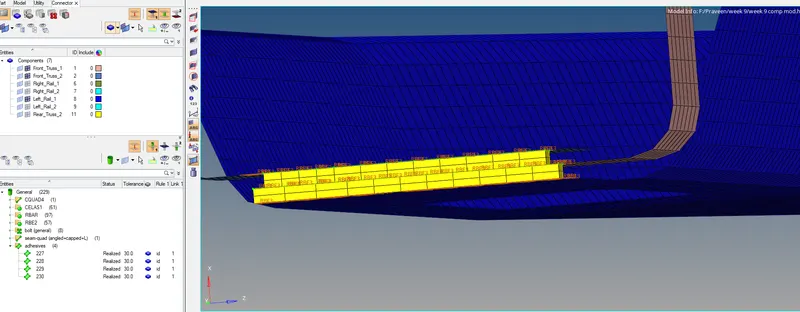
HEXA ADHESIVE
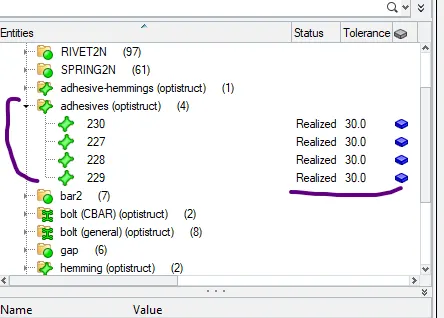
REALIZED STATUS
5. BOLT CONNECTOR
- Hide the components except Rear_truss_2 and Right_Rail_2.
1D→connectors [Bolt type as Bolt (general)].
- Select the nodes and components to connect.
- Increase tolerance to 50 and select create bolt if necessary.
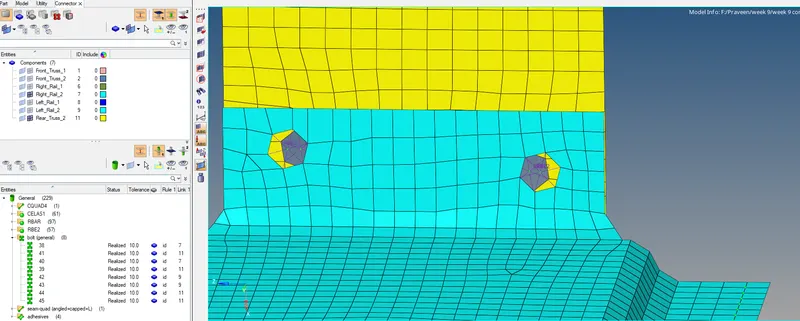
BOLT GENERAL
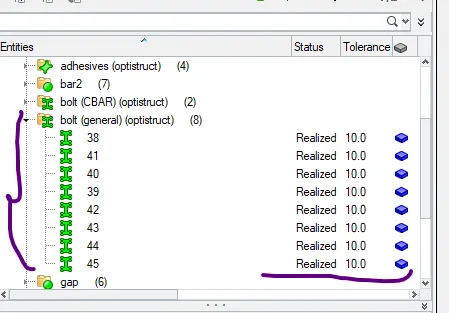
REALIZED STATUS
6. Similar steps for BOLT connectors repeat for Rear_truss_2 and Left_Rail_2.
7. SPOT WELD WITH RIGIDS
- Hide allo components except Right_Rail_1 and Right_Rail_2.
1D →Connectors (spot type as rigids)
- Select nodes to connect and components to connect
- Then increasing tolerance to 50 and create.
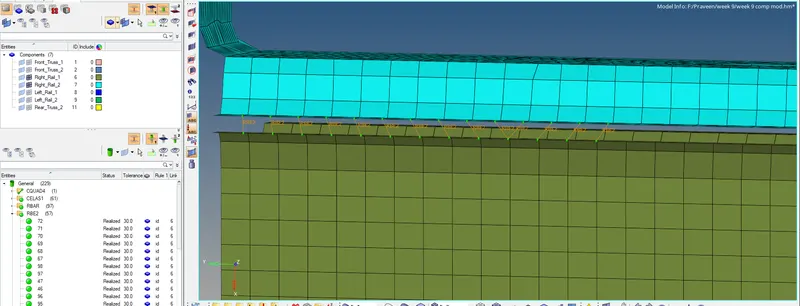
SPOT WELD WITH RIGID
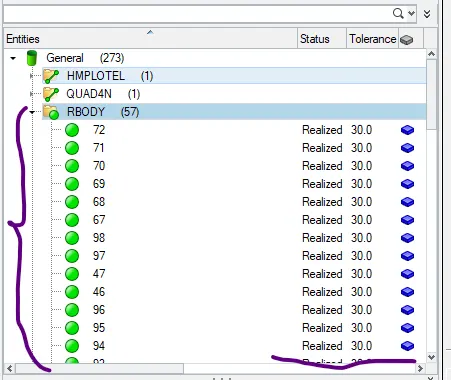
REALIZED STATUS
8. SPOT WELD WITH SPRINGS
- Hide all components except Left_Rail_1 and Left_Rail_2.
1D→Connectors (spot type as springs)
- select nodes to connect and Select components to connect.
- Then increasing tolerance to 50 and create.
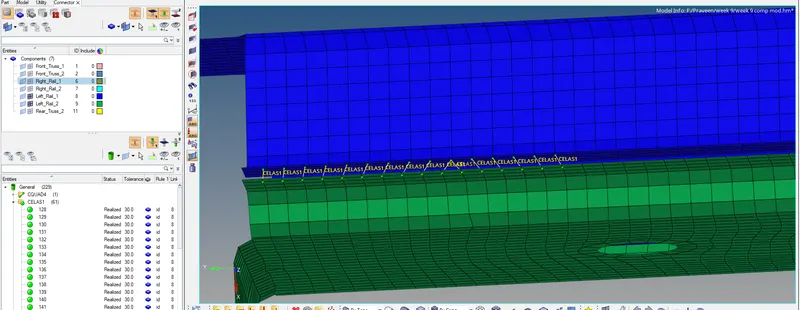
SPOT WELD WITH SPRING
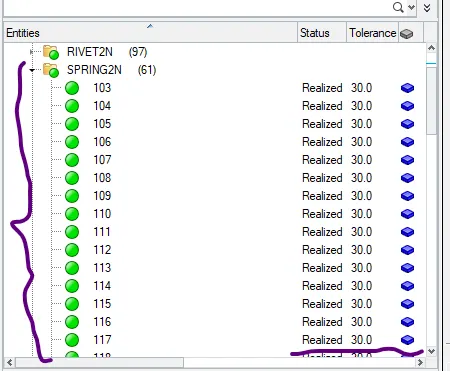
REALIZED STATUS
9. Remaining components are connected using seam weld, spot weld by following above steps
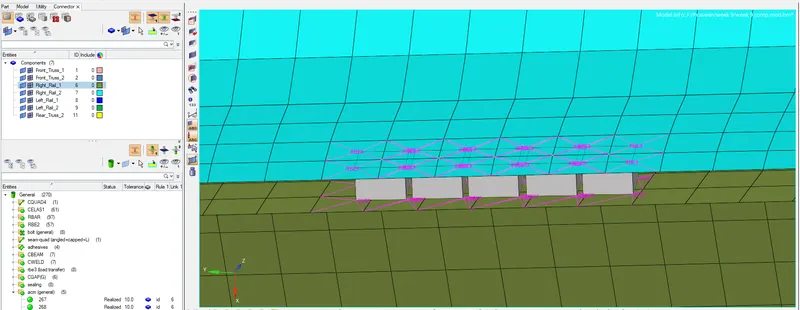
ACM GENERAL
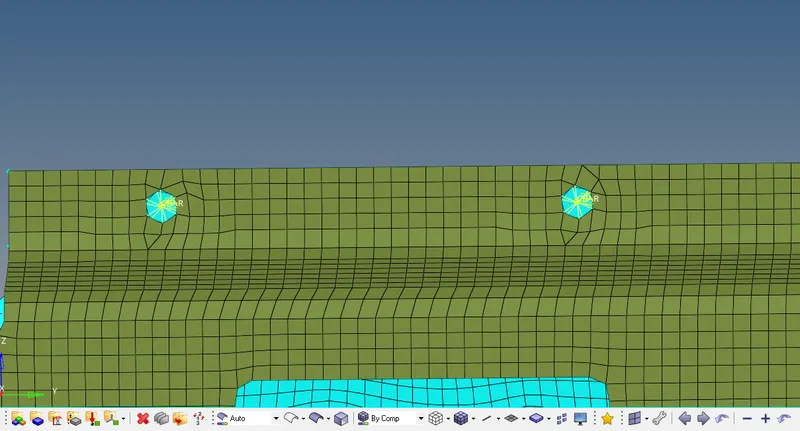
BOLT CBAR
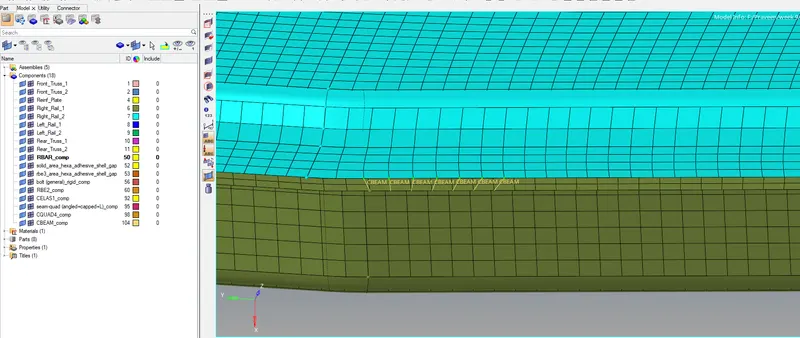
C BEAM
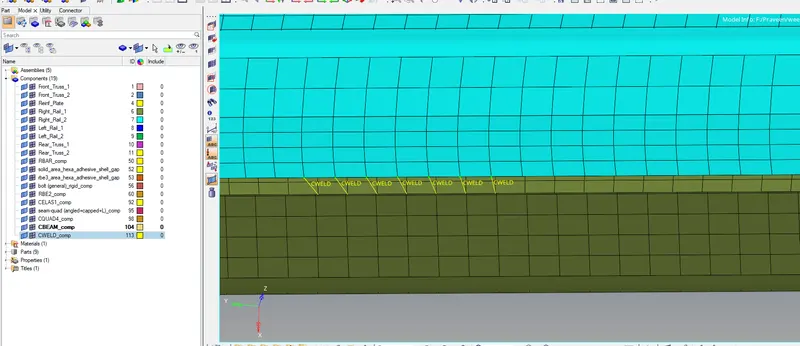
C WELD
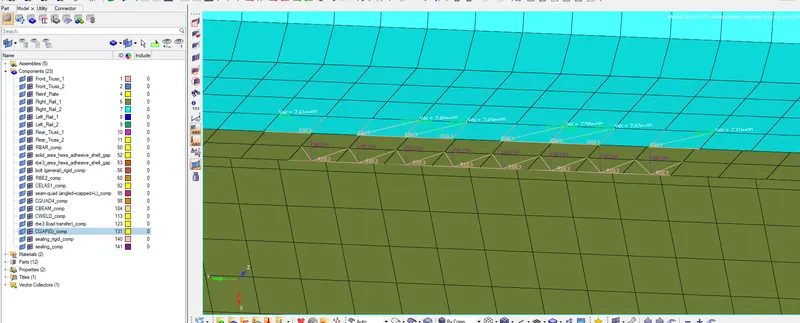
SEALING
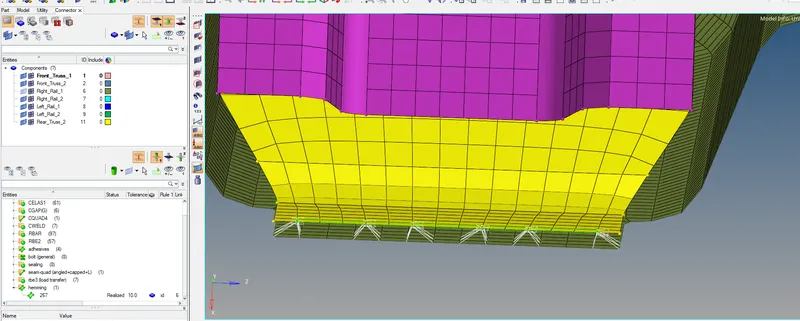
HEMMING
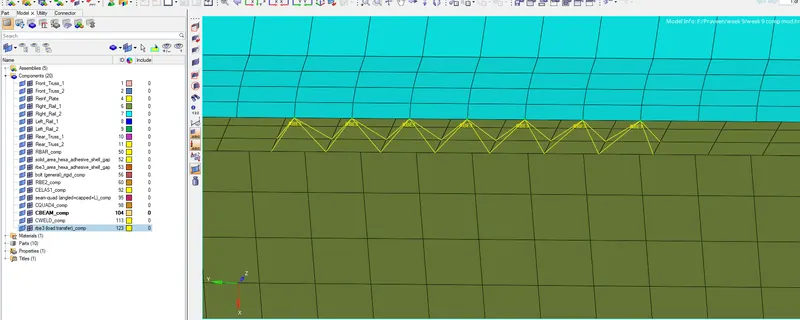
RBE3 LOAD TRANSFER
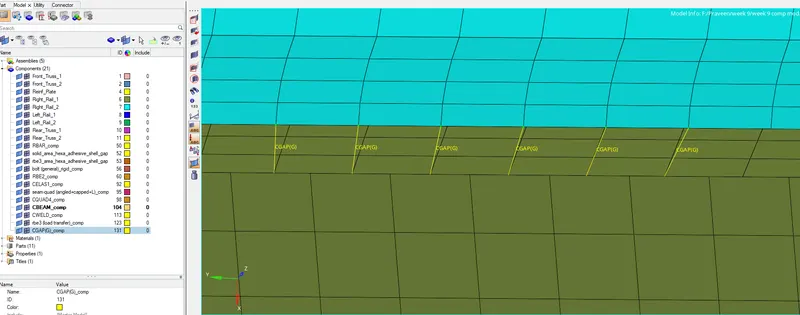
SEAM GAP
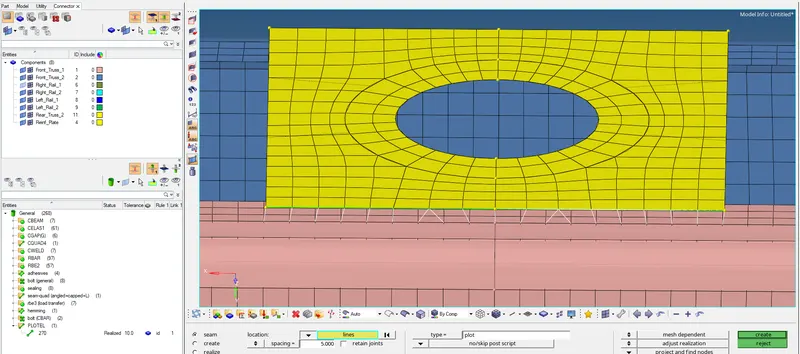
SEAM PLOT
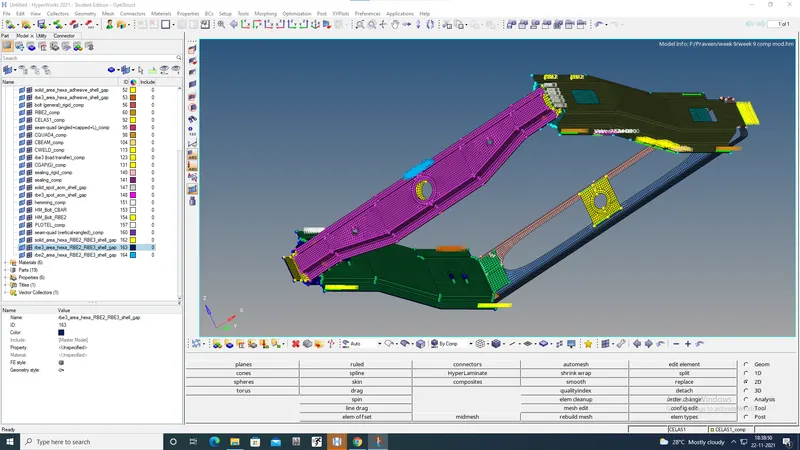
CONNECTIONS REPRESENTATION OF FRAME ASSEMBLY
RESULT:
Mesh done for given component under given criteria and 1D connectors created and connected the various parts succesfully.