Week 9-Creation of 1D Connectors Challenge
Aim :
To mesh given model in 2D and make connectors in 1D and connect as per the given quality certira .
Used software :
Hypermesh student version .
Quality ceritria :
Target Element size - 5 Units
|
S.N |
Quality Criteria |
Value |
|
1 |
Aspect Ratio |
5 |
|
2 |
Skewness |
45 |
|
3 |
Warping |
15 |
|
4 |
Taper |
0.5 |
|
5 |
Min. Length |
2 Units |
|
6 |
Max. Length |
8 Units |
|
7 |
Min angle Quad |
45 |
|
8 |
Max angle Quad |
135 |
|
9 |
Min angle Tria |
30 |
|
10 |
Max angle Tria |
110 |
|
10 |
Tria % |
15 |
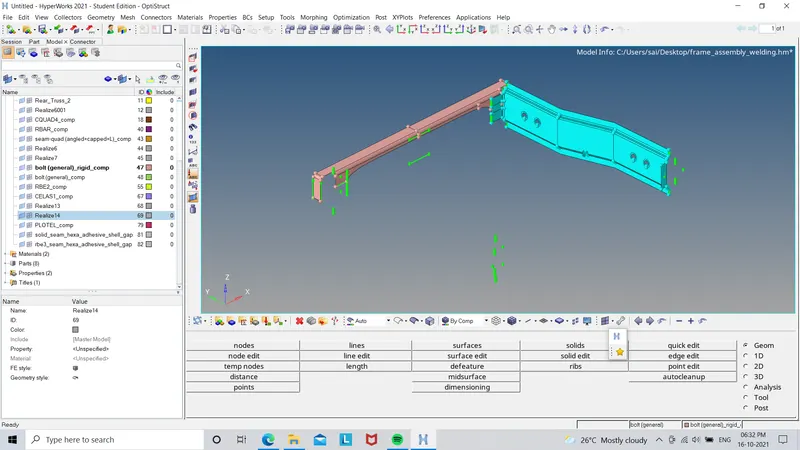
Create connector and Attach the various parts of the given model
1. Right_Rail_2 & Front_truss_1:- Seam-Quad(angled+capped+L)
2. Left_Rail_2 & Front_truss_1:- Quad elements
3. Front_truss_2, Front_truss_1 & Right_Rail_1:- Spot weld with 2 Layers and 5 mm Diameter
4. Front_truss_2, Front_truss_1 & Left_Rail_1:- Hexa (Adhesive)
5. Rear_truss_2 & Right_Rail_2:- Bolt Connector
6. Rear_truss_2 & Left_Rail_2:- Bolt Connector
7. Right_Rail_1 & Right_Rail_2:- Spot-weld with Rigid Elements
8. Left_Rail_1 & Left_Rail_2:- Spot-weld with Spring Elements
9. Rest all the component left Join them with suitable connectors
Procedure :
- Import the model from the downloads .
- Mesh the model with the quad elements in 5mm target length .
- Do the quality clean up for the model as per the given quality for all the parts in the model .
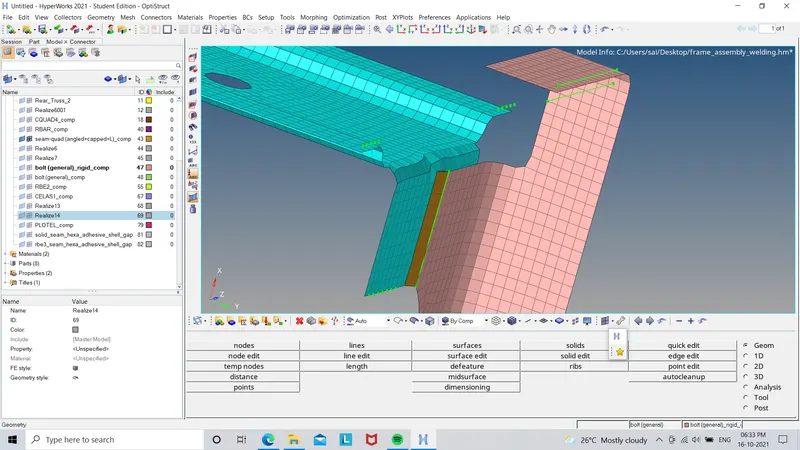
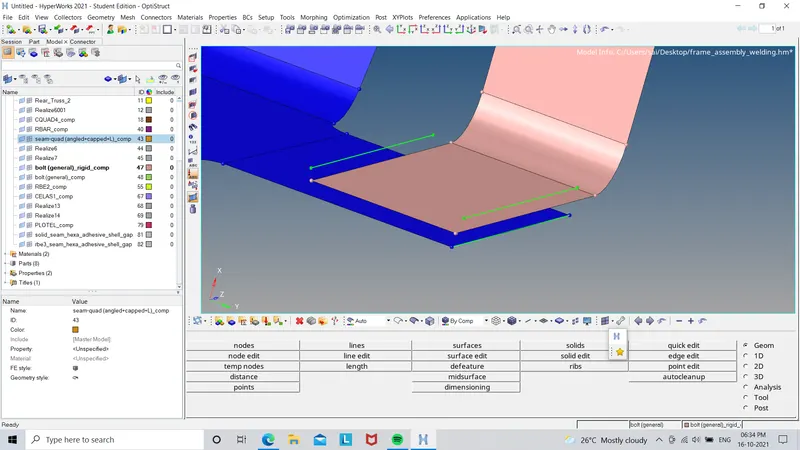
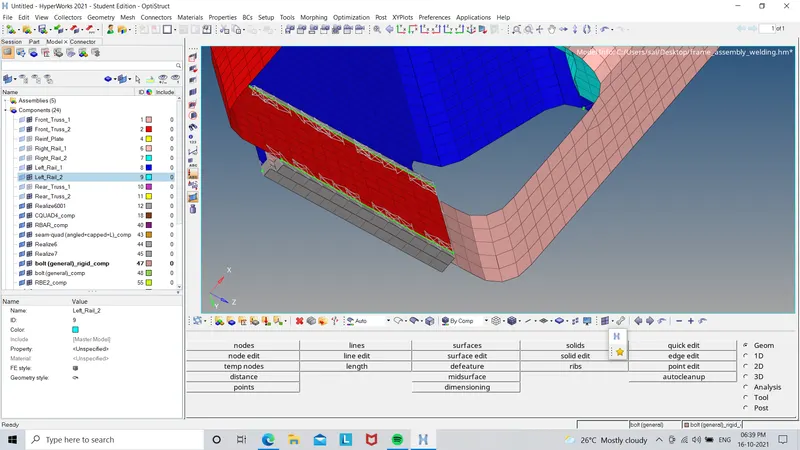
SEAM WEILD WITH QUAD ELEMNTS ( Angled +tapped +T ):
- Hide all the parts in the model apart from the right rail 2 & front tuss 1 .
- Now we are going to connect the both of the models with seam weild quad elemnts .
- Go to connectors in 1D or 2D .
- Select seam weild type of weild is quad angled+ tapped + T .
- select the nodelist in by path ,spacing as 5mm , tolernace as 10mm ,check the retrain nodes ,select the compents , noproperty and click create .
- If the connetors are created we are done if not go to view > hypermesh > connectors and click on it .
- Open the connector tab seaparately in this we can change the settings and make the connector realise .
- If the connector is red its not realised ,if in green its realised
- We can realise by going to realise select the connectors and give realise .
- After realising the mesh in the model will be collapsed so do the quality clean up again in the model .
LEFT RAIL 2 & FORNT TUSS 1 with quad elements :
- Go connectors select seam and change to quads .
- select the part to be connected by nodes > comps to be connected selected then the spacing and tolracences as given and click on the create .
- Follow the same procedure to realise the connectors and realise it .
For all the connectors the produce remains the same apart from spot weild and bolt connectors .
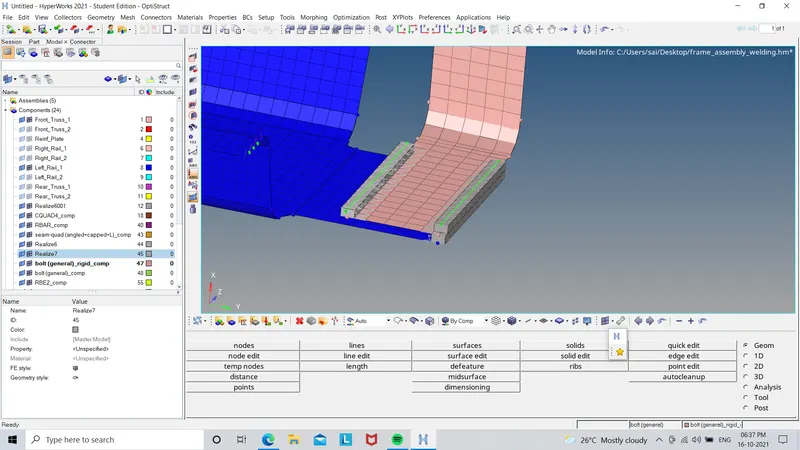
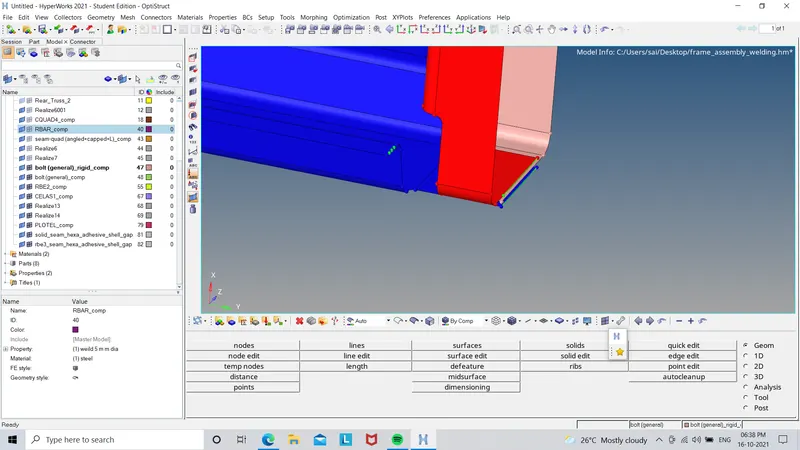
SPOT WEILDS:
- Spot weild connectors are basically done on spotes we desired to have the connection to be there .
- select the components to be connectted and hide all the other parts
- Go to the connectors select spot now select the nodes by path and select all to be connectted .
- select the comps and change the type of spot weild we wanted to as per the given options in it .
- If we have any properties we can choice it if not select no properties and click create .
- If its realised we can proceed with the next one OR we should realise it one by one as we did before .
- After this we can save the model .
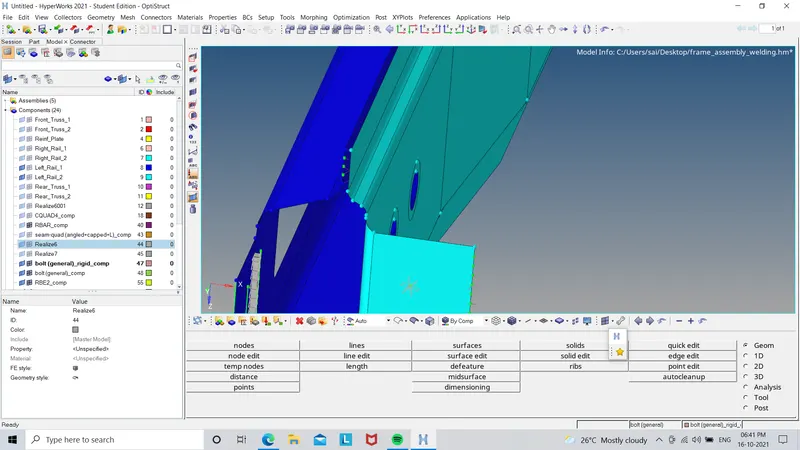
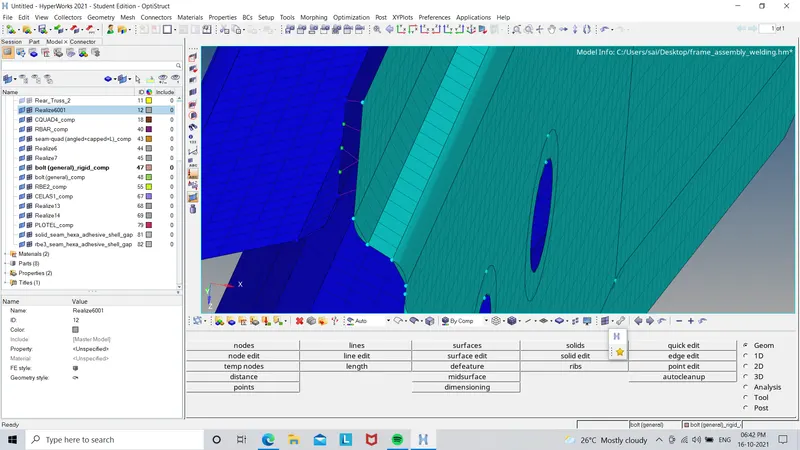
BOLTS :
- Creating a bolt connection depents up geometry we select the model for this we need an hole projection in the model if its avalable we can use it are we should try in others ways only.
- By changing the settings we can use this type of connectors in the model.
- We can go with create hole if none by this option we can create a hole in the model and link the bolts to the requried area .
- Select the node were we want to connect the bolt on the model and select the comps then click on the create .
- If its realise we will have the connection in green are else it will be in red , Now go to the realise and select the connector which is not realised and select realise and its realised .
- By changing the porperties we can create various types of bolts as requried .
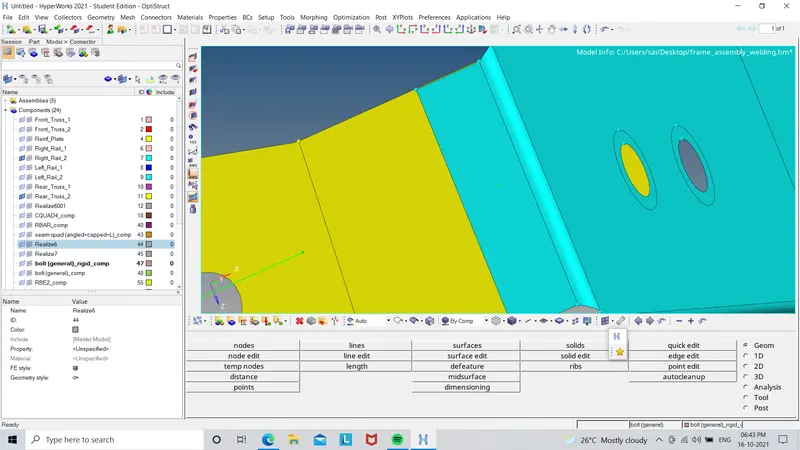
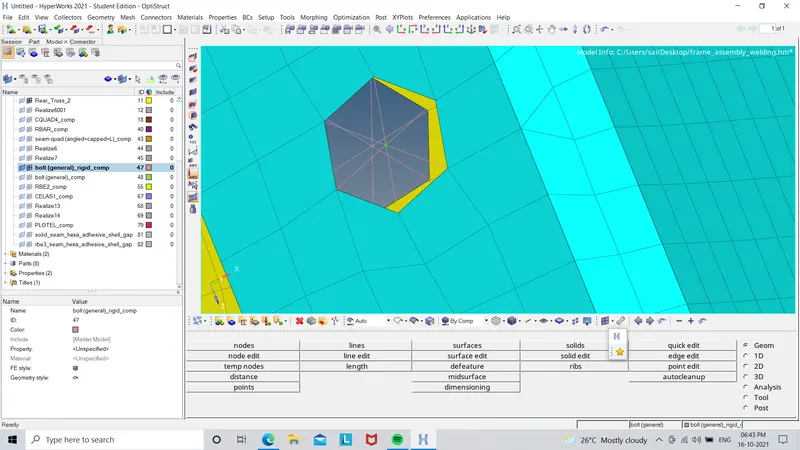
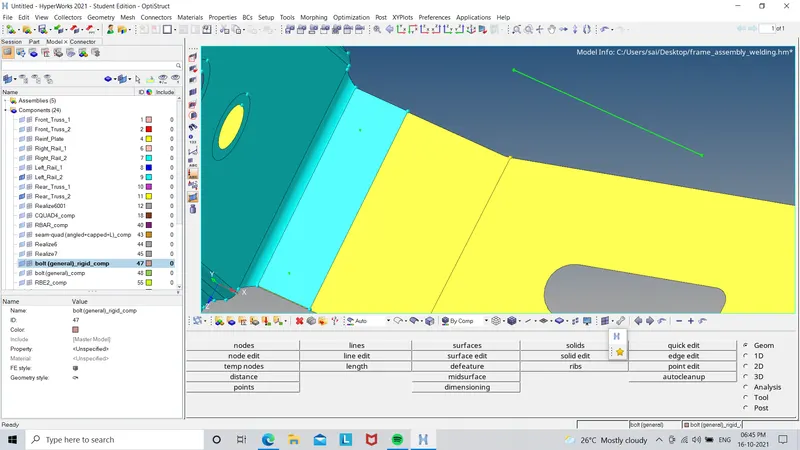
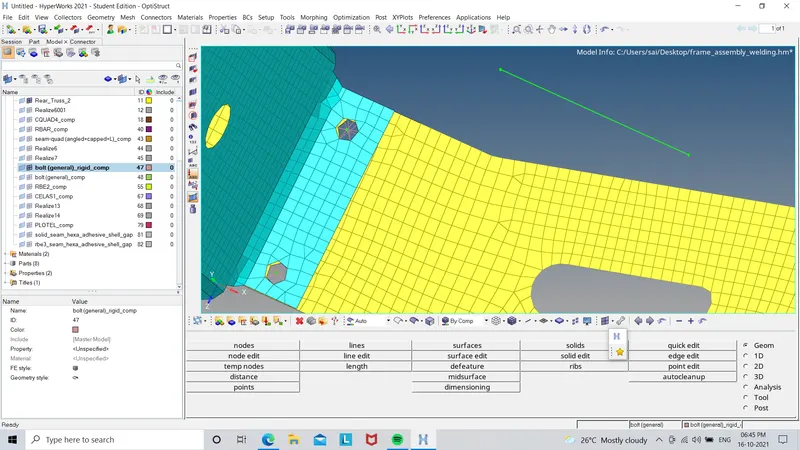
Picture discripsion is given below to understand the working process.
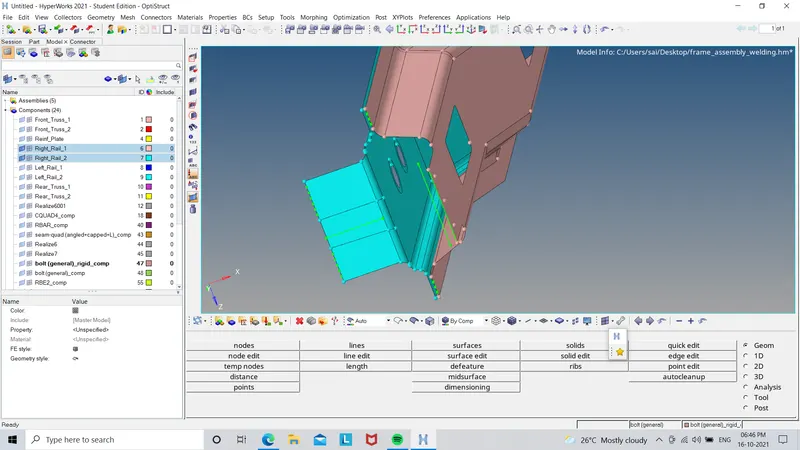
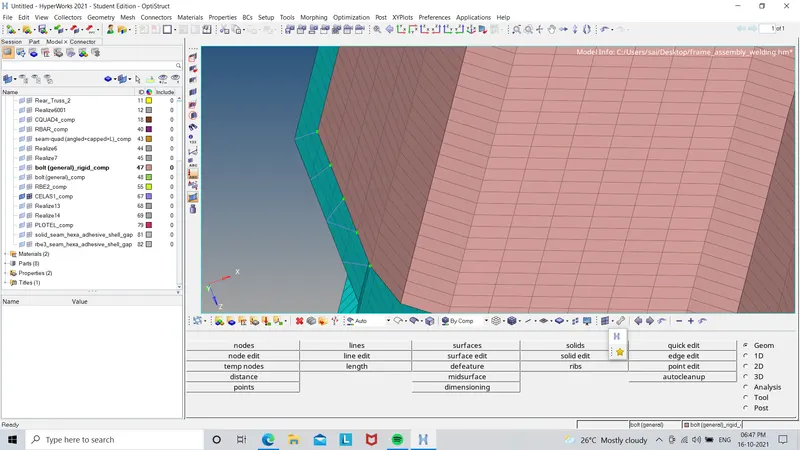
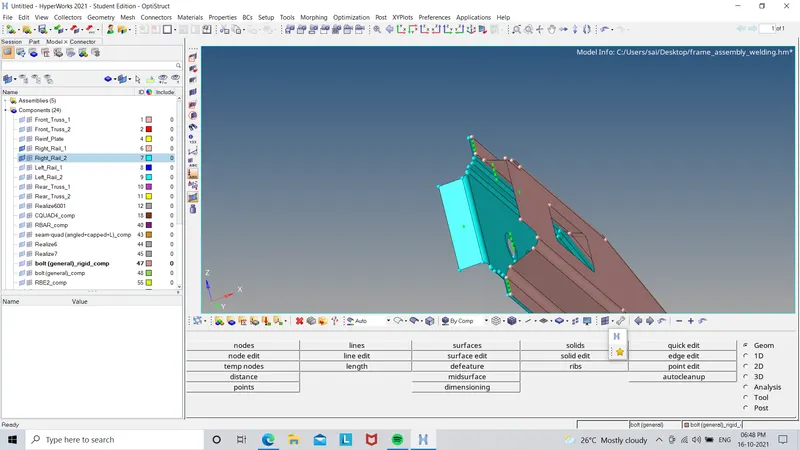
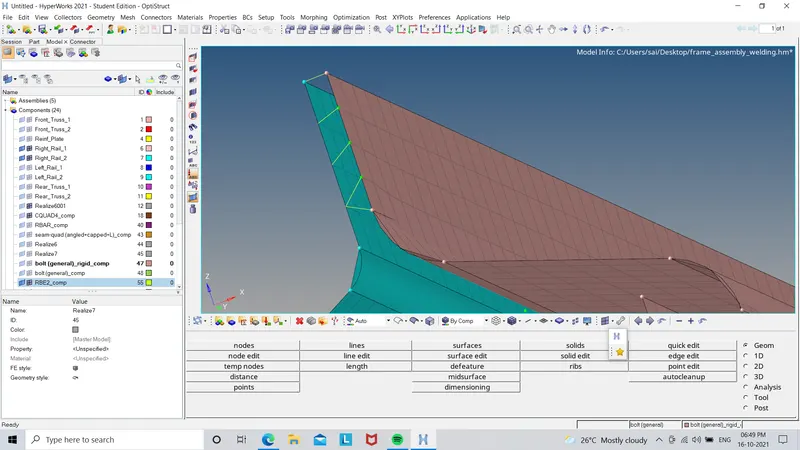
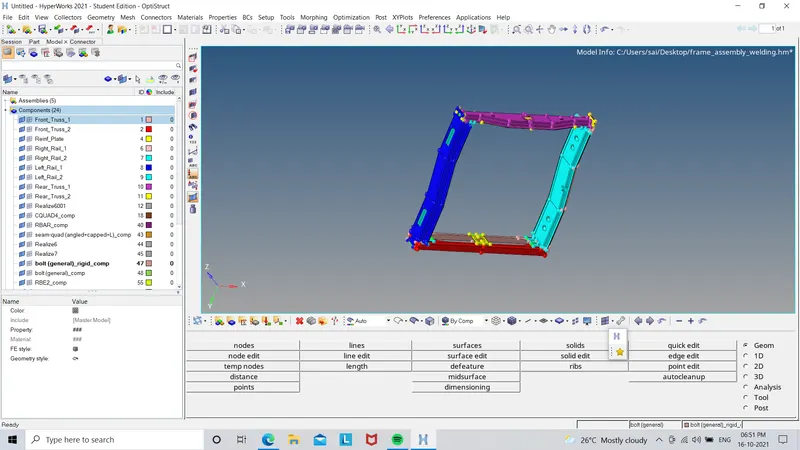
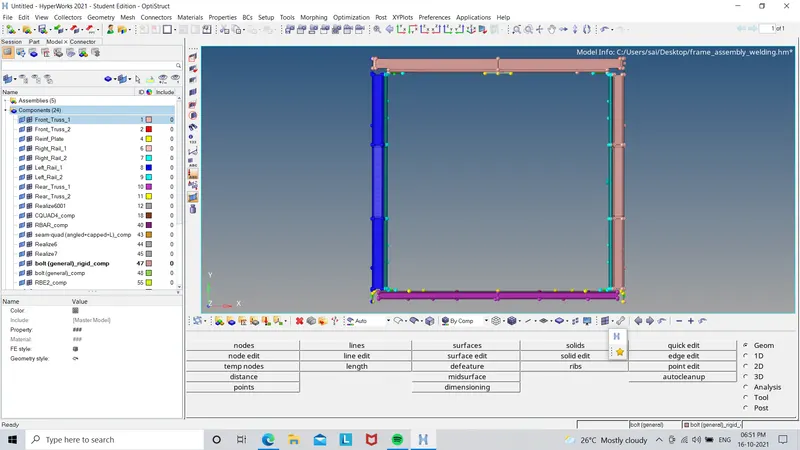
RESULT:
Thus the given model is meshed and connected as per the given quality certiria and submitted .