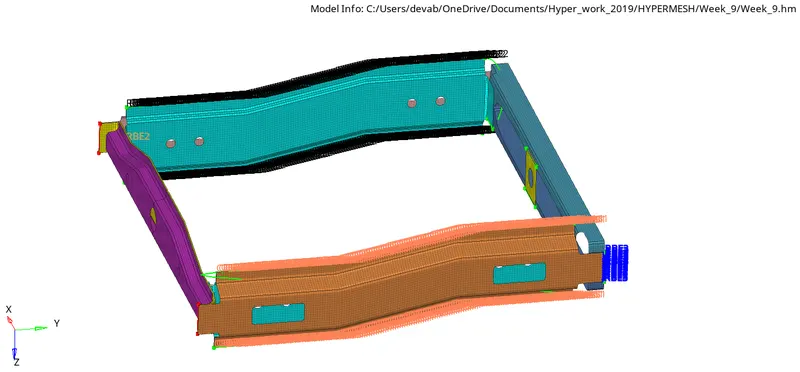
Week 9-Creation of 1D Connectors Challenge
Objective: Mesh the given geometry and Create connectors, provided quality criteria
Target Element size - 5 Units
|
S.N |
Quality Criteria |
Value |
|
1 |
Aspect Ratio |
5 |
|
2 |
Skewness |
45 |
|
3 |
Warping |
15 |
|
4 |
Taper |
0.5 |
|
5 |
Min. Length |
2 Units |
|
6 |
Max. Length |
8 Units |
|
7 |
Min angle Quad |
45 |
|
8 |
Max angle Quad |
135 |
|
9 |
Min angle Tria |
30 |
|
10 |
Max angle Tria |
110 |
|
10 |
Tria % |
15 |
Here we first Mesh the given component, by using Automesh providing an element size of 5 and Quad type elements.
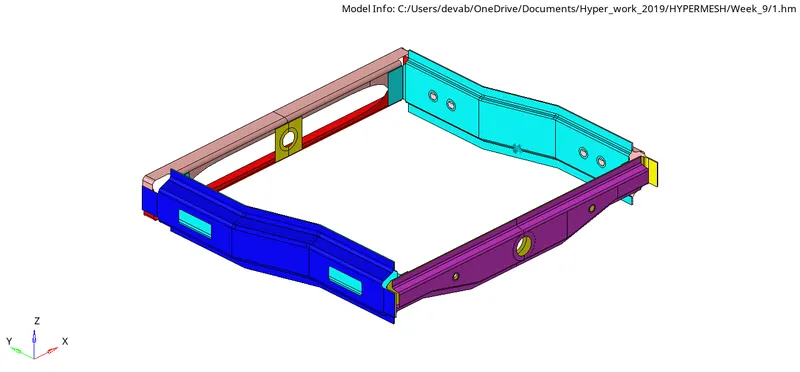
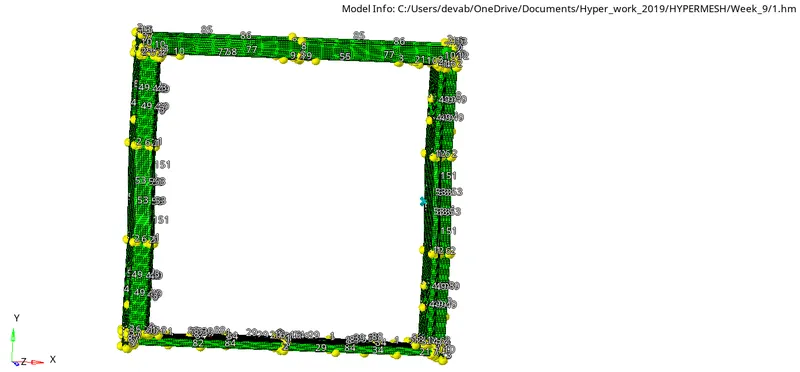
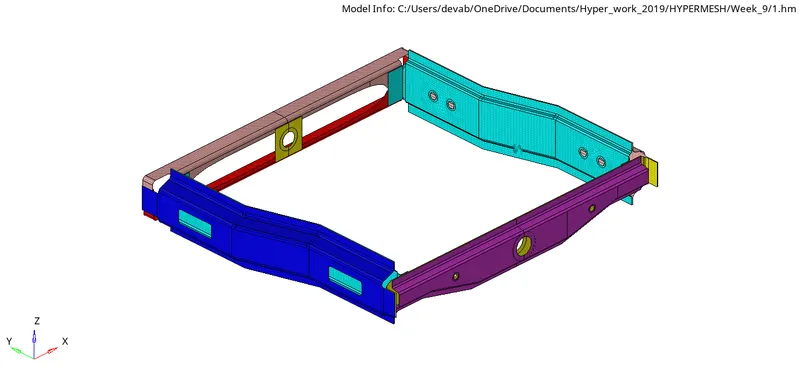
After Meshing, we use different connectors to connect different components, as follows :
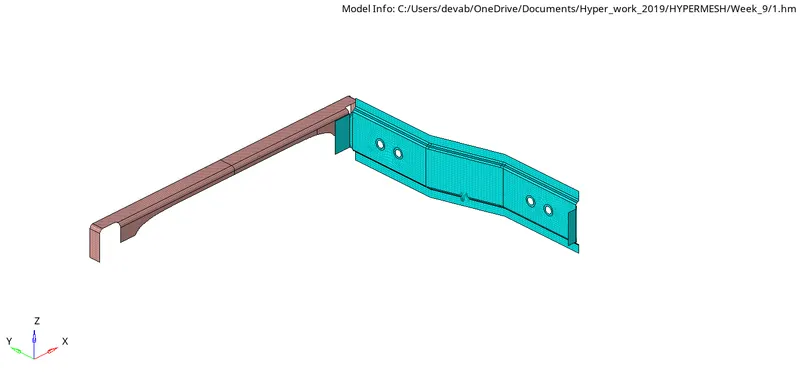
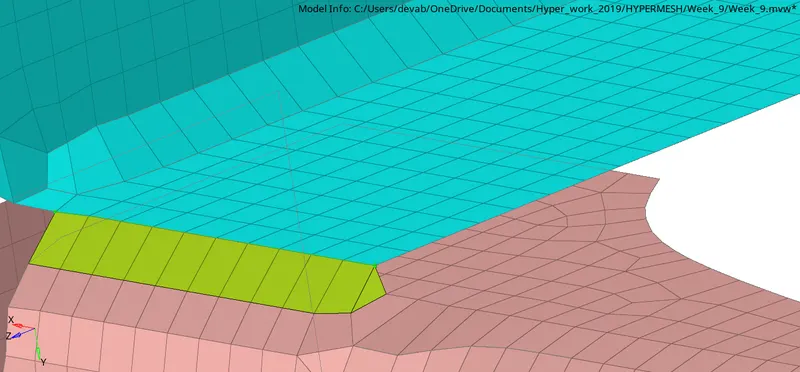
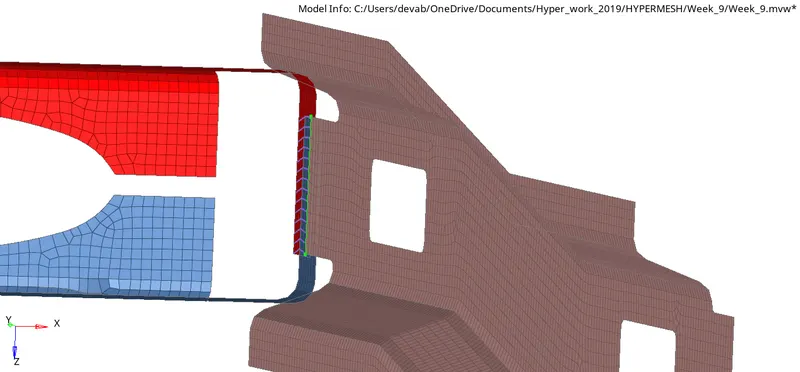
1) Right_Rail_2 & Front_truss_1:
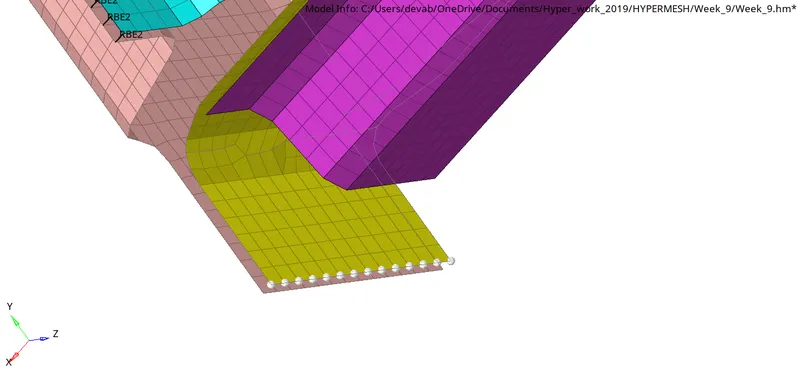
In order to connect Right_Rail_2 & Front_truss_1, we use Seam-Quad(angled+capped+L) connector
- Connectors Menu, Select Seam type
- In seam type connector, we select Angled + capped+ L type
- Specify spacing 5 units and click on 'retain notes'
- Provide tolerance of 10 unit
2. Left_Rail_2 & Front_truss_1:-
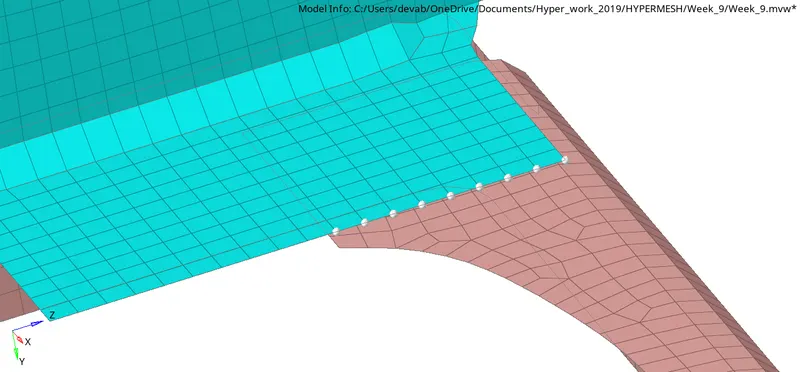
Here, to connect Left_Rail_2 & Front_truss_1, we use Quad connector
- Connectors Menu, Select Seam type
- In seam type connector, we select Quad type
- Specify spacing 5 units and click on 'retain notes'.
- Provide tolerance of 10 unit
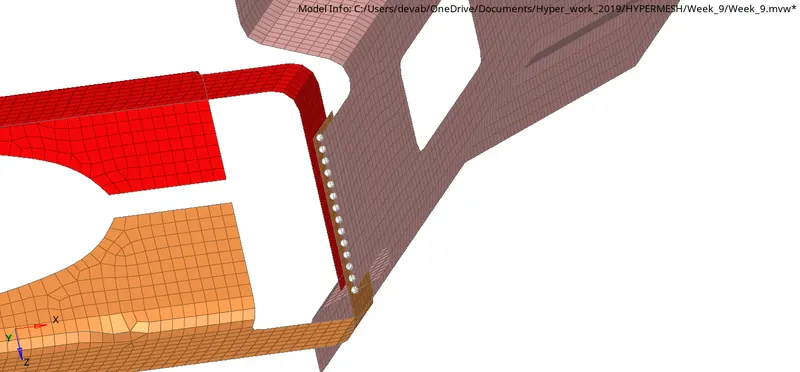
3. Front_truss_2, Front_truss_1 & Right_Rail_1:
Here, to connect Front_truss_2, Front_truss_1 & Right_Rail_1, we use Spot weld with 2 Layers connector and 5 mm Diameter

- Connectors Menu, Select Spot type
- In Spot type connector, we select 'plot'
- Specify spacing 5 units and click on 'retain notes'.
- Provide tolerance of 10 unit
- Also, select the number of layers to 3
4. Front_truss_2, Front_truss_1 & Left_Rail_1:-
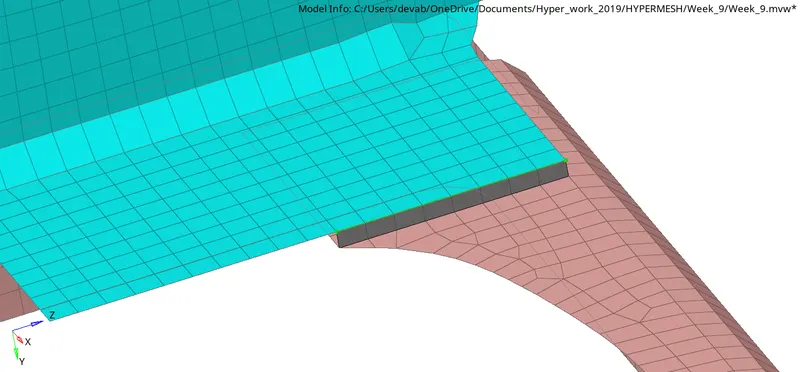
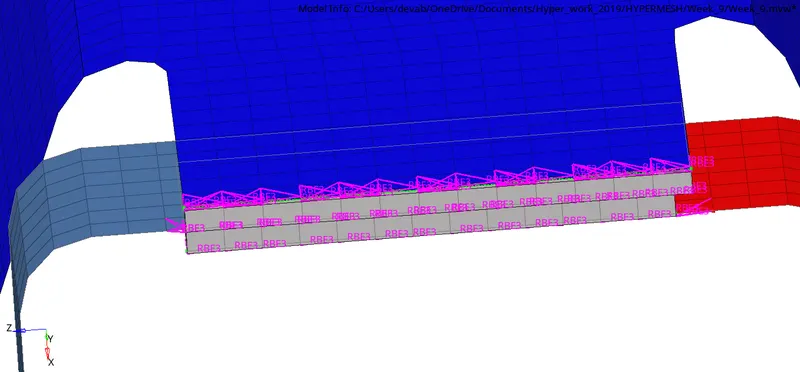
Here, to connect Front_truss_2, Front_truss_1 & Left_Rail_1, we use Hexa (Adhesive) connector

- Connectors Menu, Select Seam type
- In seam type connector, we select Hexa (Adhesive) type
- Specify spacing 5 units and click on 'retain notes'.
- Provide tolerance of 10 unit
- Also give width of 2 unit
5. Rear_truss_2 & Right_Rail_2:
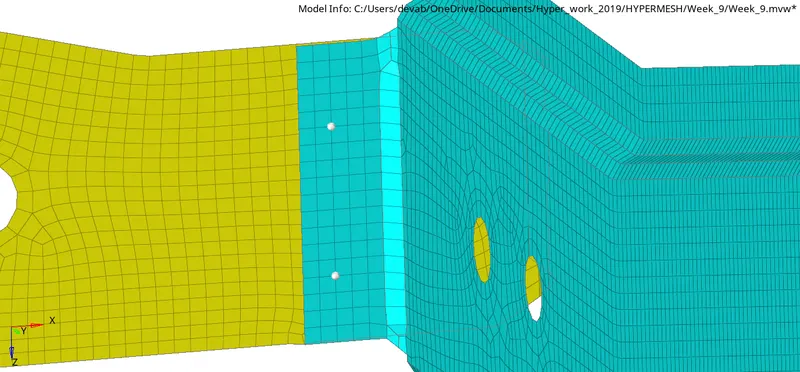
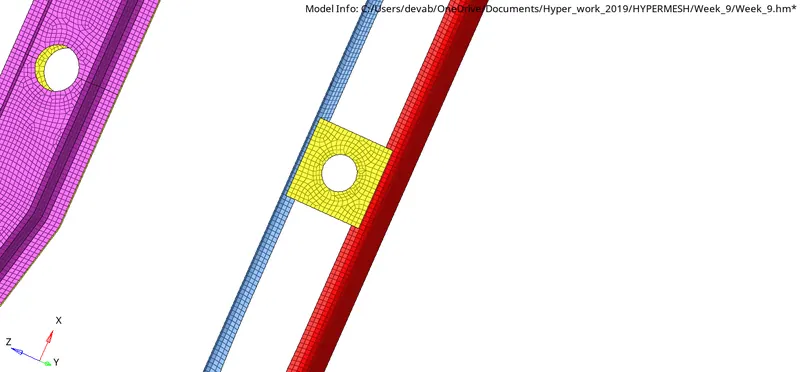
Here, to connect Rear_truss_2 & Right_Rail_2, we use Bolt Connector

- Connectors Menu, Select Bolt type
- In Bolt type connector, we select Bolt type
- Specify spacing 5 units and click on 'retain notes'.
- Provide tolerance of 10 units.
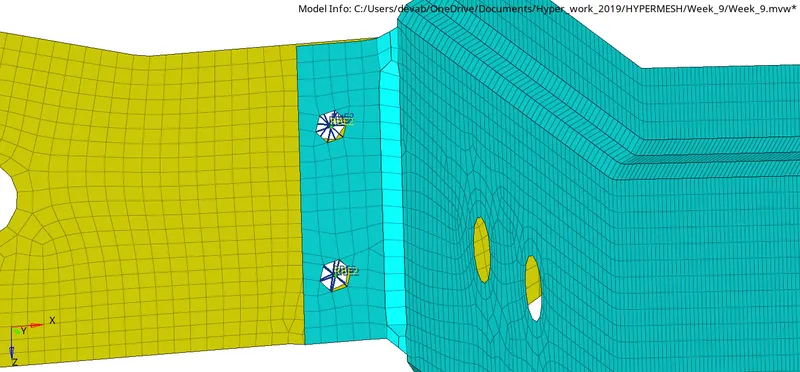
6. Rear_truss_2 & Left_Rail_2:- Bolt Connector
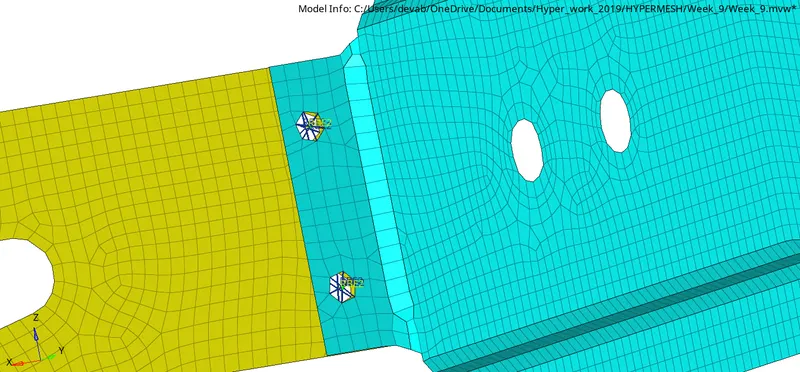
7. Right_Rail_1 & Right_Rail_2:-
Here, to connect Right_Rail_1 & Right_Rail_2, we use Spot-weld with Rigid Elements
- Connectors Menu, Select spot type
- In spot type connector, we select rigit type
- Specify spacing 5 units and click on 'retain notes'.
- Provide tolerance of 10 unit
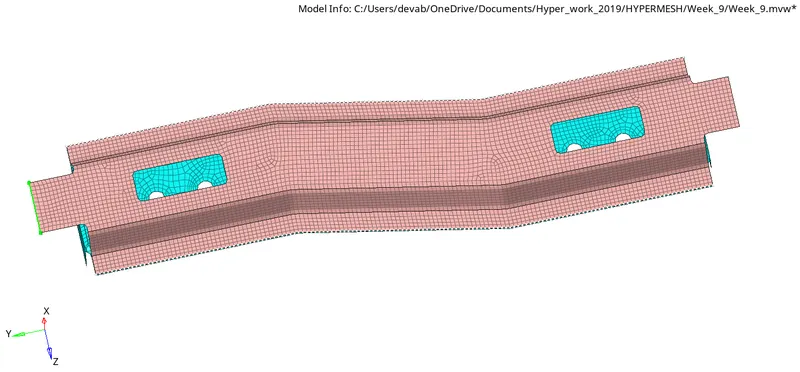
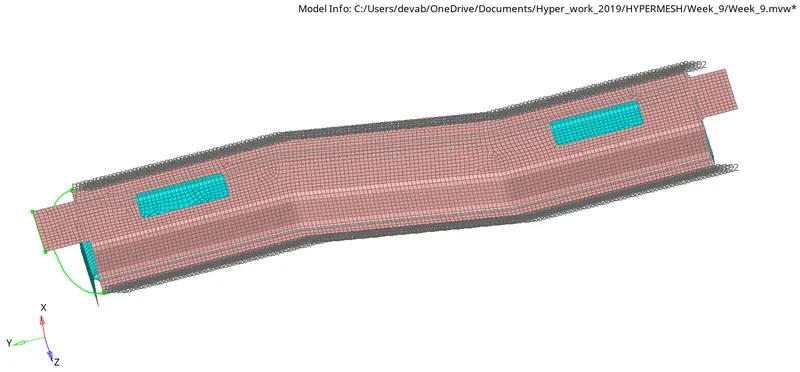
8. Left_Rail_1 & Left_Rail_2:-
Here, to connect Left_Rail_1 & Left_Rail_2, we use Spot-weld with Spring Elements
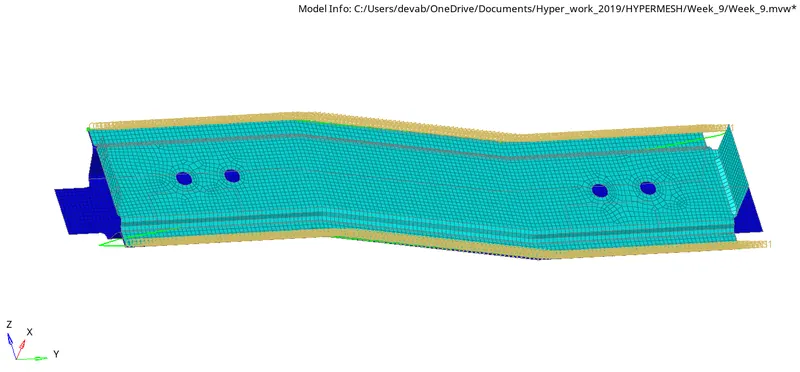
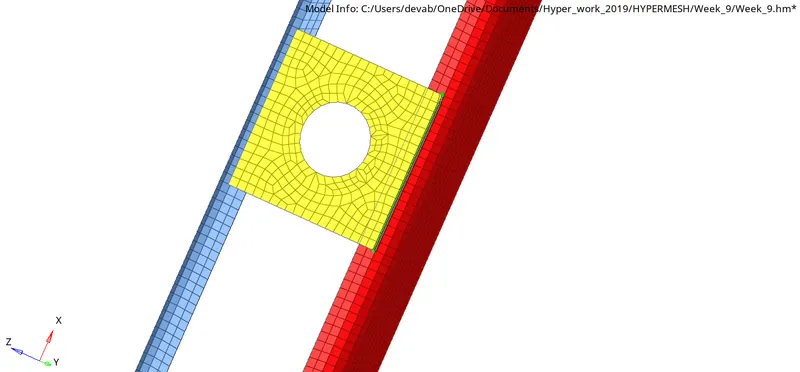
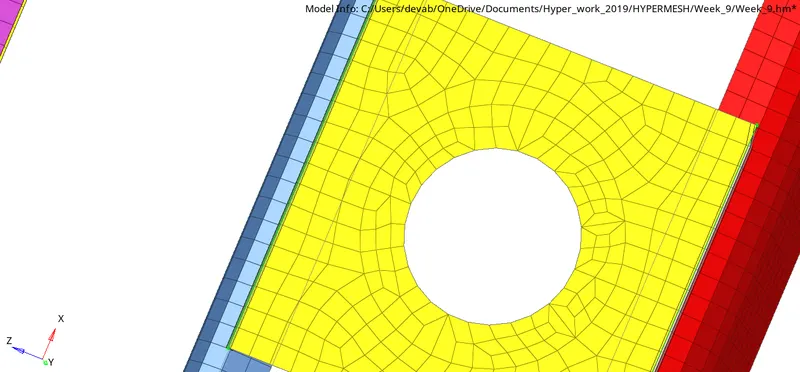
At last, we provided the required connectors to the assembly,
1) Here we use a Seam connector, and particularly seam quad vertical angeled type.

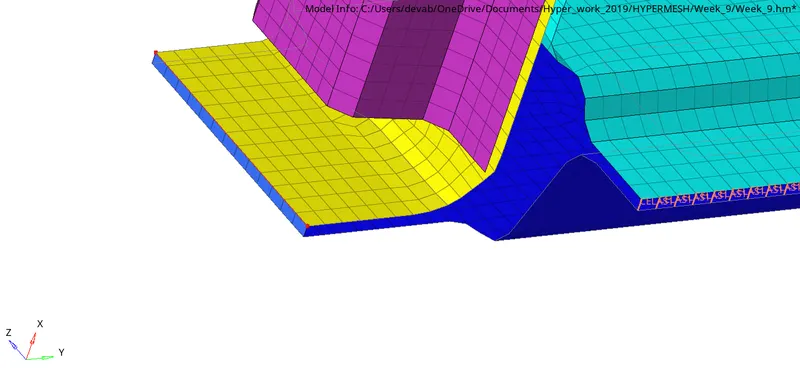
2) Here we use Hexa adhesive type under seam Connector to connect.

Conclusion:
Here, we meshed the component and provide the required connector, these connectors have been defined and successfully realised. At last, check for proper Mesh flow and also check elements for quality.