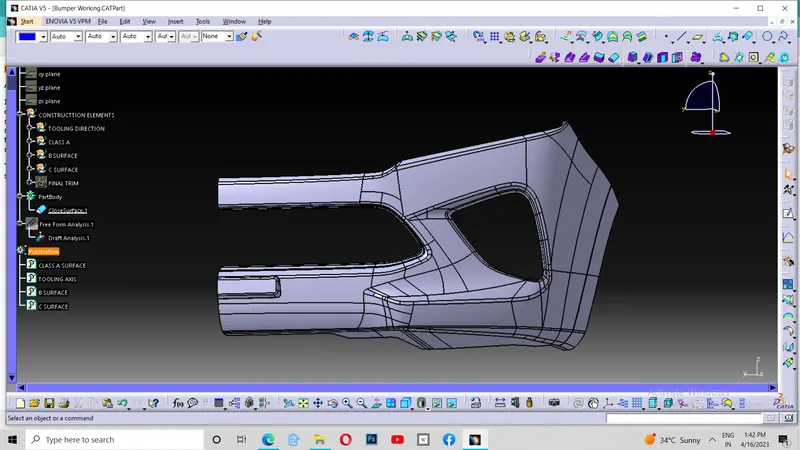
Week 9 - Challenge 3 - Bumper
BUMPER CHALLENGE
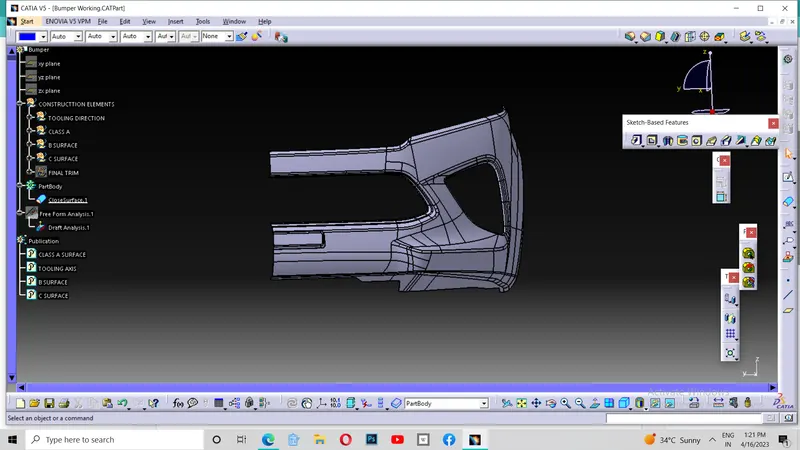
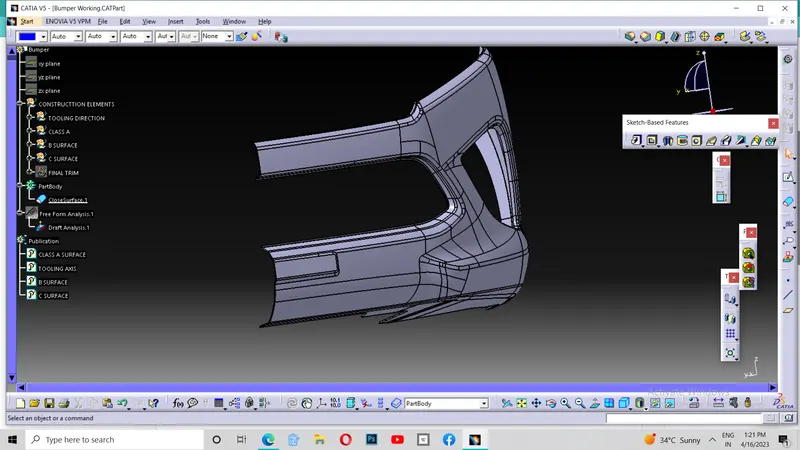
As per the given Class A surface of the bumper, I started to work on my challenge.
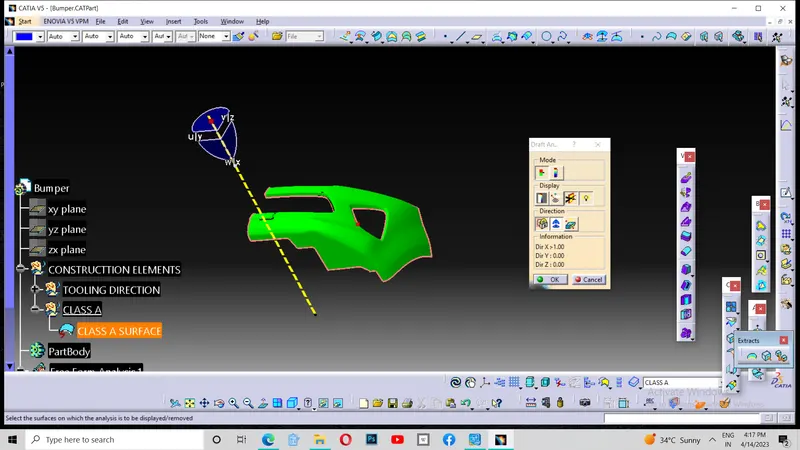
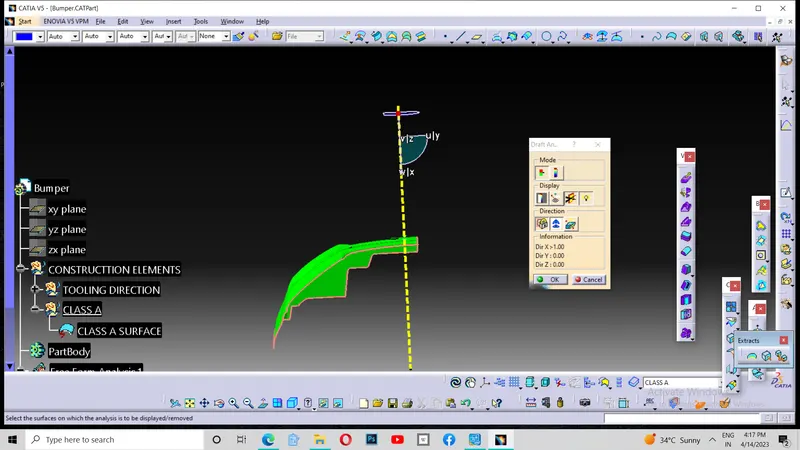
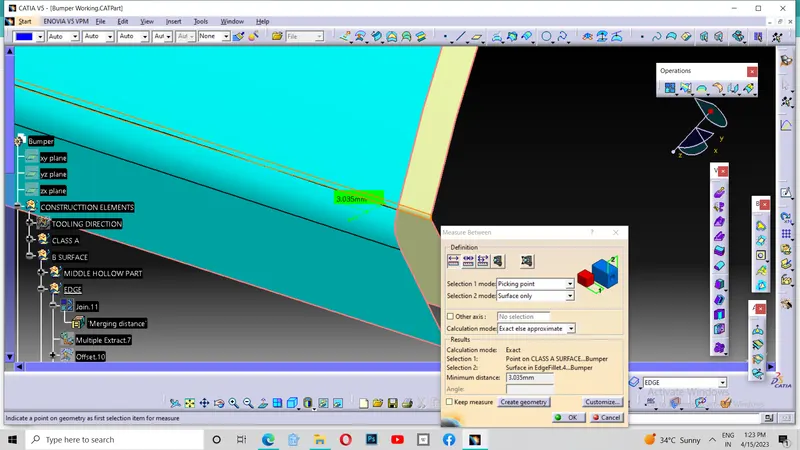
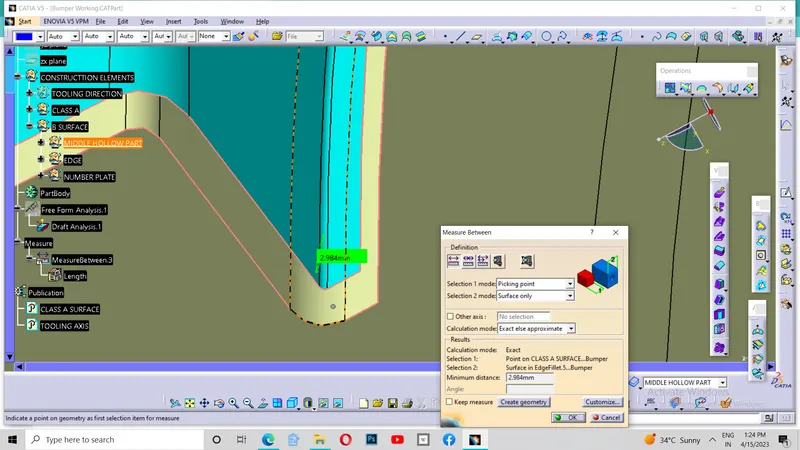
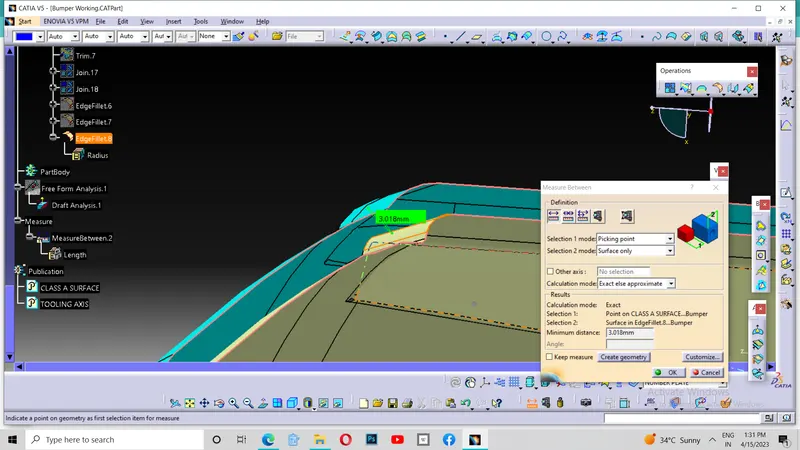
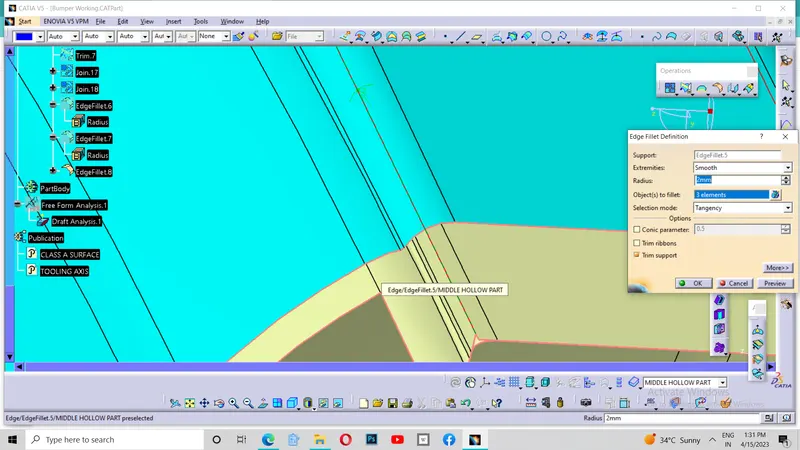
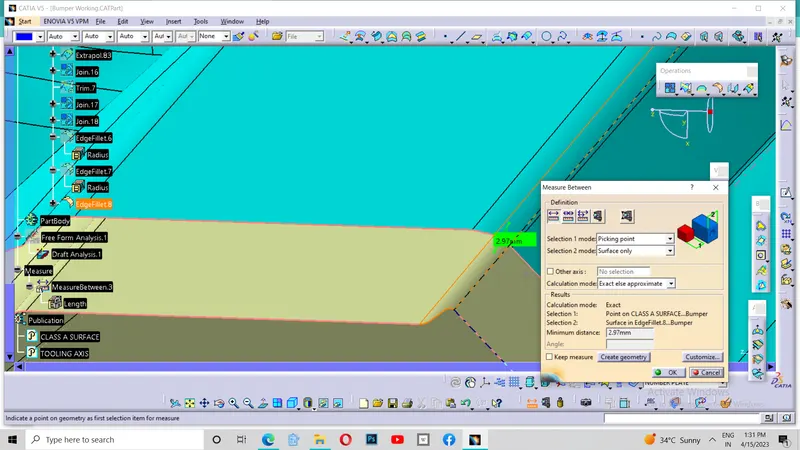
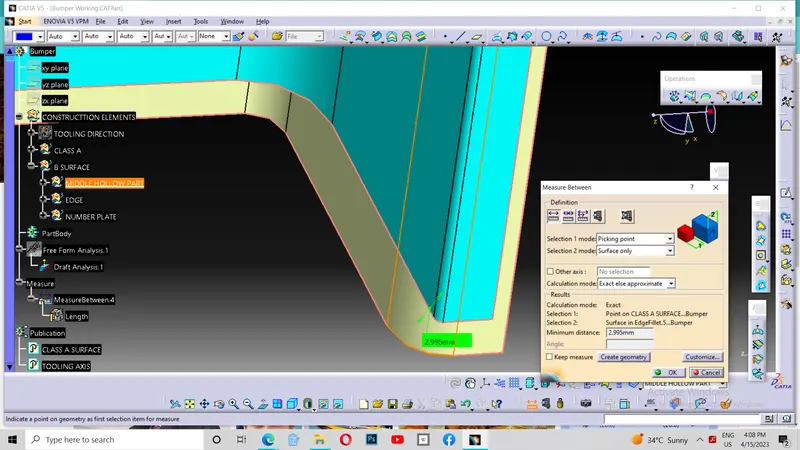
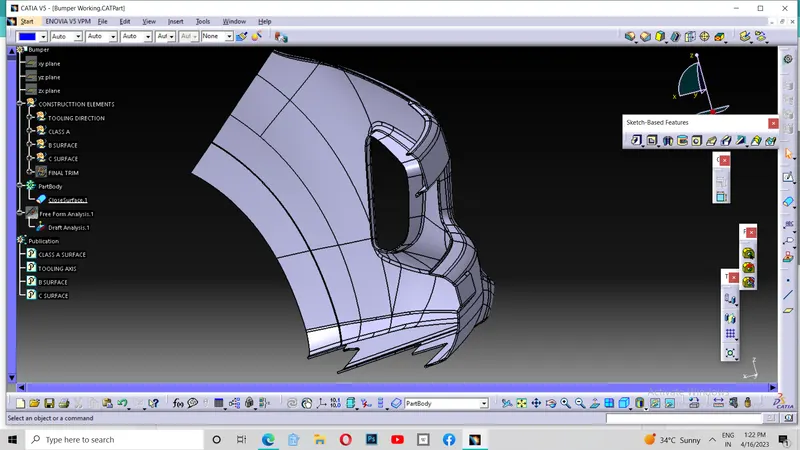
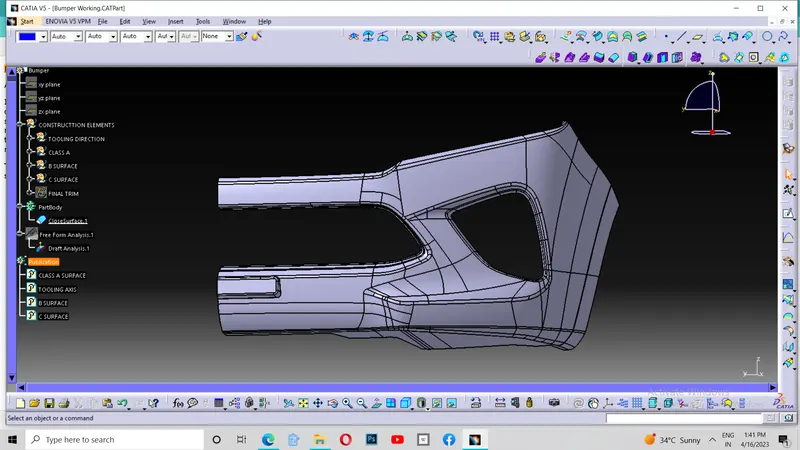
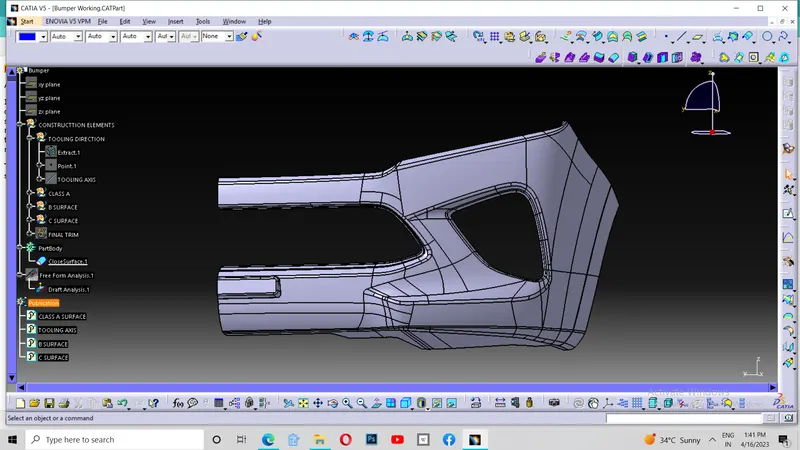
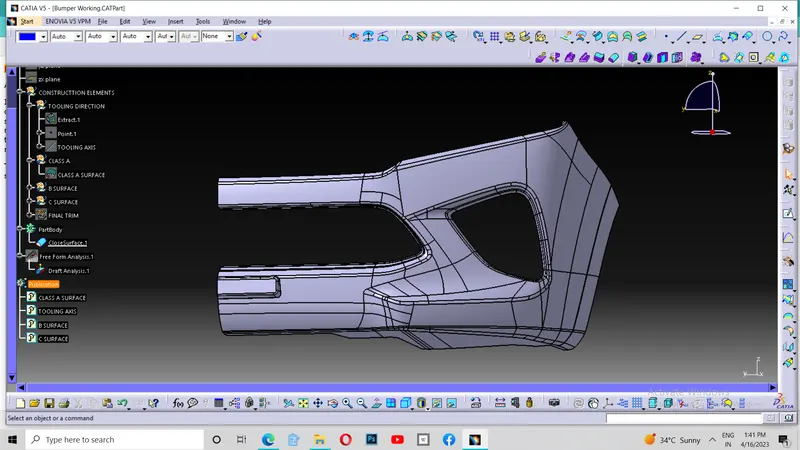
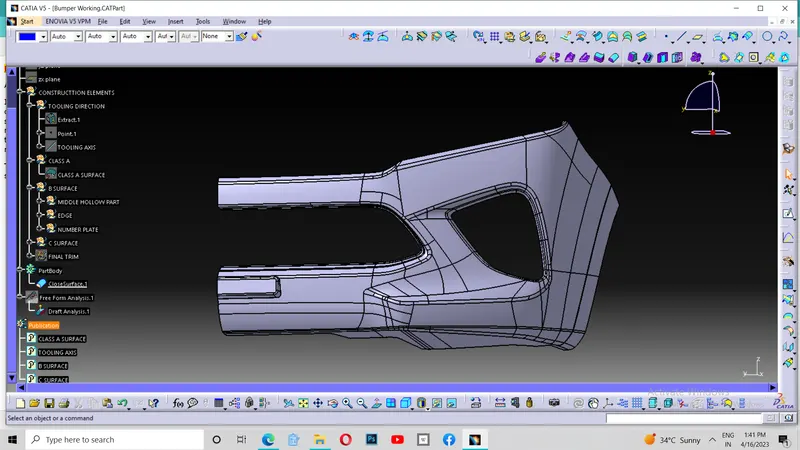
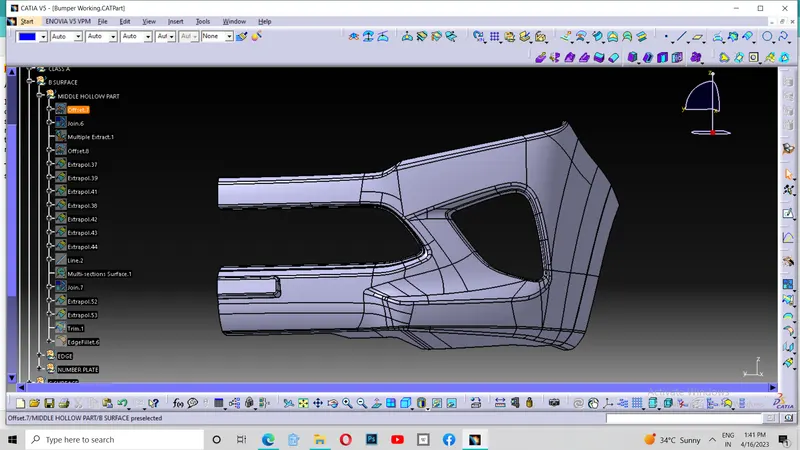
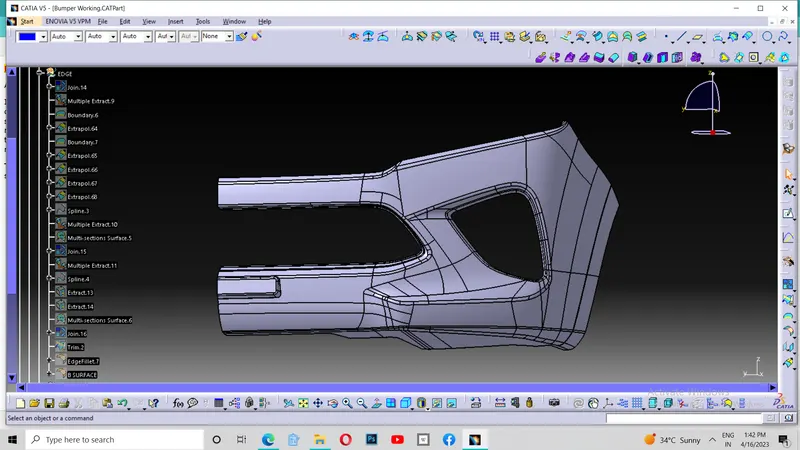
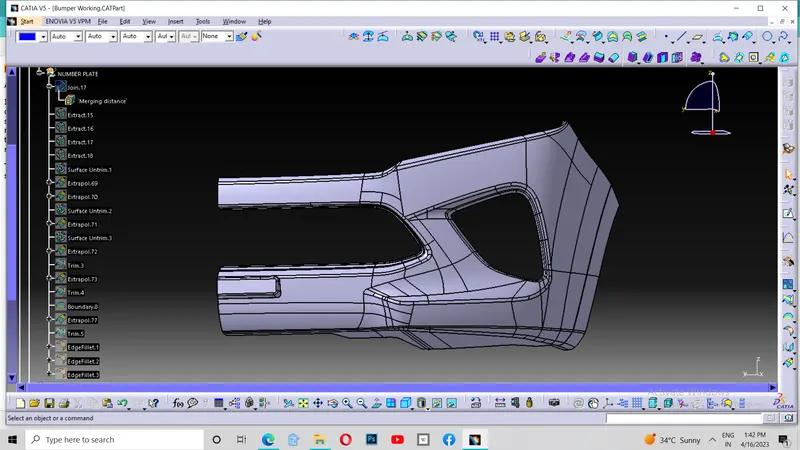
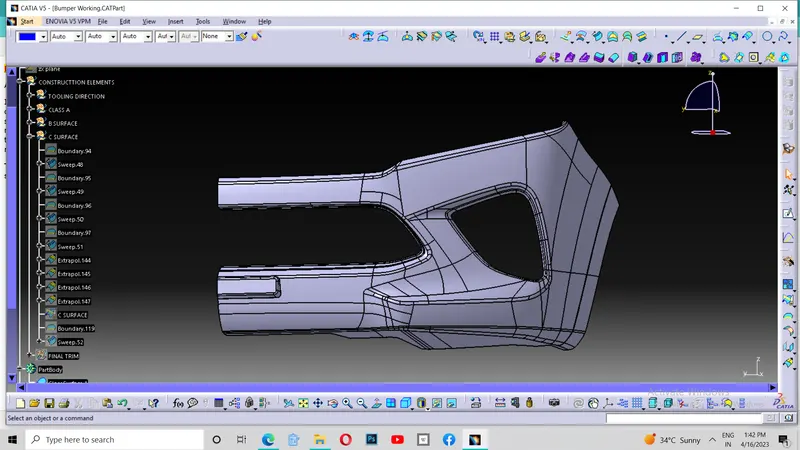
Initially I vissually checked for the tooling direction of the part and found out it will be in the X direction and drawn a line in the direction of the X component. Then I checked for the draft analysis and got the green colour even in the 3 degrees of maximum inclination. Then I made my tooling axis to a particular colour and type and made it as a publication. Also I have made class A as publication. Then I start to work on my B surface. For that I offsetted my entire class A to a 3mm and corrected the missing parts by the use of Multisection surfaces and trimming.After correcting my B surface , I made to publication. Then I extrapolated my B surface to a small extent. Then I started to create my C surface. For that I took the boundary of the whole edge face and sweeped it with the reference to the surface to 90 degrees. Then I took boundary of the inside hole and also sweeped with the reference of of the surface. Then I took 3 different boundaries for the inside part and sweeped it with tooling direction for 3 degrees inside. and trim it together. Thus I got my required C surface.
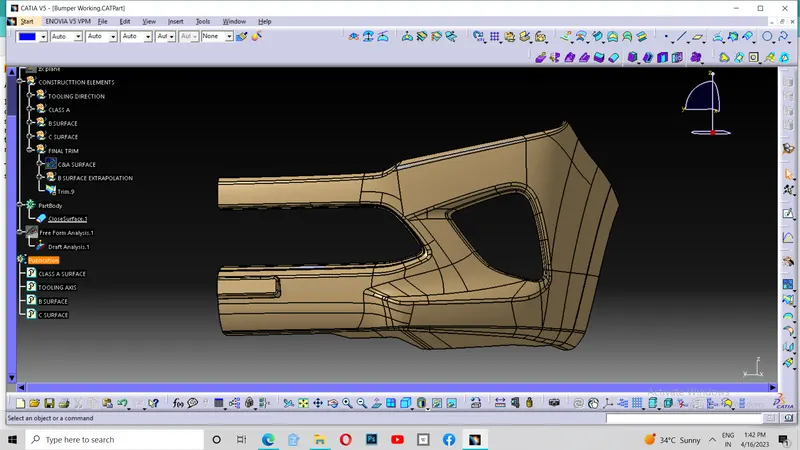
Then I joined C surface with Class A surface and trimmed it with extrapolated B surface and I get the desired design. After getting my desired design which was hollow inside, I tried to close the surface using Close surface tool in the part design workbench. Thus I completed my challenge.