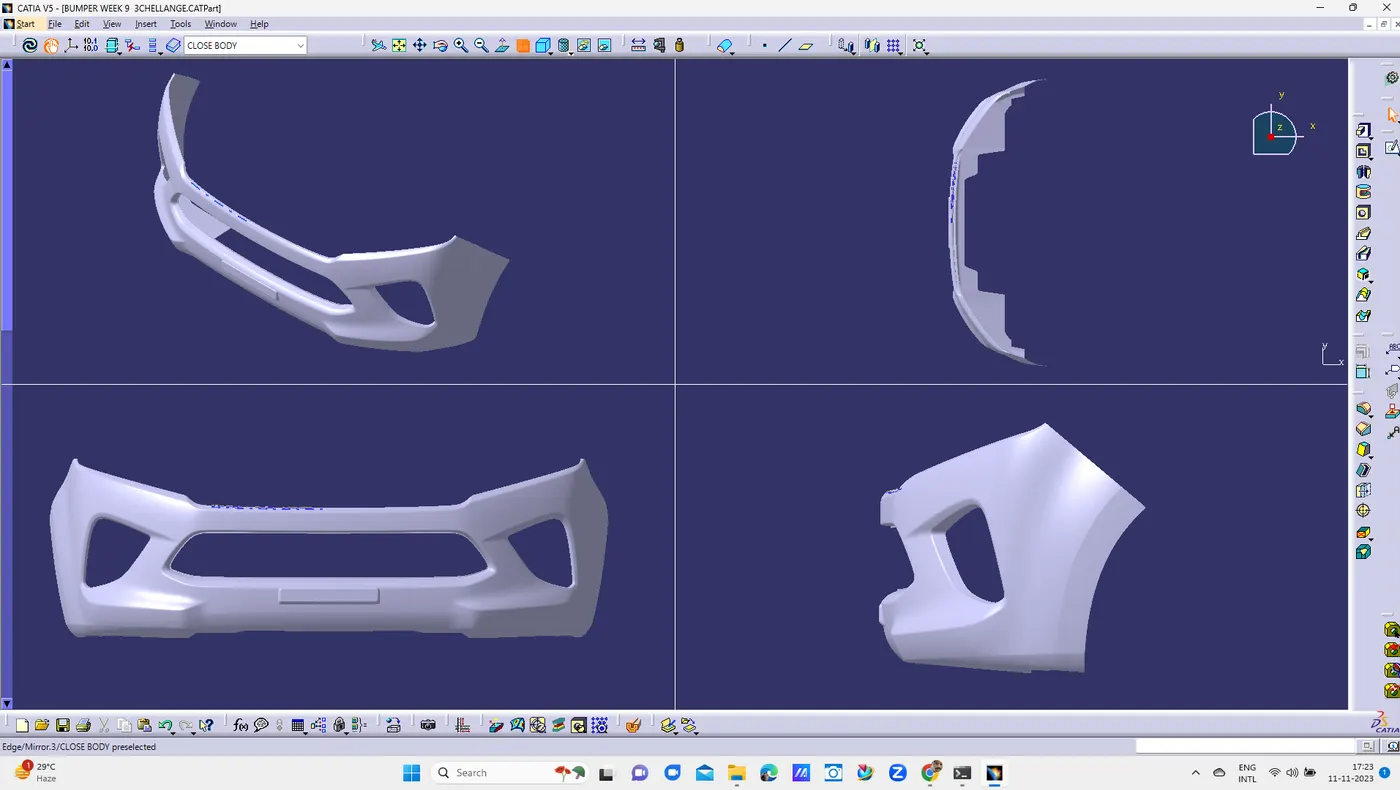
Week 9 - Challenge 3 - Bumper
BUMPER
- Bumpers are an essential part of any vehicle, serving as the first line of defense against minor collisions and providing a bit of cushioning to protect passengers and the car itself. Bumper moulds, also known as bumper molds or bumper dies, are used to shape and form the bumpers of cars, trucks, and other vehicles. In this comprehensive guide, we will take a deep dive into everything you need to know about bumper moulds, including their types, materials, manufacturing processes, and more.
-
The first stage of injection moulding is to create the mould itself. Most moulds are made from metal, usually aluminium or steel, and precision machined to match the features of the product they are to produce.
Once the mould has been created by the mould-maker, the material for the part is fed into a heated barrel and mixed using a helical shaped screw. Heating bands melt the material in the barrel and the molten metal or molten plastic material is then fed into the mould cavity where it cools and hardens, matching the shape of the mould. The cooling time can be reduced through the use of cooling lines that circulate water or oil from an external temperature controller. Mould tools are mounted on plate moulds (or ‘platens’), which open once the material has solidified so that ejector pins can eject the part from the mould.
-
Materials Used in Car Bumper Mould :-
Car Bumper mould can be made from a variety of materials, including metals like steel, aluminum, and copper, as well as composite materials like carbon fiber or fiberglass. The choice of material depends on the specific requirements of the bumper and the moulding process being used.
Steel is a common material for bumper molds due to its durability and strength. It is able to withstand high pressures and temperatures, and it is also relatively inexpensive. However, it is also heavy, which can make it more difficult to handle and transport.
Aluminum is another popular material for bumper molds, as it is lighter than steel and has good thermal conductivity. It is also easier to machine and shape than steel, which can make it more cost-effective for certain applications.
Copper is another option for bumper molds, and it has excellent thermal conductivity and corrosion resistance. It is also relatively expensive, however, and may not be the best choice for all applications.
Composite materials like carbon fiber and fiberglass are becoming increasingly popular for bumper moulds due to their light weight and high strength. They are also able to withstand high temperatures and pressures, making them suitable for use in the moulding process. However, they are generally more expensive than metal materials and may not be the best choice for all applications.
-
Car Bumper Mould Manufacturing Process :-
The manufacturing process for bumper mould can vary depending on the specific requirements of the mould and the materials being used. In general, however, the process follows a similar set of steps:
- Design: The first step in the manufacturing process is to design the car bumper mould. This typically involves creating a detailed 3D model of the mould, including all of its features and cavities. The design may also include specifications for the materials to be used and the moulding process to be employed.
- Machining: Once the design is complete, the next step is to machine the mould. This typically involves cutting the material to the desired shape and size using tools such as lathes, milling machines, gridding machines, and EDM (electrical discharge machining) equipment. The machining process can be quite complex and time-consuming, as it requires precise measurements and attention to detail.
- Assembling: After the individual parts of the mould have been machined, the next step is to assemble them. This typically involves fitting the parts together and securing them with bolts or other fasteners. The mould may also need to be polished or surface treated at this stage to improve its appearance or performance.
- Testing: Before the automotive bumper mould is ready for use, it must be thoroughly tested to ensure that it is functioning properly. This may involve running test runs of the moulding process to see how the mould performs and making any necessary adjustments.
- Maintenance: Bumper moulds require regular maintenance to ensure that they continue to function properly. This may involve cleaning the mould and replacing worn or damaged parts as needed.
-
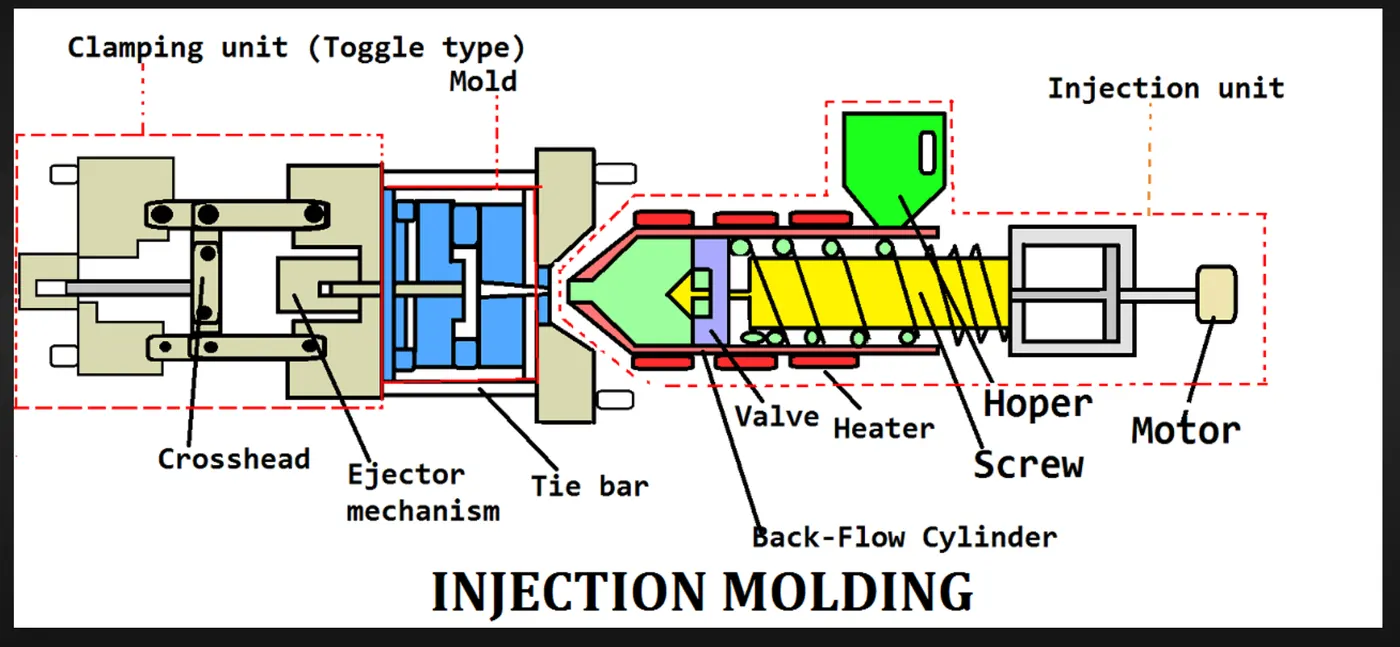
- INJECTION MOLD NOMENCLATURE :-
- PART AND CONCEPTS OF INJECTION MOULDING
- PARTS OF INJECTION MOULDING
- WORKING PRINCIPLE
- CORE AND CAVITY DESIGN :- A. DRAFT B. UNDER CUTS C. EJECTOR D.SIDE CORE E. LIFTER
CORE & CAVITY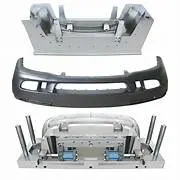
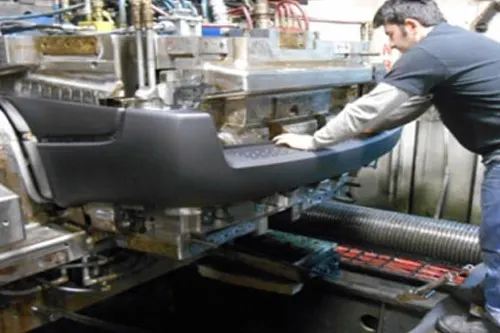
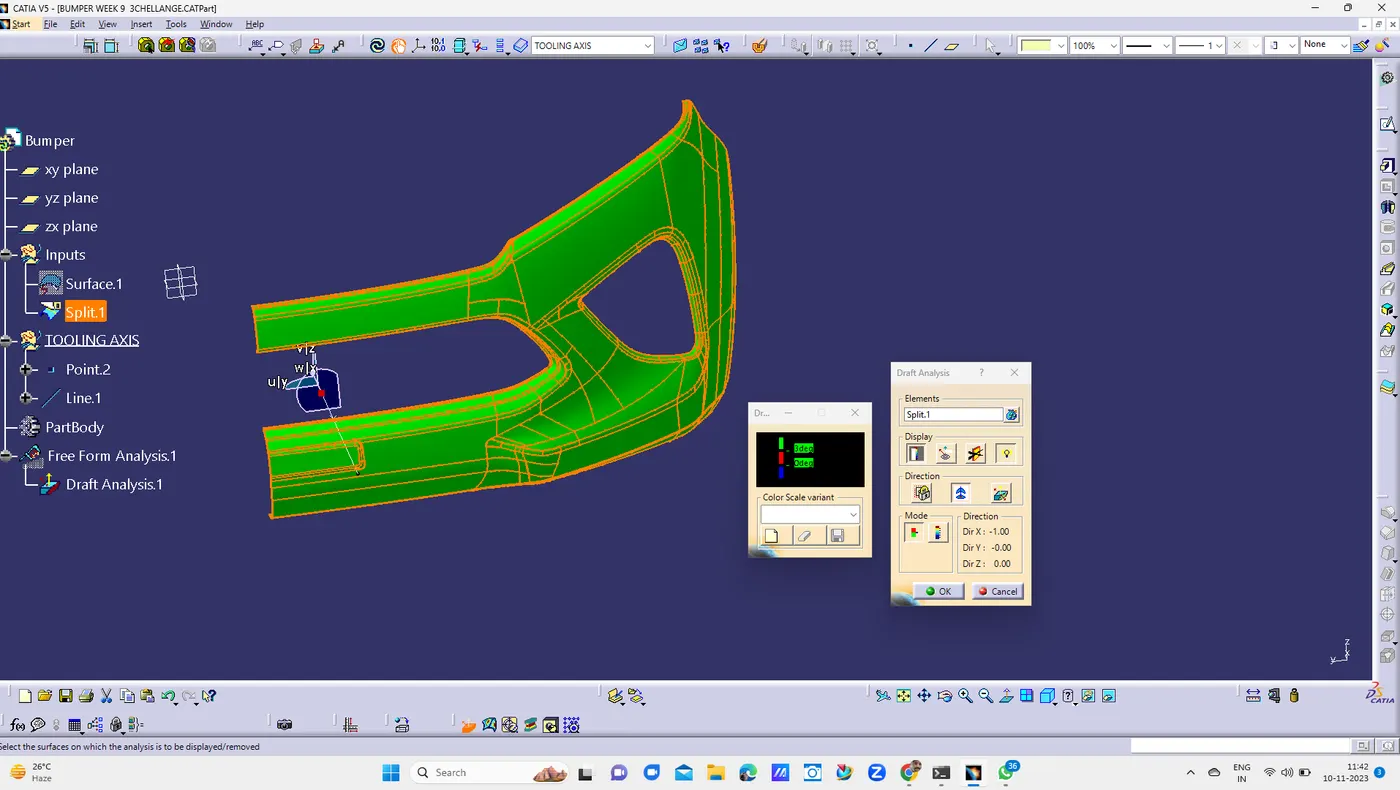
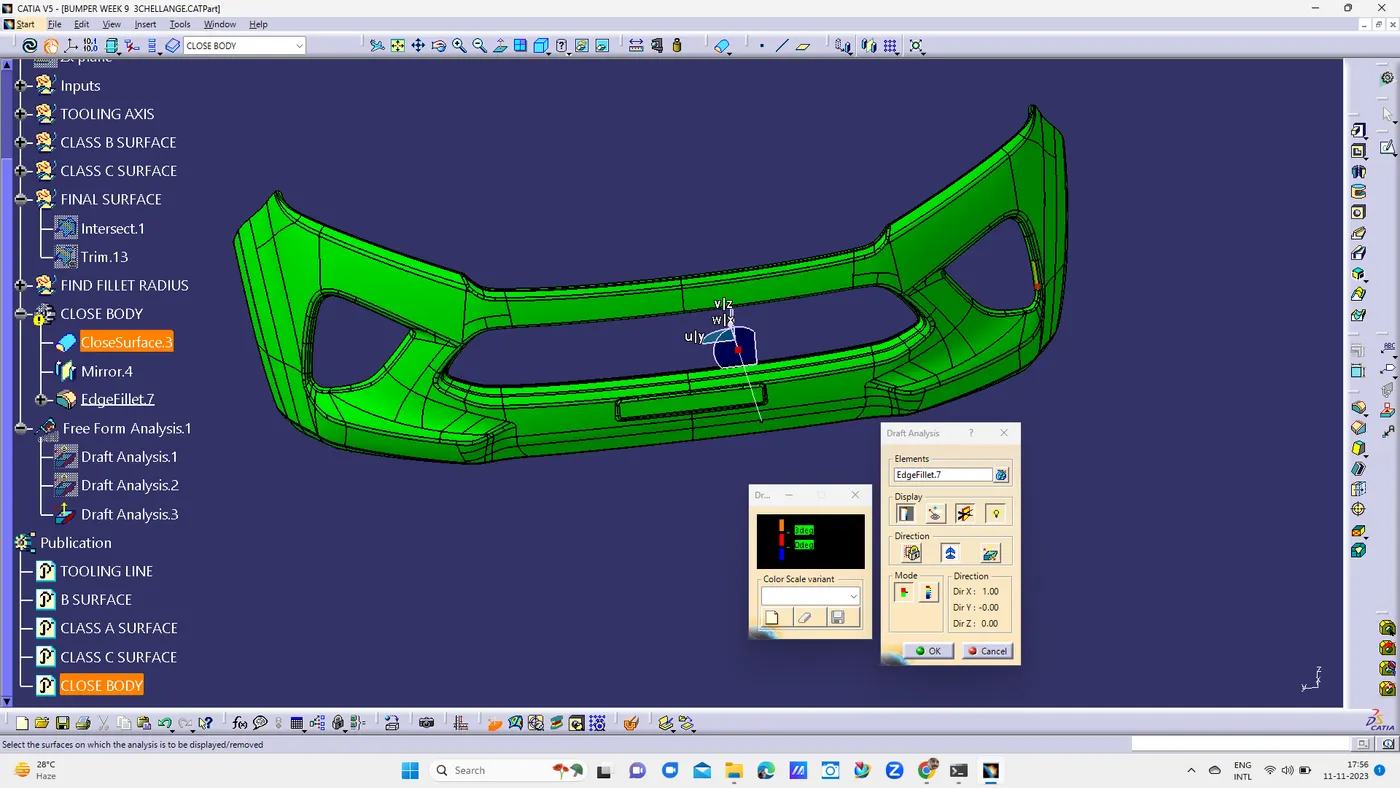
- CLASS A DRAFT ANALYSIS :-
-
 4
4
- CLASS A SURFACE :-
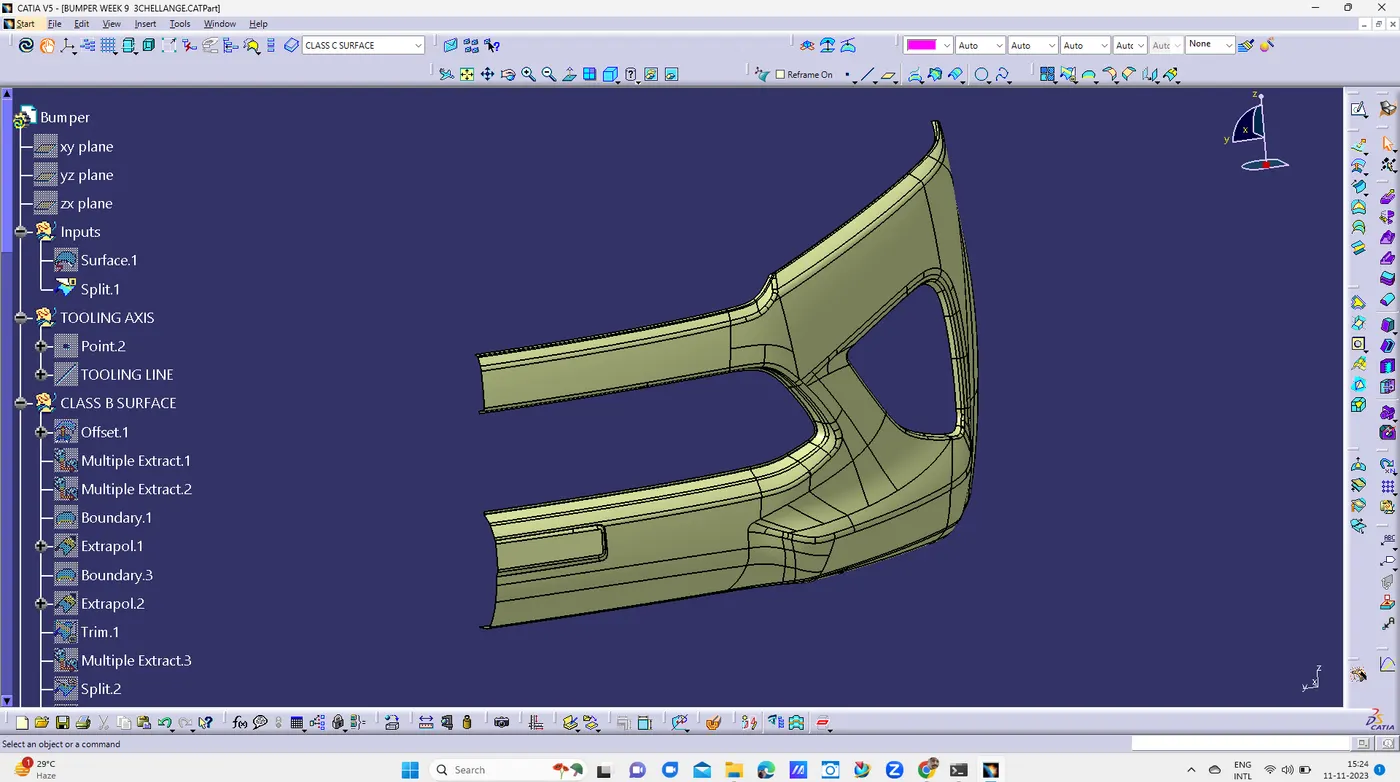
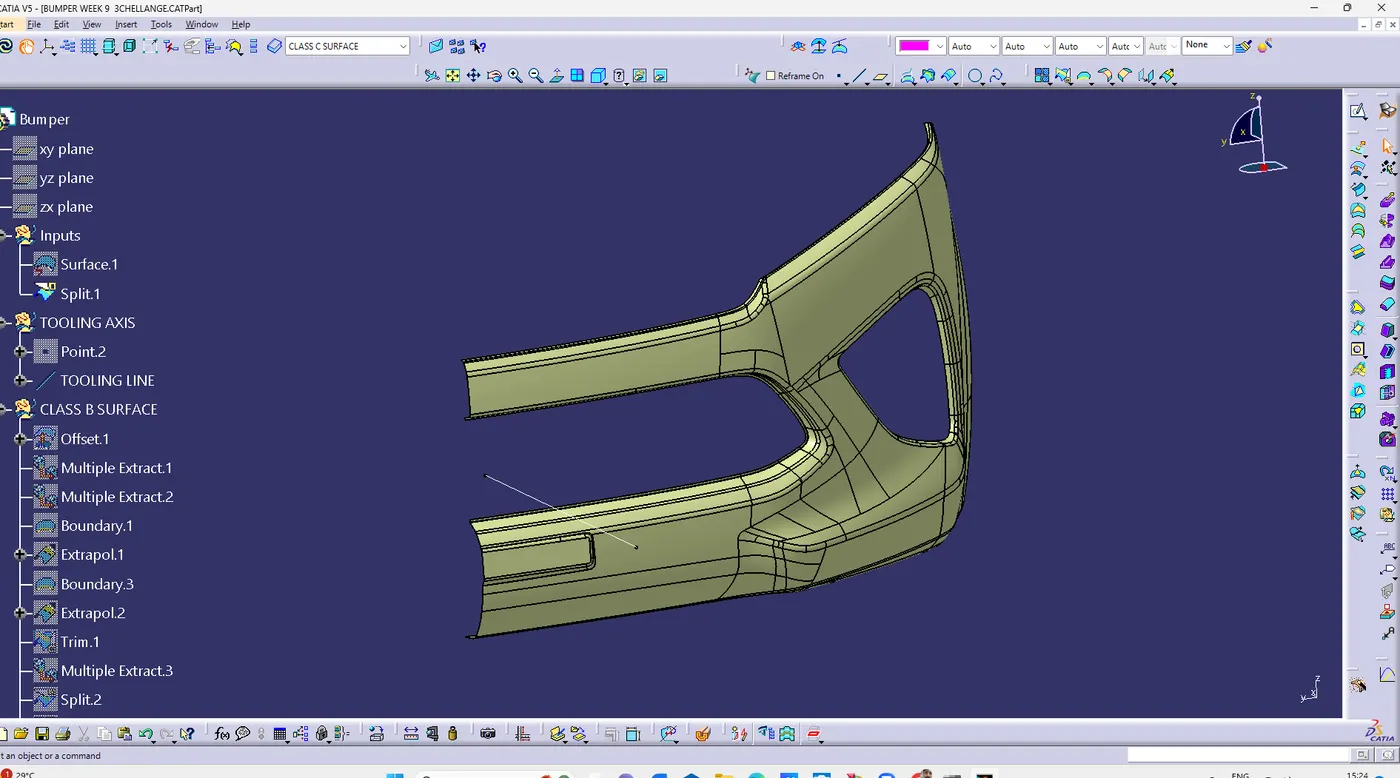
- TOOLING AXIS :-
- CLASS B SURFACE:-
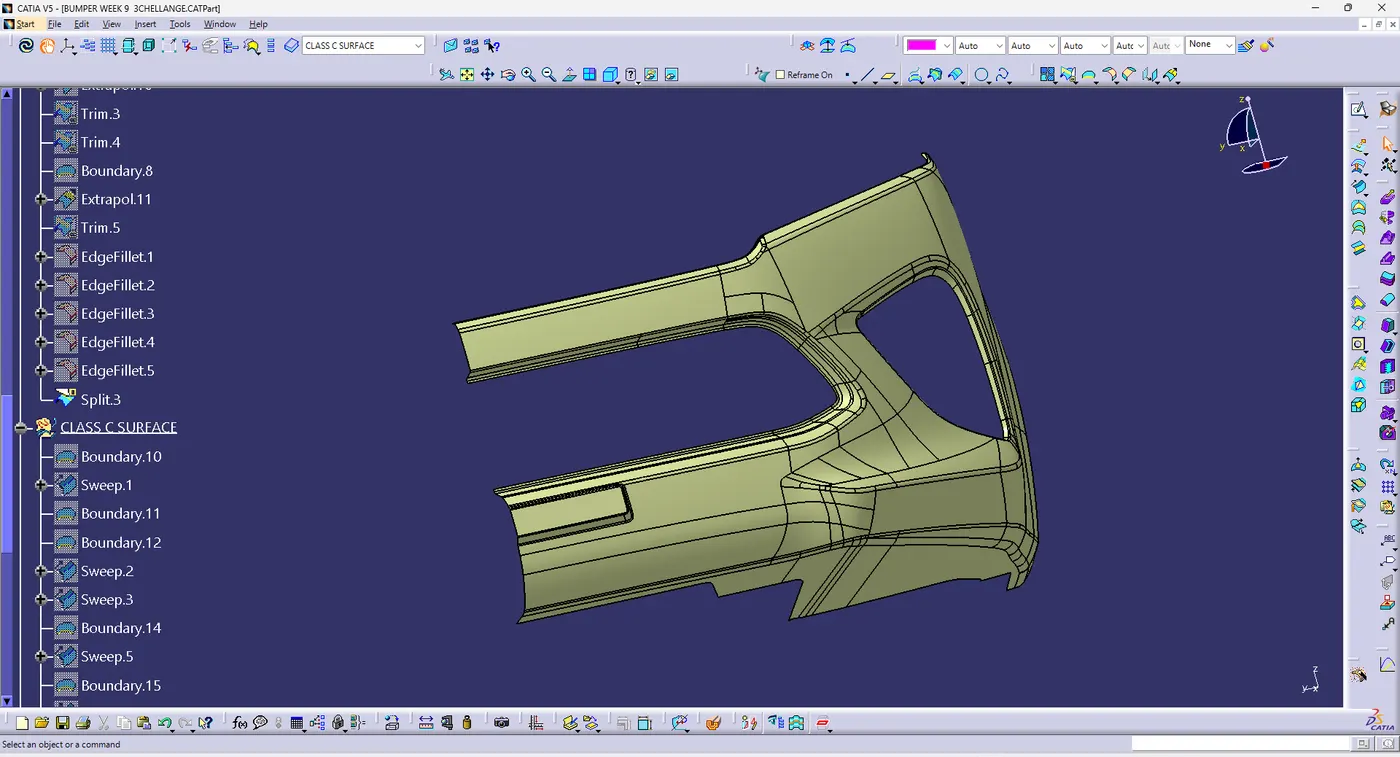
- CLASS C SURFACE :-
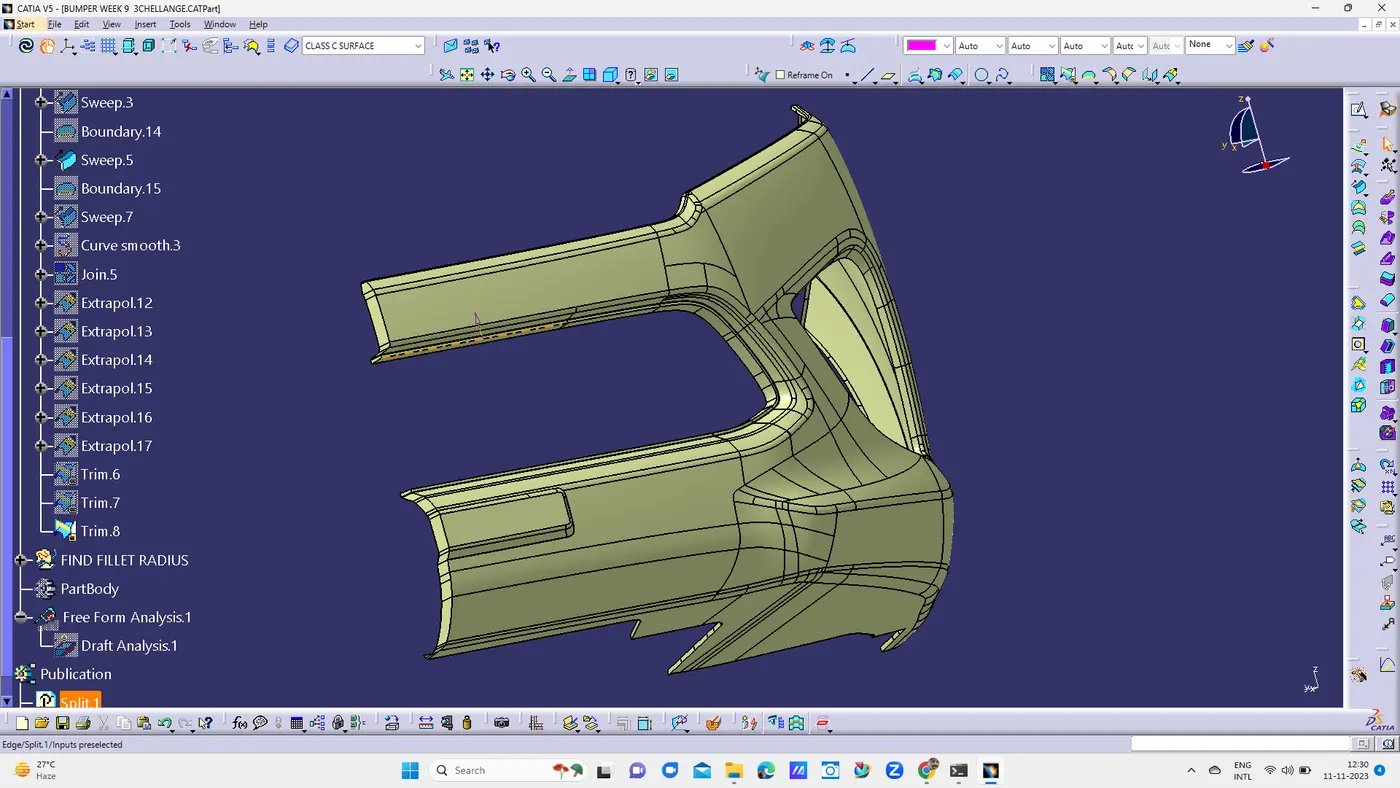
- CLOSE SURFACE :-
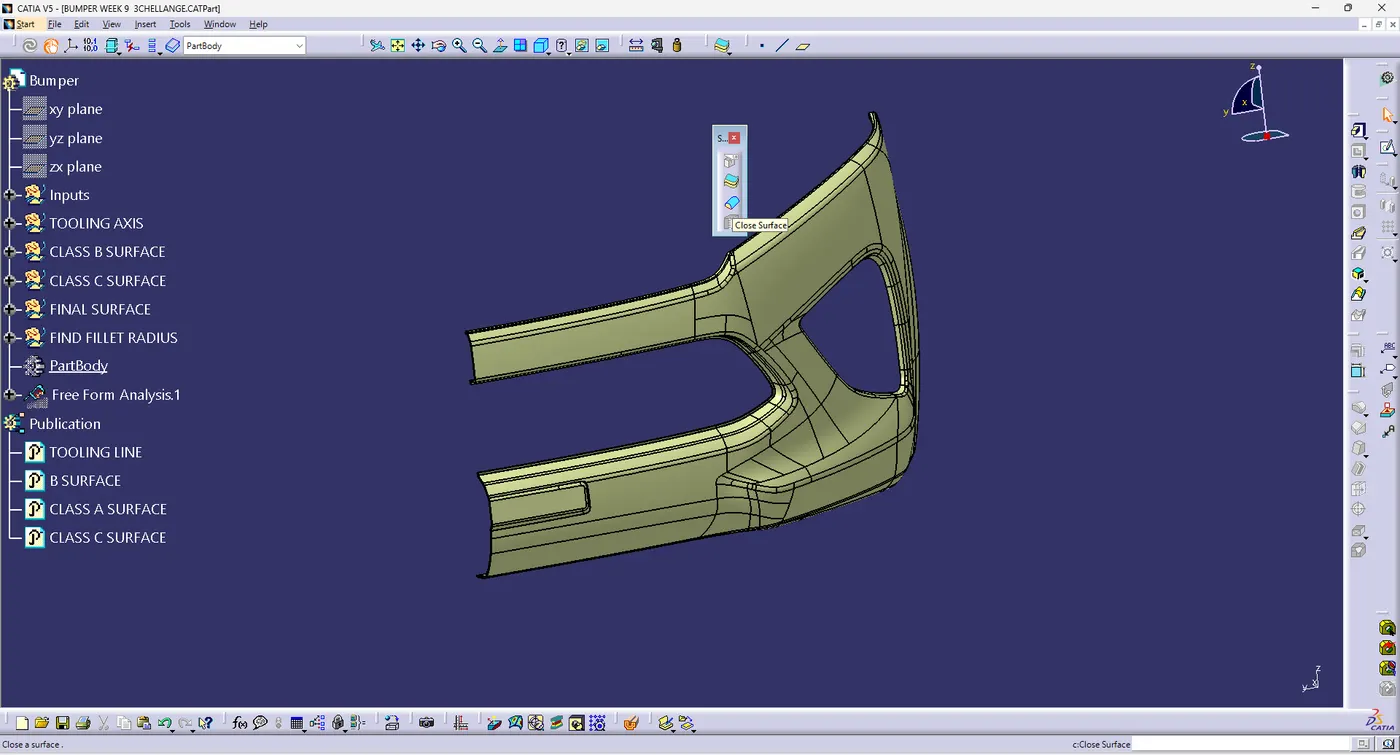
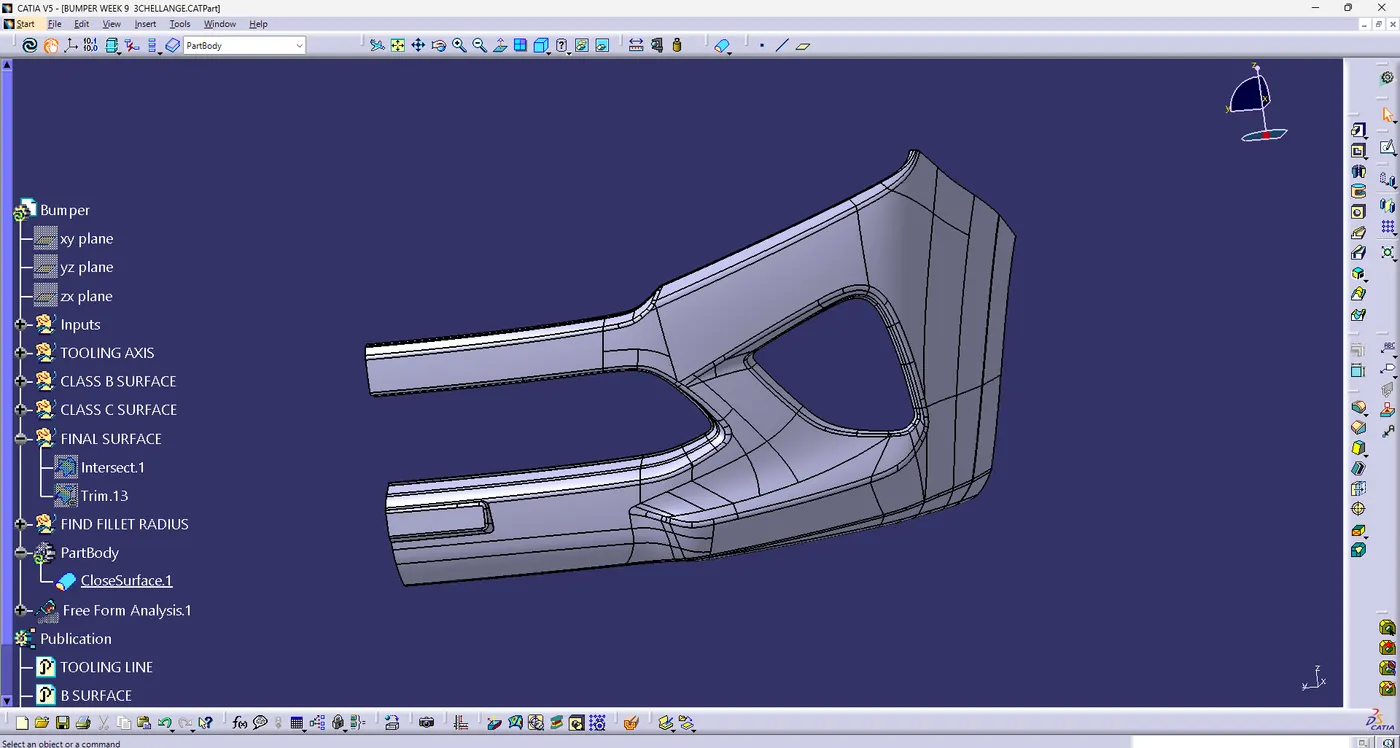
- FINAL CLOSE BODY ANALYSIS :-
- ALL VIEWS :-