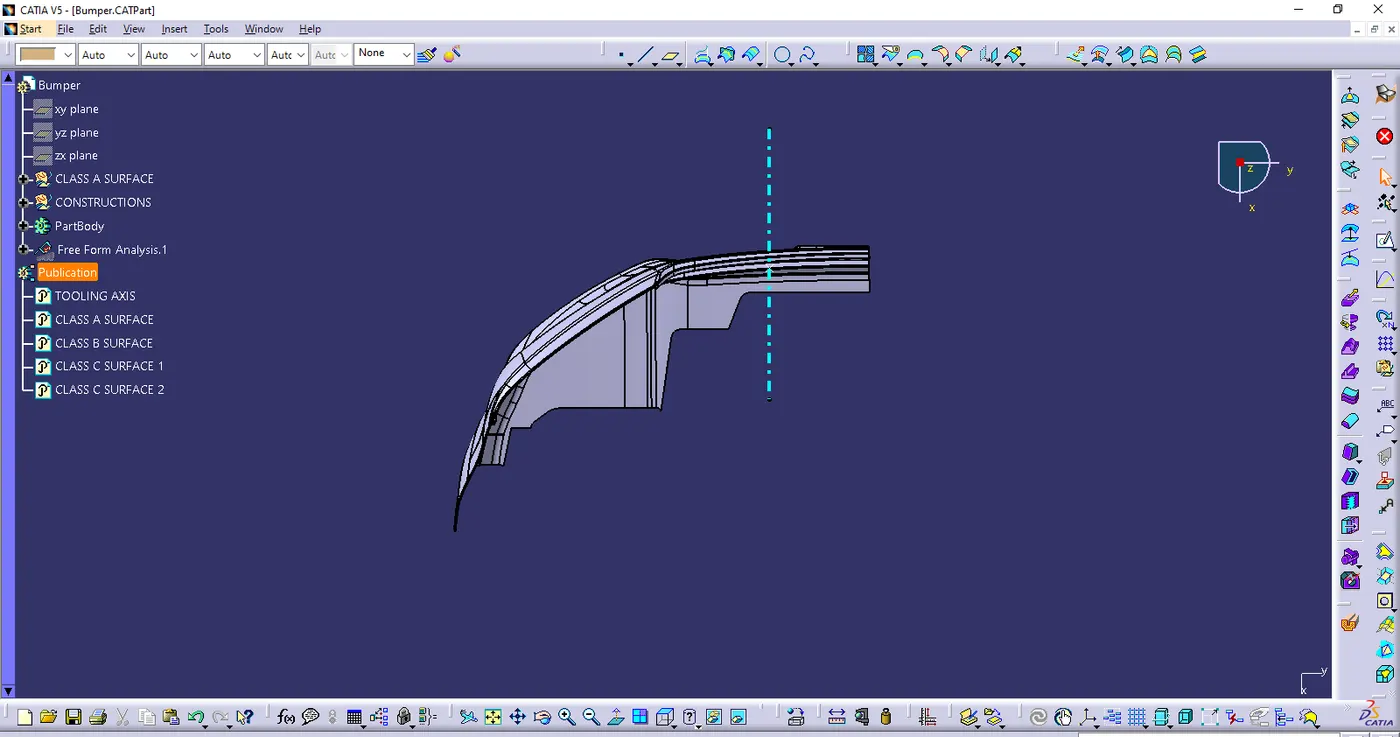
Week 9 - Challenge 3 - Bumper
- BUMPER DESIGN
AIM : To Create the Bumper Plastic component through the given Class-A surface
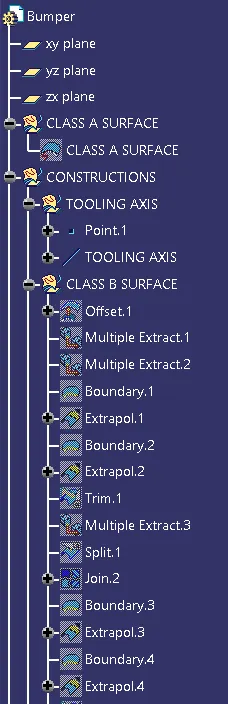
- Tooling axis
- Ensure the class A surface is properly joined
- Analyse which direction is suitable for tooling axis
- In this Bumper design line was created in the boundary in X-direction With the help of a point
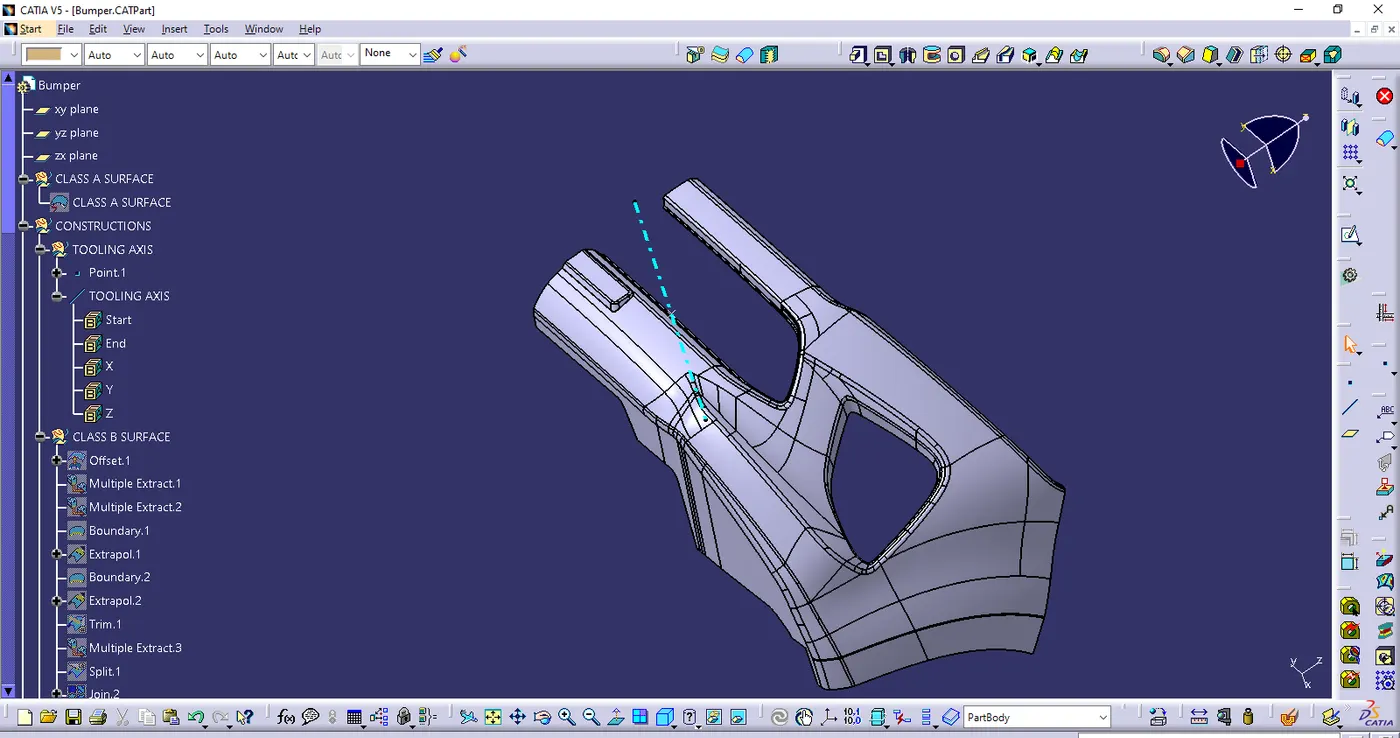
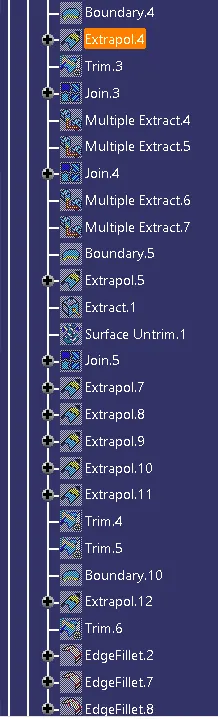
- Class B surface
- Offset the class A surface in 3mm in proper direction
- Once offset is done some patches are missing
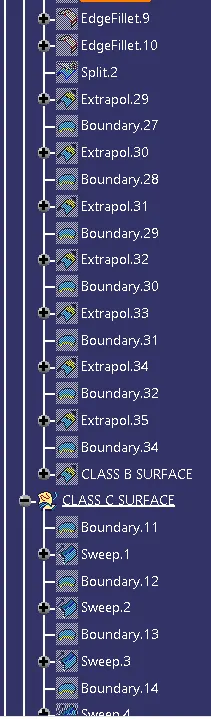
- Then missing patches are obtained with the help of multiple extract, Boundary, Extrapolate, Trim, Split, untrim & Join commands.
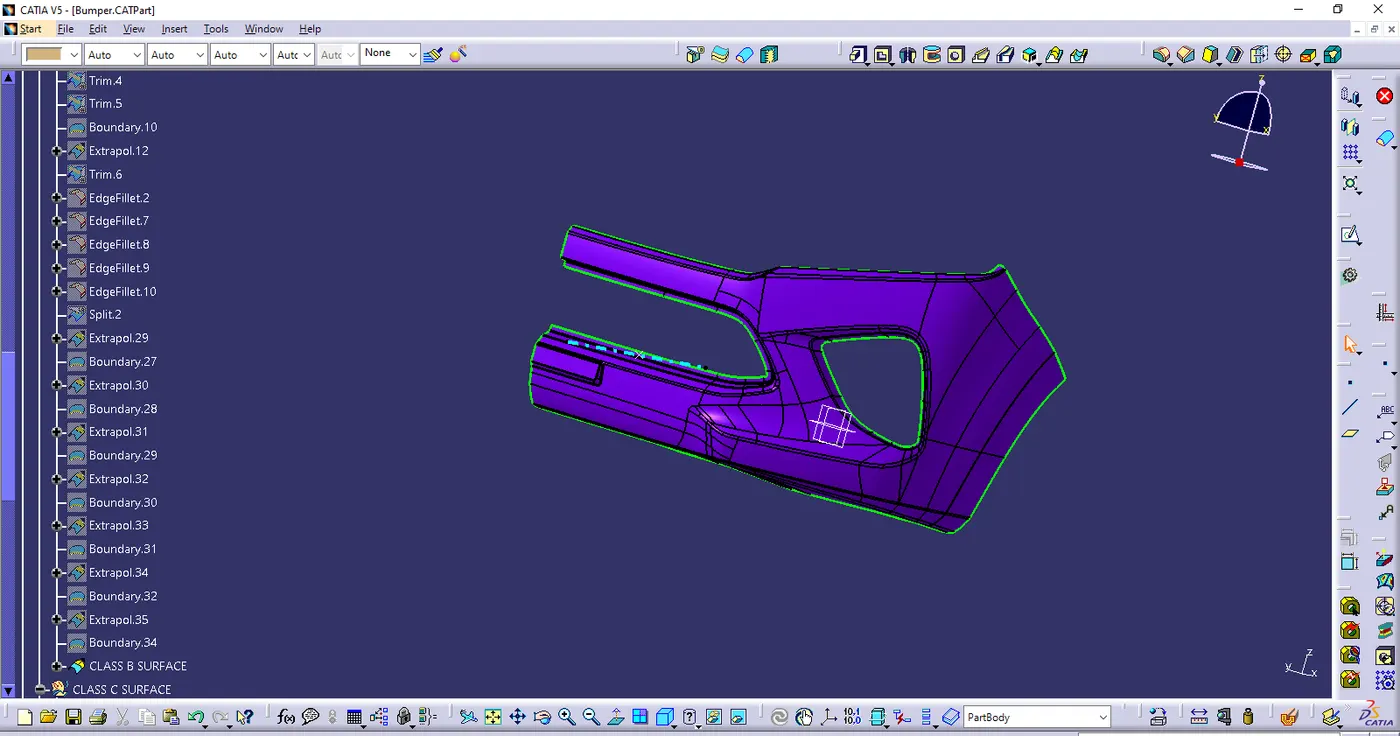
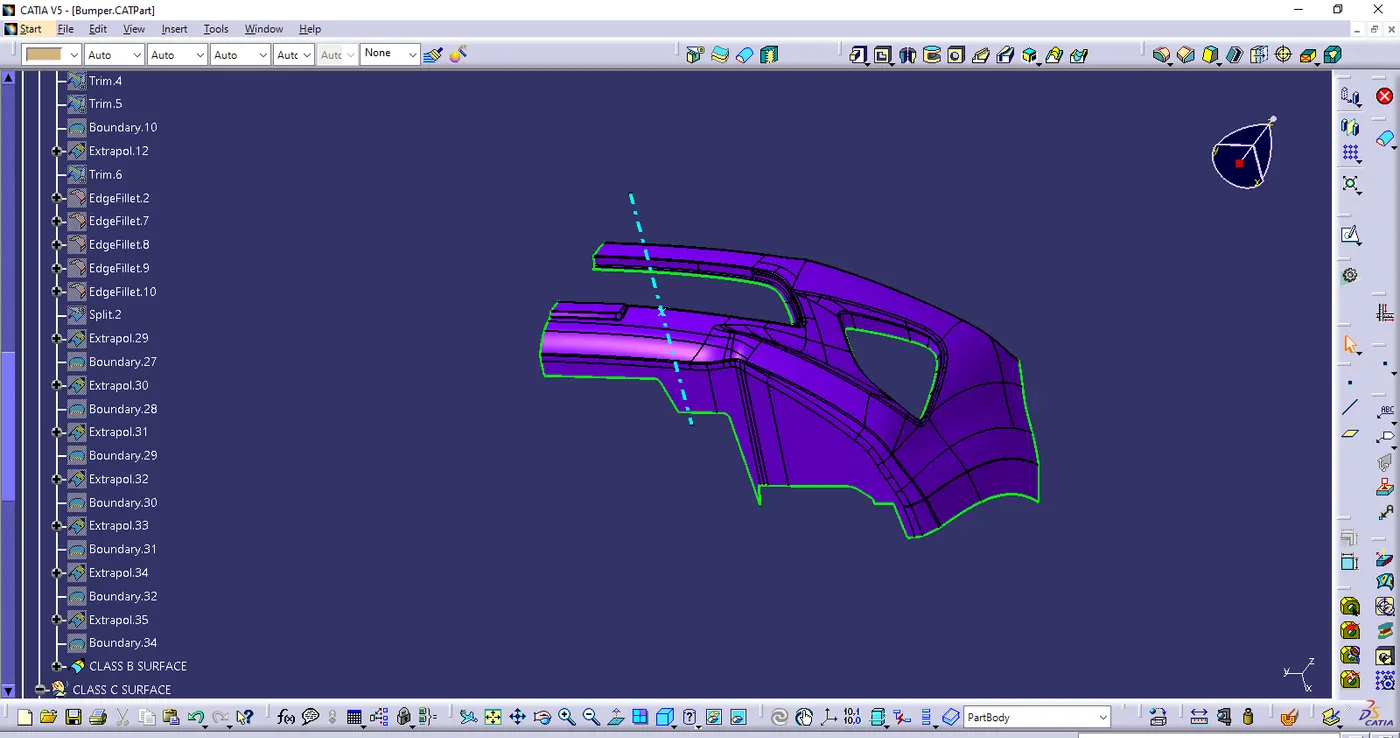
- CLASS C SURFACE
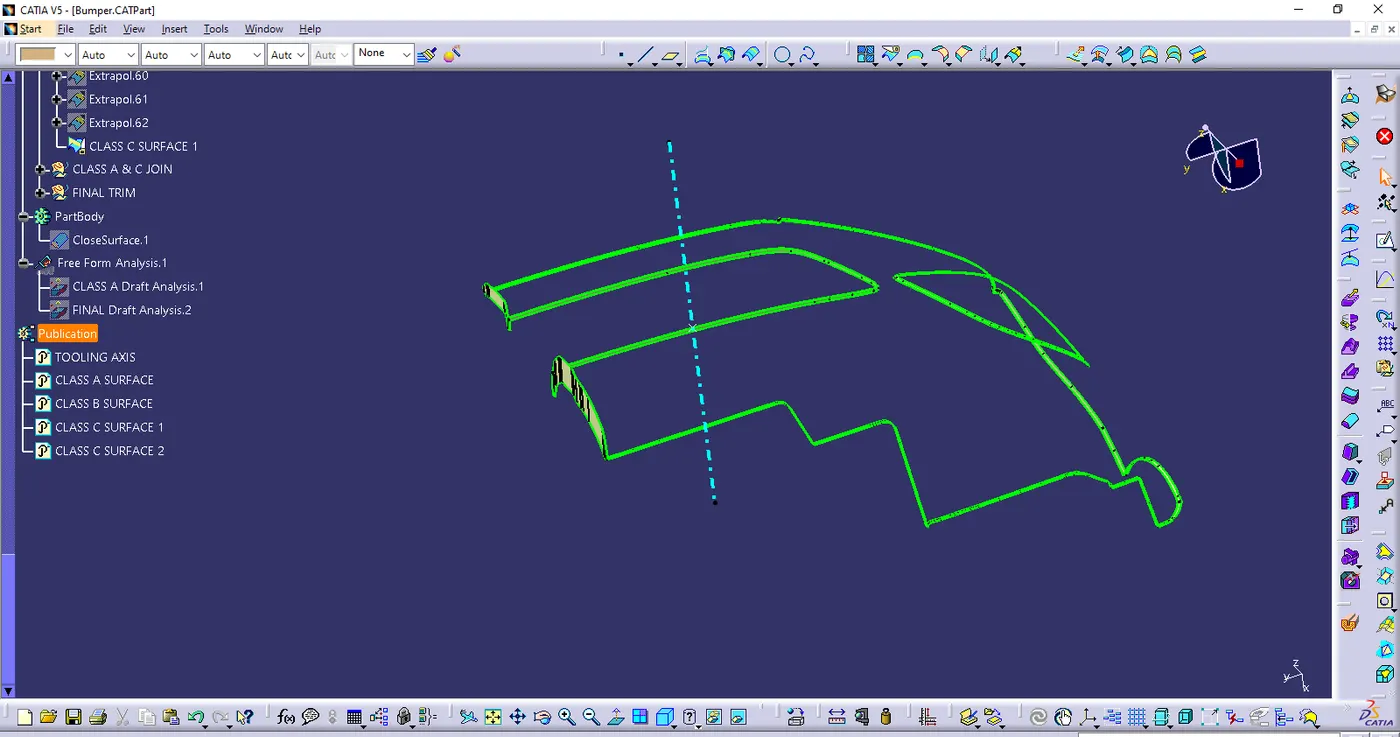
- Create seperate boundaries from one vertex to another vertex in the class A surface
- In sweep command with draft direction 3 degree was given to the boundaries with the help of tooling axis
- In sweep command with reference surface 90degree was given to the boundaries
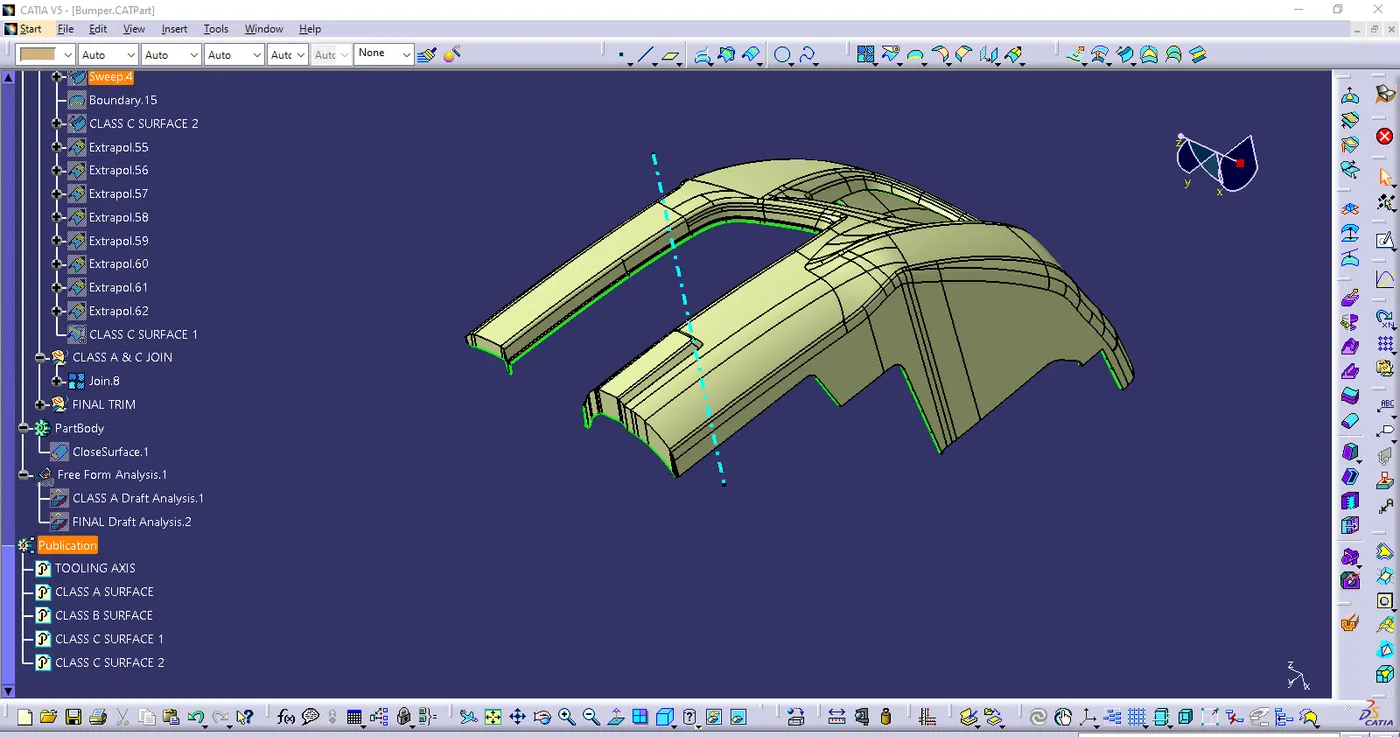
- Then extrapolated the edges & trim it
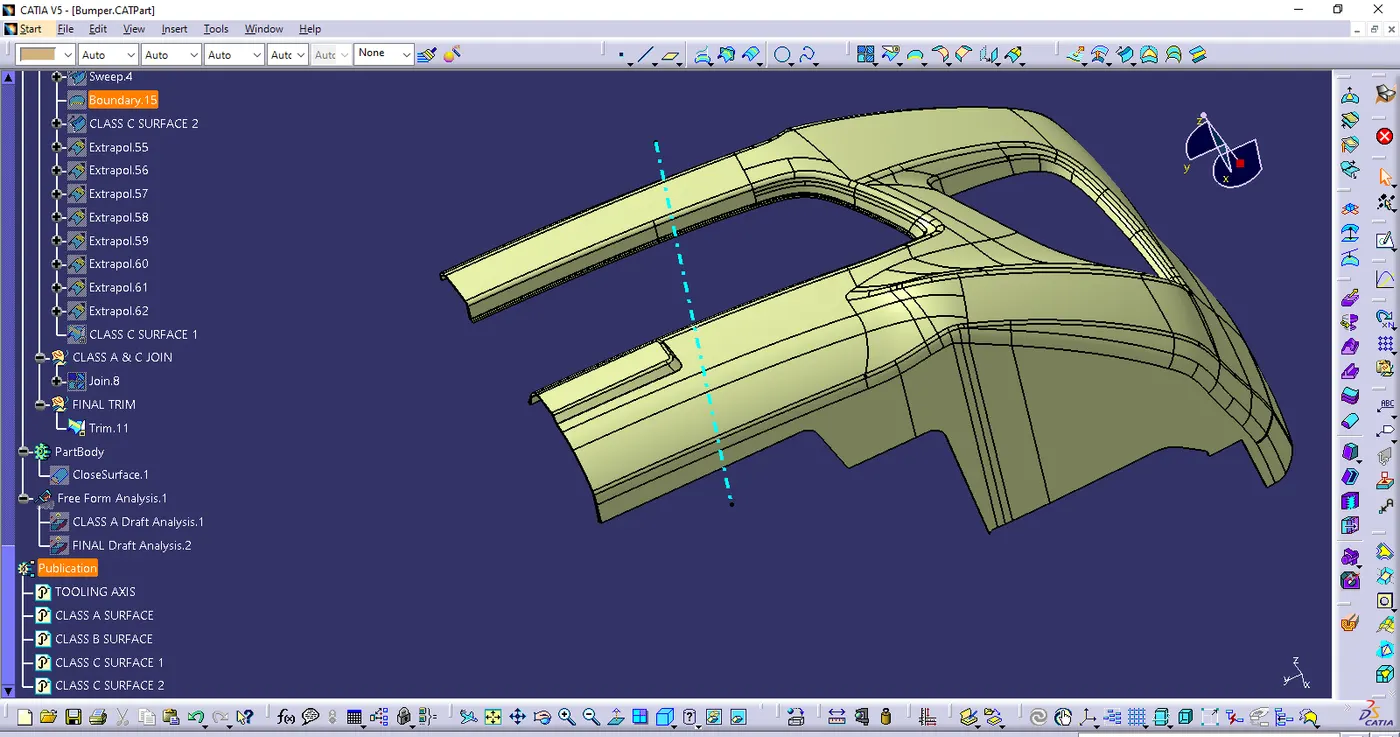
- Join the Class A & C surface together
- Finally closed suface is obtained with the trim command
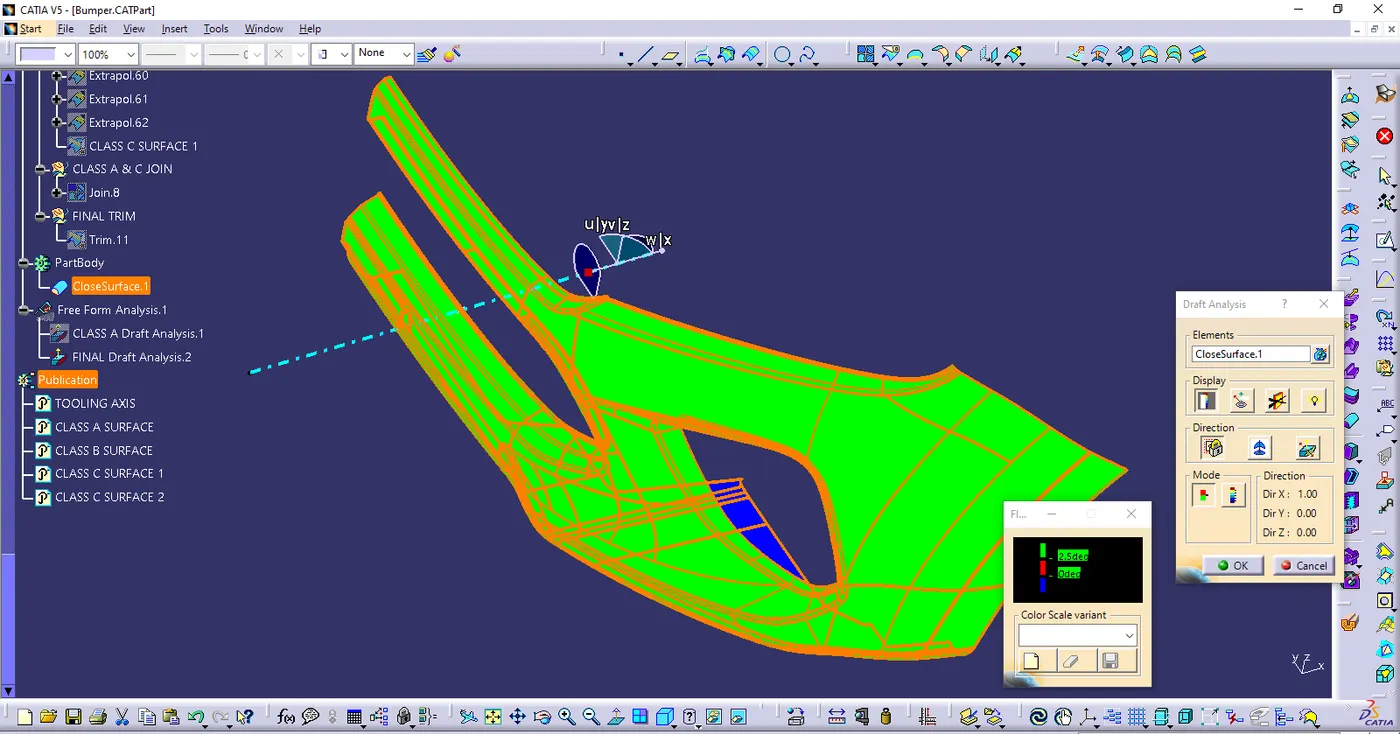
- Draft analysis on Class A surface
- Ensure the view mode in material
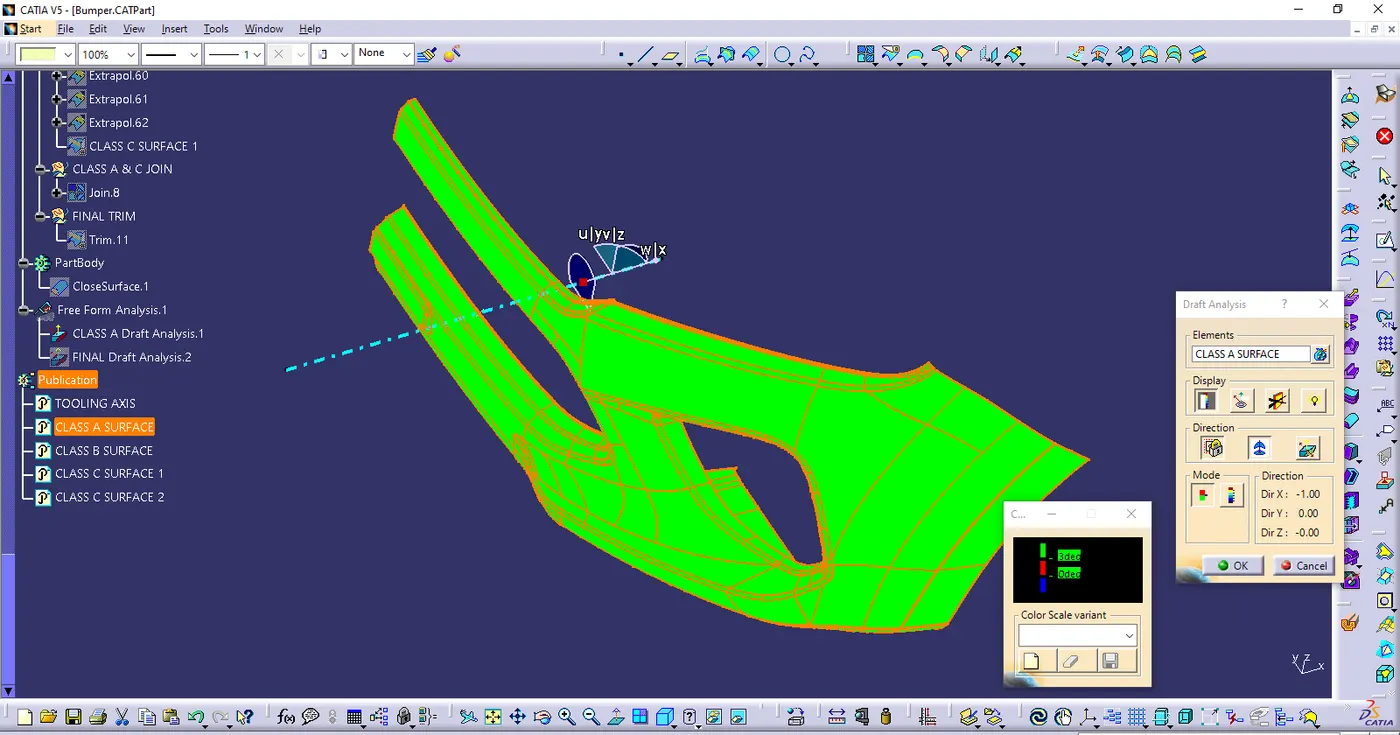
- Use the compass to define the new current draft direction & place it on the Tooling axis & lock it
- Click the Class a surface it shows the Green colour area it satisfies with 3 degree
- Draft analysis on Final component
- Ensure the view mode in material
- Use the compass to define the new current draft direction & place it on the Tooling axis & lock it
- Click the final componet it satisfied with the proper draft angle. If it not satisfied use the Analysis under running point tool & correct the values of an draft angle
- TREE STRUCTURE
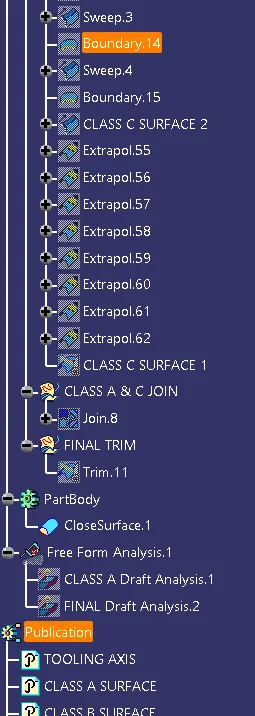
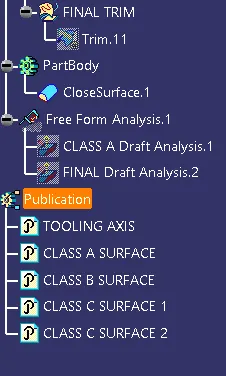
- Close surface feature
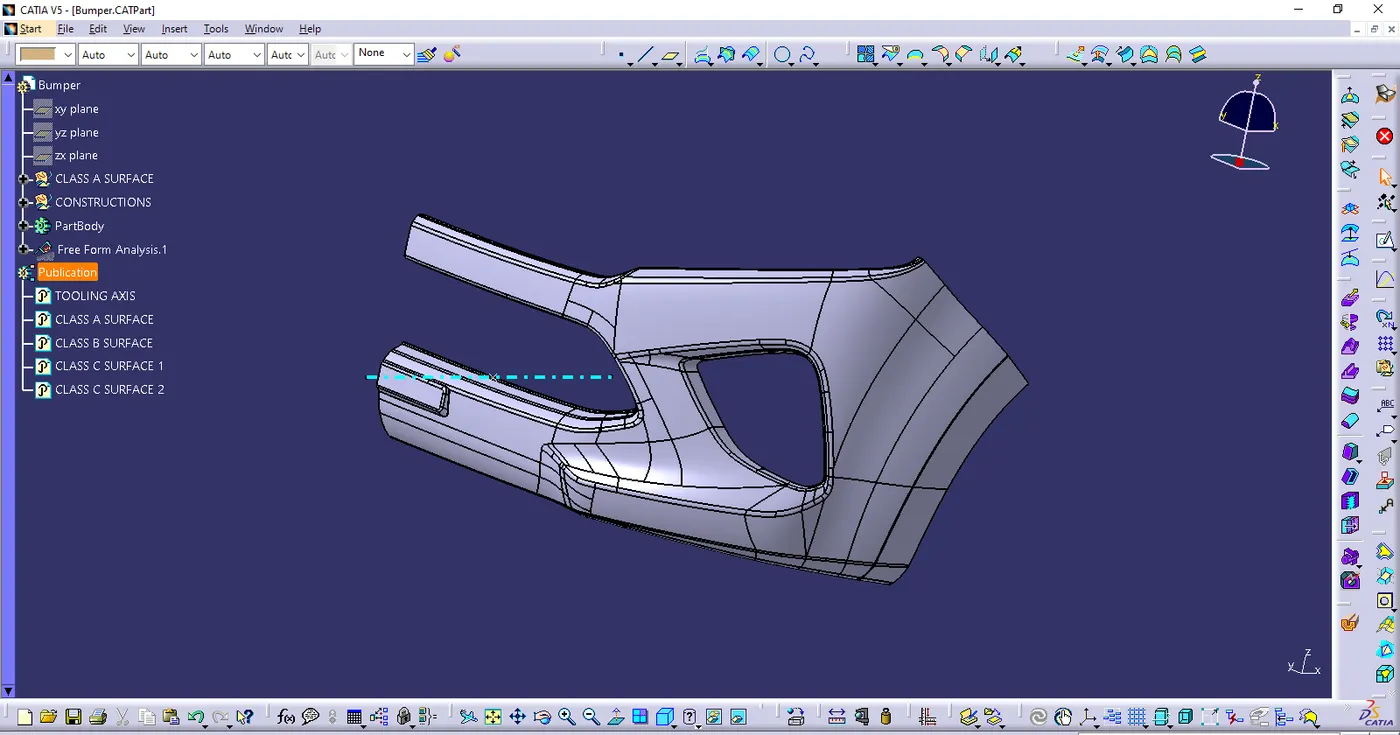
- Isometric view
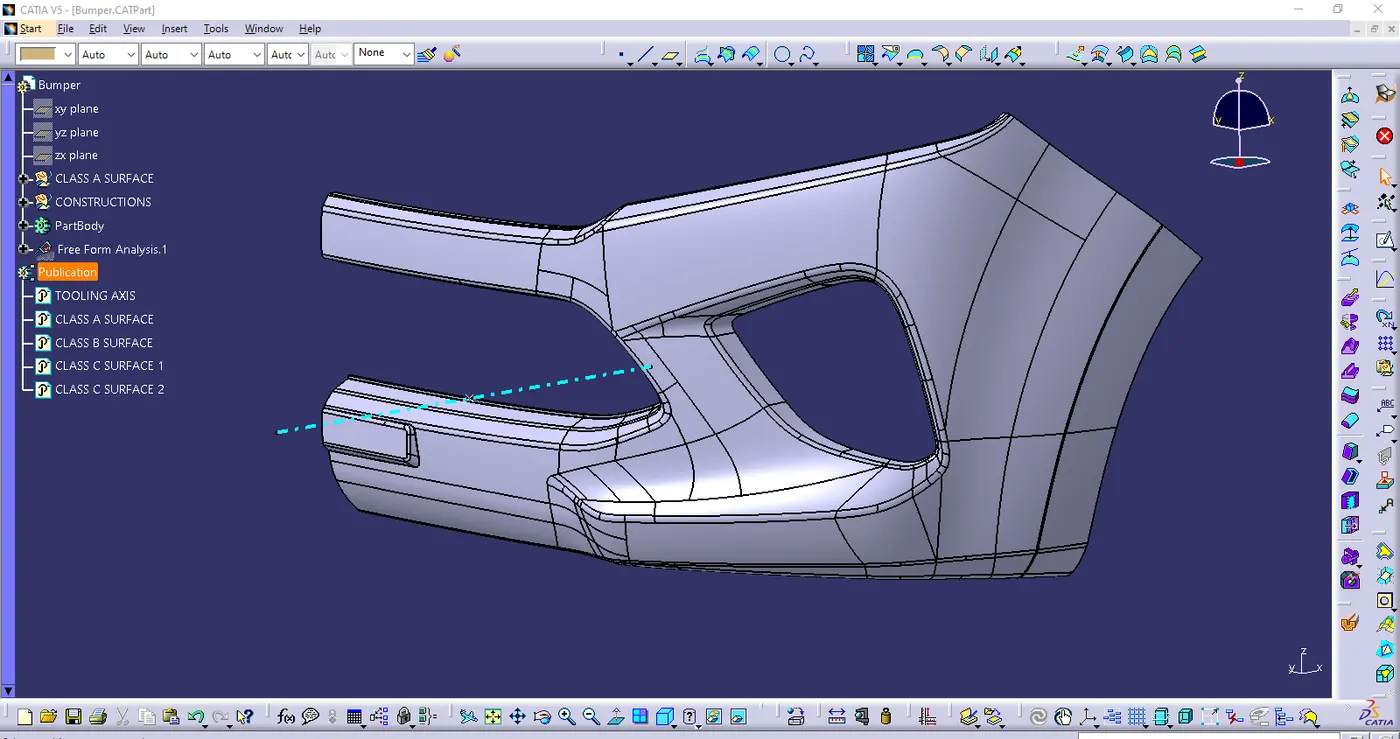
- FRONT VIEW
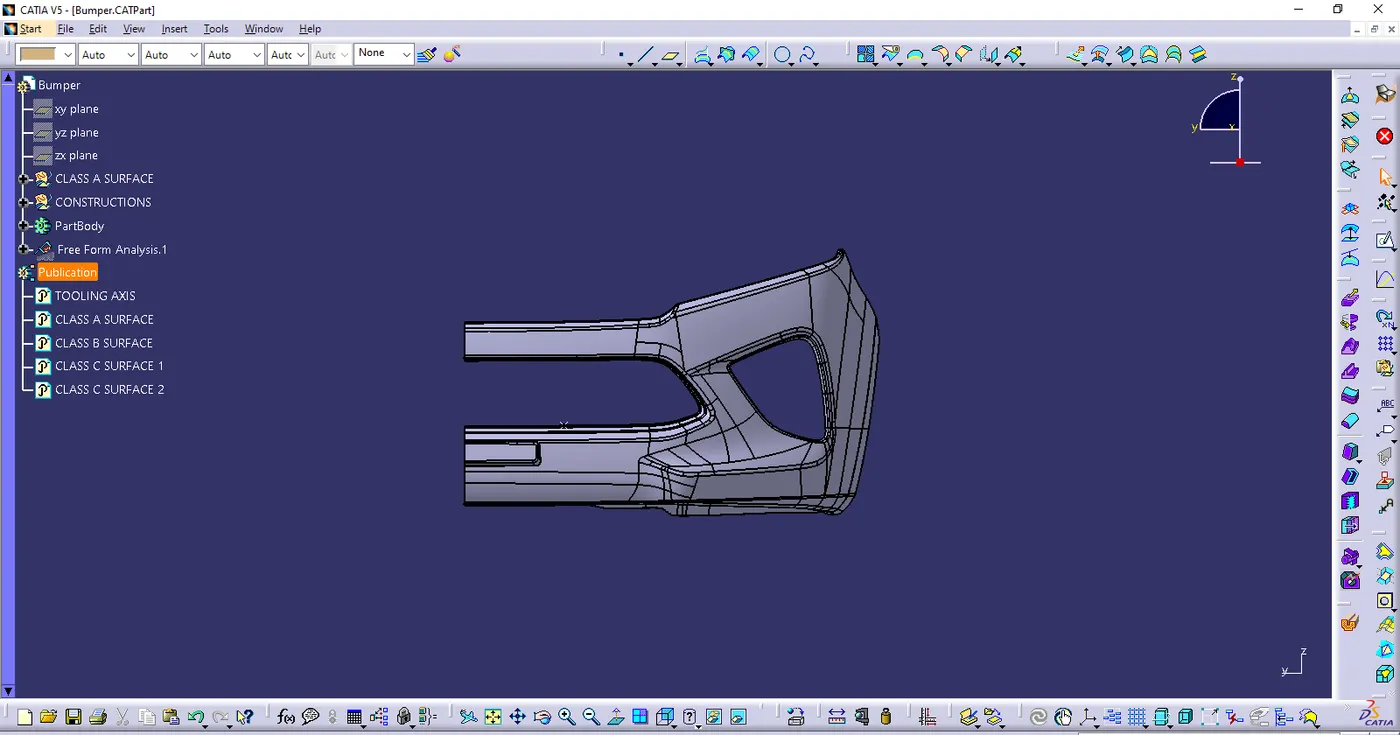
- SIDE VIEW
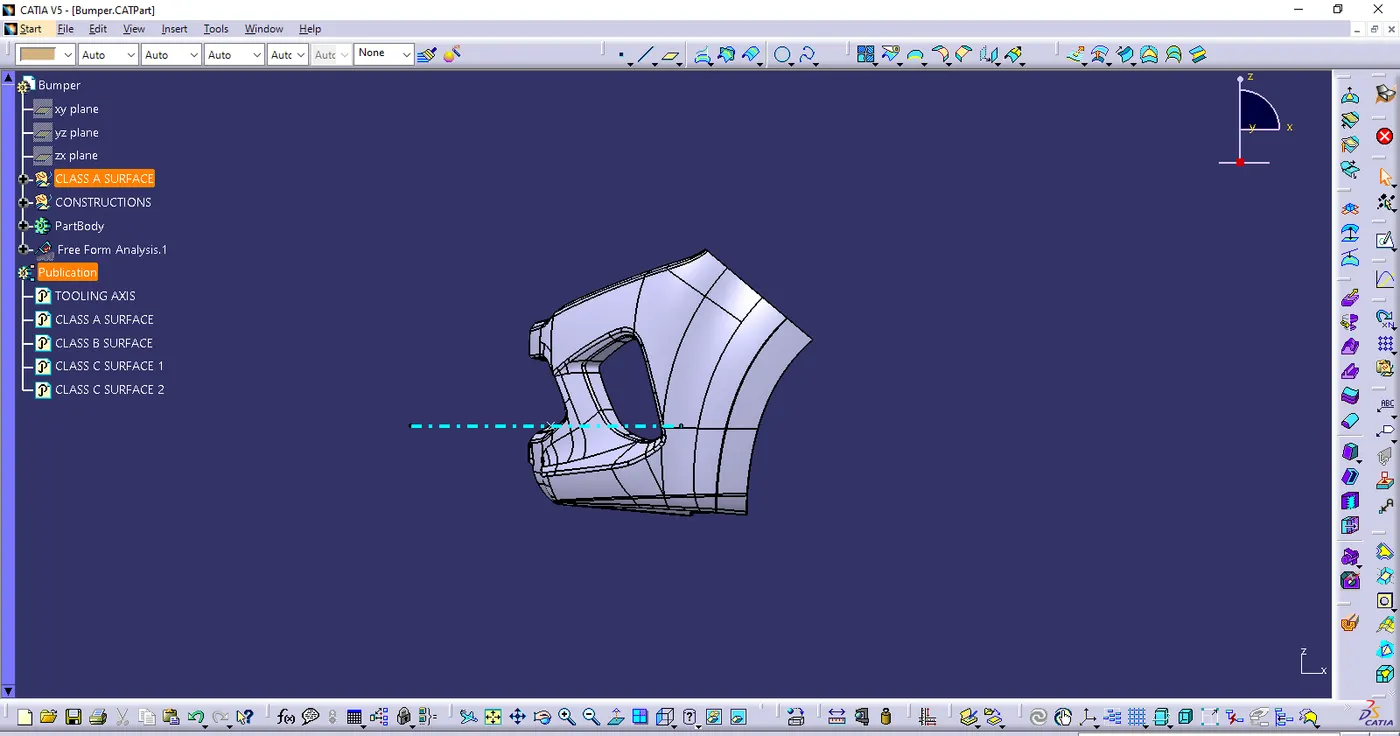
- TOP VIEW