Week 9 - Challenge 2 - Switch Bezel Design
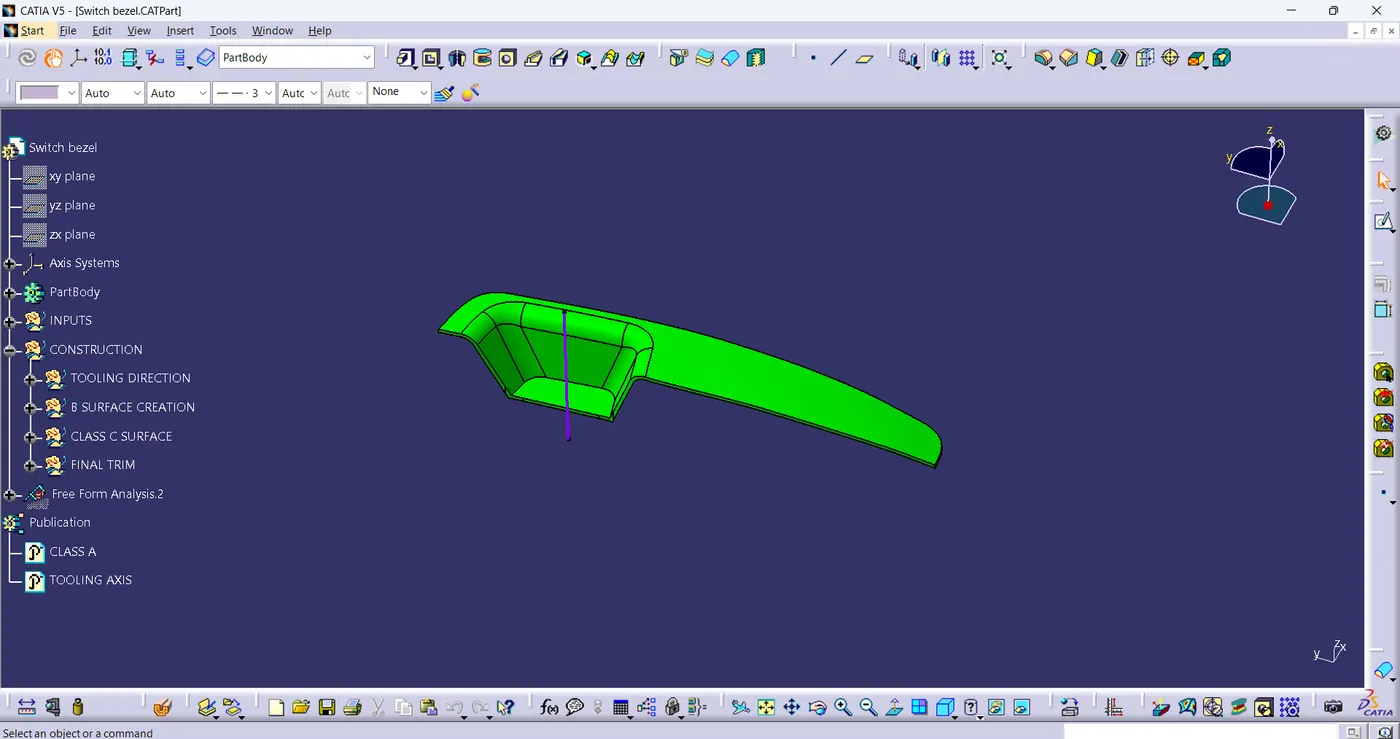
DRAFT ANALYSIS OF A SWITCH BEZEL
AIM:
To Create the Switch Bezel Plastic component through the given Class-A surface. To begin with, the tooling axis for the given Class-A Surface should be created meeting the requirements of the draft angle and also Creating the Class B Surface & Class C Surface. At the end perform to give a thickness of the model.
1. TOOLING AXIS:
-
It is the direction in which the mold opens or the core & cavity open. Part drafts are given along this axis.
-
Tooling operation:
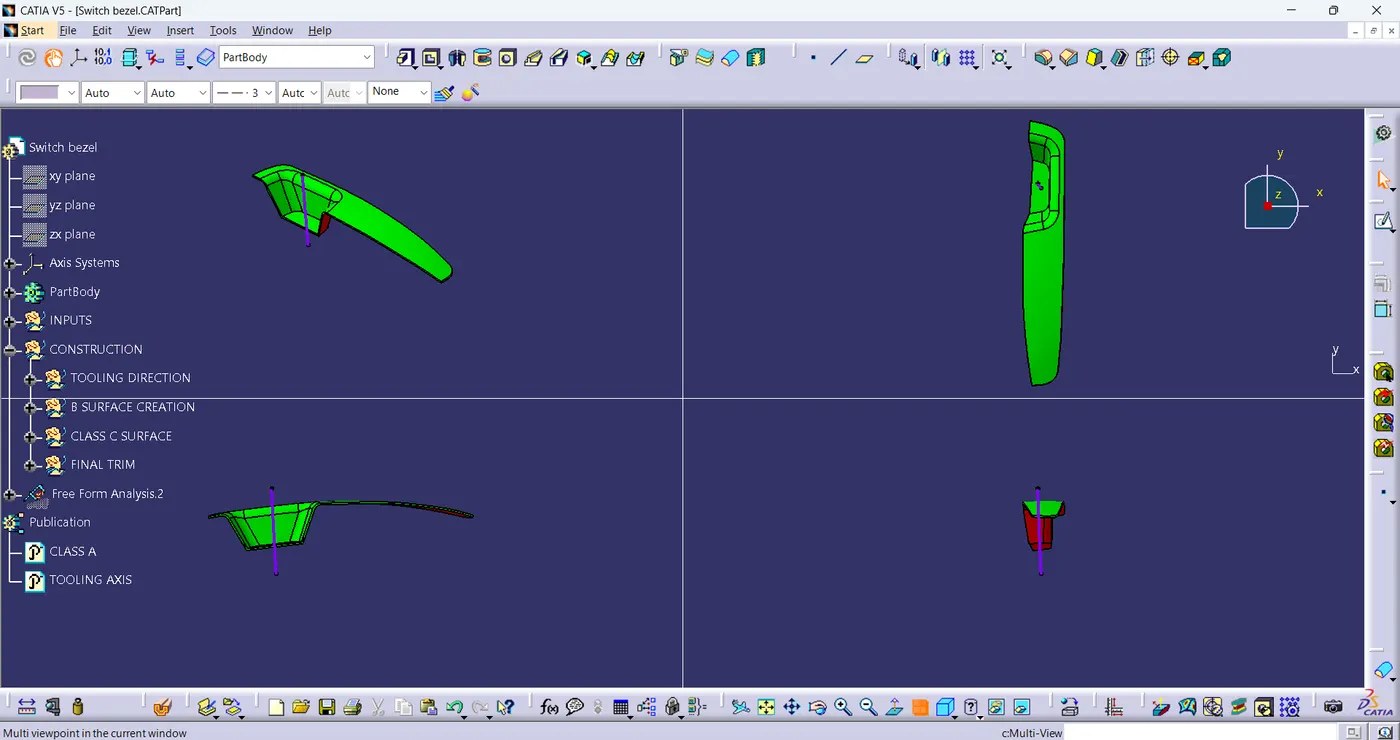
- To decide on the tooling axis, the component should be completely clear the Tooling axis in the given specific direction. Analysis of the components, the fan cover components have two walls.
- The first one visually checks. We can check, which one is possible to Tooling Direction. We can check al x, y & z direcion. If you have a hole, what will happen, is you have separate side cores for specific holes.
- This Class A Surface will take the base of the switch bezel as our primary to draw the Tooling Axis.
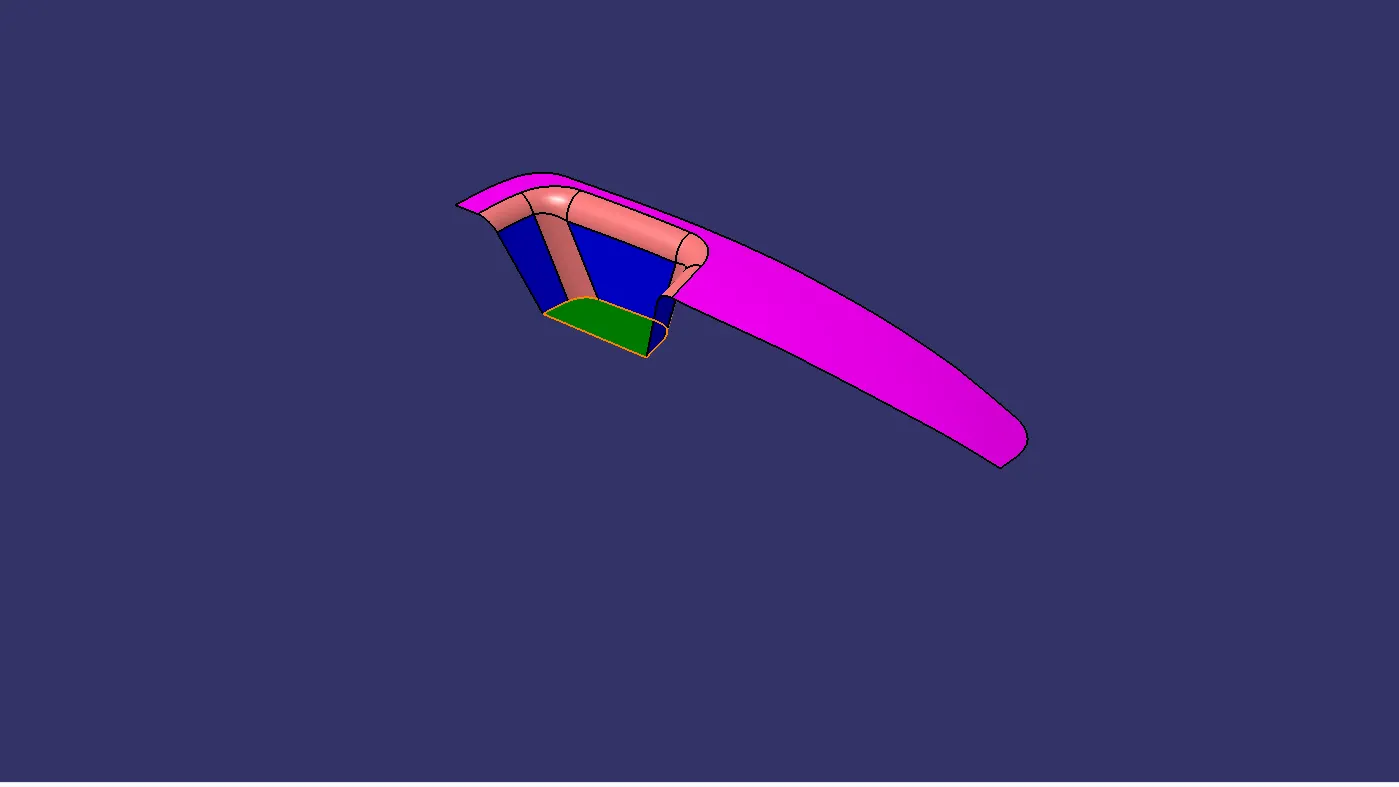
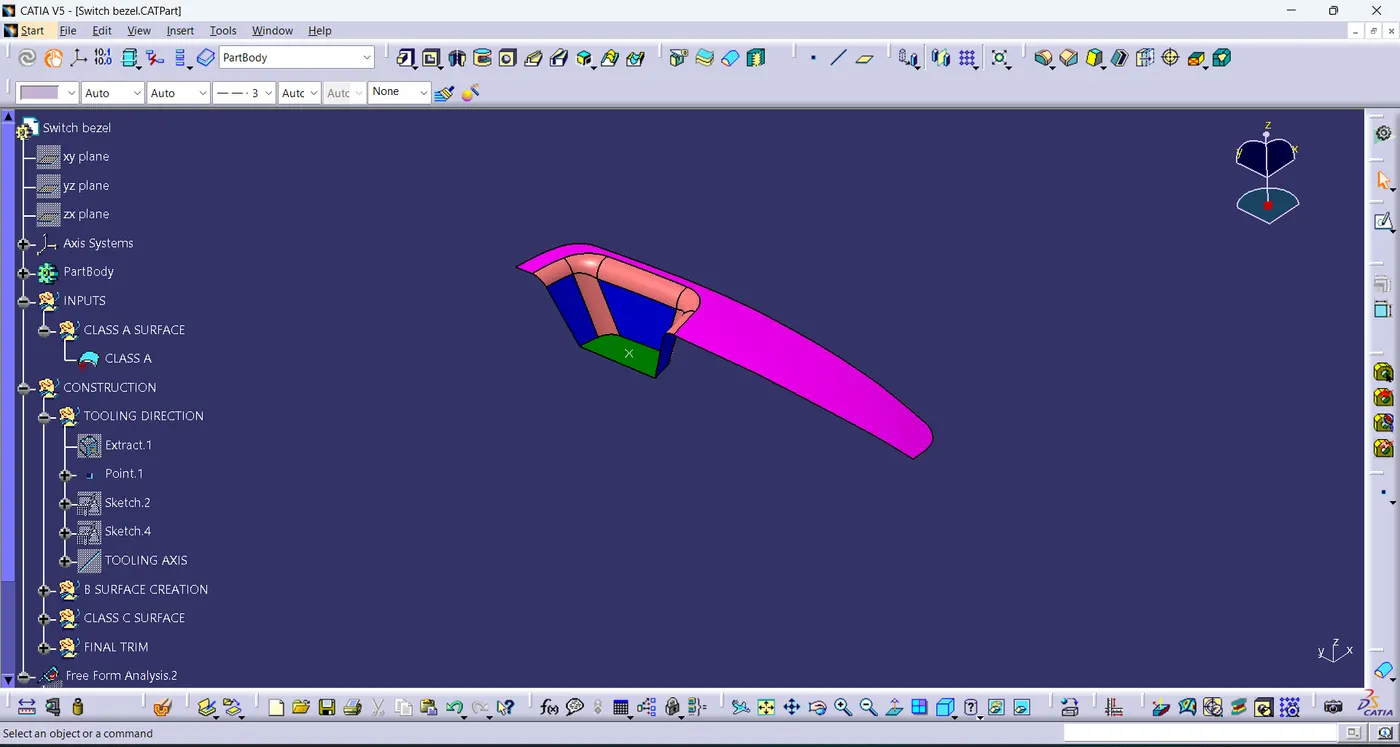
- After, that will extract the base of the Class A Surface of Switch Bezel Design.
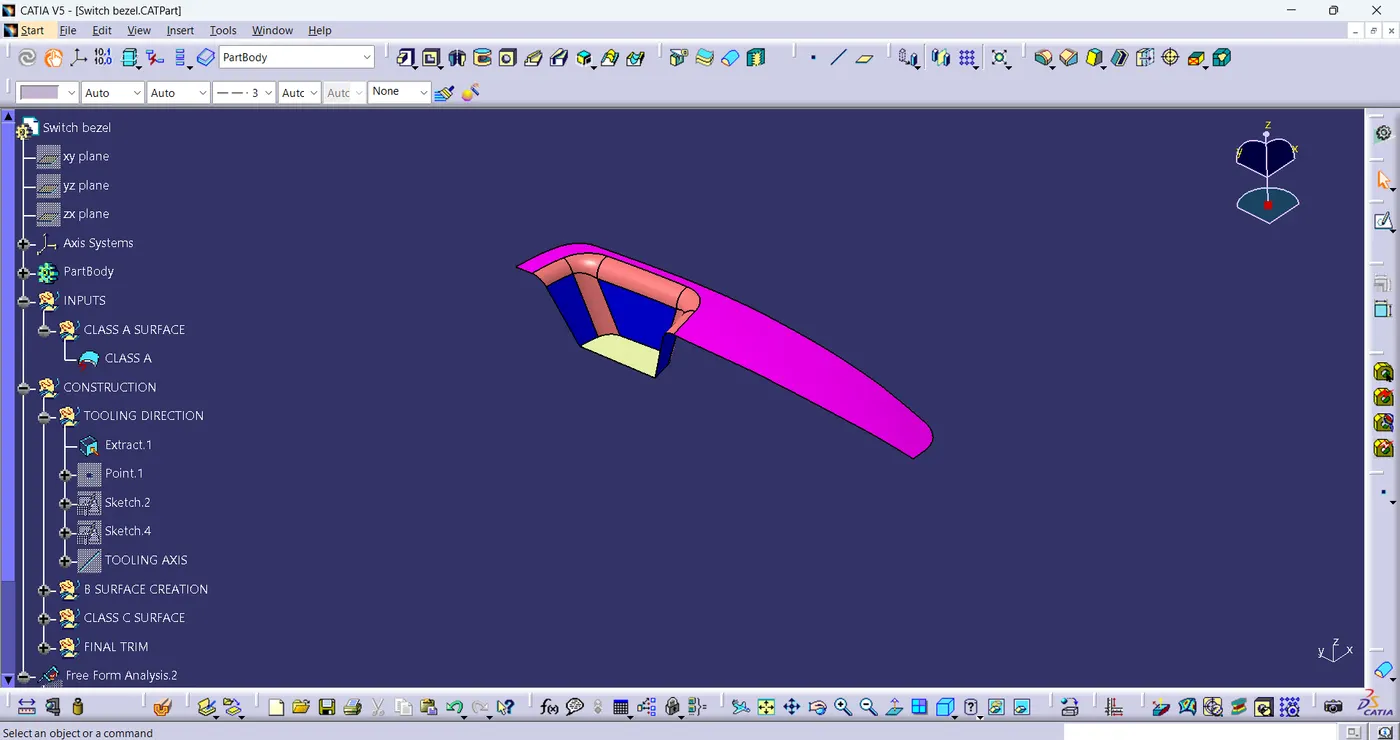
After extracting will create a point on the base of the Switch bezel design.
Now create the first sketch along the YZ axises of the axis system created on the point.
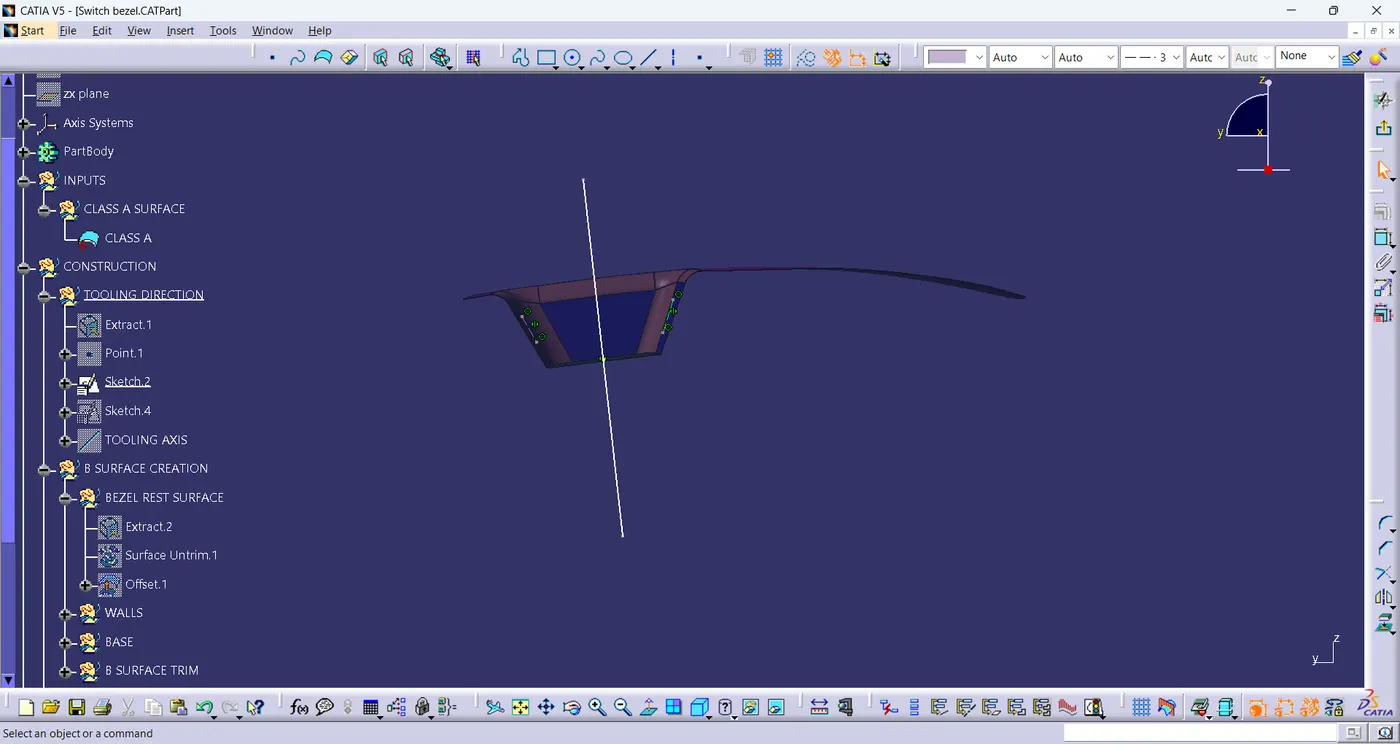
Then, will create the second sketch along the other axises that is XY.
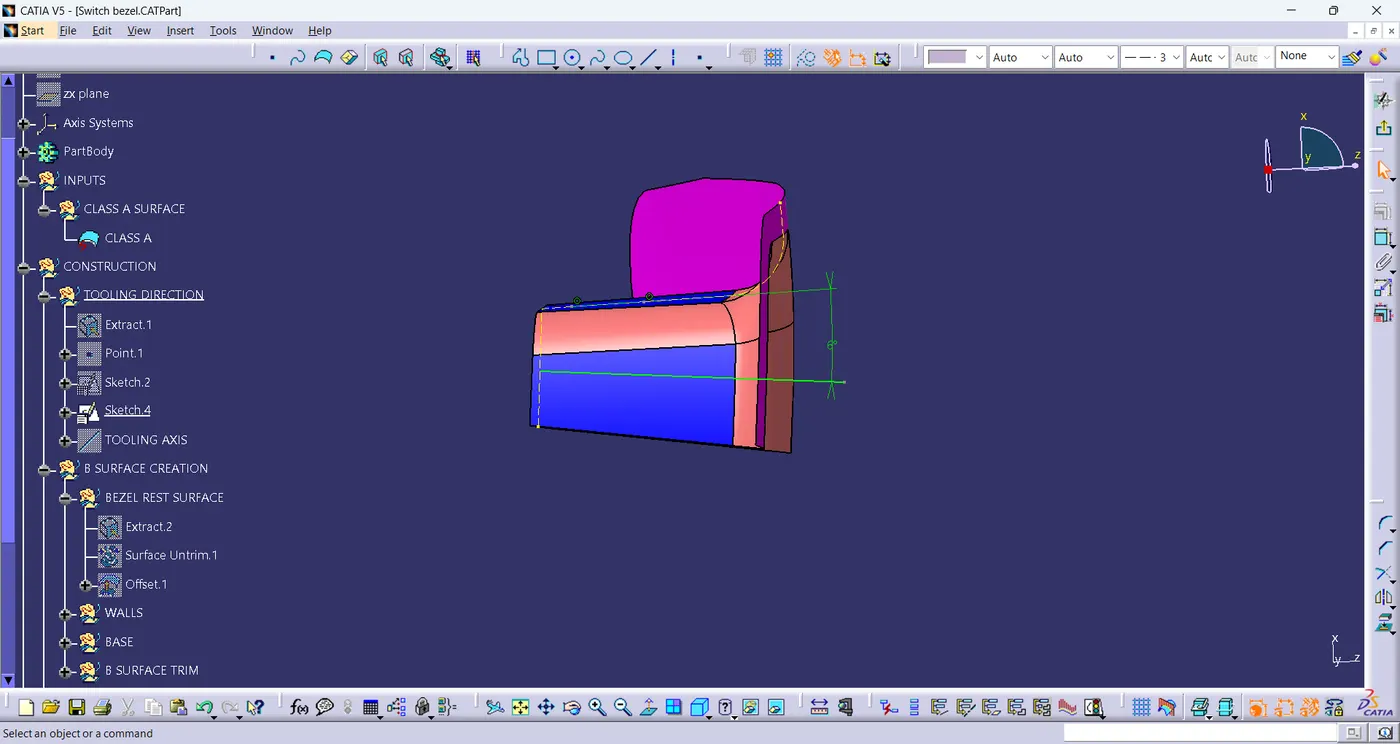
Now will create a bisecting line between both Sketch 1 and Sketch 2.
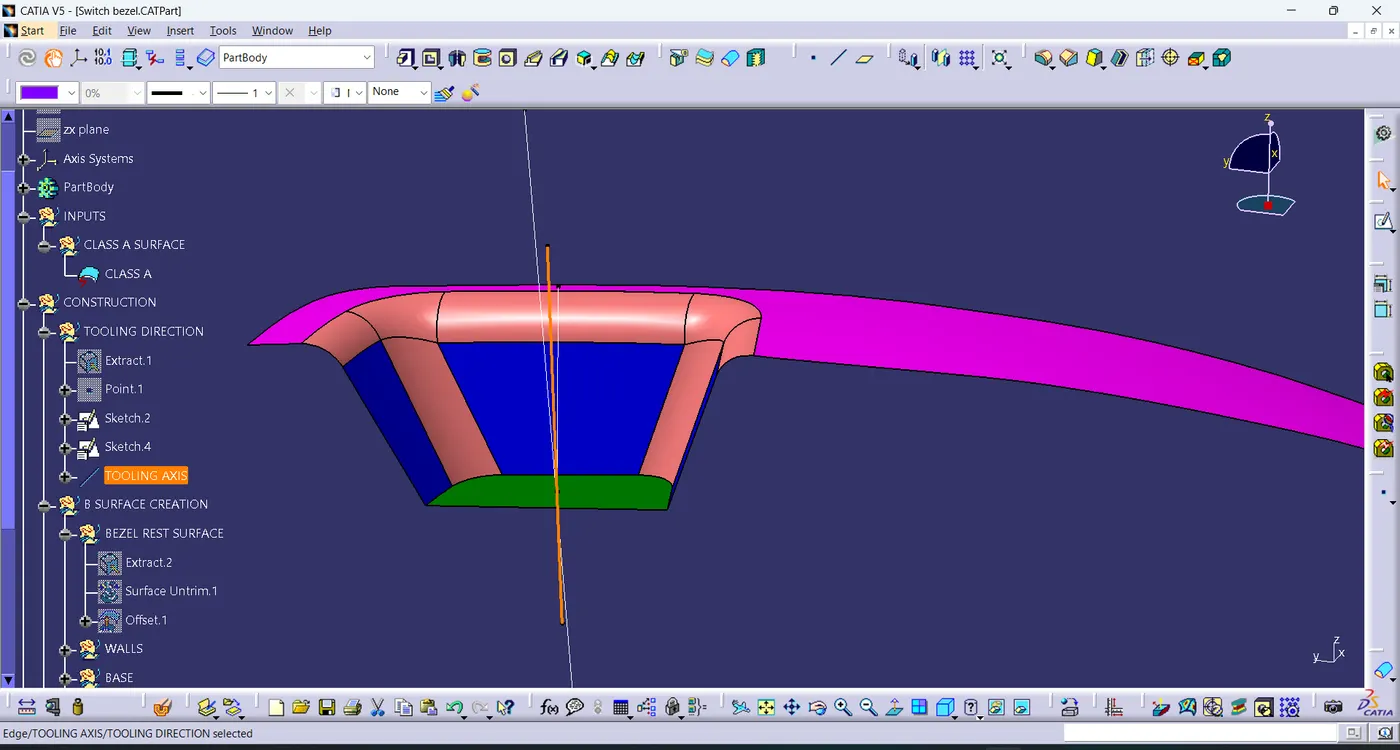
This selected line in orange is the Tooling Axis.
After this will create the B-surface with the help of both Class A Surface And Tooling Axis. Also will do Publication of Tooling Axis and Class A Surface to easily access both Class A Surface and Tooling Axis.
2. B-Surface Creation:
Now will create the B-Surface, for that will first create a geometrical set for the Bezel Rest Surface by selecting the Class A Surface and then Extracting it from the Class A Surface with the help of Extract Command.
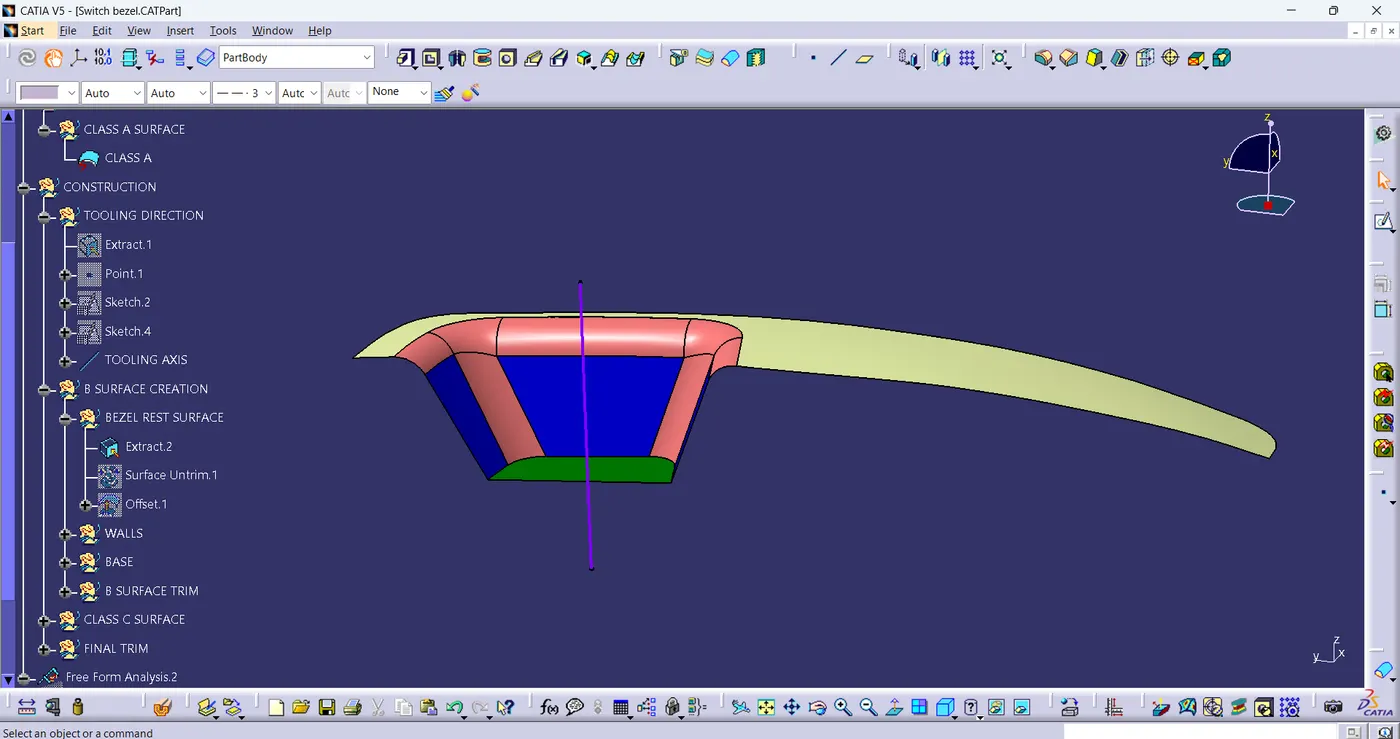
Now Untrim the extract surface and create an offset of 2.5mm in the opposite direction.
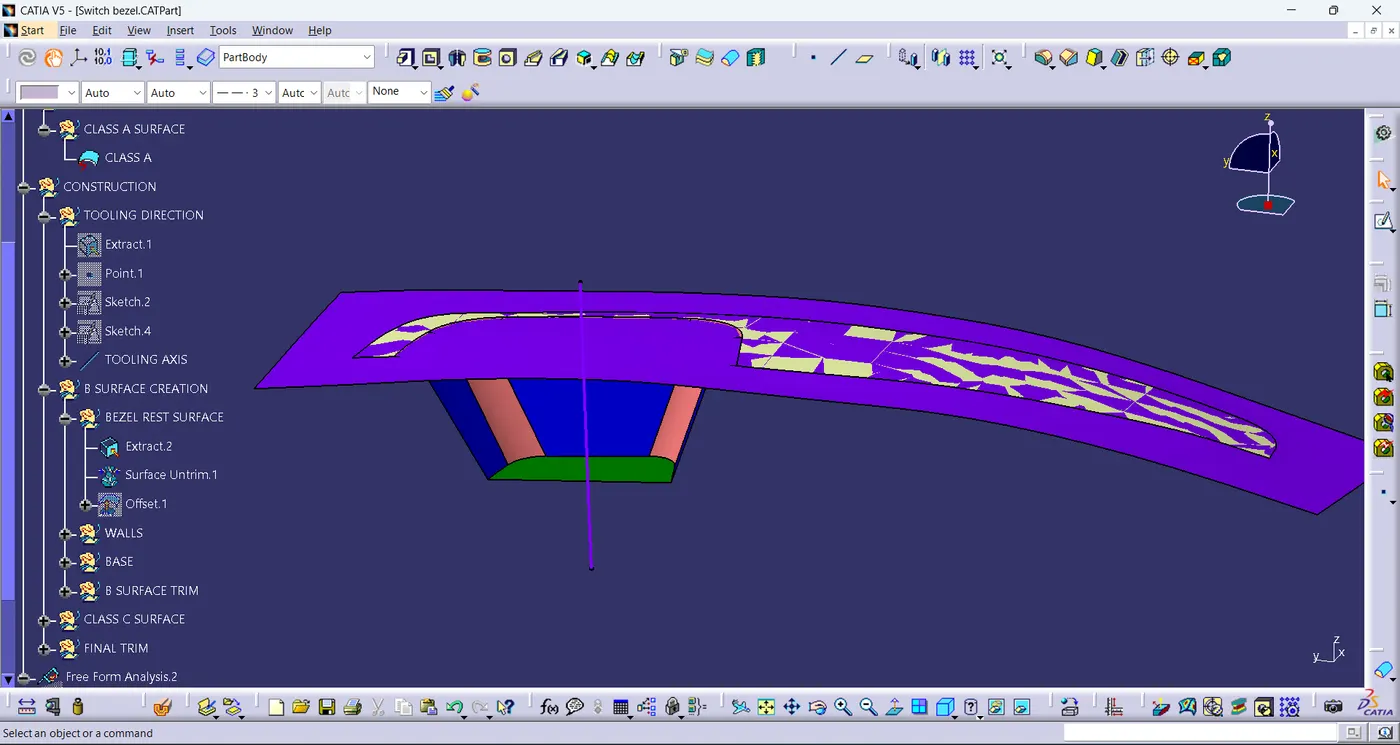
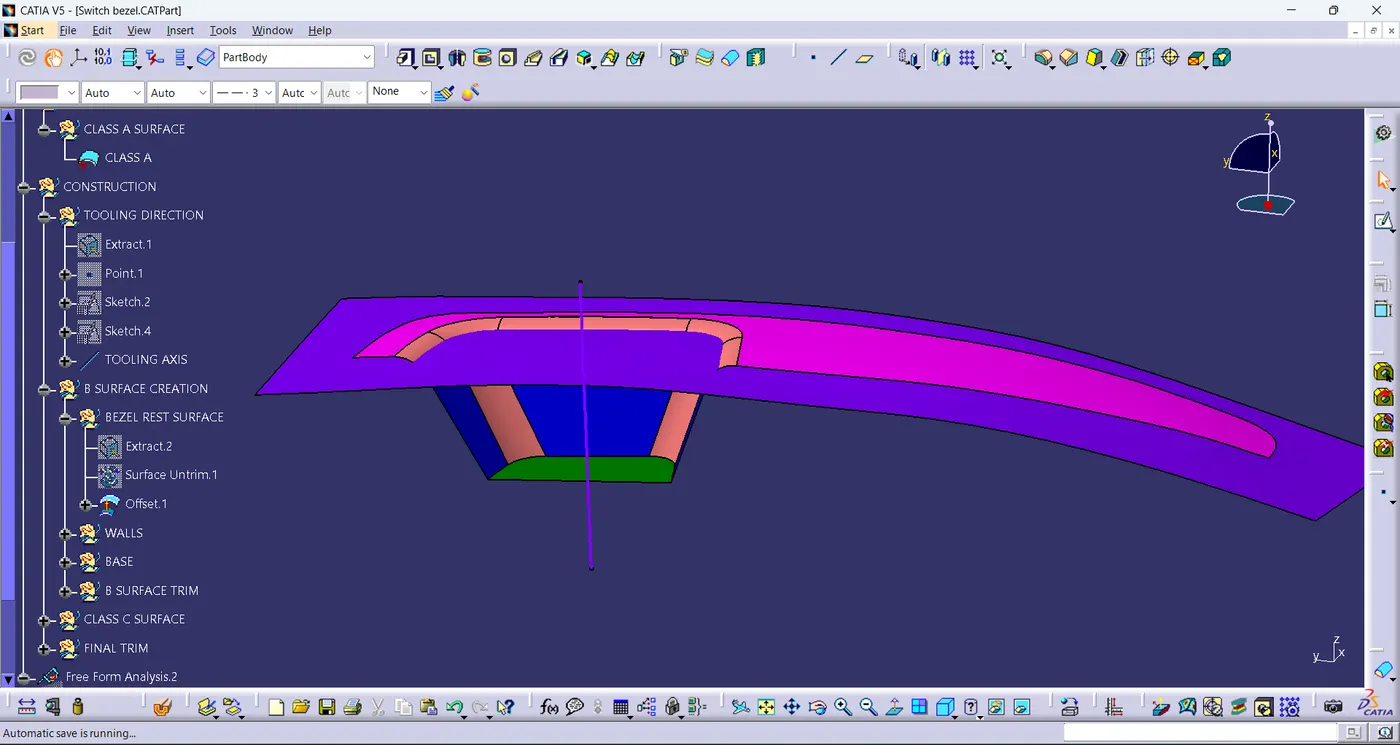
After creating the Bezel Rest surface, will work on the three walls surface which is in shade of blue. Will do the same procedure as done during the Bezel Rest Surface, Similarly will extract all three walls, then untrim all three.
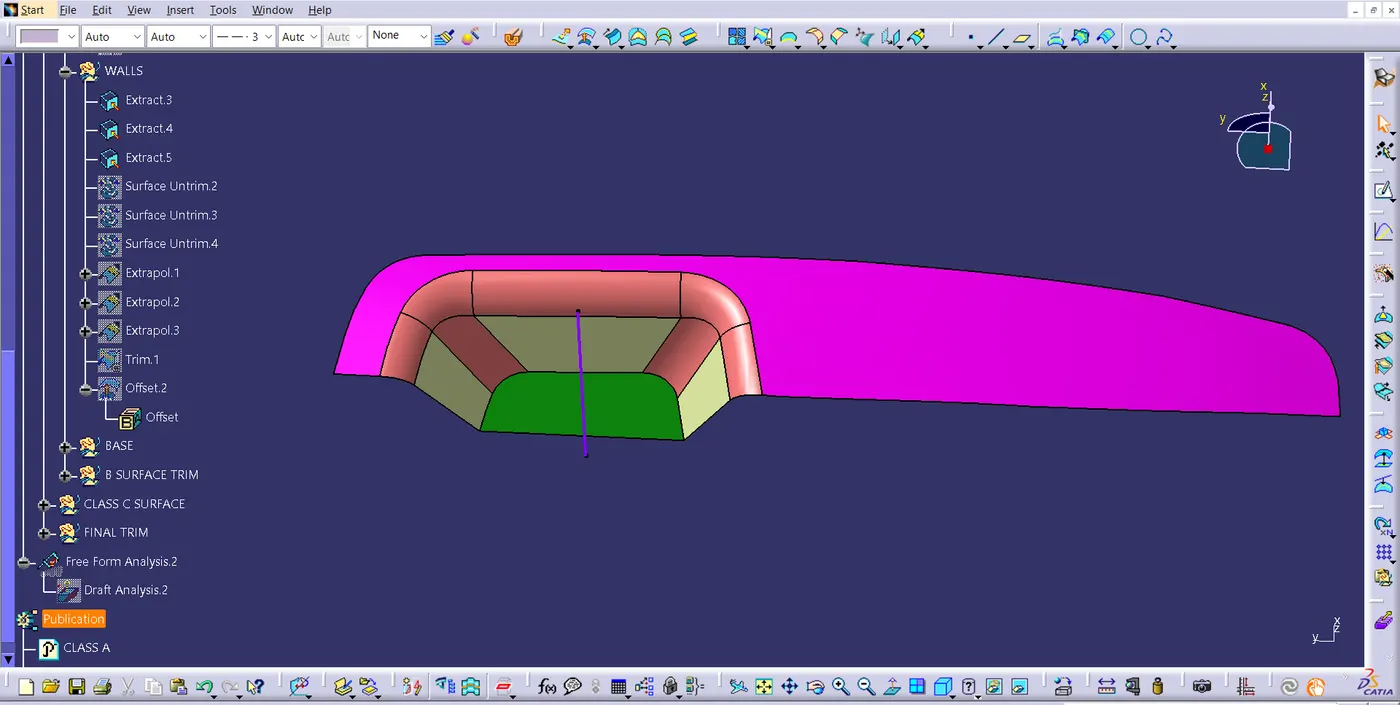
Surface Untrim of all three surfaces.
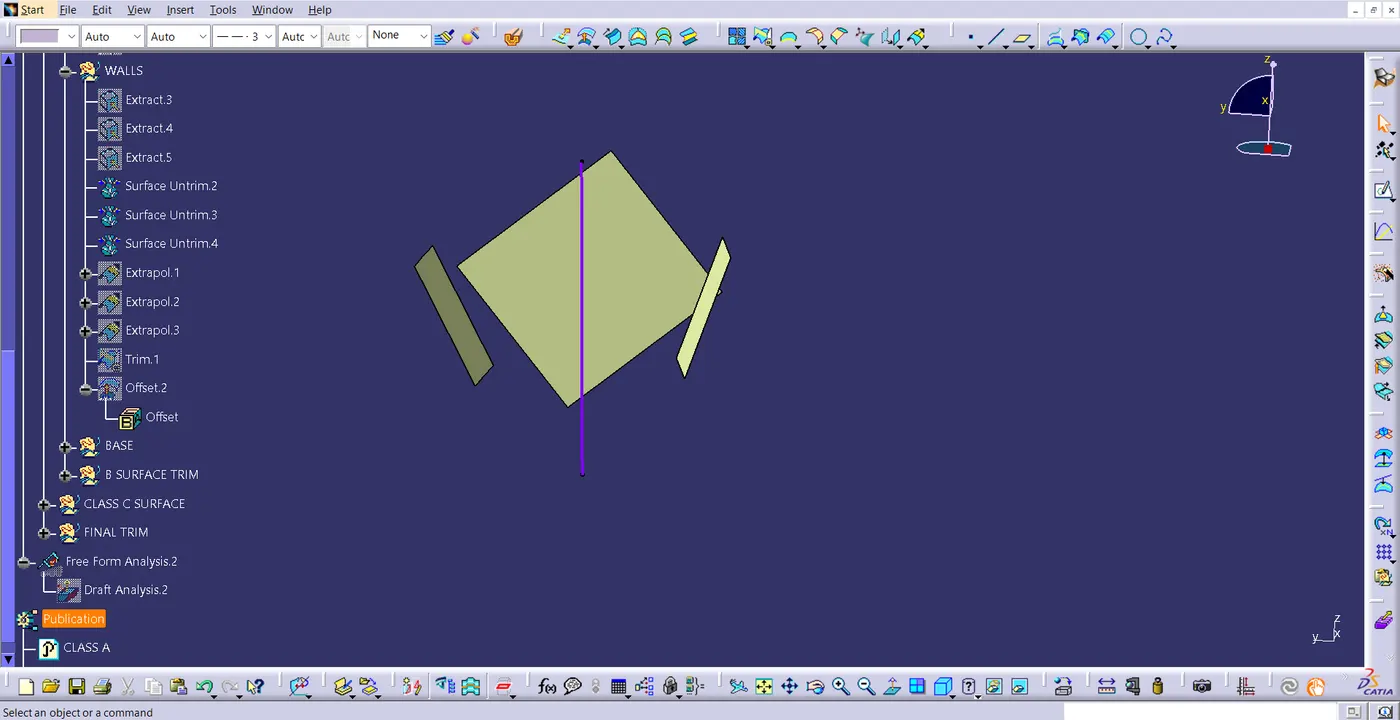
Now will Extrapolate all three surfaces to a minimum length so that all three can connect with each other.
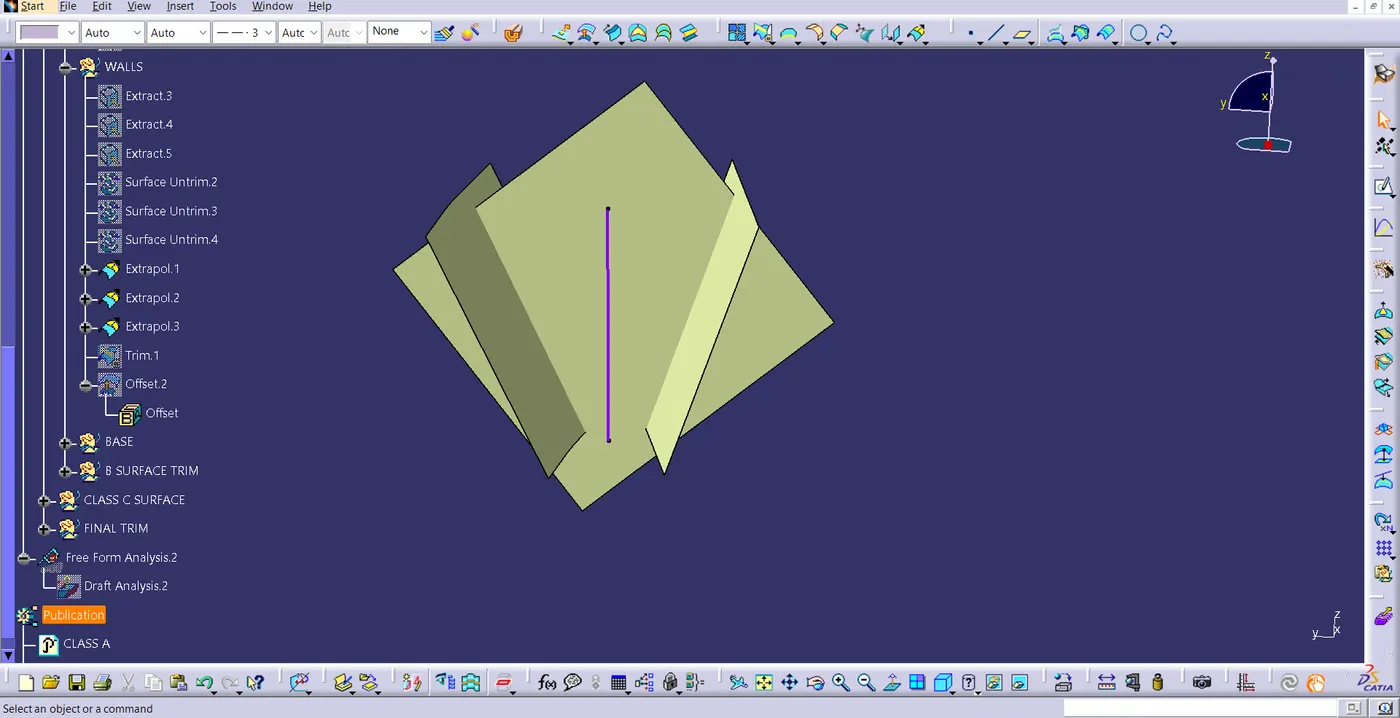
After extrapolating all the three surfaces will trim all three together.
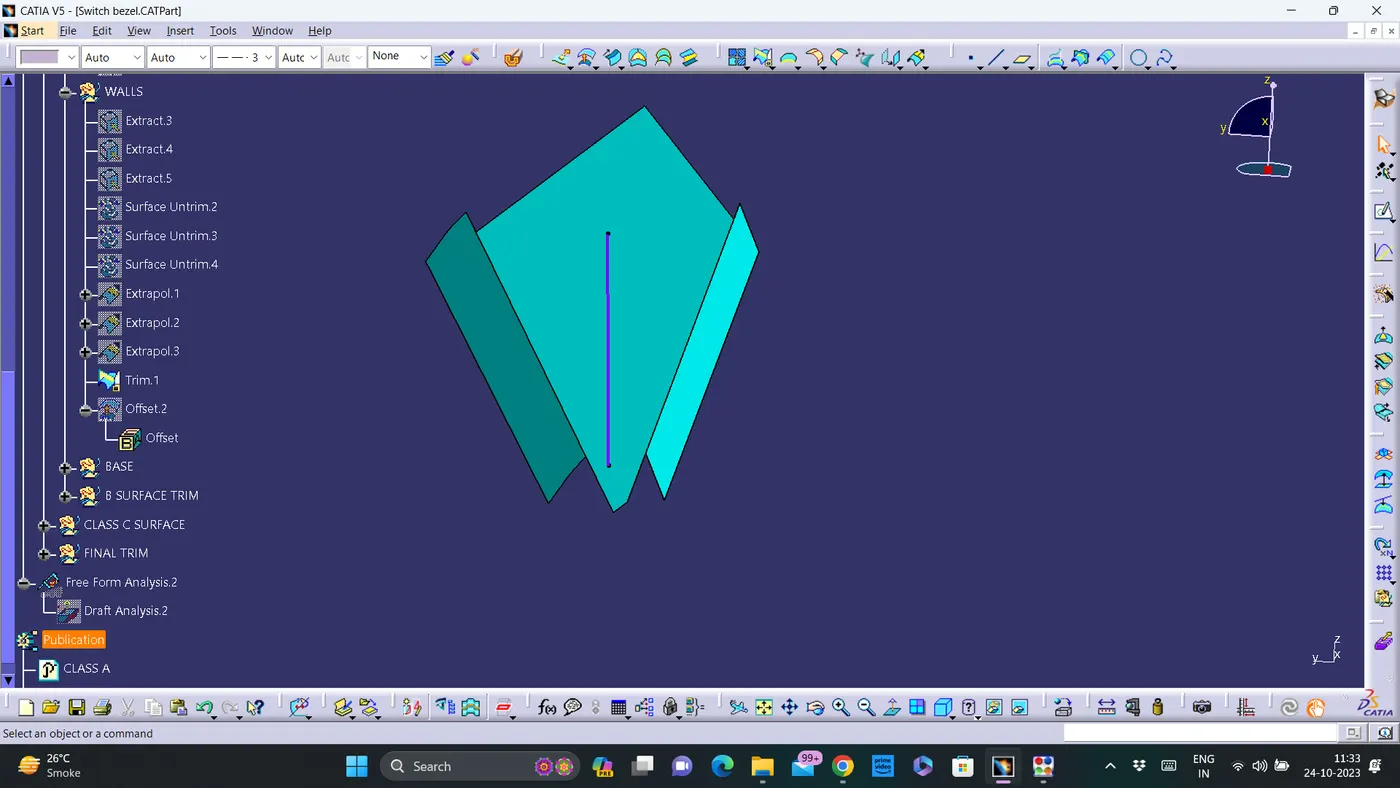
And create an offset of the trim surface.
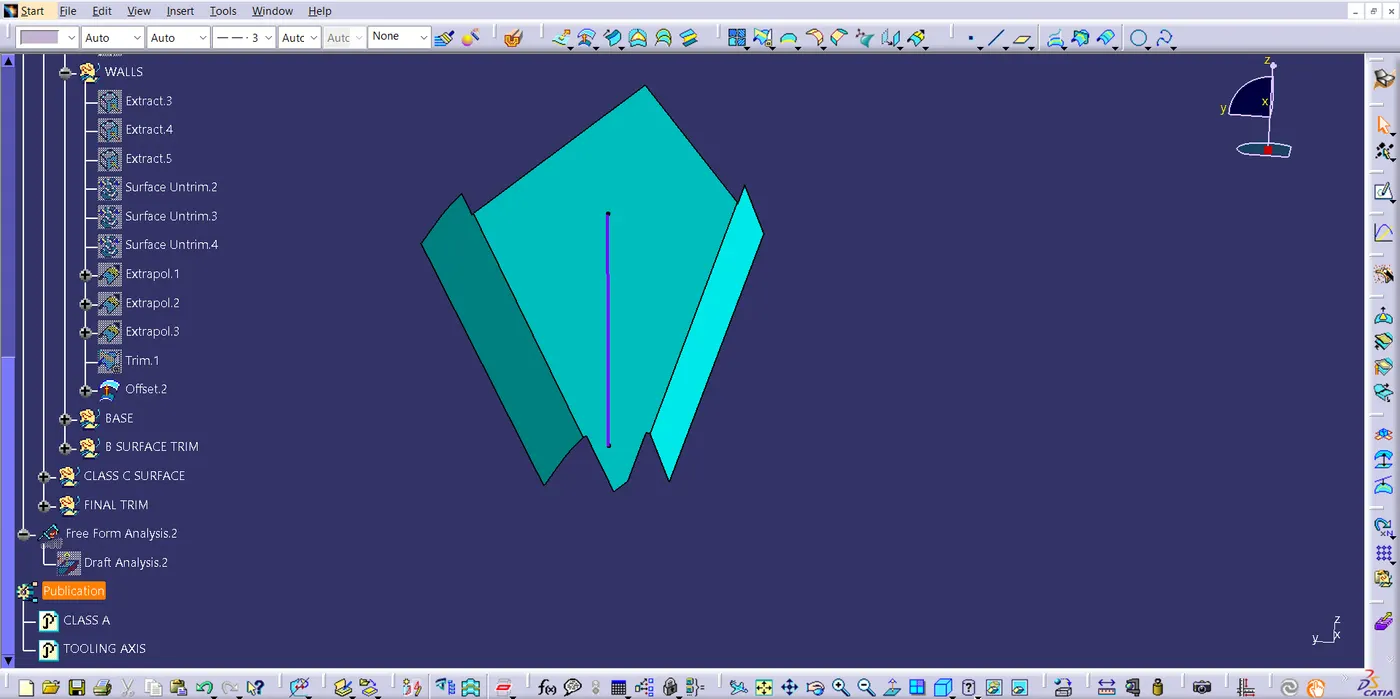
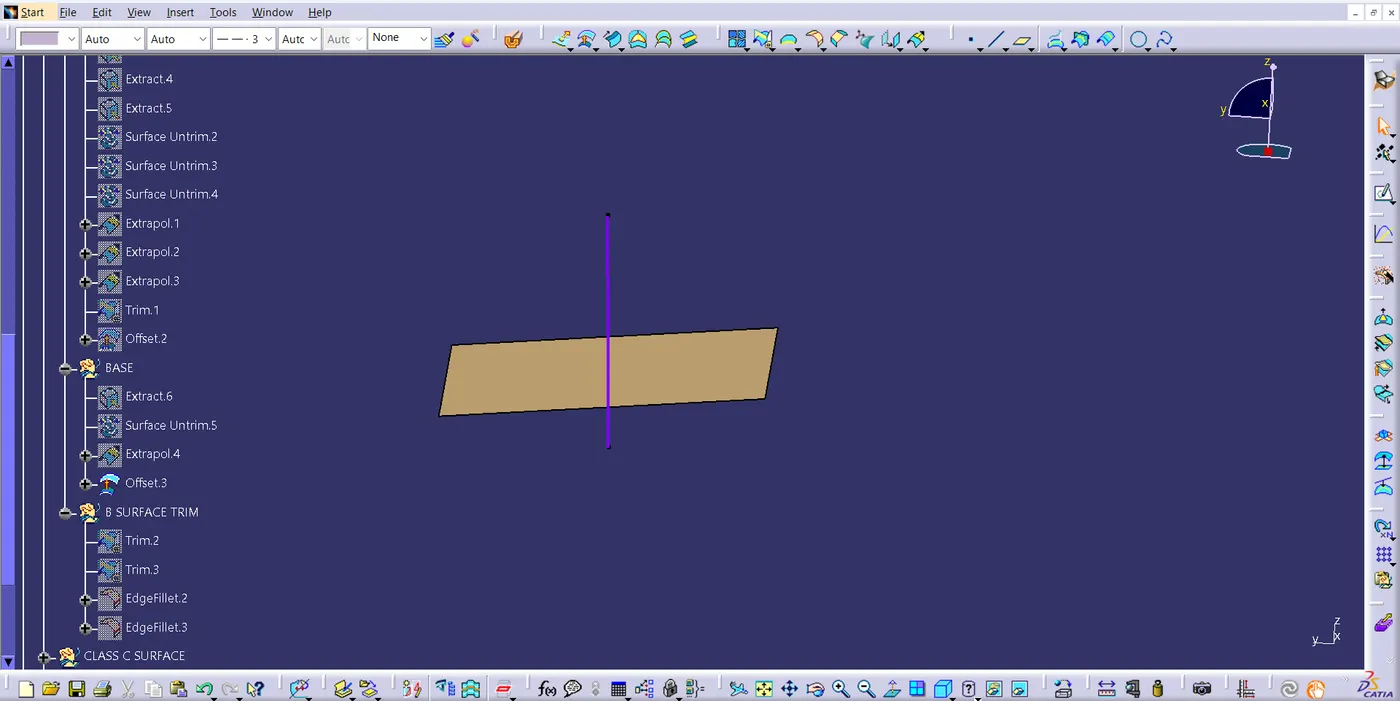
Similarly will extract the base, then untrim it, and then extrapolate it and create an offset of it.
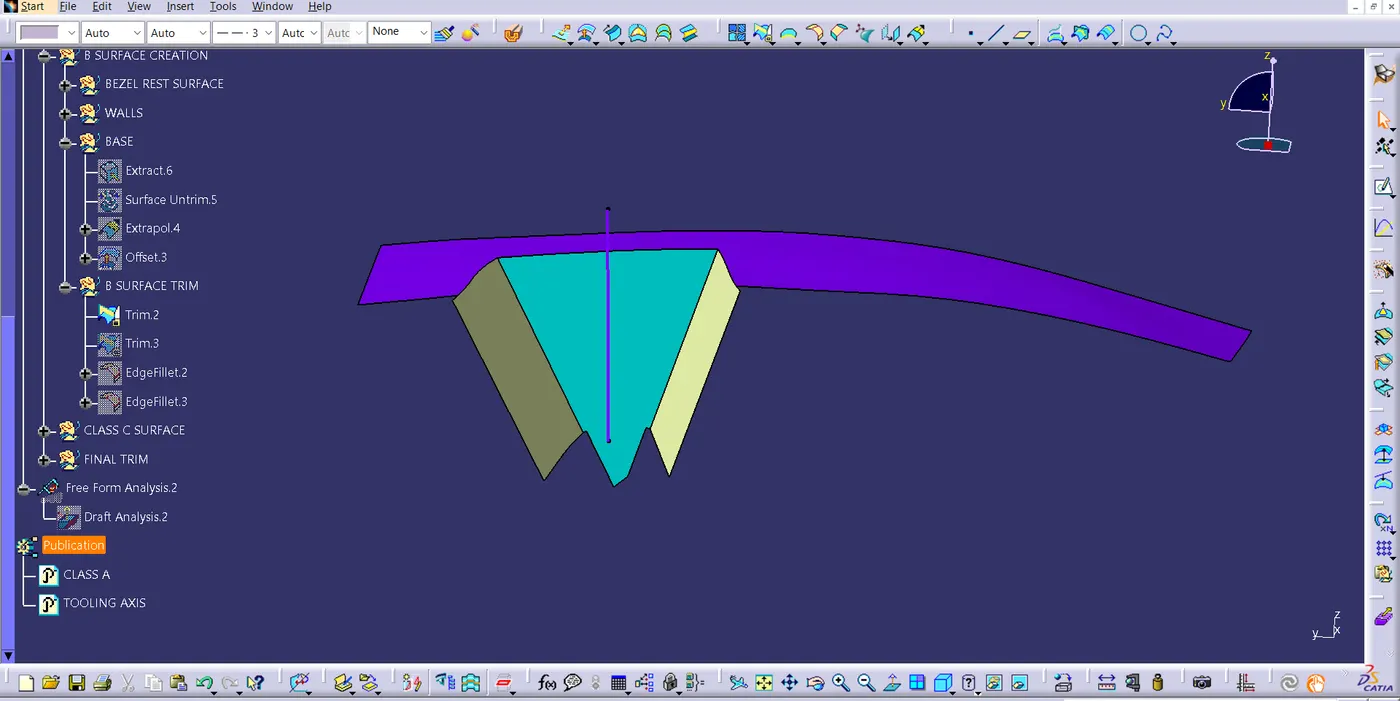
Then will untrim the bezel rest surface with the walls.
Now will trim the Trim1 with the extrapolate base.
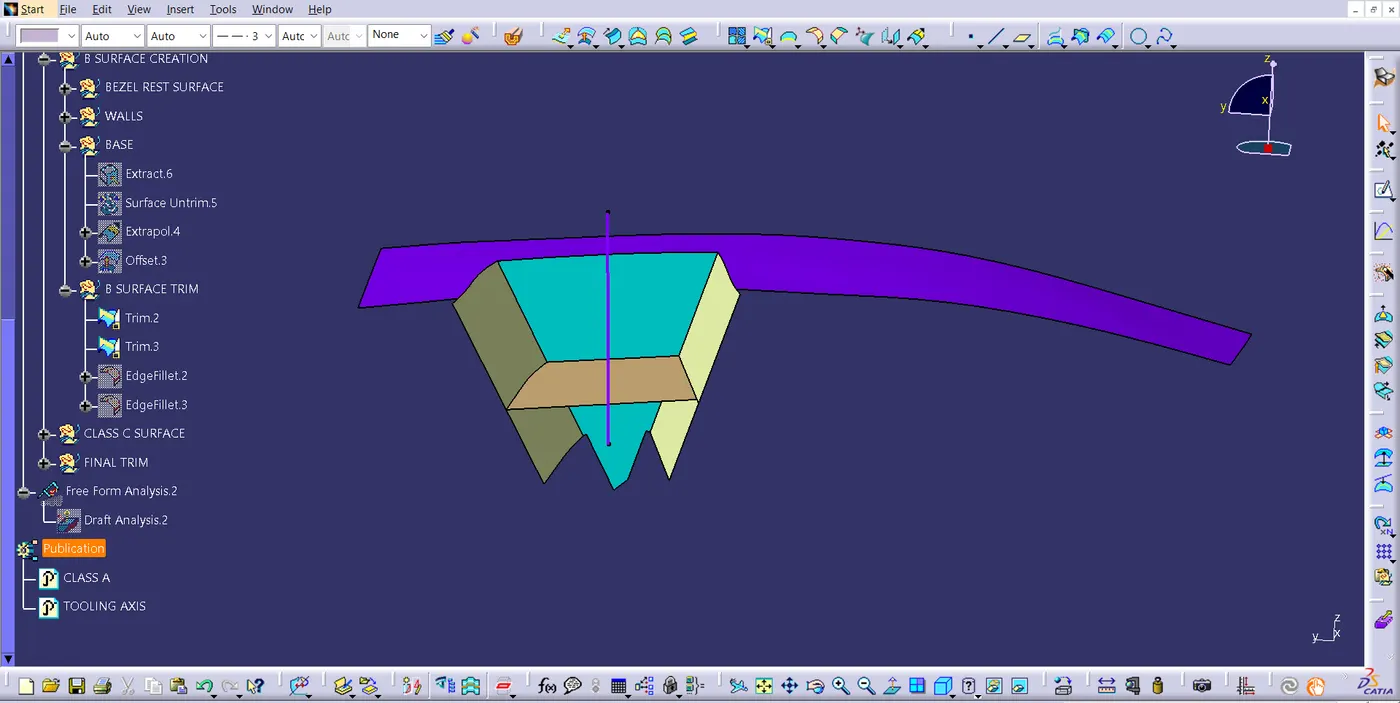
Then give edge fillets inner side surface of the switch bezel B Surface.
3. Class C Surface Creation:
First will create a multiple extract from the Class A Surface.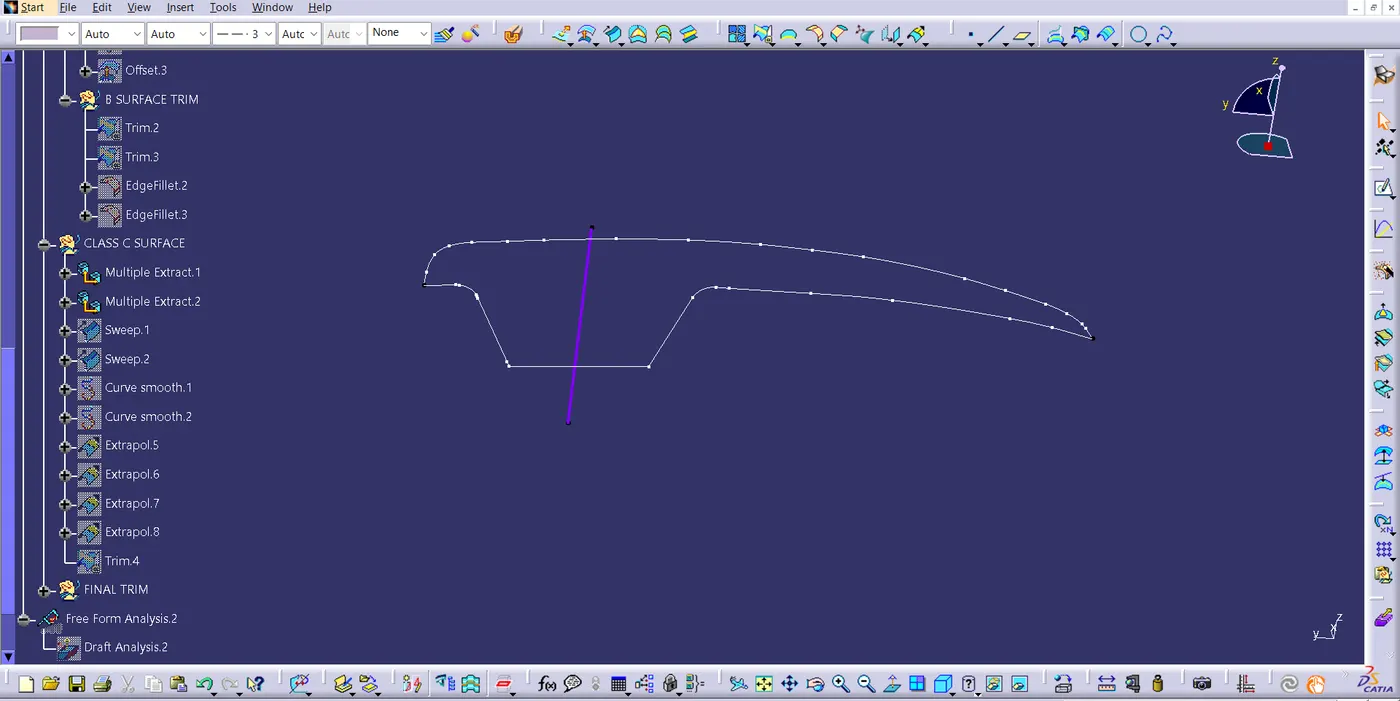
Now, create the first sweep with extract 1 around the Tooling axis and similarly around extract 2.
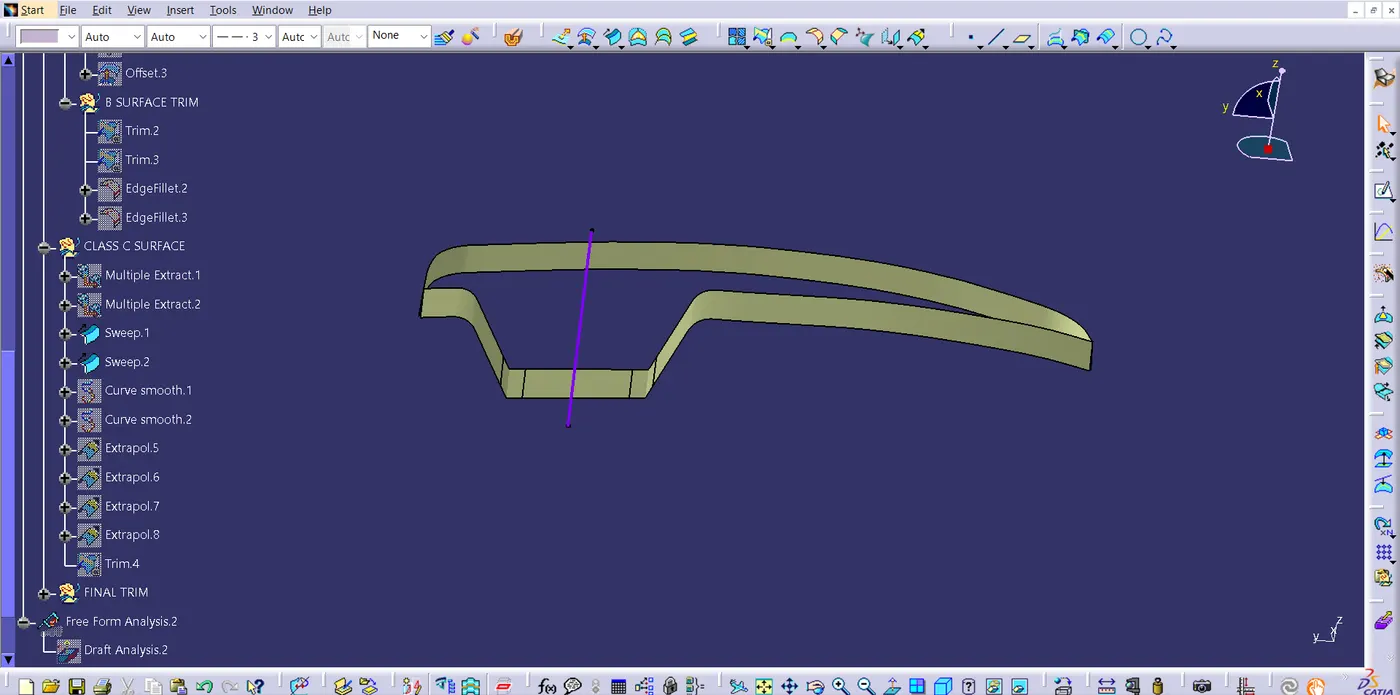
There will be uneven patches on the surface after sweeping, to remove those uneven patches we can use the curved smooth surface around both extract 1 and extract 2.
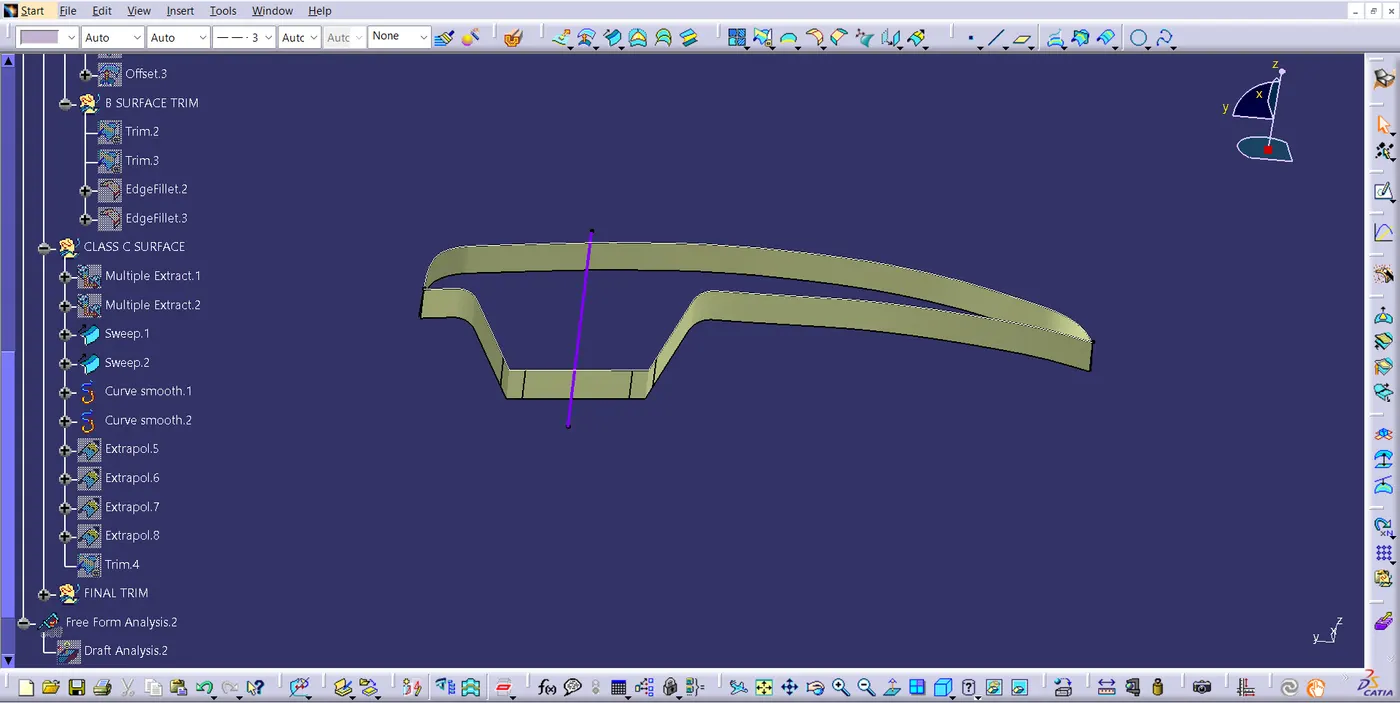
There will be some gap around the corner of surface 1 and surface 2, so will extrapolate around surface 1 and surface 2 with minimum length to connect both the surfaces.
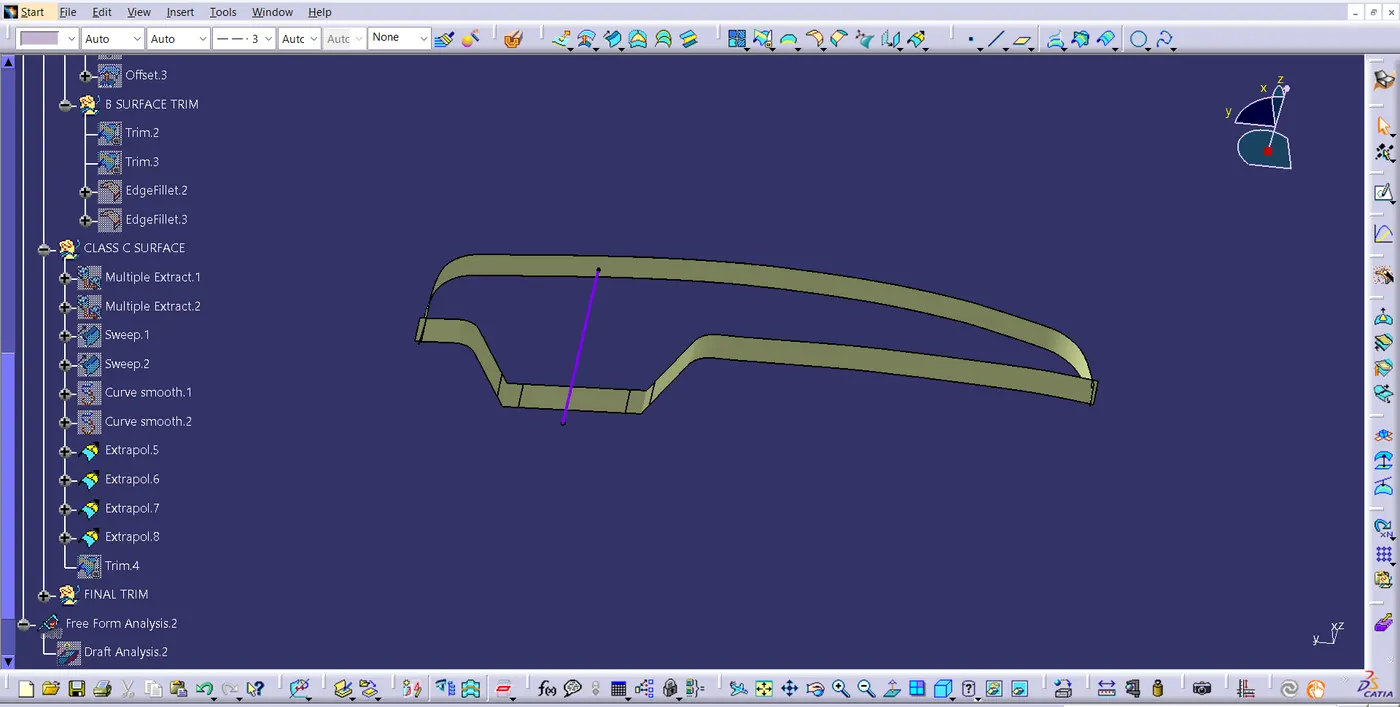
Now trim both surfaces which are extrapolated.
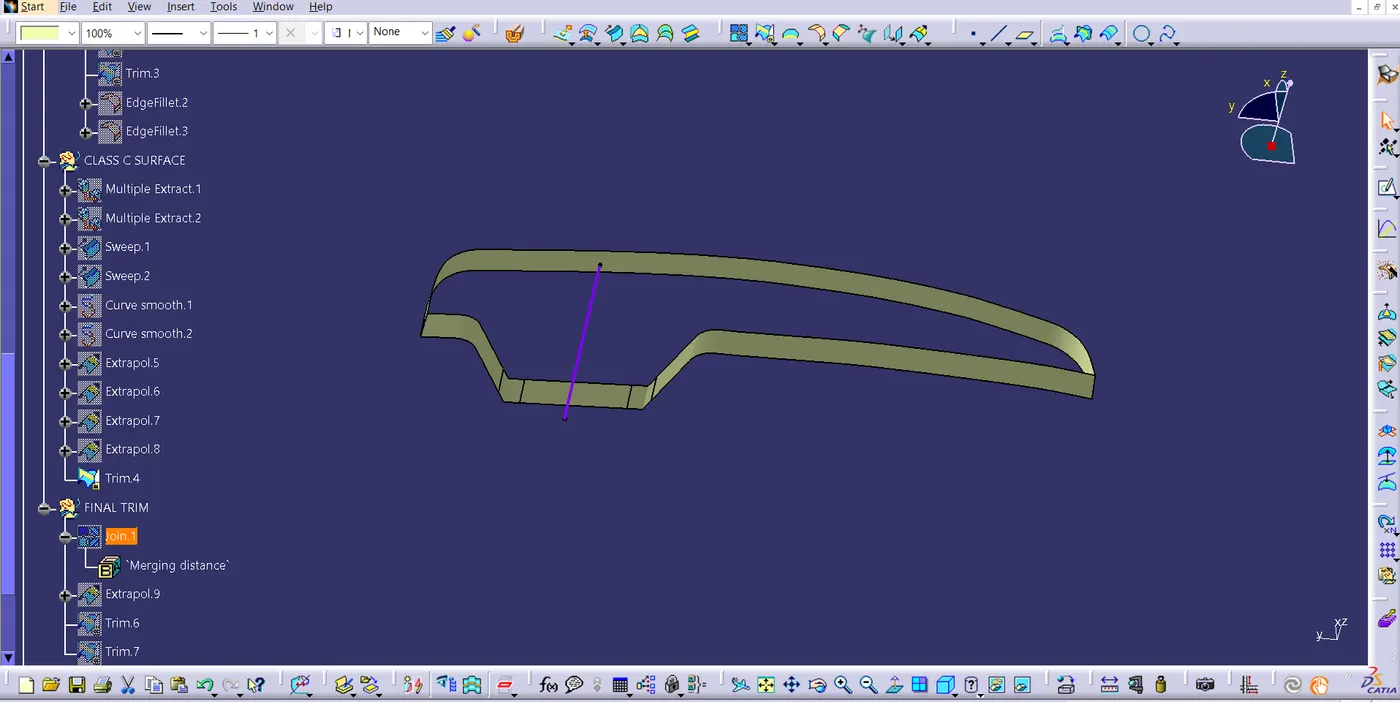
CREATION OF FINAL SURFACE:
Now will finally join the trim with the Class A Surface.
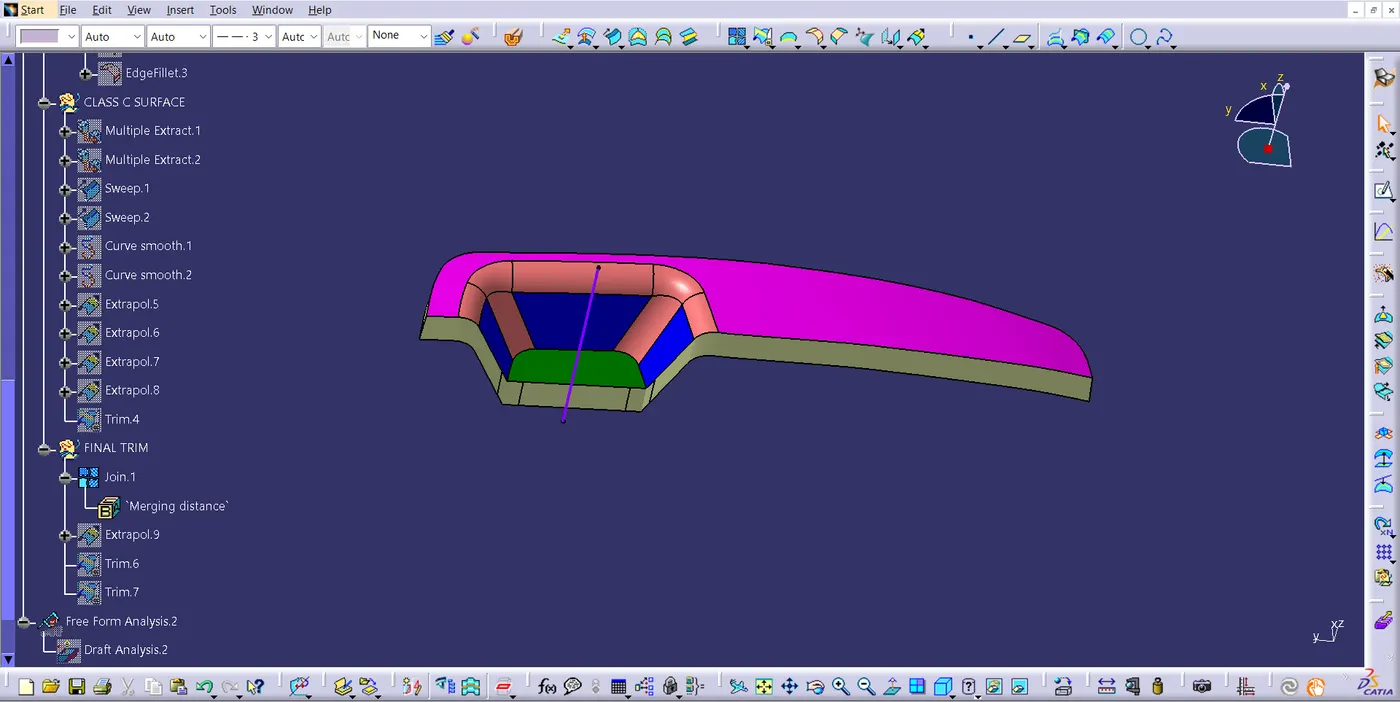
After Joining when click on boundary to see if there is any joint or not will see a joint in the surface.
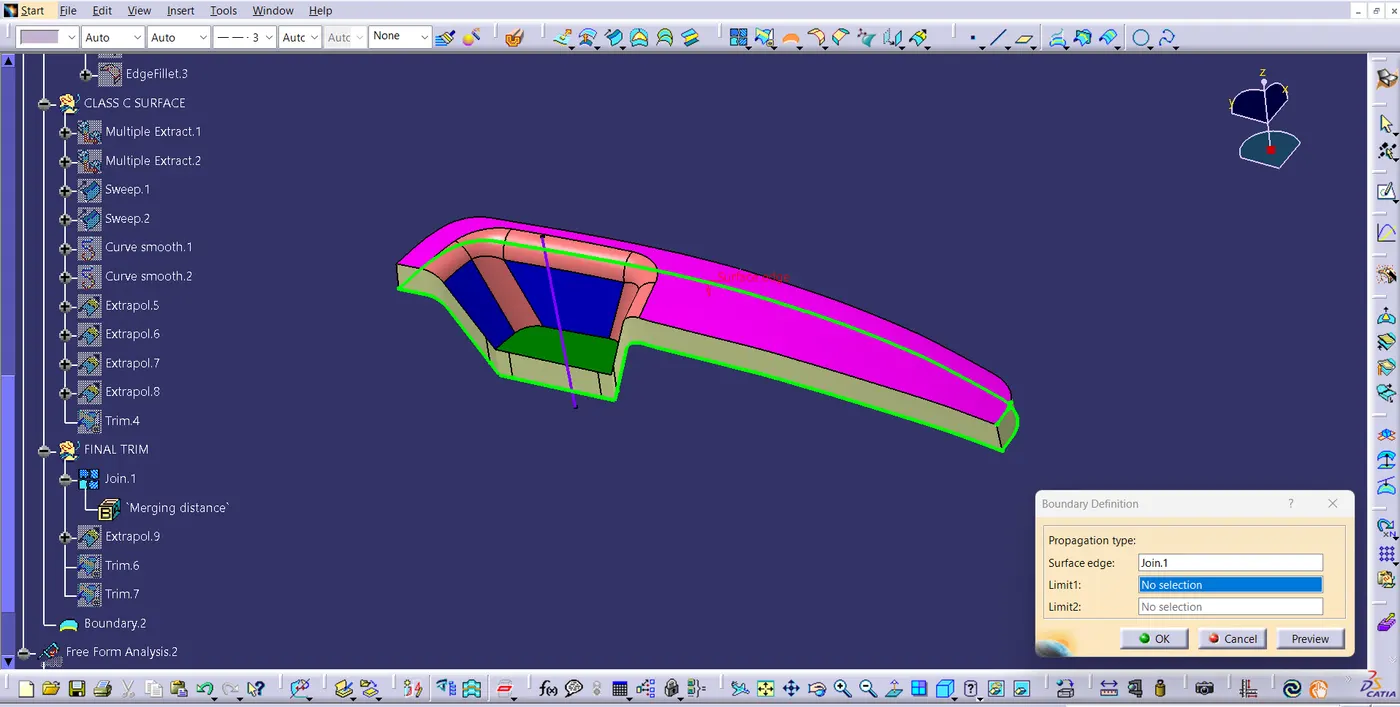
To overcome this will work on it by extrapolating the edge of the Class A Surface with the Class A surface.
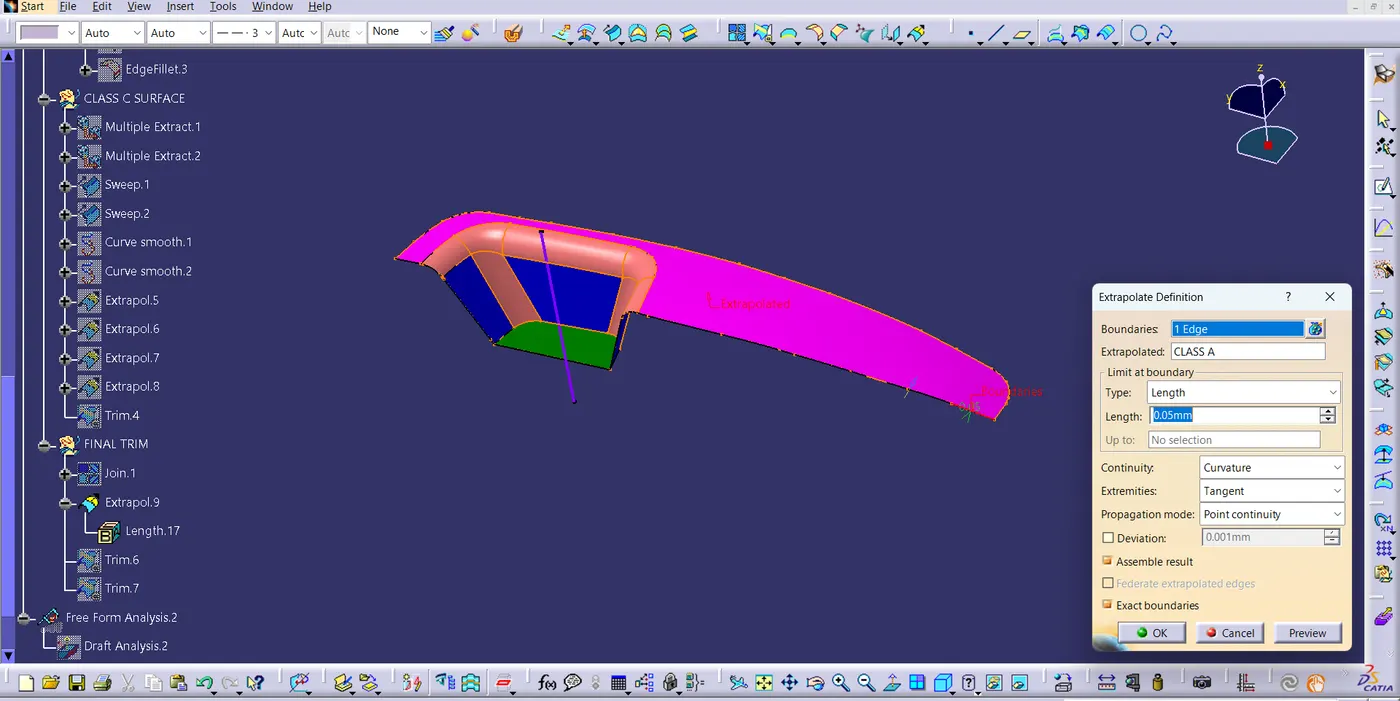
Then again Trim it with the trim 4.
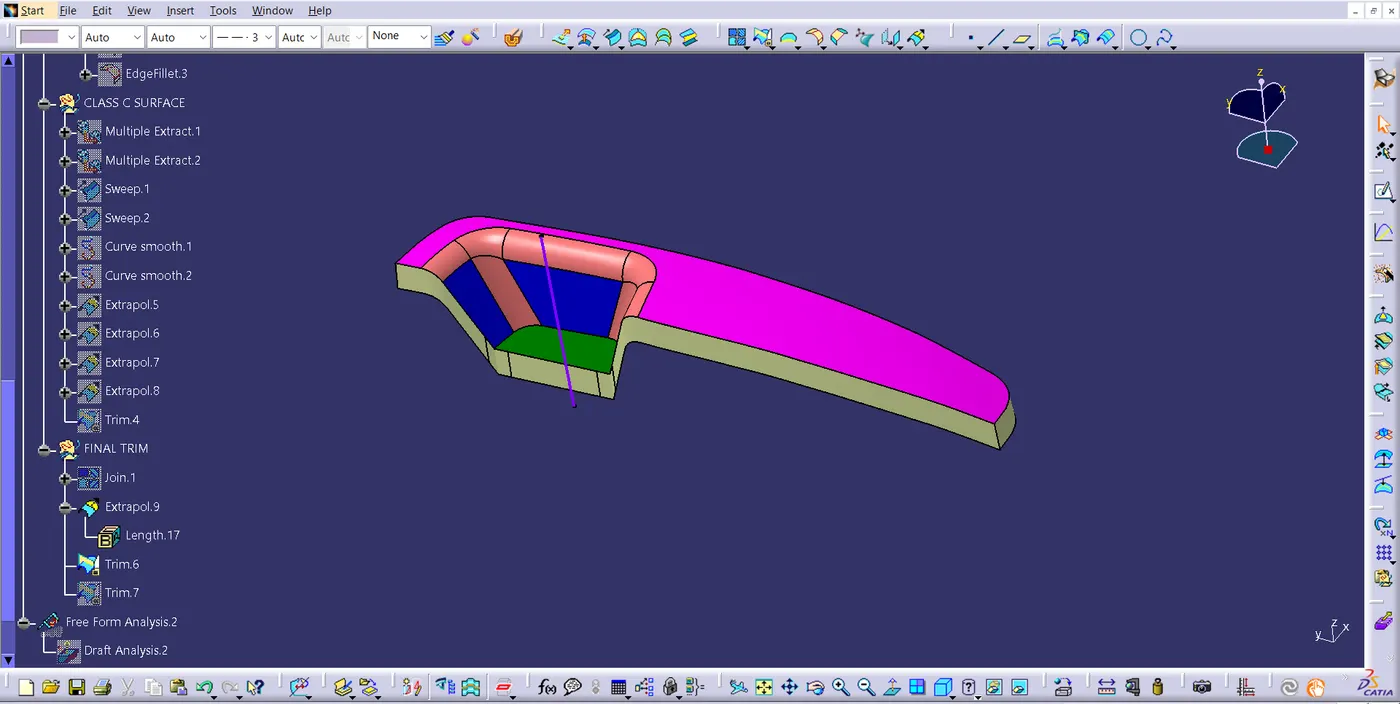
Then will do the final trim with a Class B surface.
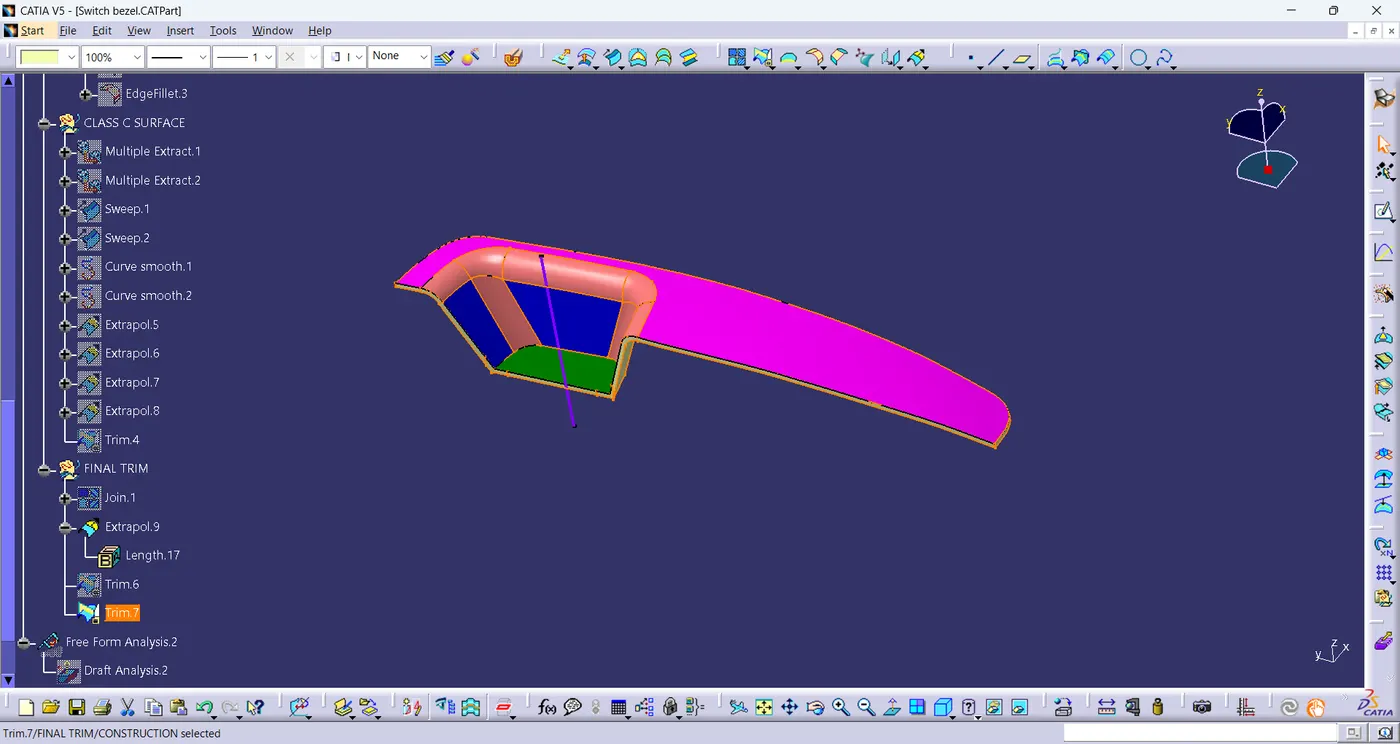
Now will create a close body surface by cleaning the final trim in the Part Assembly.
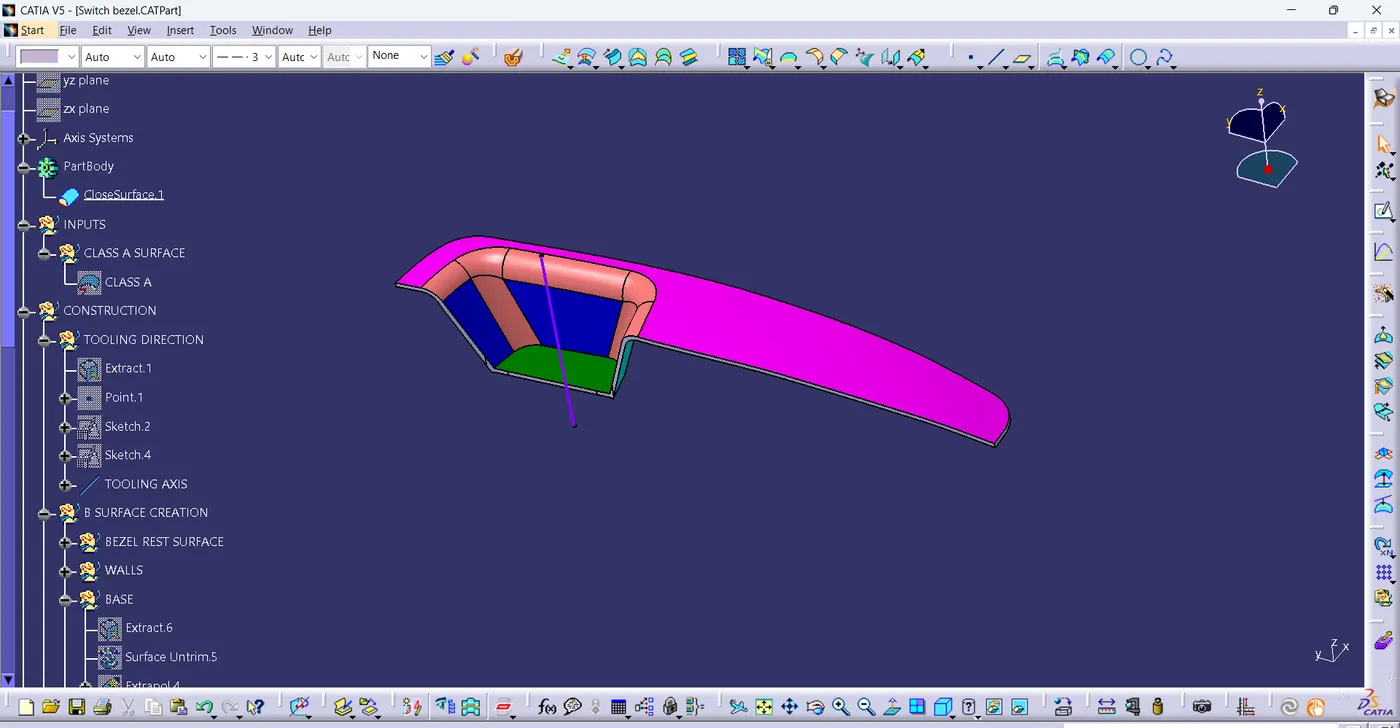
DRAFT ANALYSIS:
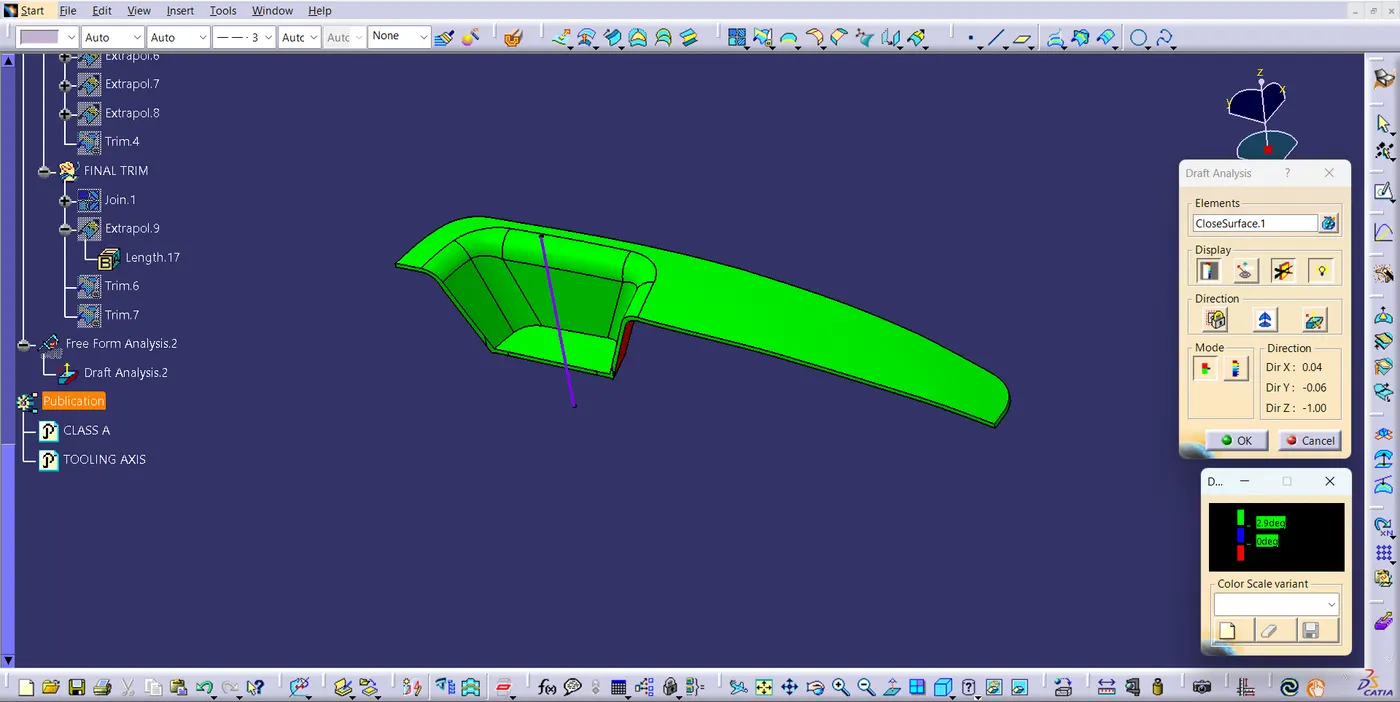
Now will do the draft analysis on the final close surface, for that will first go to insert there will be analysis, will click on it and there will be Feature Draft Analysis.
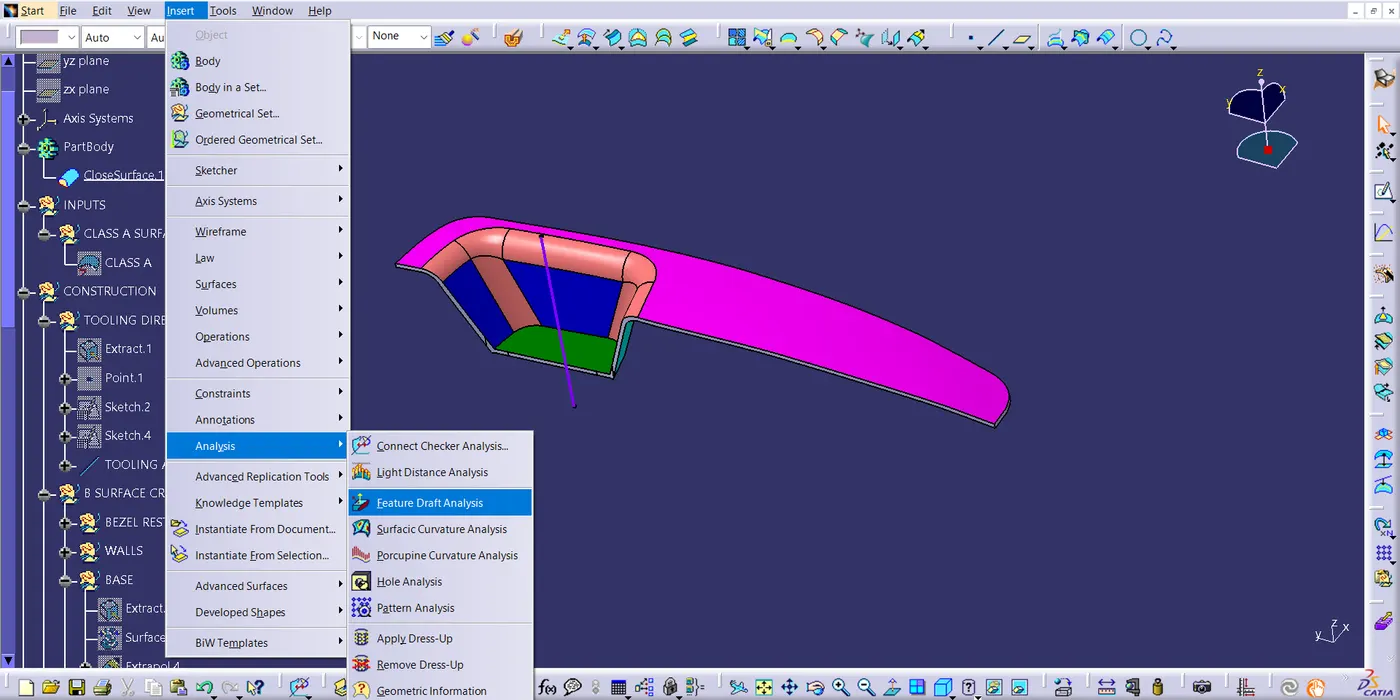
After that will choose the surface into material and do the draft analysis on the surface.