Week 9 - Challenge 2 - Switch Bezel Design
Aim: To create a switch Bezel considering all plastic design rules.
Steps Followed:
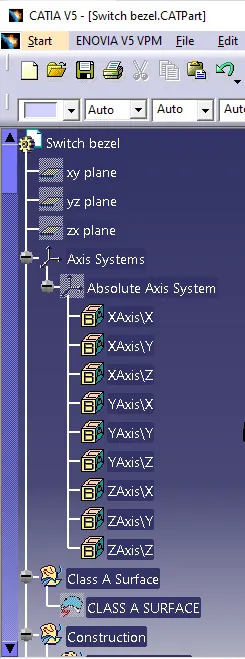
- Tooling Axis creation
- Checking Draft analysis for Class A surface
- Creating B Surface
- Creating C Surface
- Trimming the final surface(A+B+C)
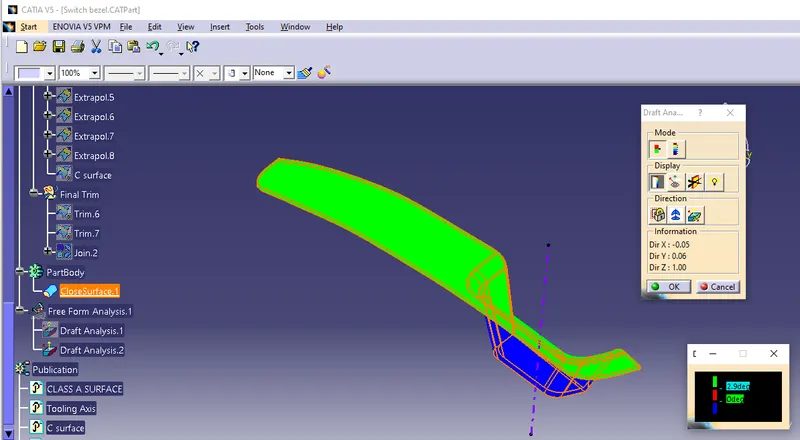
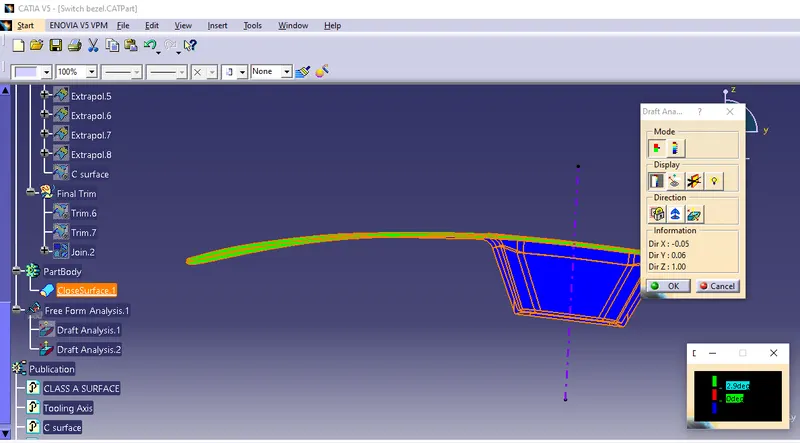
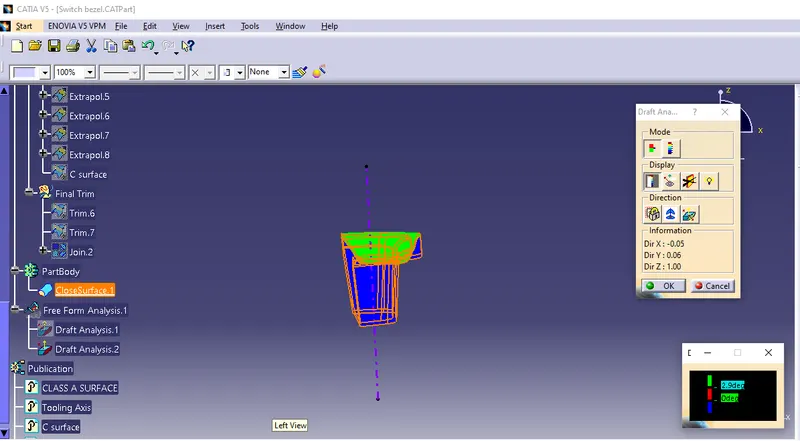
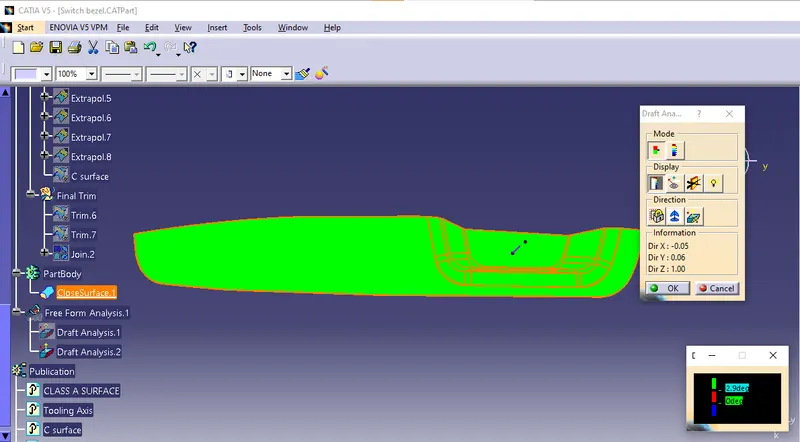
- checking Draft analysis for the Final surface
Tooling Axis:
The tooling axis is the axis in which the core cavity opens during the completion of injection molding. To create the tooling axis, we need the proper orientation or view that gives the correct features and draft available in the component.
Component view from the Z direction gives the tool the proper view to see the geometry's features. To create the tooling axis from the Z direction we need the tooling axis from the X direction since it gives the draft available at the diagonal part.
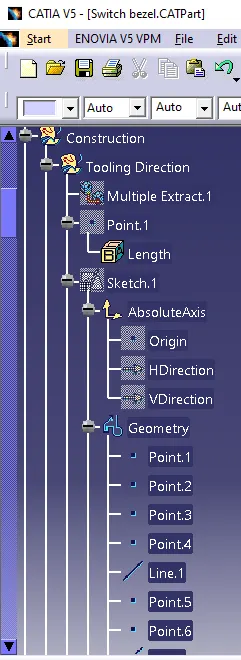
The tooling axis is created from the X Direction By the following Steps:
- The class A surface is Extracted
- Then the center point is created using the point, on the base surface at 0mm.
- At this point, the axis system is created.
- After switching the view of the model to the X direction and creating the tooling Axis.
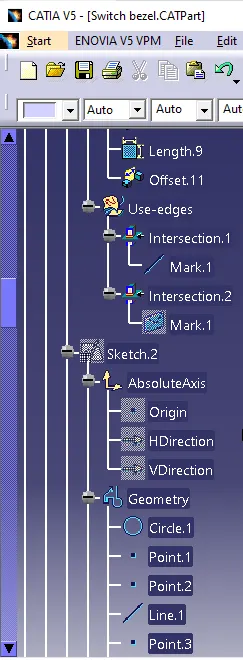
Using the intersect in the ZY plane to get the boundary lines.
Then the lines are created along the slant surfaces.
Then these two lines are bisected to get the tooling axis for the X direction.
- Next switch in the Y direction and intersect the switch Bezel part in the ZX direction to get the intersecting Lines.
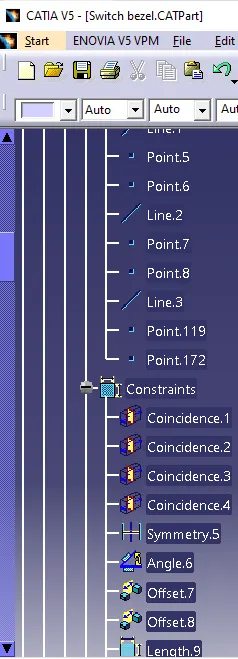
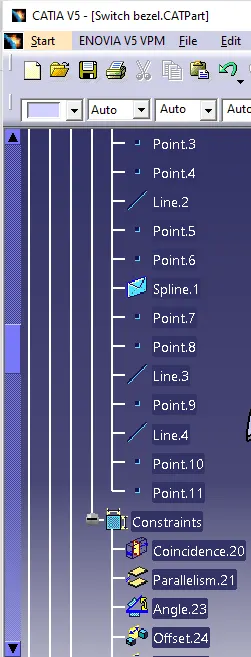
- Using the axis center point, a line is drawn in sketch mode and it is constrained at the angle of 6 degrees.
- At last, both the lines are bisected to get the final tooling axis.
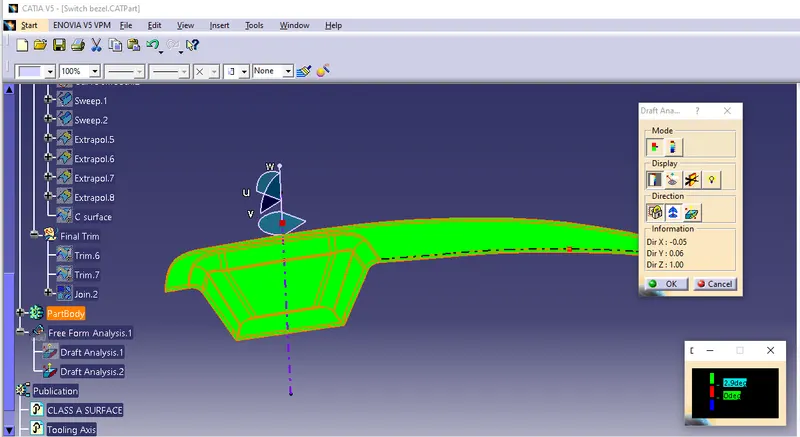
The below line represents the tooling axis for the surface.
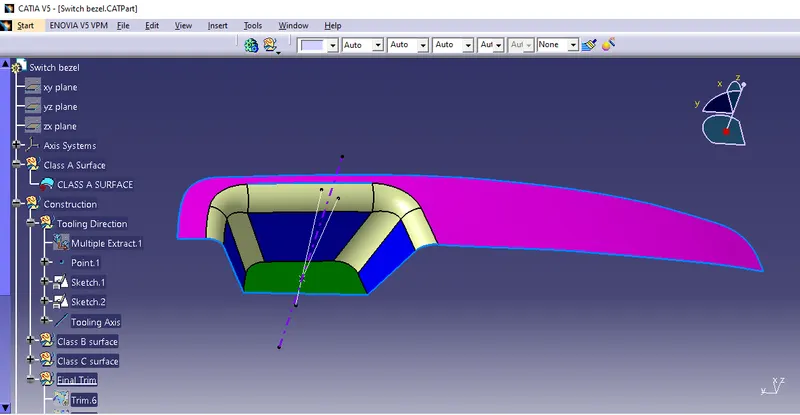
Draft Analysis:
The draft analysis enables you to detect the part we drafted will be easily removed. This type of analysis is performed on the base of color ranges identifying the zones on the analyzed element where the deviation from the draft direction at any point, corresponds to specified values.
- Go to insert
- Click on the compass icon and align it with the tooling axis and click on the surface, we will get our result.
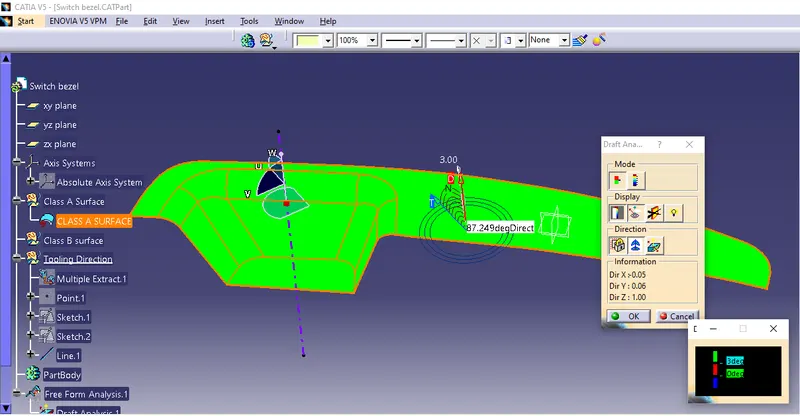
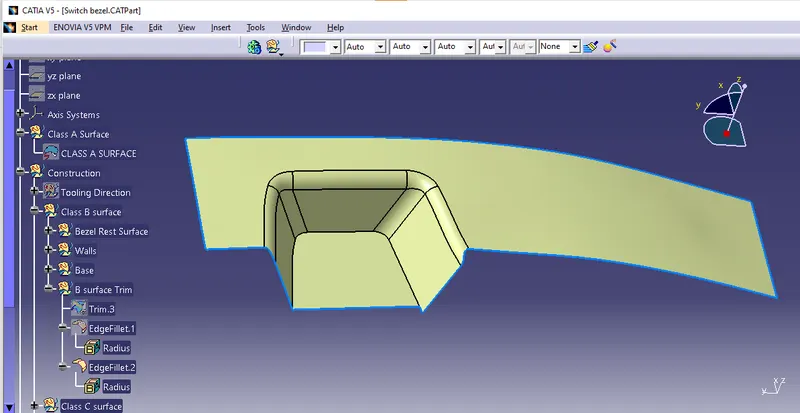
Creation Of Class B surface:
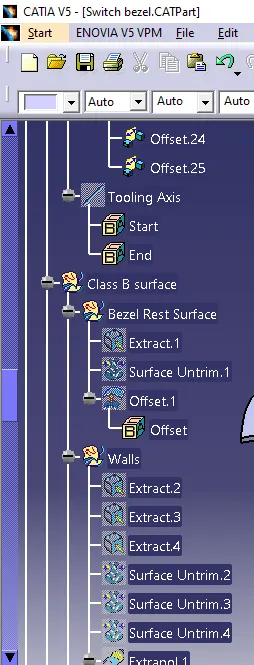
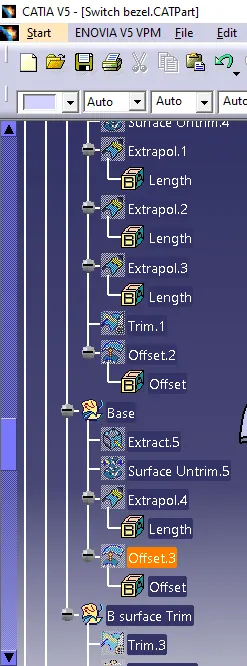
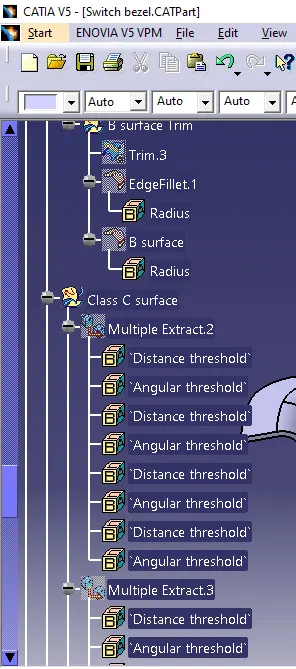
Class -B surface is created by extracting each wall and untrimmed and extrapolating the walls to obtain the shape by trimming the excess surfaces and offsetting it to a certain distance based on the thickness of the model. The offset surface will be the B-surface.
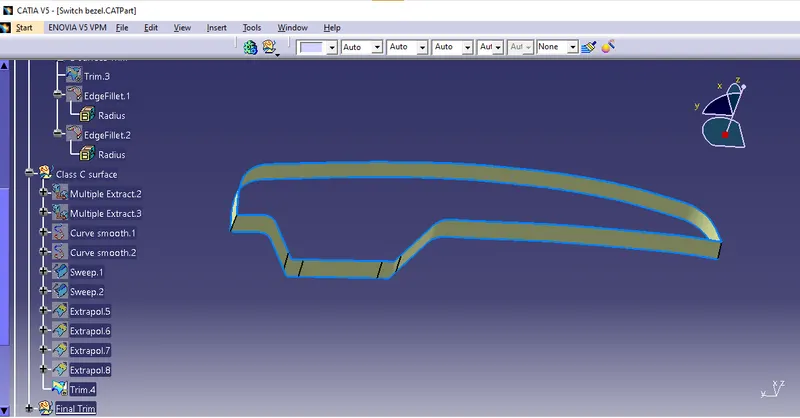
Creation Of Class C surface:
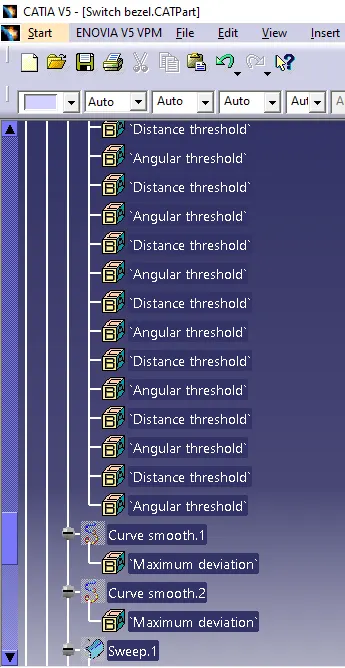
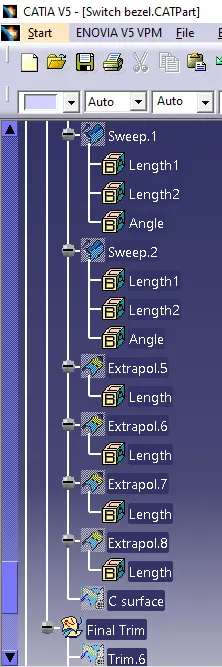
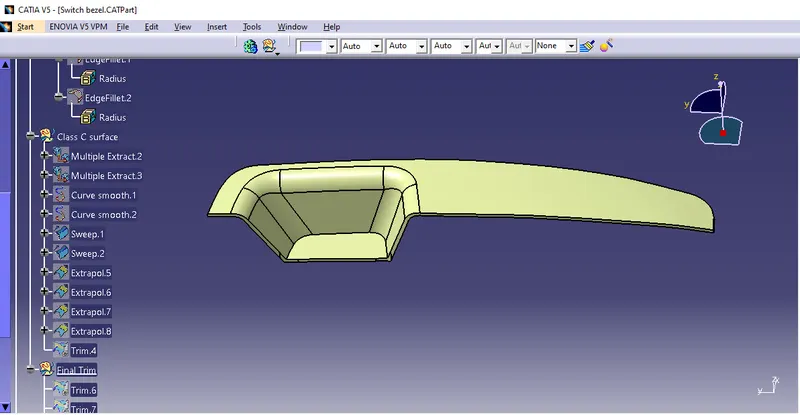
The surface created using the sweep command by sweeping the boundaries of the A-surface along the tooling axis to connect from A to B-surface is known as the C-surface.
Trimming the final surface(A+B+C)
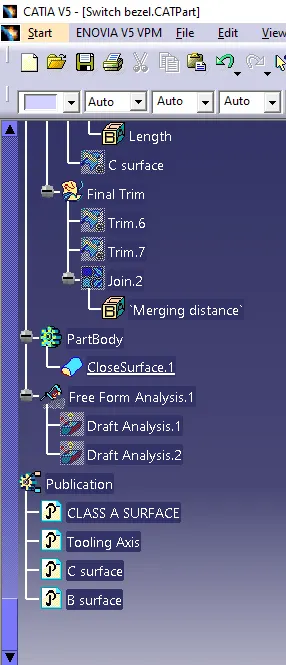
Finally, the A, B, and C Surfaces are trimmed to be joined.
Solid Body:
The closed surface is converted into a closed body using the part workbench.
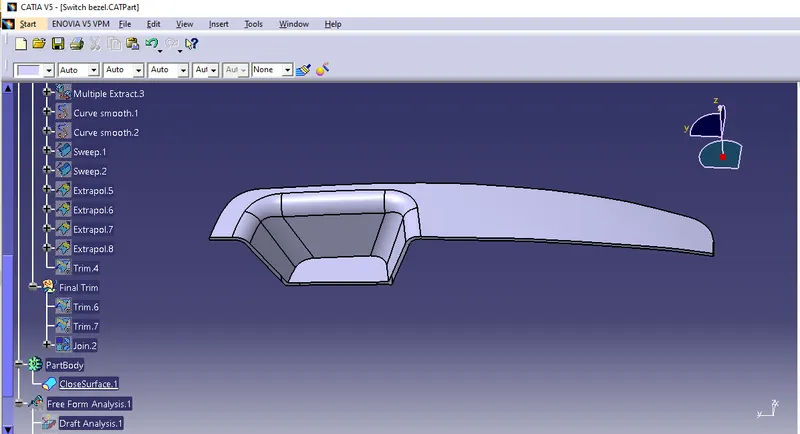
Draft Analysis for the Final Solid: