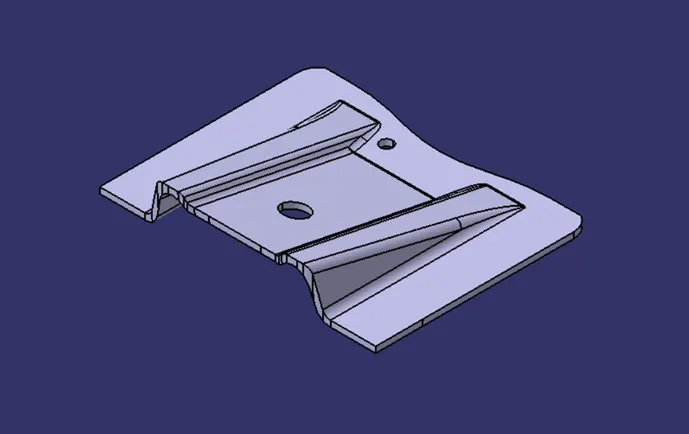
Week 9 - Challenge 1 - Base Bracket Design
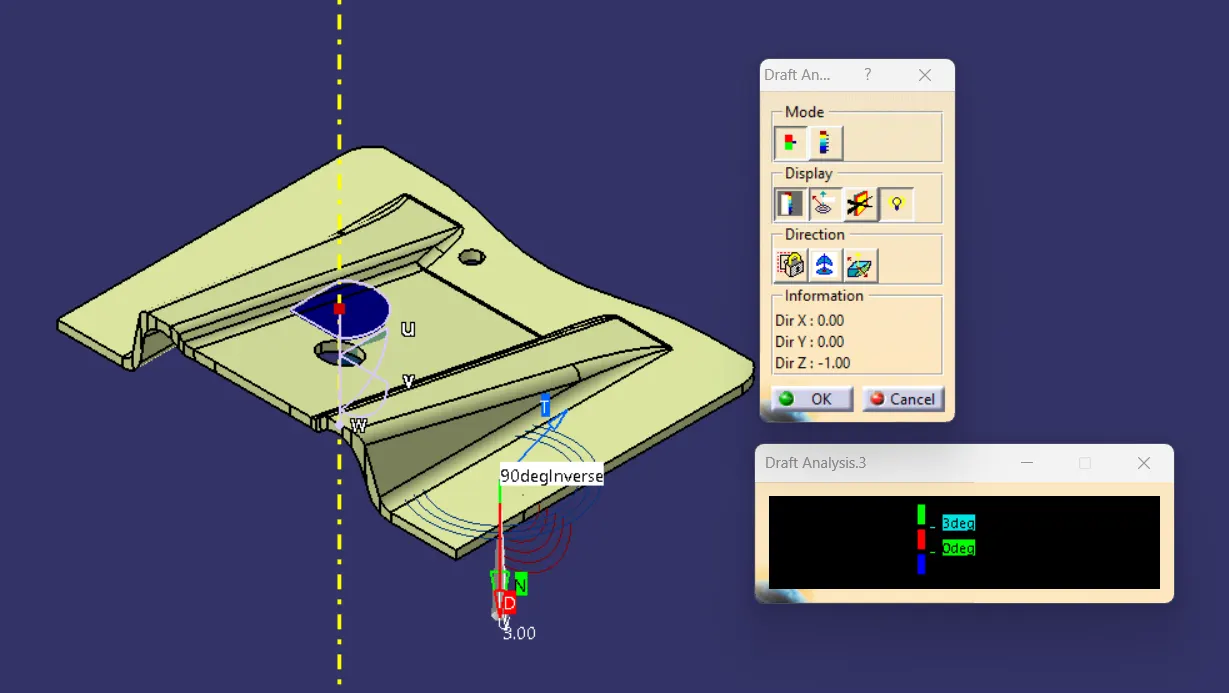
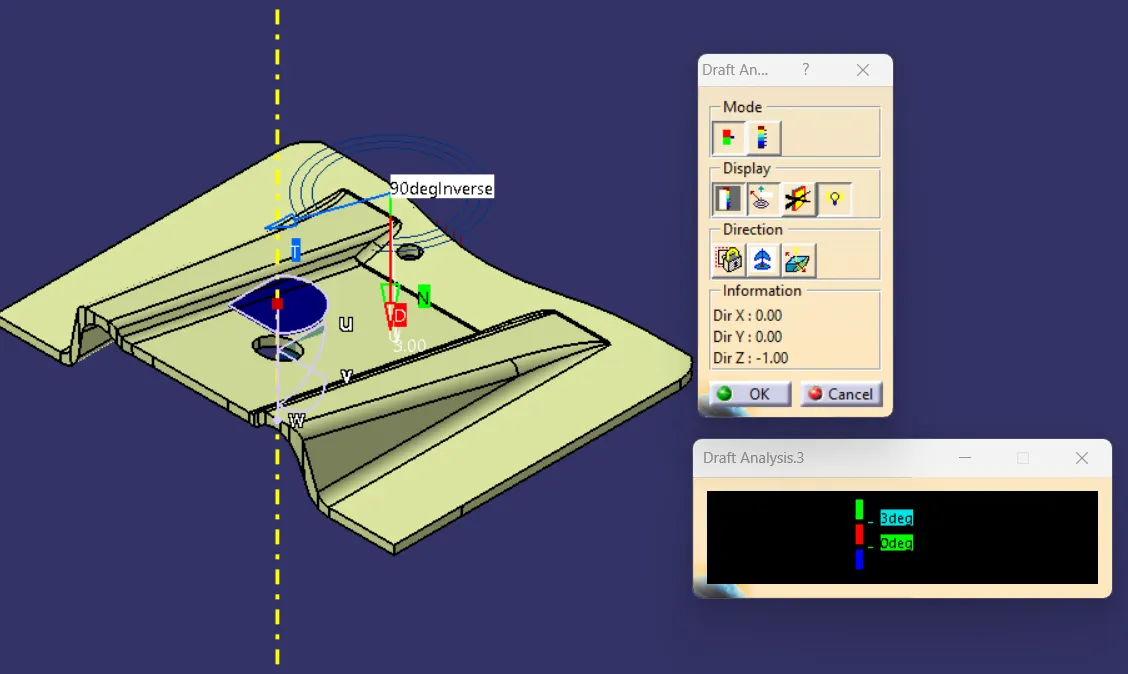
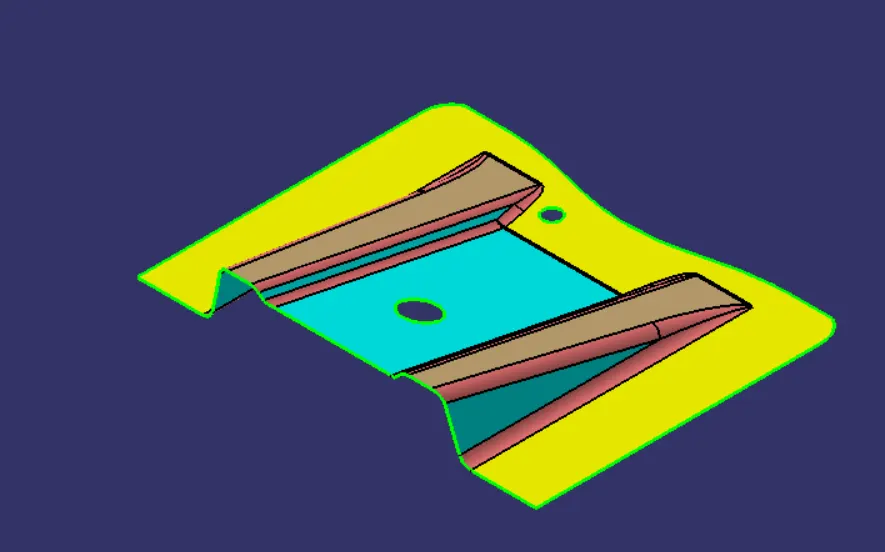
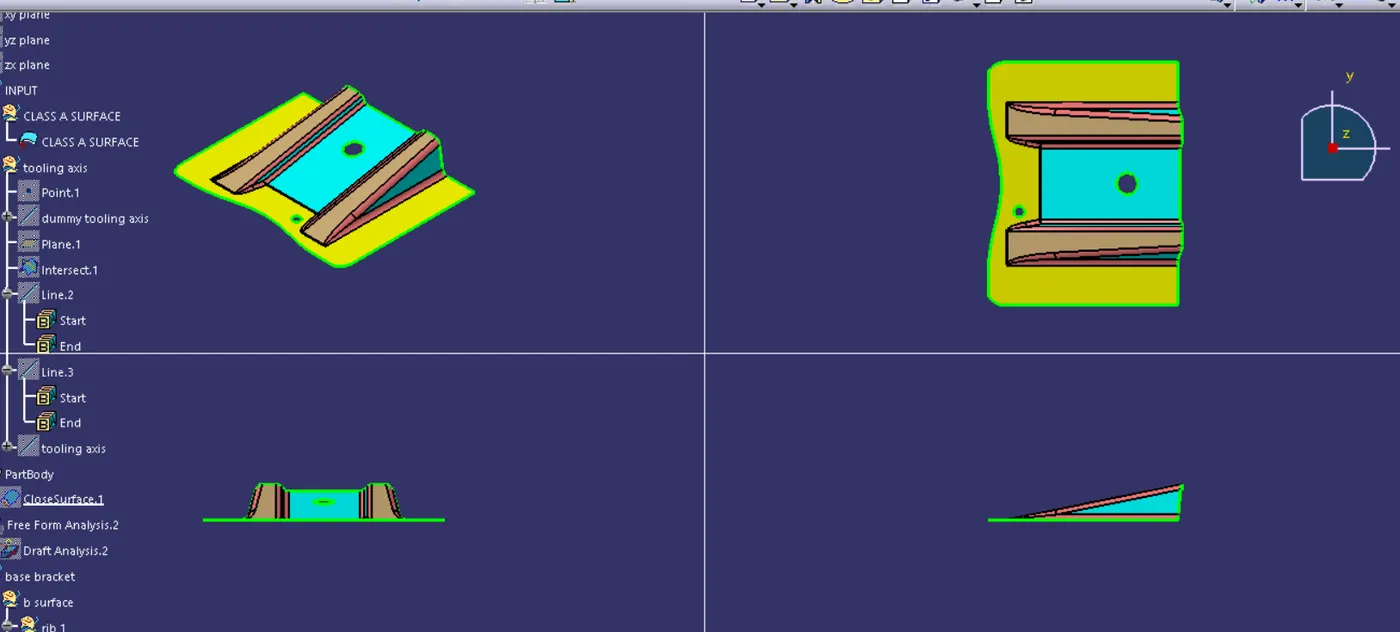
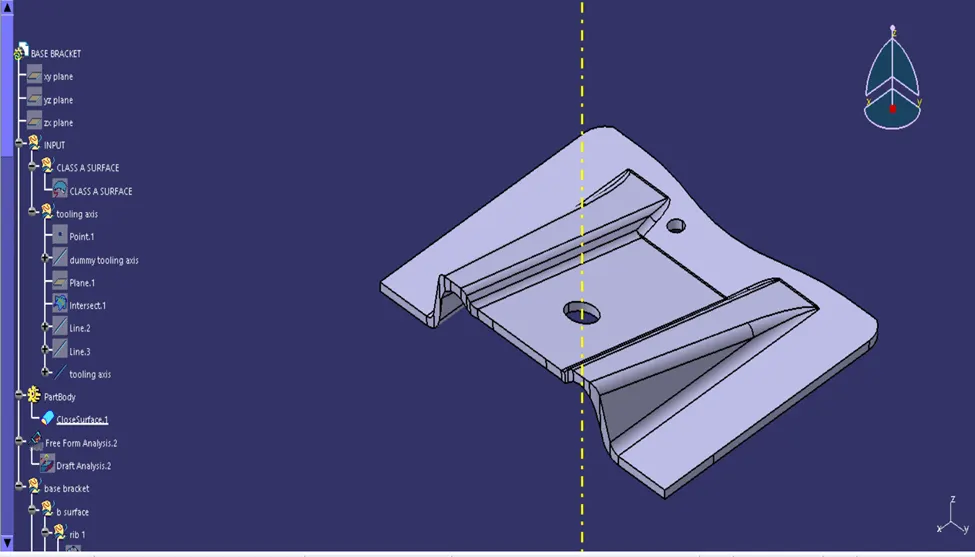
After getting the Class A surface, our first step is to create the tooling axis.
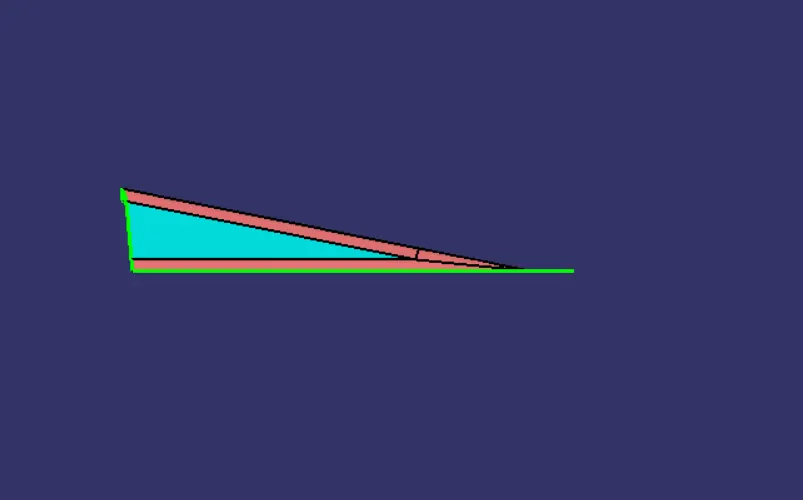
To create a tooling axis, we need to check the best possible axis which is best feasible axis to create the mold in effective cost.
Hear the better axis to create a tooling axis is z axis.
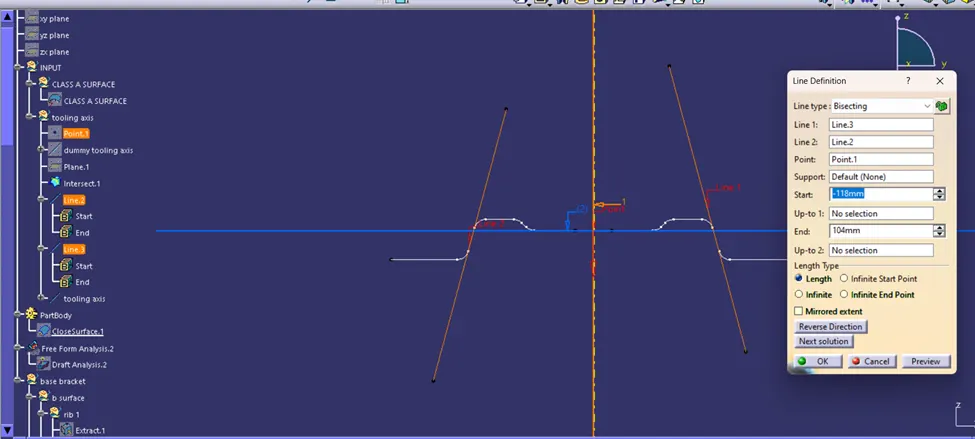
Bisecting method
Then we need to create a dummy tooling axis by selecting a line tool using point and direction option
After the we need to create a plane parallel to the point
Then we will use the interest tool.
Then create the two dummy lines to create the main tooling axis.
Then by selecting the bisecting option in line tool we will be obtaining the main tooling axis, which will be our main tooling axis.
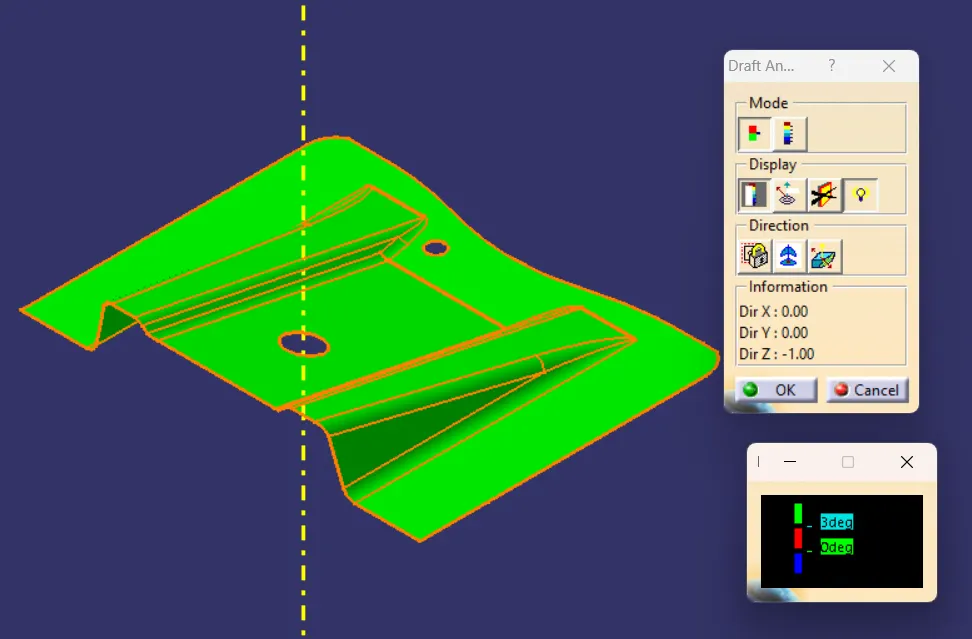
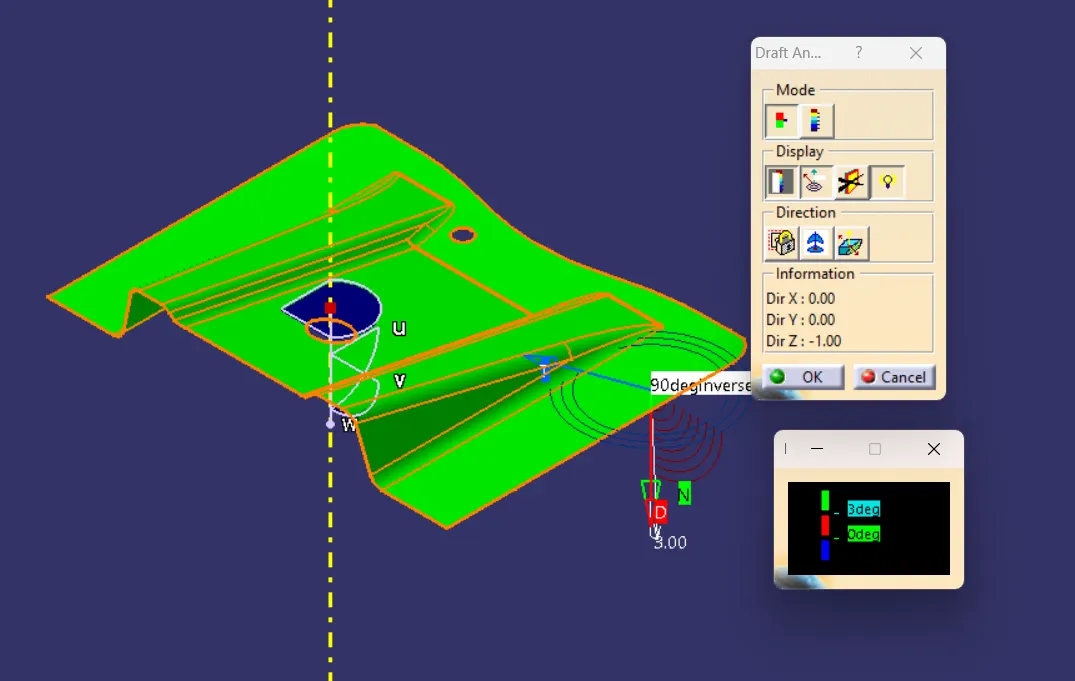
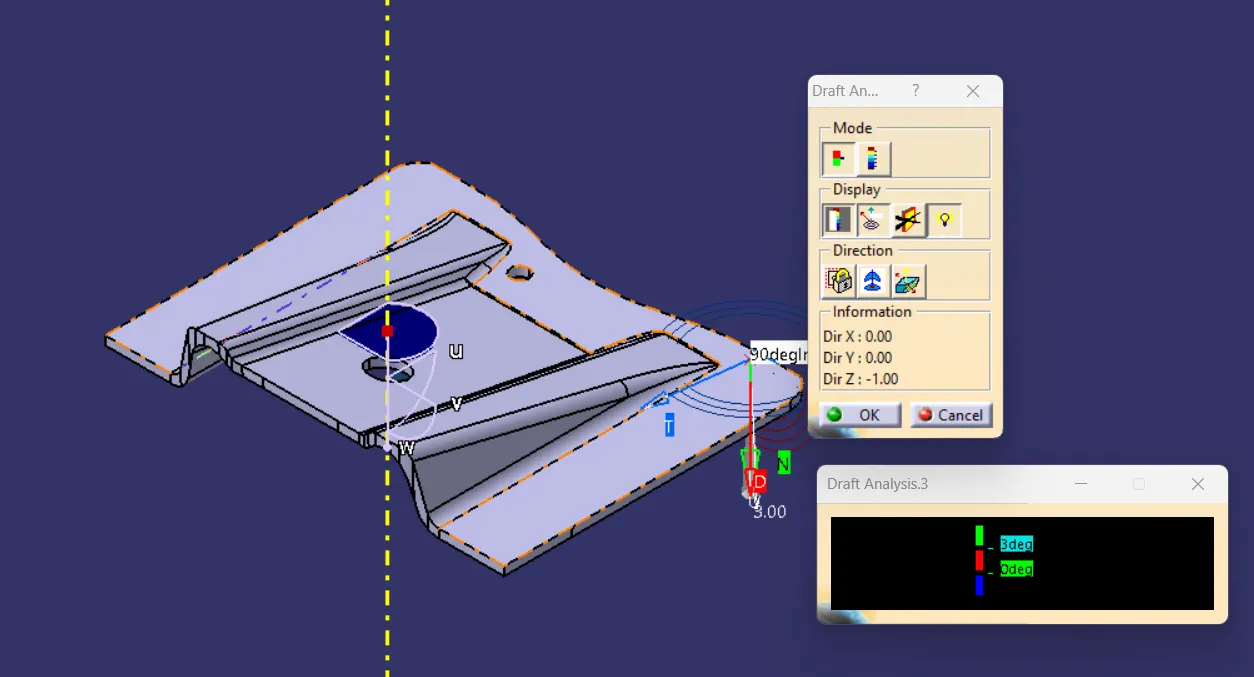
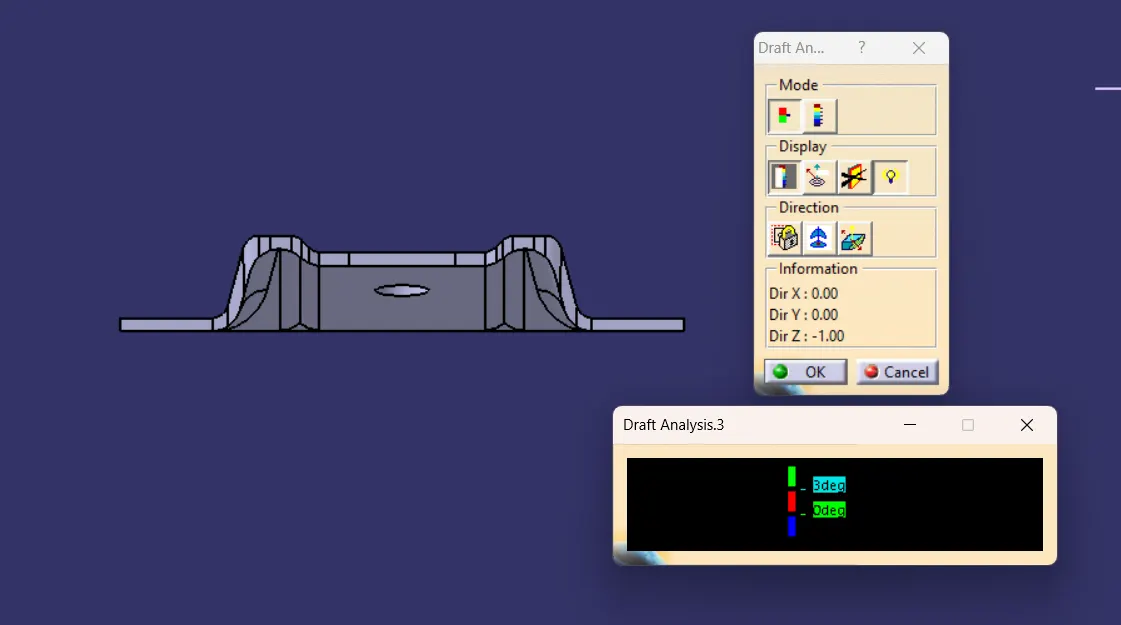
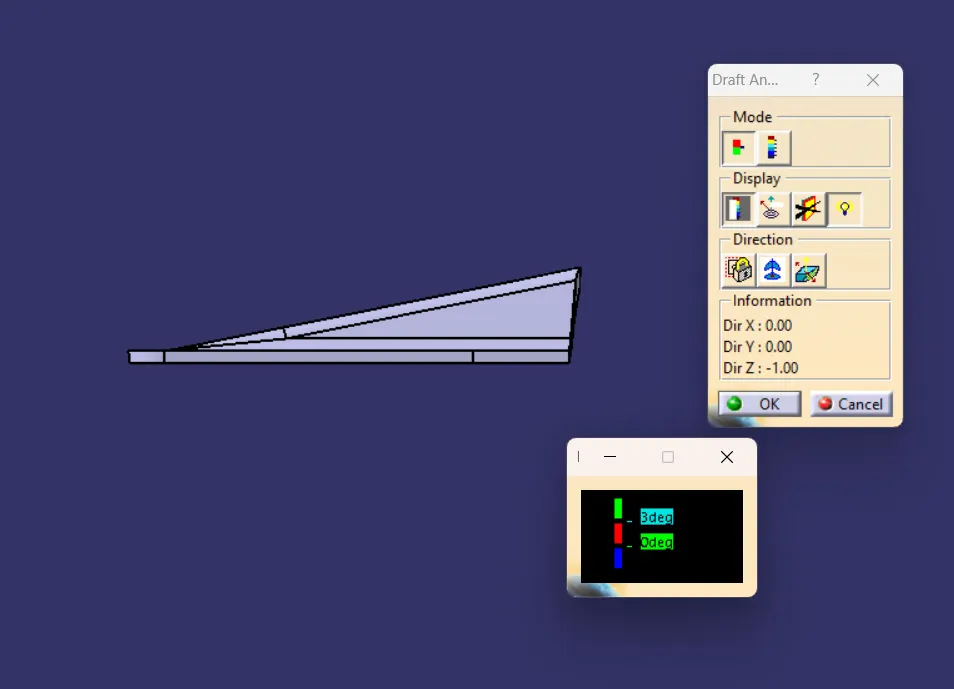
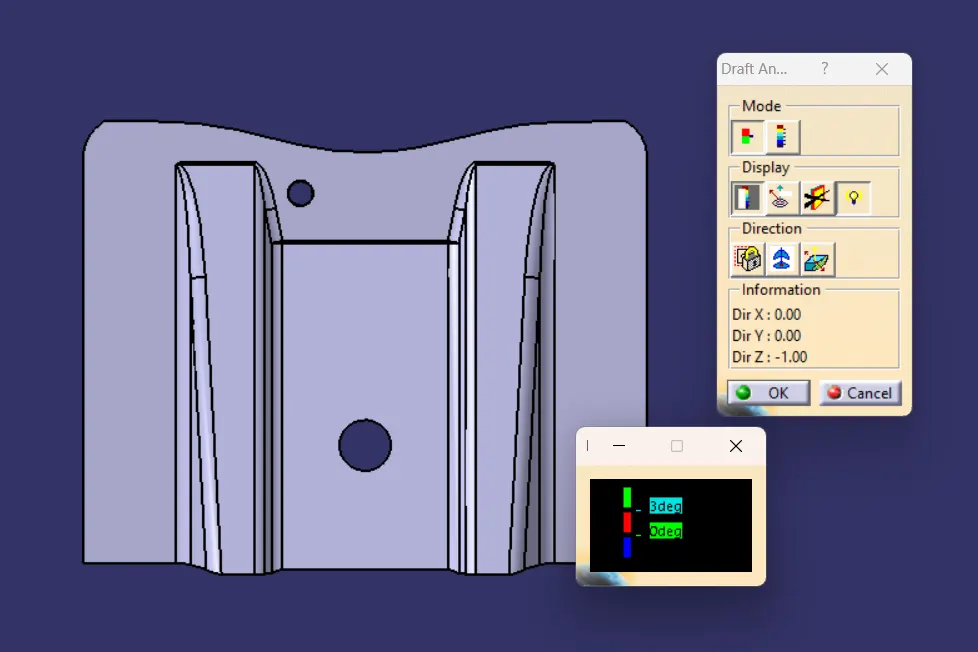
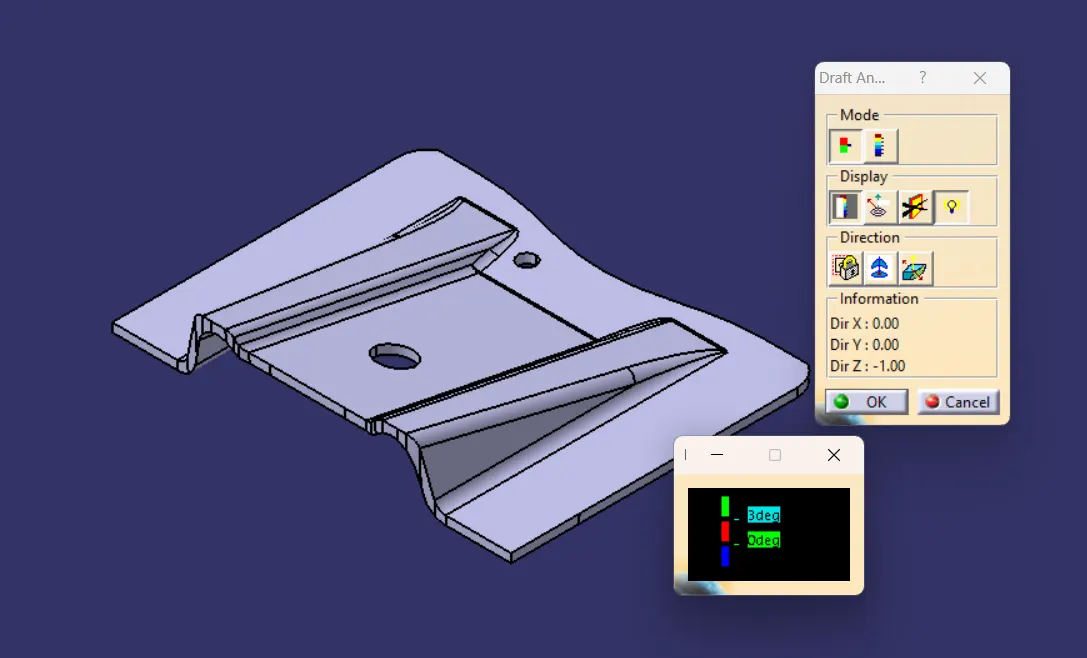
After creating the main tooling axis, we will be performing the draft analysis, which will be projecting the data which is near by 3 degrees If not the tooling axis which is created need to cross check or need to be modified.
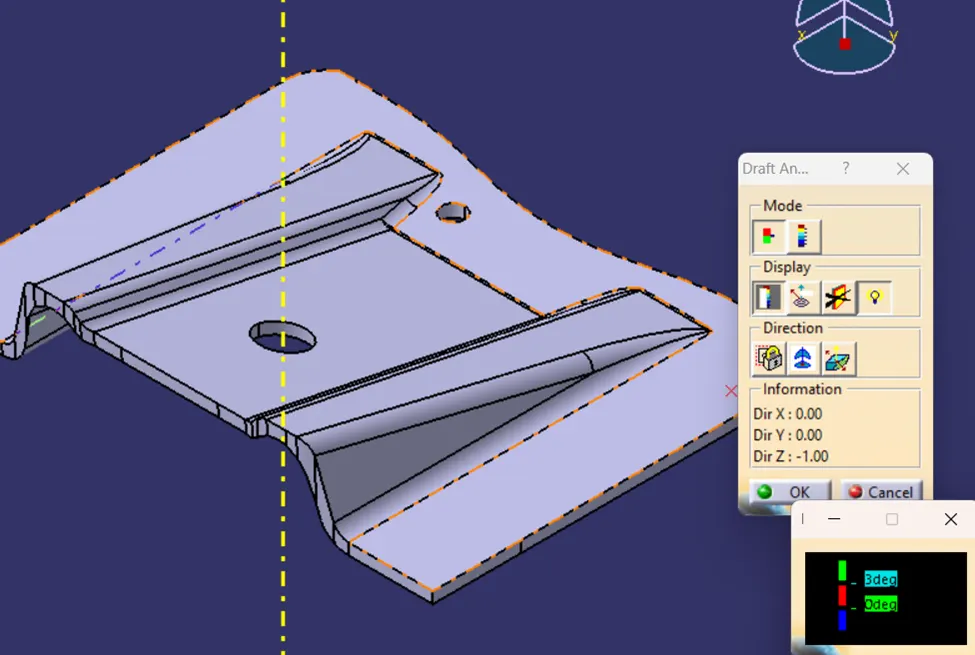
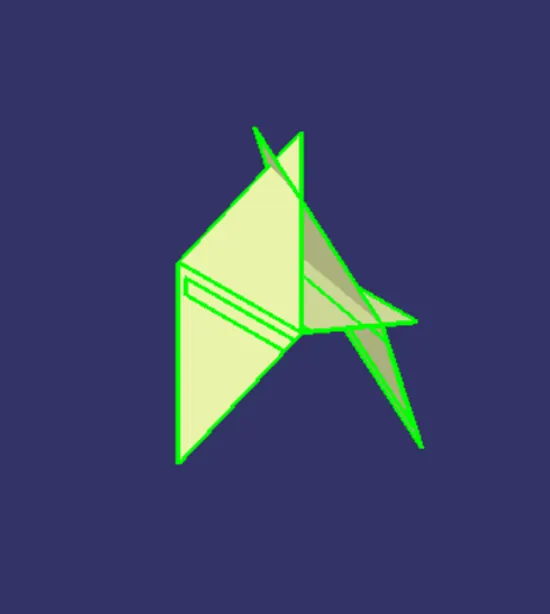
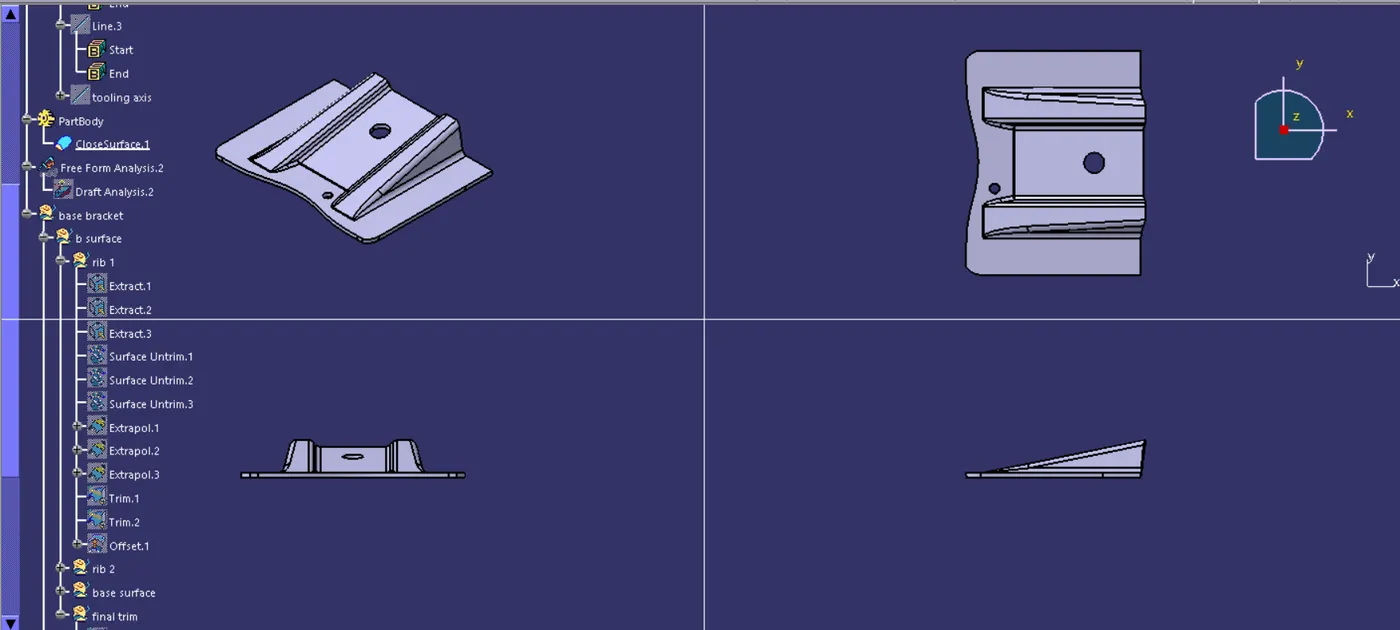
After doing the draft analysis we will be creating the B surface.
To ensure all the wall thickness will be equal, we need to make sure the fillets will be maintained properly.
For this we will be dividing the or splitting the class a surface on our feasibility to
· Rib 1
· Rib 2
· Base surface & final trim.
For rib 1 we will be selecting the surface of rib 1 and then will extract the surface.
After extracting the surface, we will be untrimming the surface.
After untrimming we will be doing extrapolate to extend the surface of the extract so that it be feasible to do trimming
Then we will be trimming using trim tool to remove the unwanted surface.
Then we will be offset the trimmed surface to 2.5 mm.
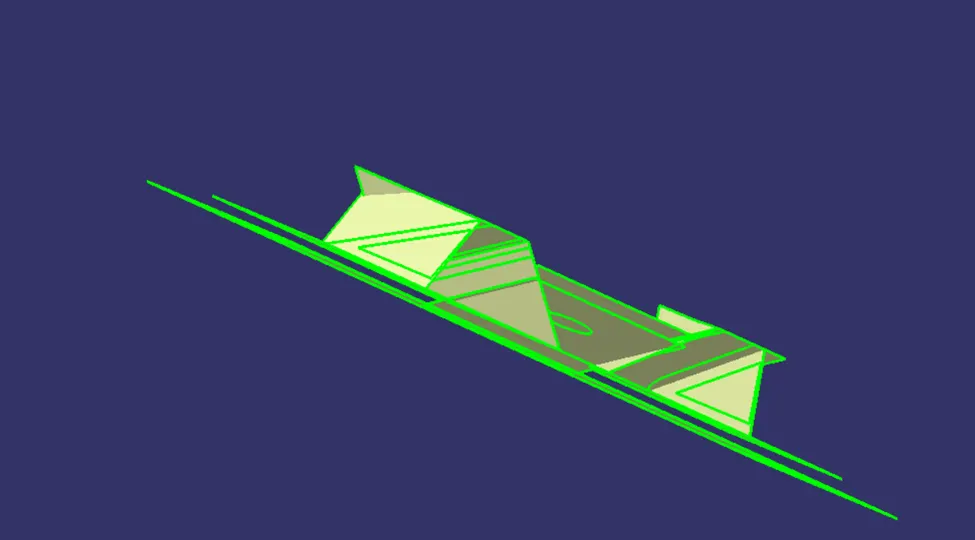
We will be performing the same thing for rib 2 & base surface the we will be performing the final trim and offset them.
In the final trim we will be ensuring the distance between offset surface and main surface (class A) will be equal after giving fillet the fillet radius will be, required radius plus thickness.
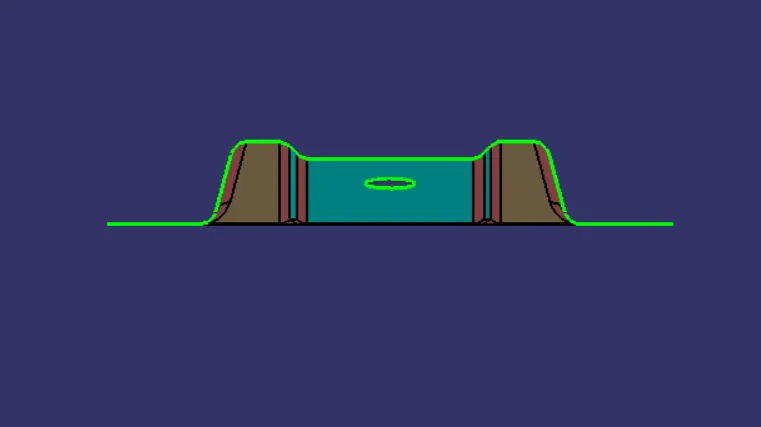
By performing the above steps our class b surface will be produced.
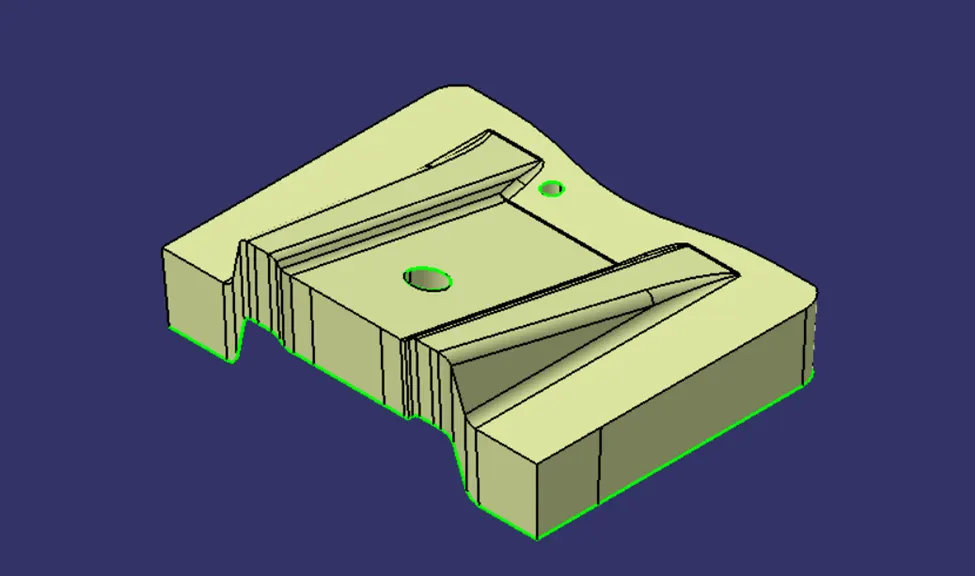
After creating the class B surface, we will create class C surface.
To create class c surface, we will be using sweep, join & boundary tools.
We will be applying the boundary tool on the class B surface.
Then we will be using the sweep command.
We will be performing the same on where there is hole.
We will be using the sweep command with draft direction type; our draft direction will be our tooling axis and we will the selecting the nearest which is toward the base.
At the end we will be joining all the sweeps to make it one class c surface.
And the final step to create the part (Base bracket)
We will be applying trim command to get the final part.
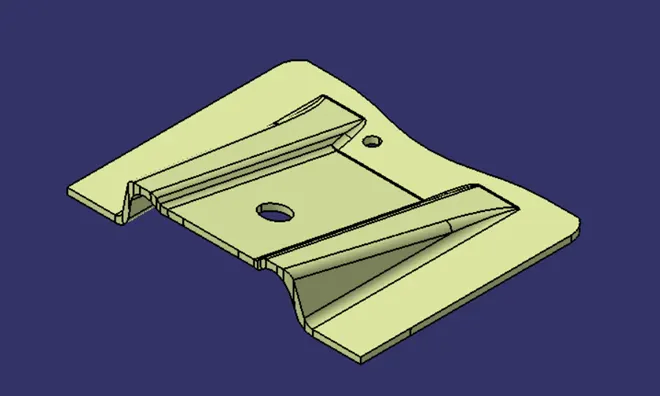
After getting final output we will be going to part body and apply close surface command.