Week 9 - Challenge 1 - Base Bracket Design
AIM: Create the Base Bracket Plastic component through the given Class-A surface. To begin with, the tooling axis for the given Class A Surface should be created meeting the requirements of the draft angle and at the end perform the Draft analysis on the model.
INTRODUCTION:
DRAFT ANALYSIS:
No parts can be ejected from the tool if it is having a straight 90 degree profile from its base surface. A small draft angle is provided to each and every area of the component in order to get an easy removal of the component from the tool. Draft analysis technique is used to analyze whether our part model created in cad is manufacturable based on the draft condition applied. Here the part should get easily removed from the panel dies (in case of Sheet metal part) or Mold (in case of plastic). Here we are providing a direction in which components should eject inorder to get an easy removal of components from the tool. In other words it also lets us know whether the model is having a draft angle and how much is the draft angle from the tool direction.
The major consideration of Draft Analysis is whether sufficient Draft Angle is provided on the component. Components while designing should be provided with a considerable amount of draft angle depending on the manufacturing consideration. For Plastic components we provide a draft angle of 3degree(Draft angle of 0.5 is given ideally to the features inside the plastic part). But for Automotive Sheet Metal Parts, it will be from 7 degrees or more.
CLASS-A SURFACE: a surface made by the designer which is given as an input to the plastic modeler to work on. It is aesthetic surface and the outer most surface.
CLASS-B SURFACE: a surface below a certain thickness from the class-A surface is class-B surface. This is the surface that contains engineering aspects of a model.
CLASS-C SURFACE: a surface that joins class-A and class-B surfaces is class-C surface.
TRIM SURFACE: Here we first join the Class A and Class C surface and then trim the Class B surface, then we get the final thicken surface for plastic component.
PART BODY: We select the final thick surface using the Close Surface command, and get the final plastic components.
REPORT ON DRAFT ANALYSIS:
METHODOLOGY:
In this model we have focused on the following things:
01 Tooling axis
02 Draft analysis
03 Class-B surface
04 Class-C surface
05 Making a solid model from surface.
Following tools were used to reach the final step:
Extract
Un-trim
Trim
Extrapolate
Offset
Edge fillet
Boundary
Sweep
Join
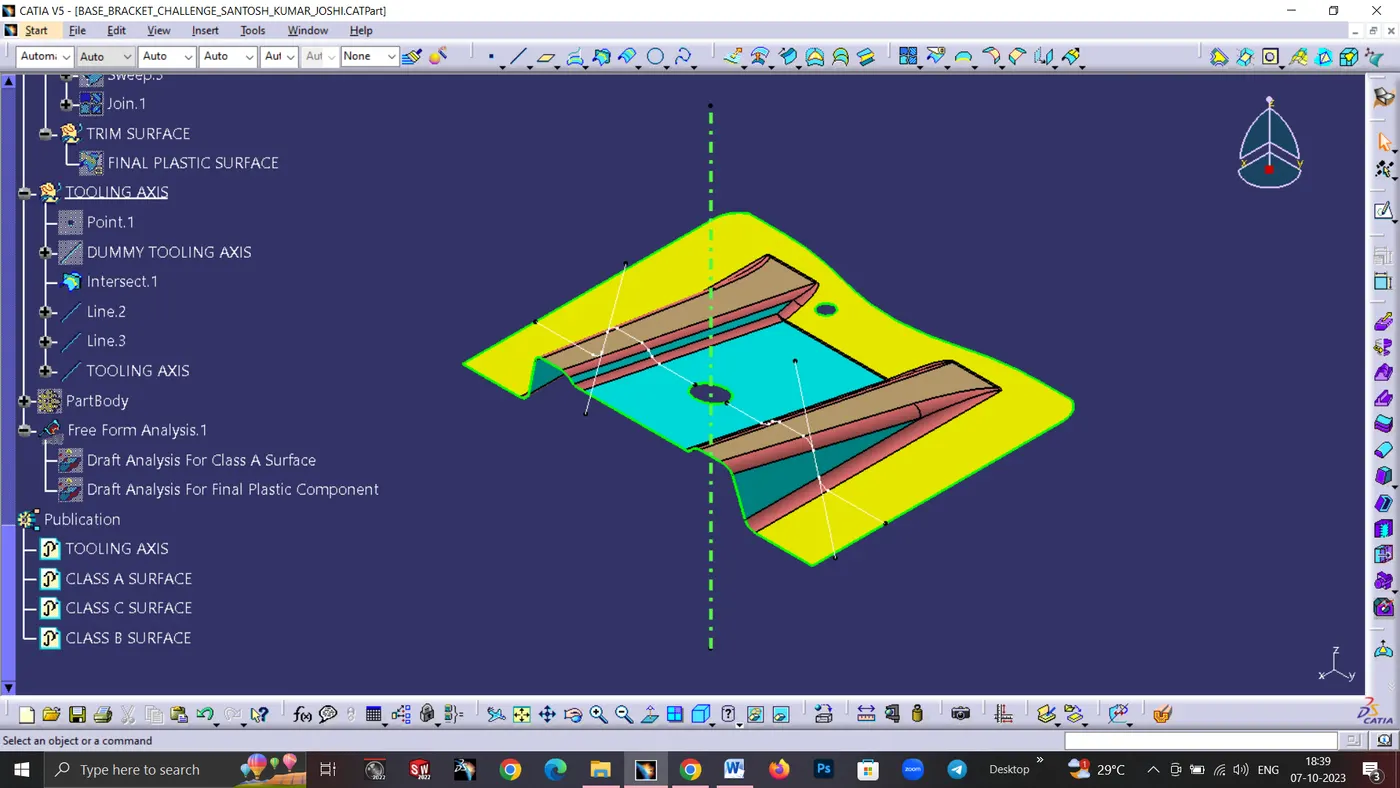
Given Class A Surface:
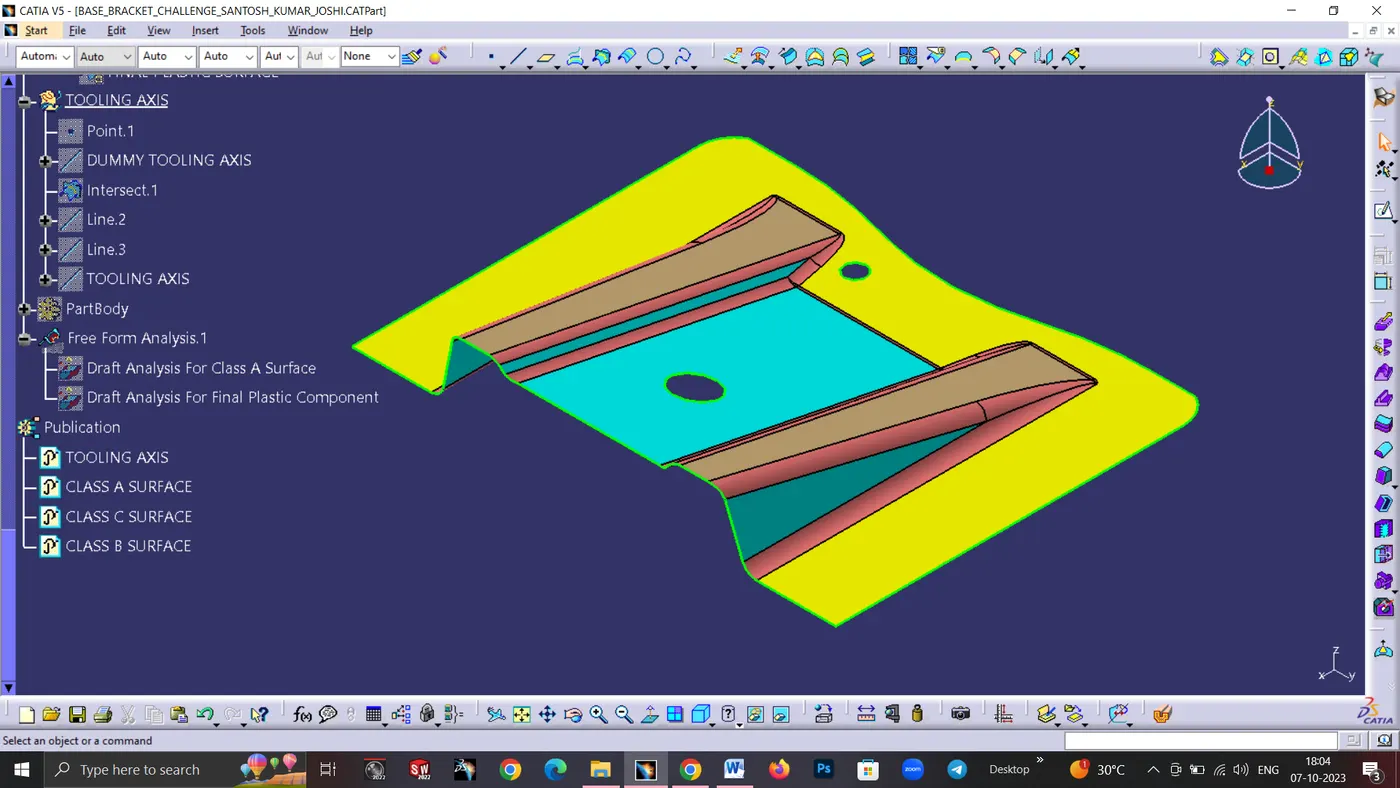
TOOLING AXIS CREATION:
01 Check the connectivity of the Class A Surface Ensure that there is no gap between the component, using join command.
02 We can visually check it or by clicking boundary command. It has 3 boundaries one outer and two inner circle boundaries. Therefore first check completed.
03 Find the tooling axis of the component. The tooling axis is nothing but the mould opens or cavity opens.
04 Check visaully which is the best possible tooling axis. Check all three axis.
05 Along X it possible but expensive and Y is not possible.
06 in Z we can see 2 holes and flat surface so we can take tooling axis.
07 First We Choose Bigger Circle To Create A Center Point Using Point Command.
08 Then i select the point to get the axis system.
09 And I Create the dummy Tooling axis choose point to along z direction.
10 Now i select the yz plane on axis system using intersect command, to get the profile. And to get this profile, we can also choose dummy tooling axis along with creating yz plane on it.
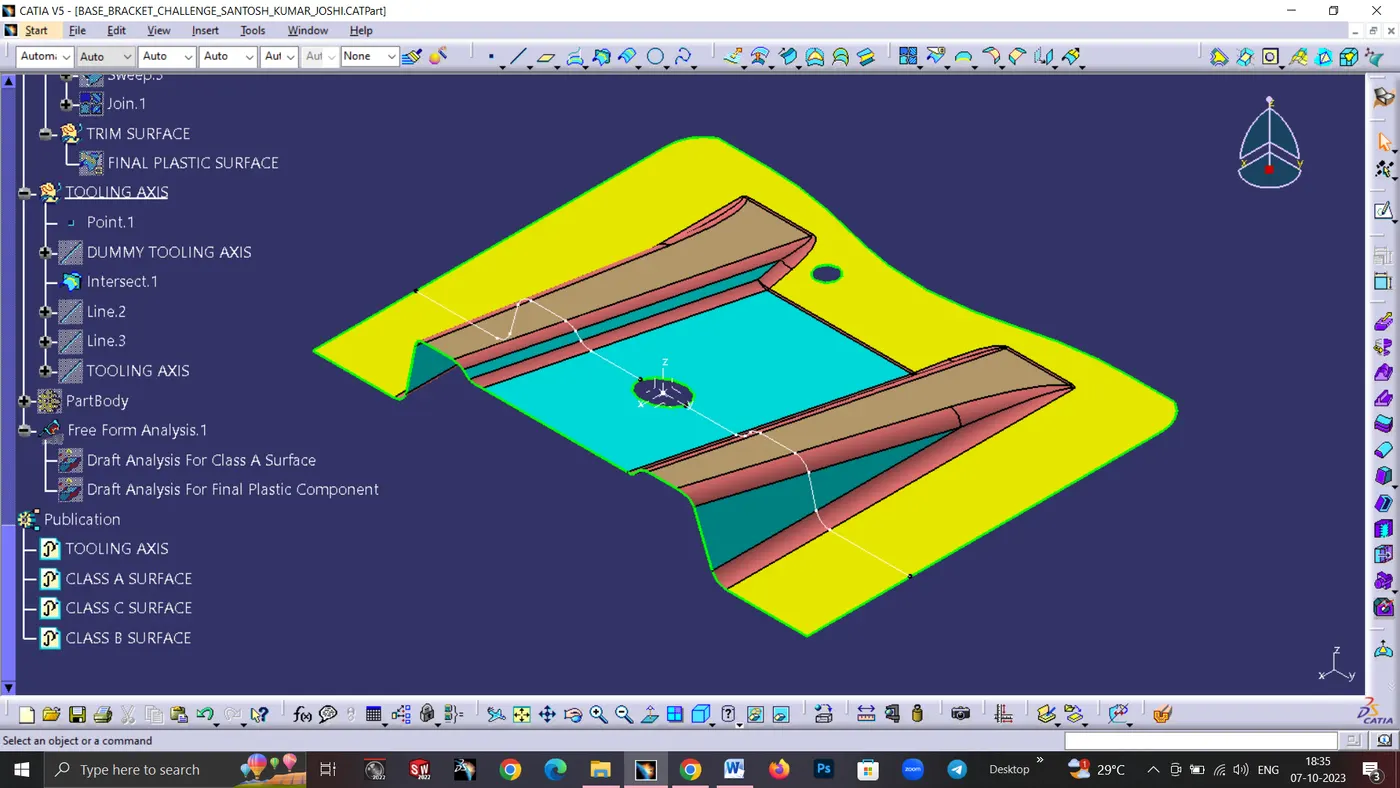
11 Now I select the front view and see the profile. there are both sides we find parallel line.
12 Then i choose point to point method to create line both side.
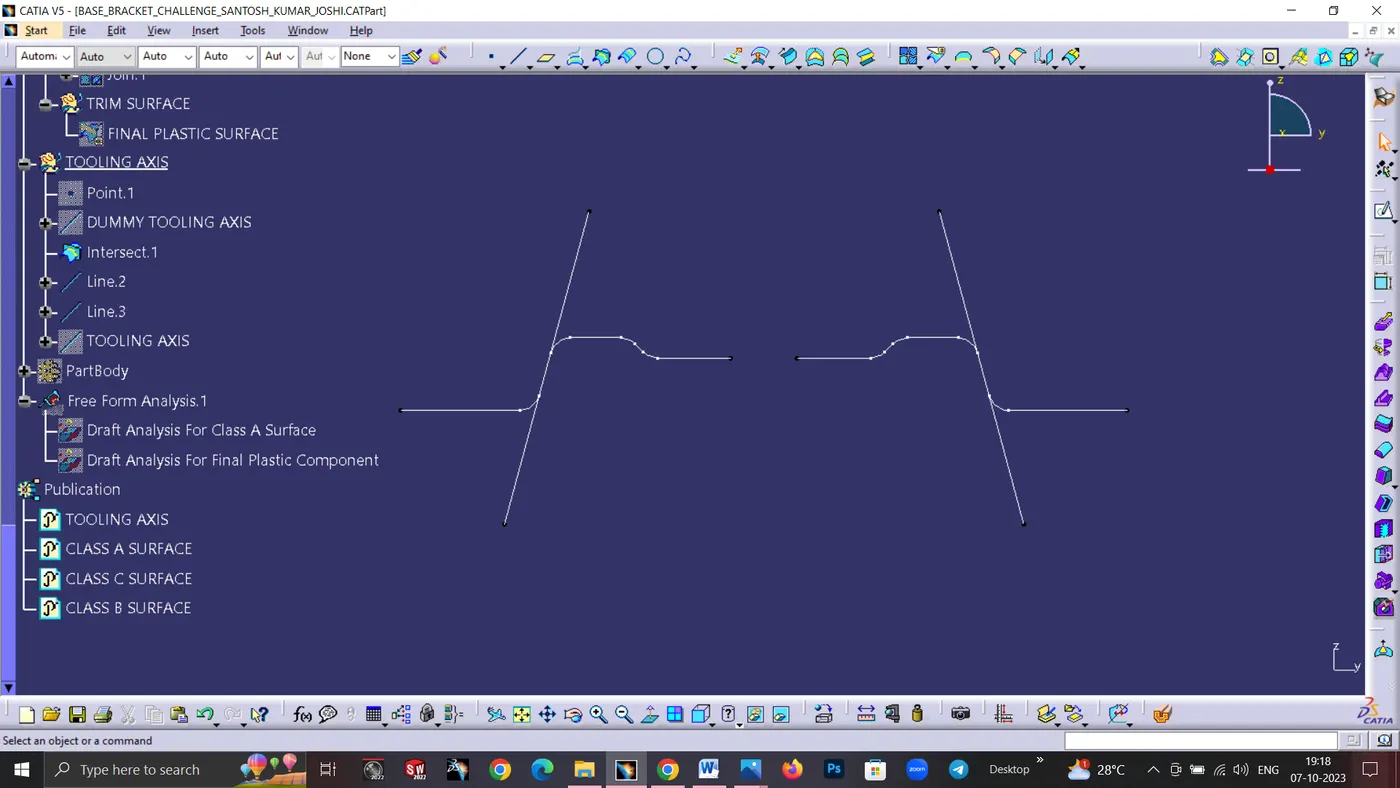
13 Then i select both the line using bisecting line option to get the tooling axis.
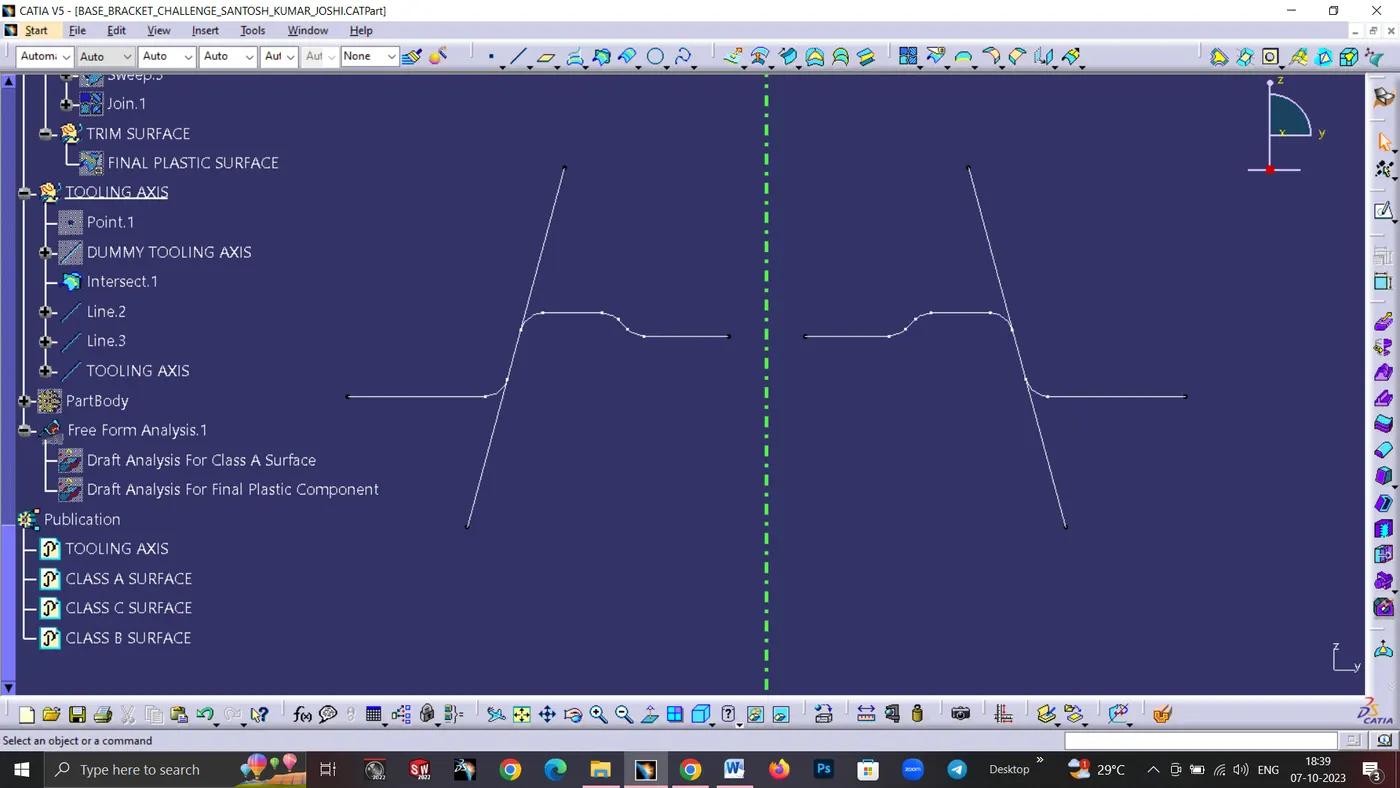
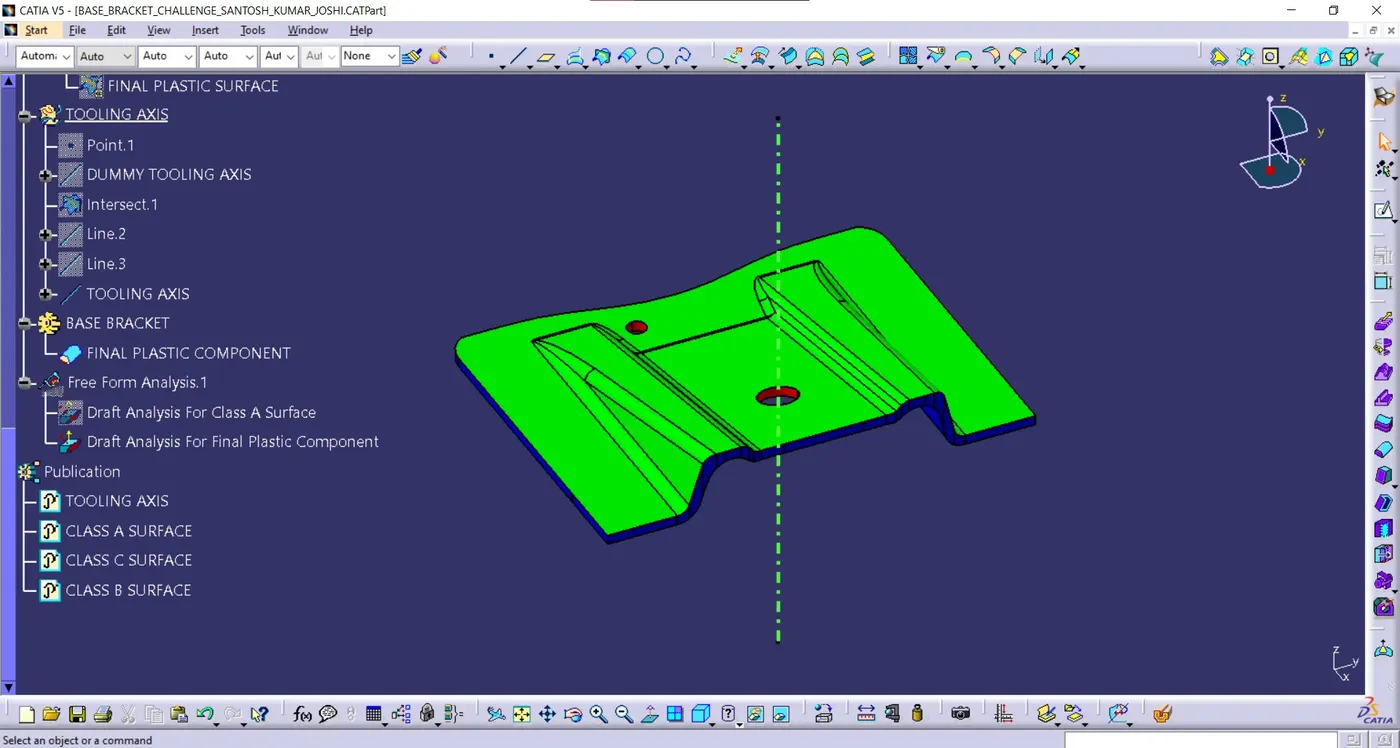
14 There are green straight line is tooling axis.
DRAFT ANALYSIS FOR CLASS A SURFACE:
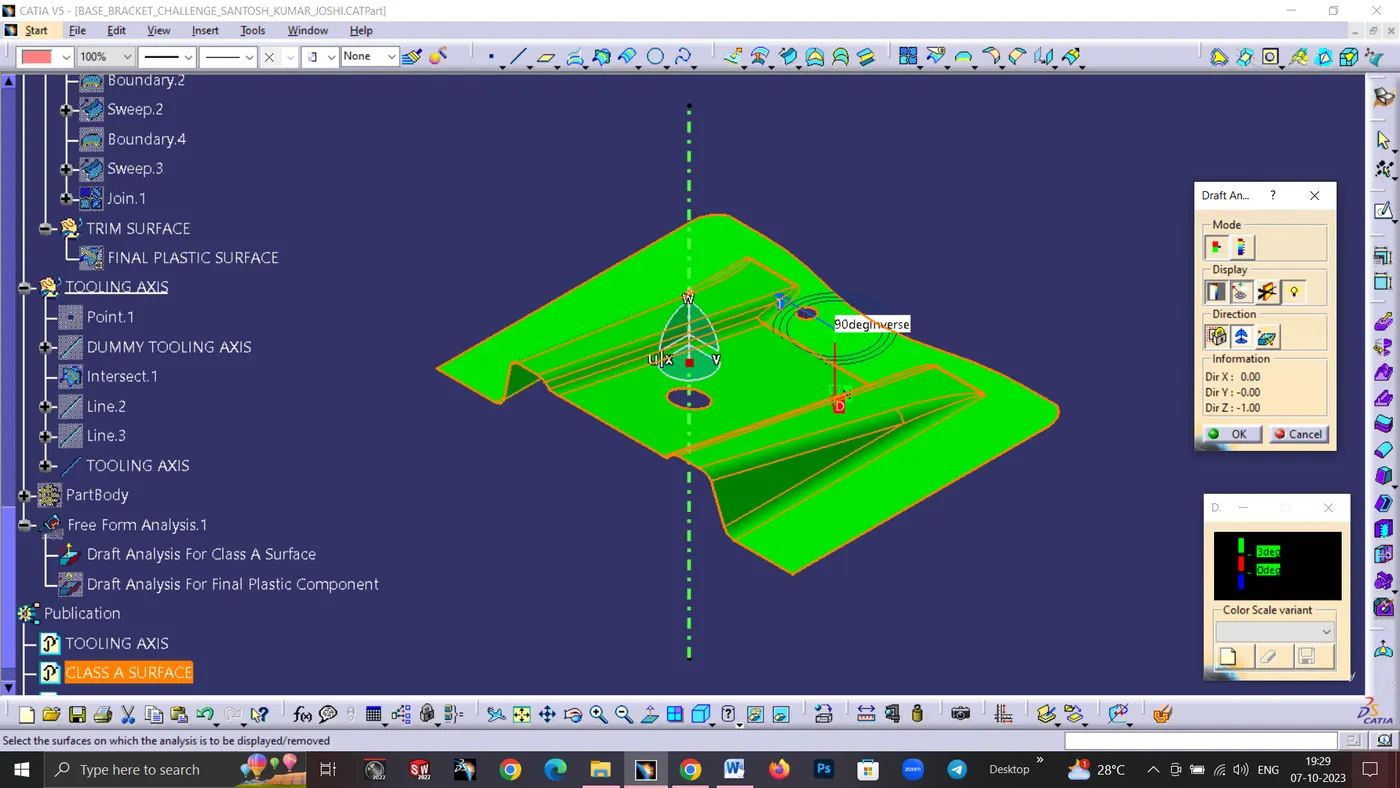
01 Go to insert< analysis>
02 Align the tooling axis with the compass.
03 Click on the surface and see that the surface is within the permissible limit of the draft values.
04 The surface should be green and in the column proper value (3deg) should be inserted.
B SURFACE CREATION:
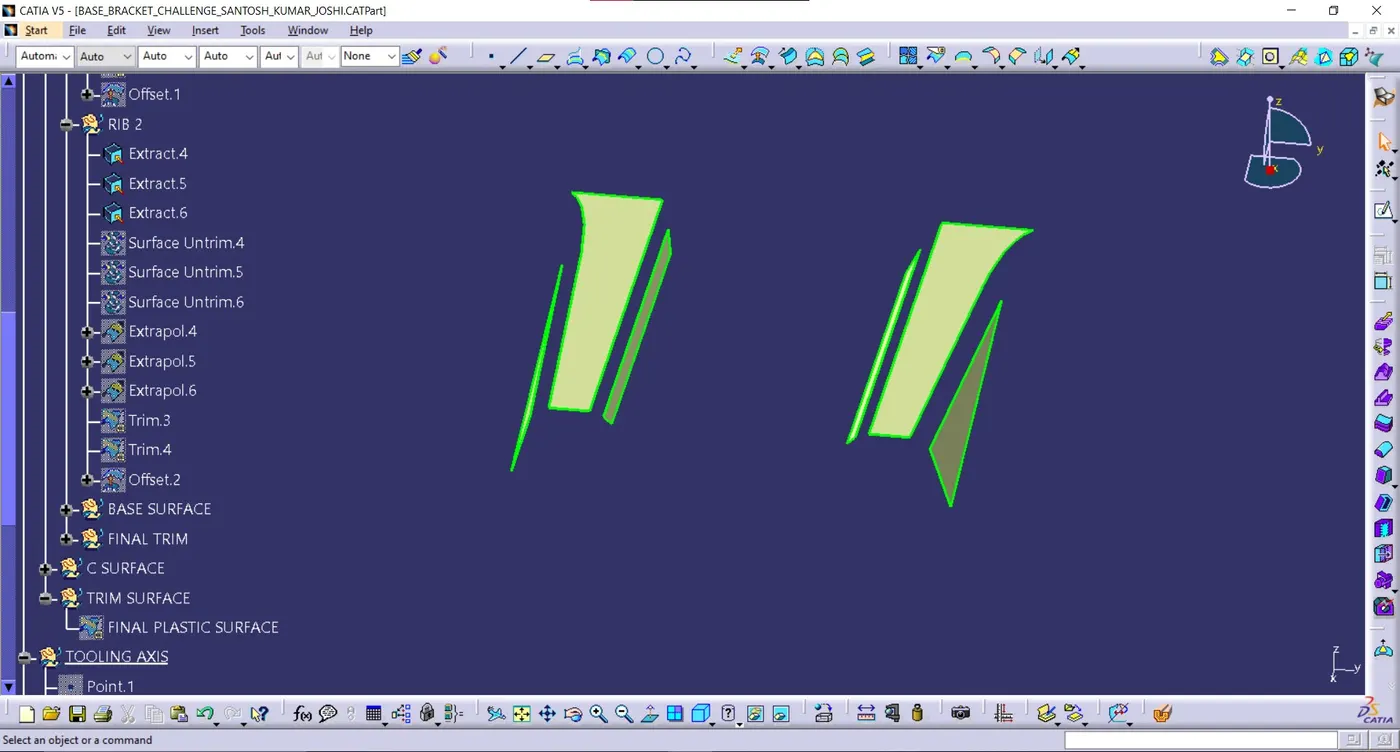
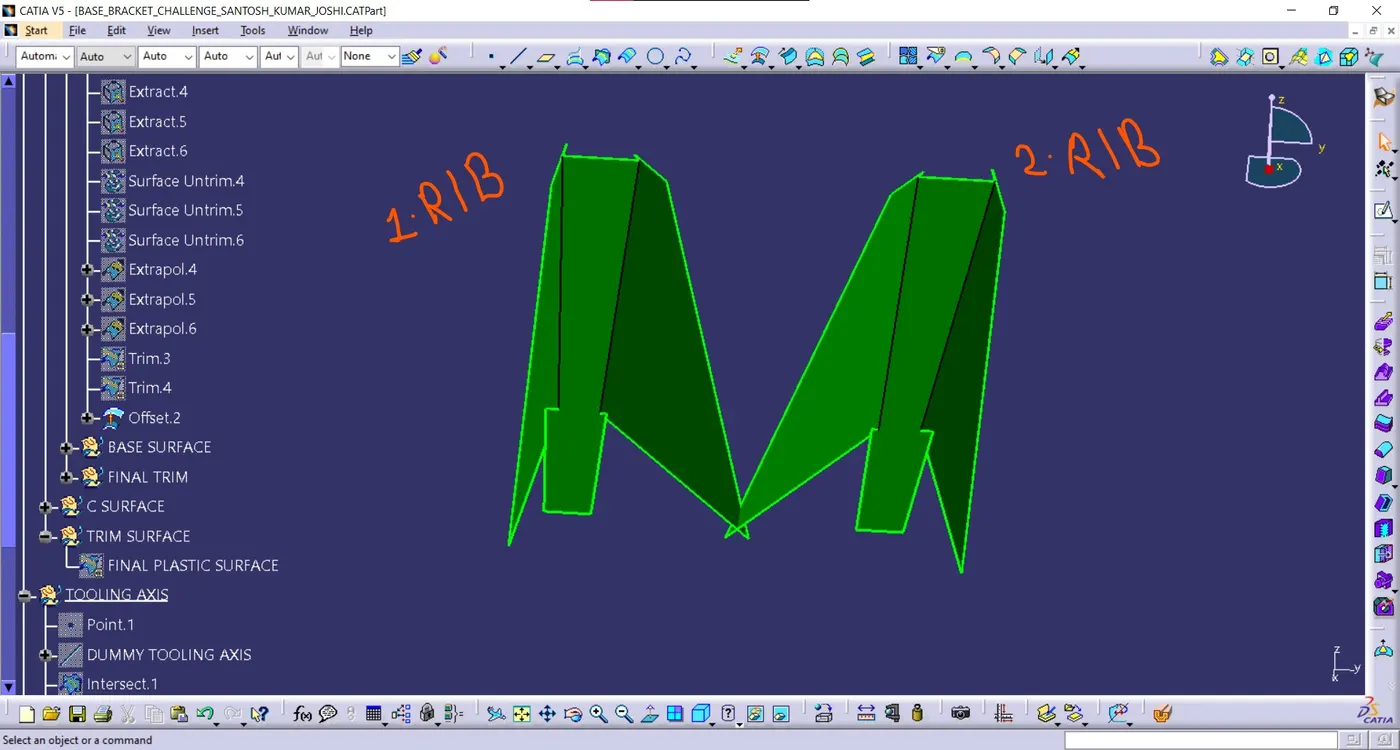
RIB:
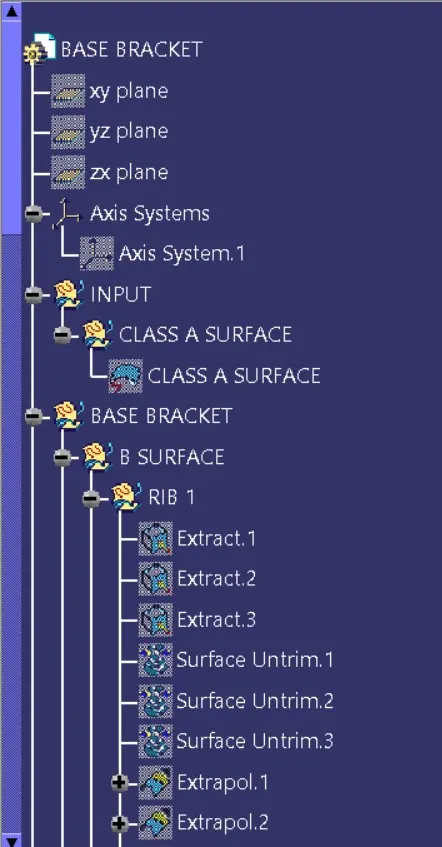
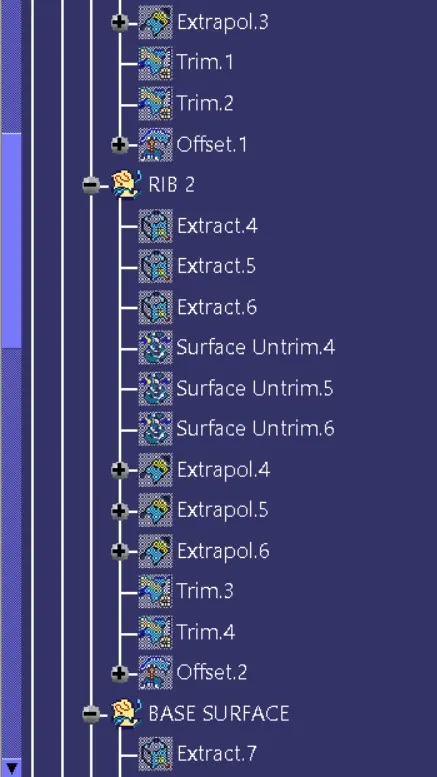
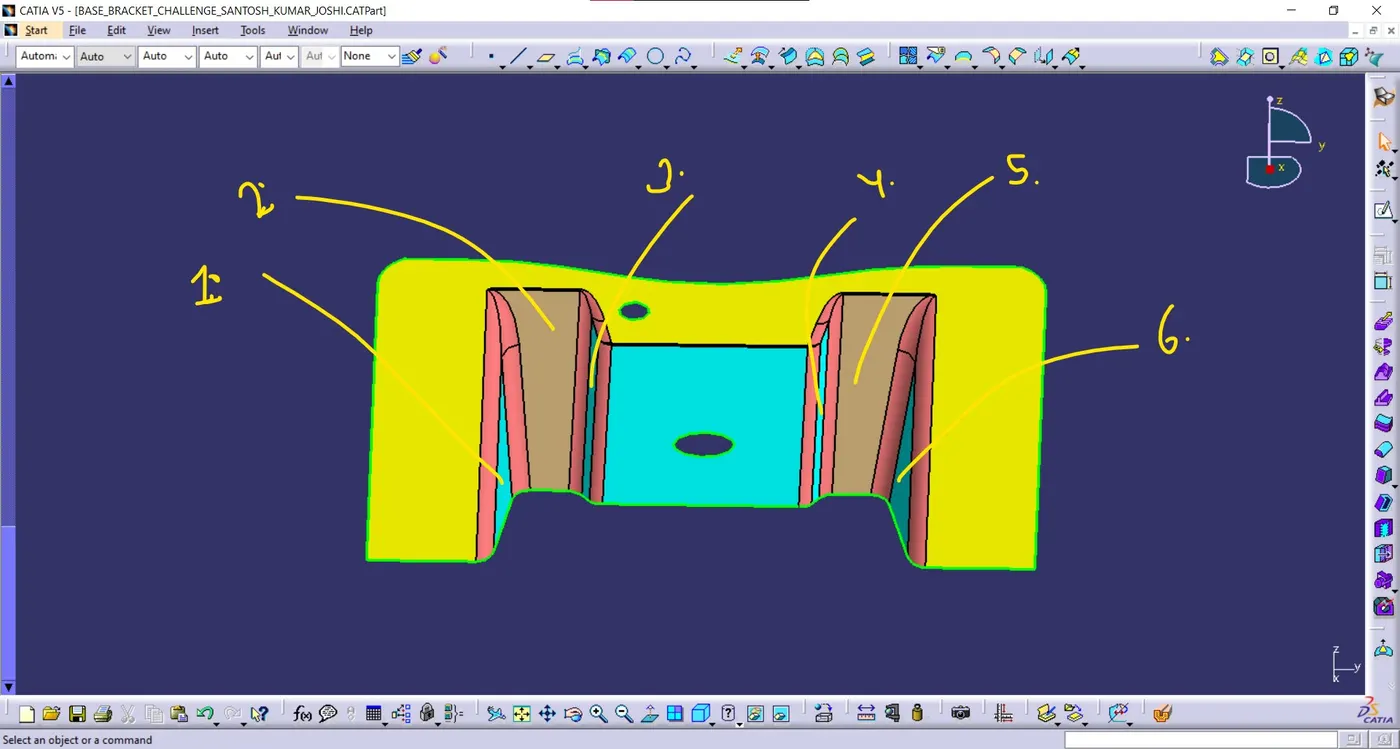
01 Here we select 1,2,3 and 4,5,6 edge to extract the surface.
02 Un-trim the surface.
03 Extrapolate it.
04 Trim to get the desired shape.
05 Offset it by 2.5mm i.e. thickness.
BASE SURFACE:
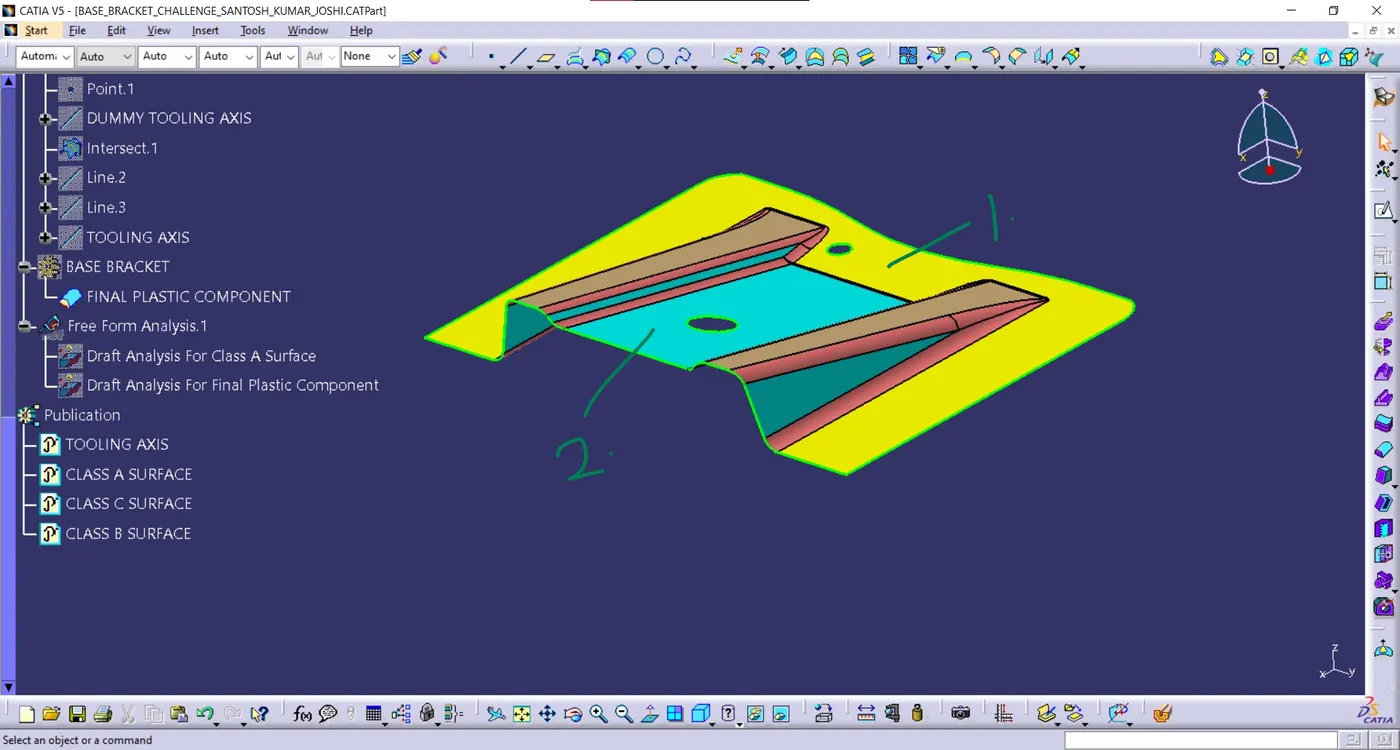
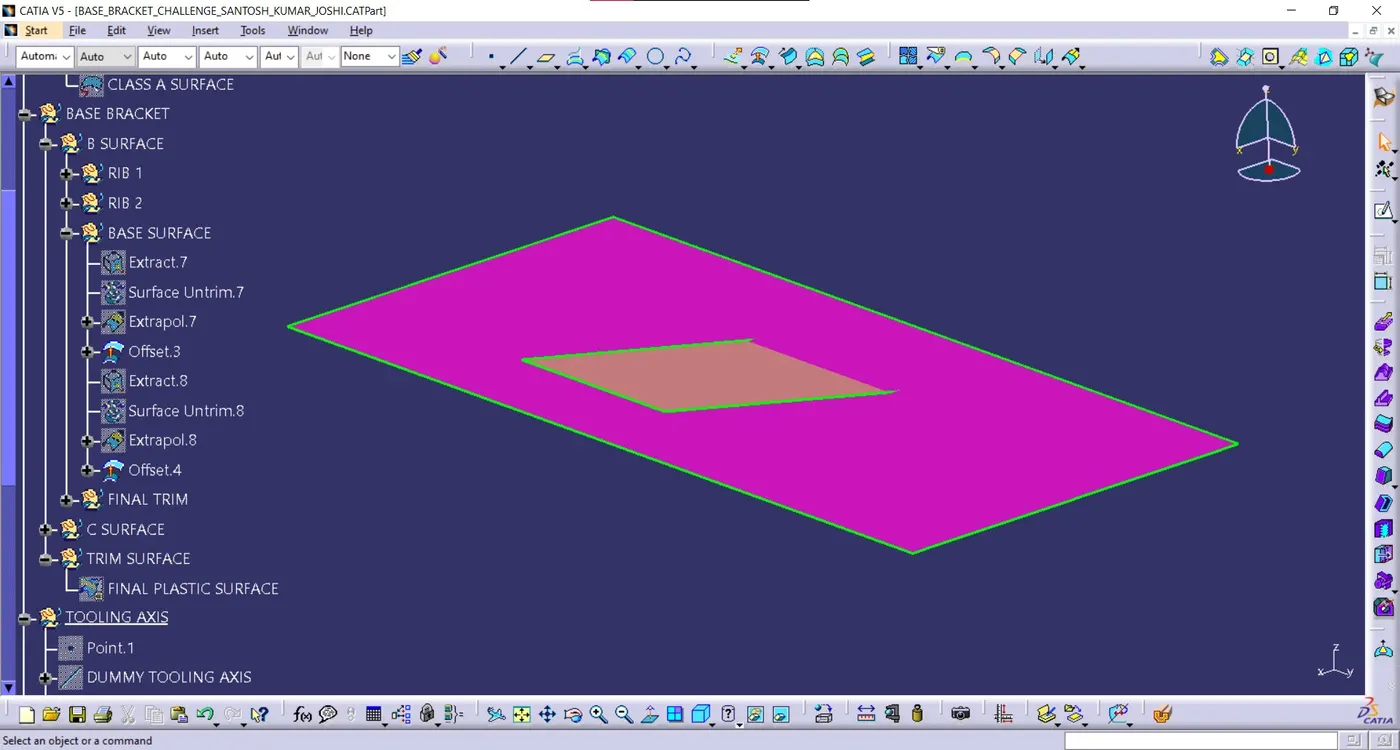
01 Here we select 1 and 2 basae to extract the surface.
02 Un-trim the surface.
03 Extrapolate it.
04 Trim to get the desired shape.
05 Offset it by 2.5mm i.e. thickness.
FINAL TRIM:
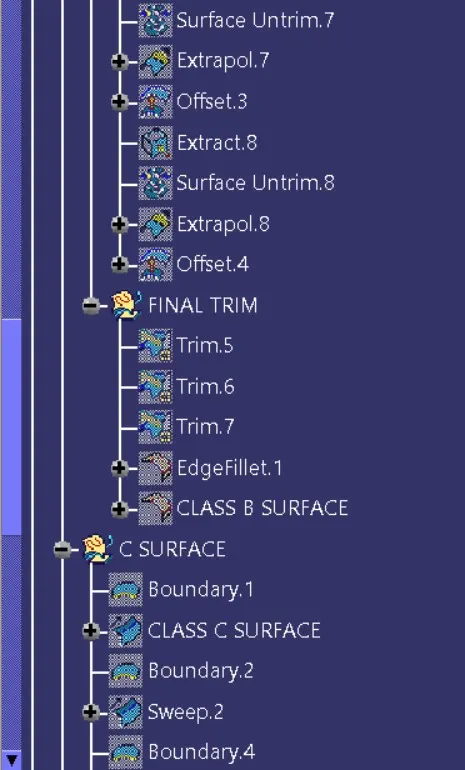
01 HERE WE TRIM RIB 1 TO RIB 2 AND TRIMED RIB TO TRIM BASE 1 AND BASE 2 TO GET FINAL TRIM.
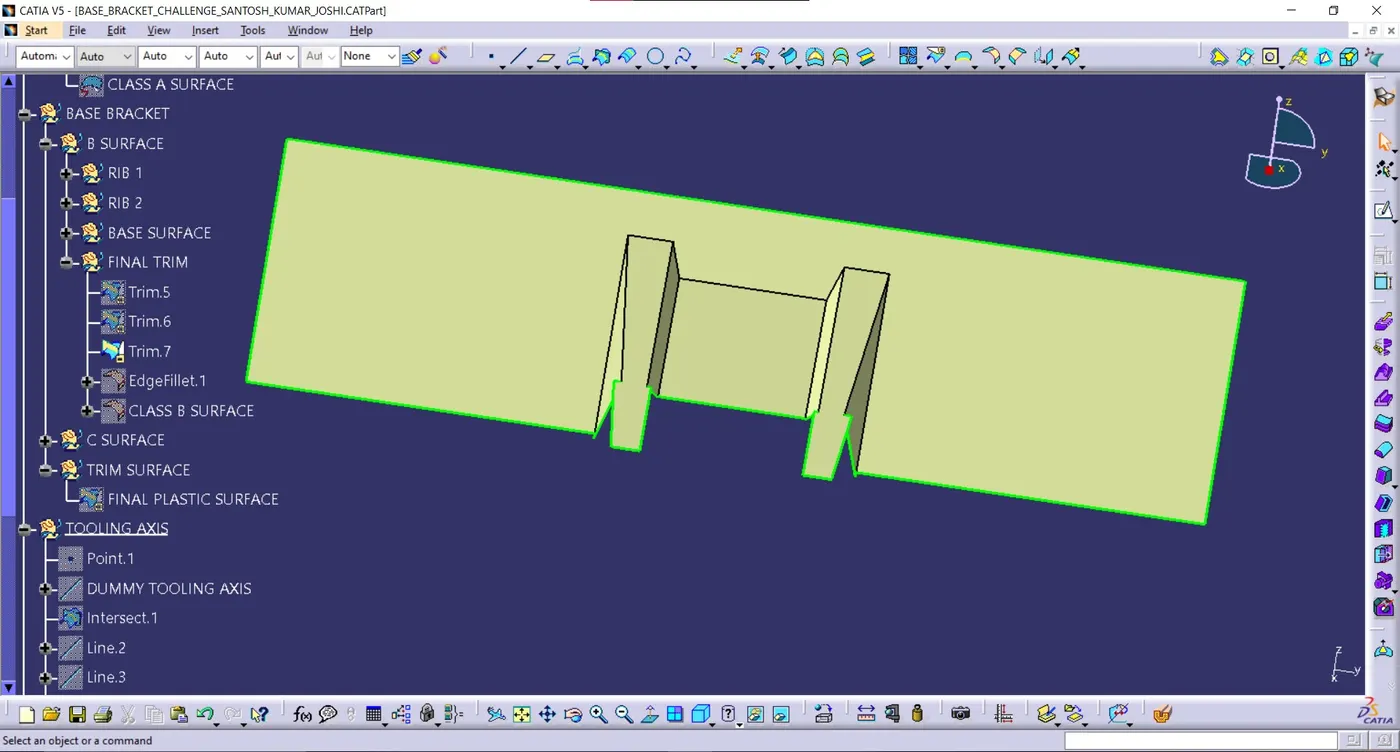
02 We Apply Edge fillet to get final b surface.
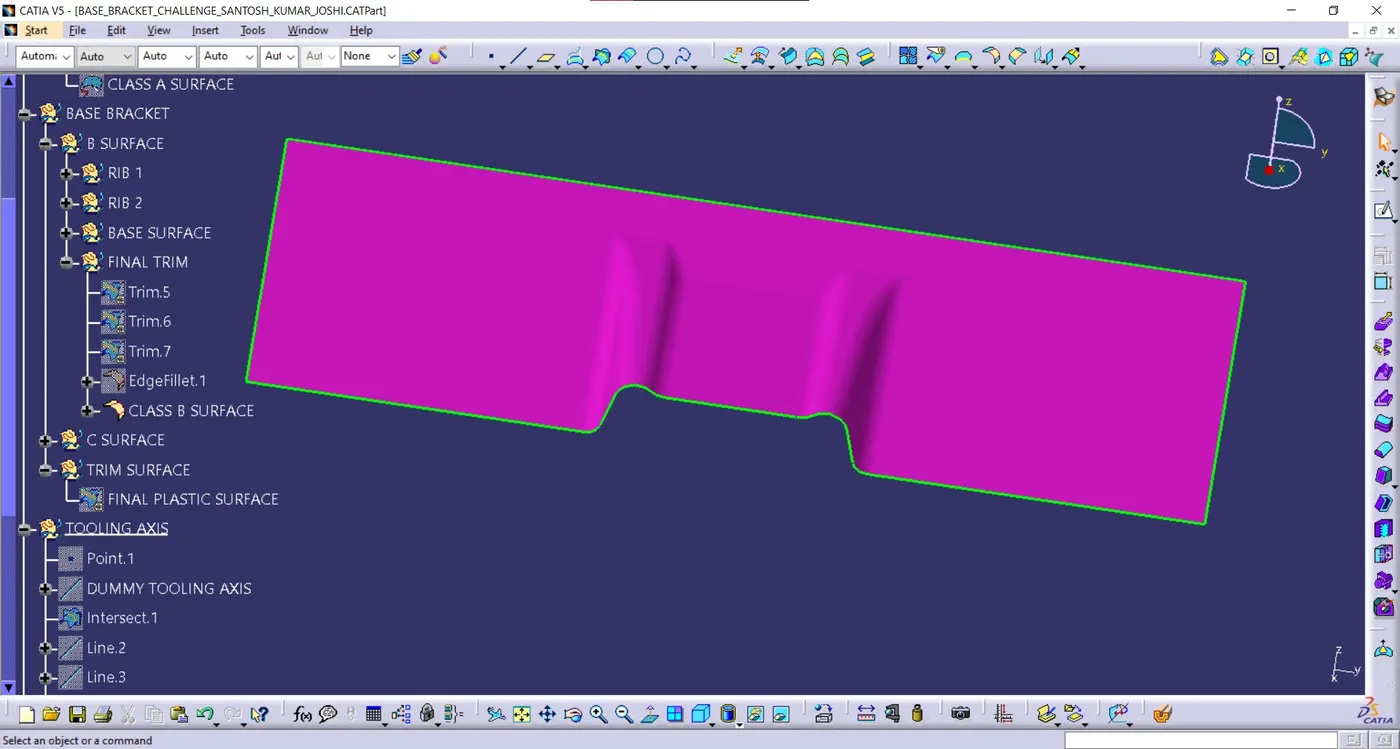
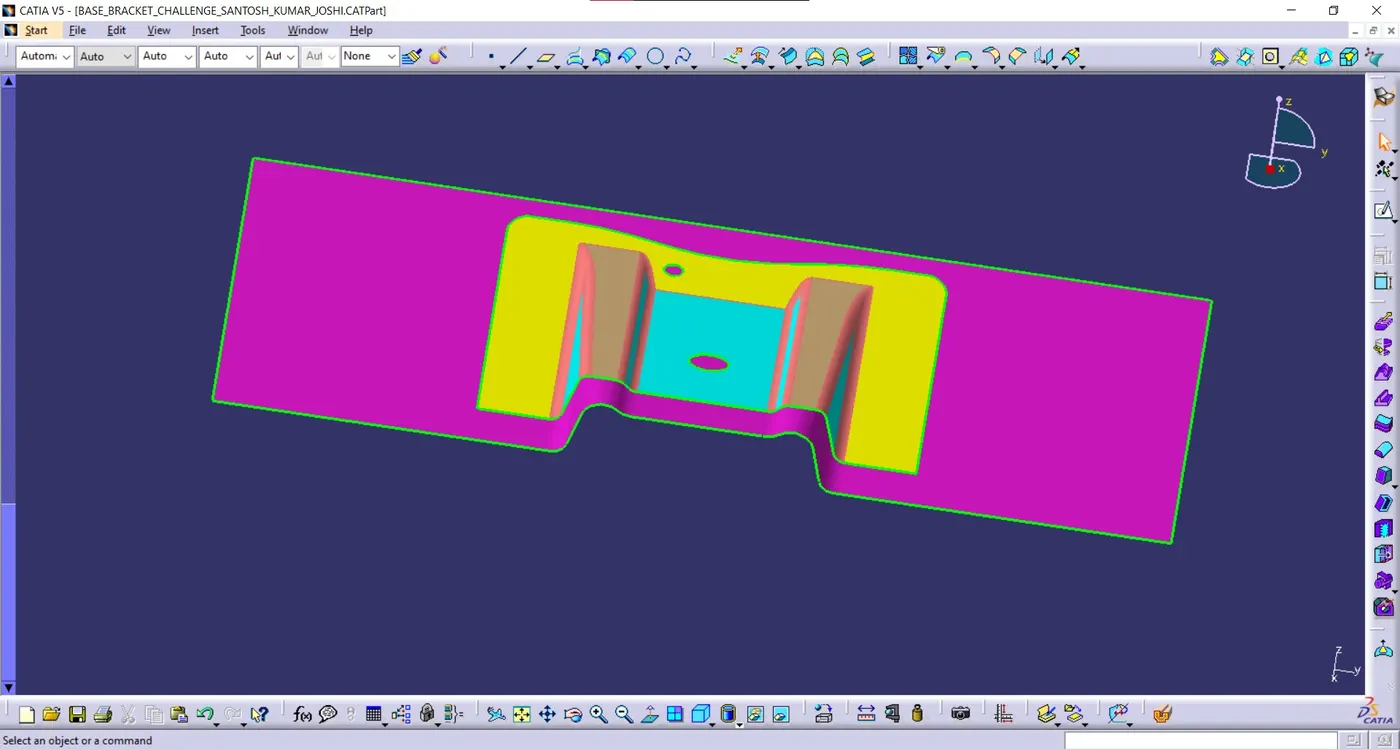
C SURFACE CREATION:
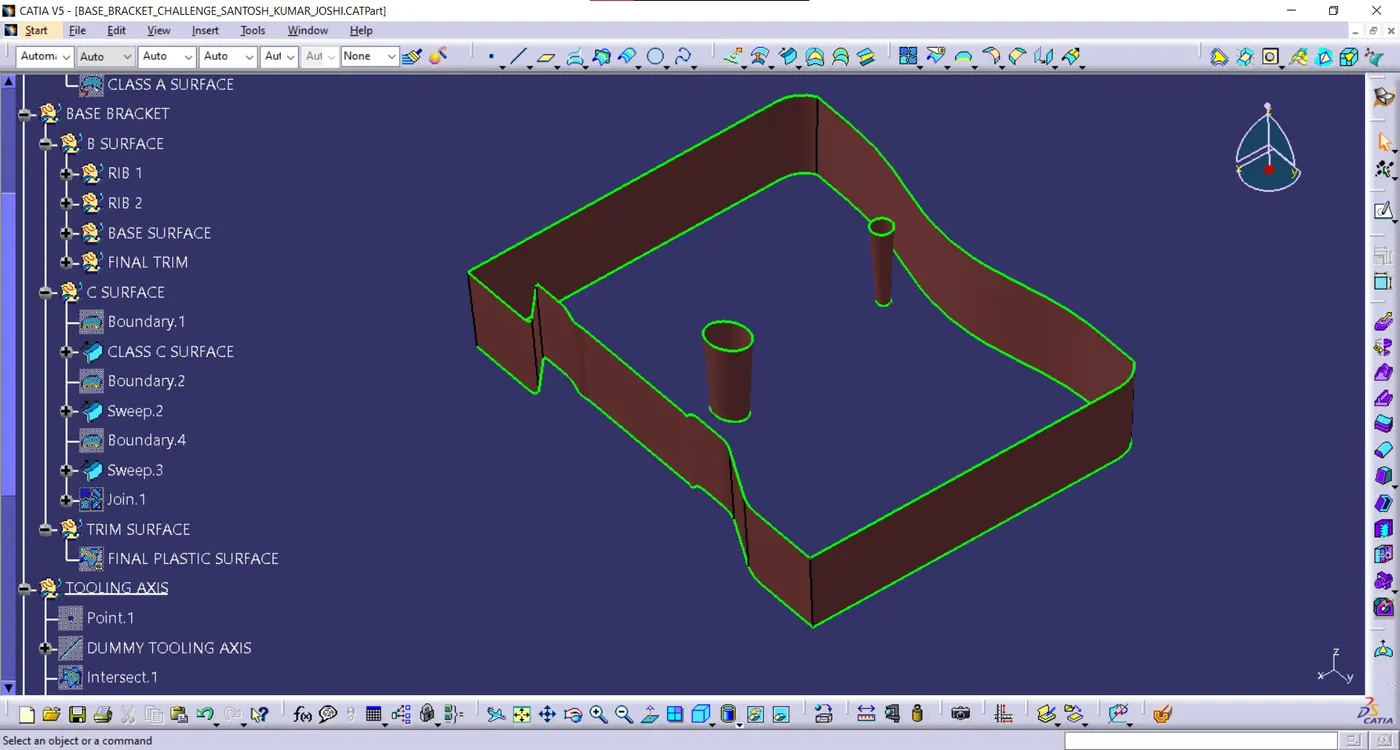
01 First we select outer edge of class a surface using boundary option and get boundary. and also select 2 circle on class a surface.
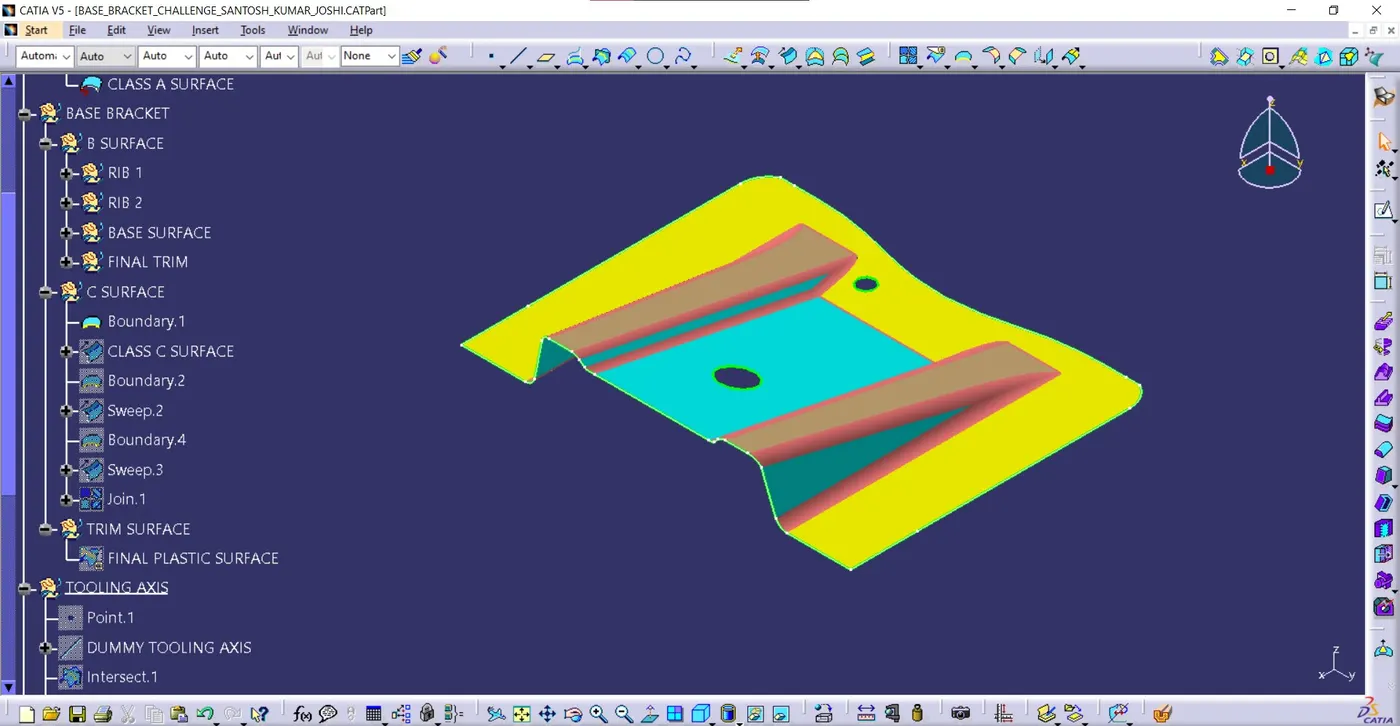
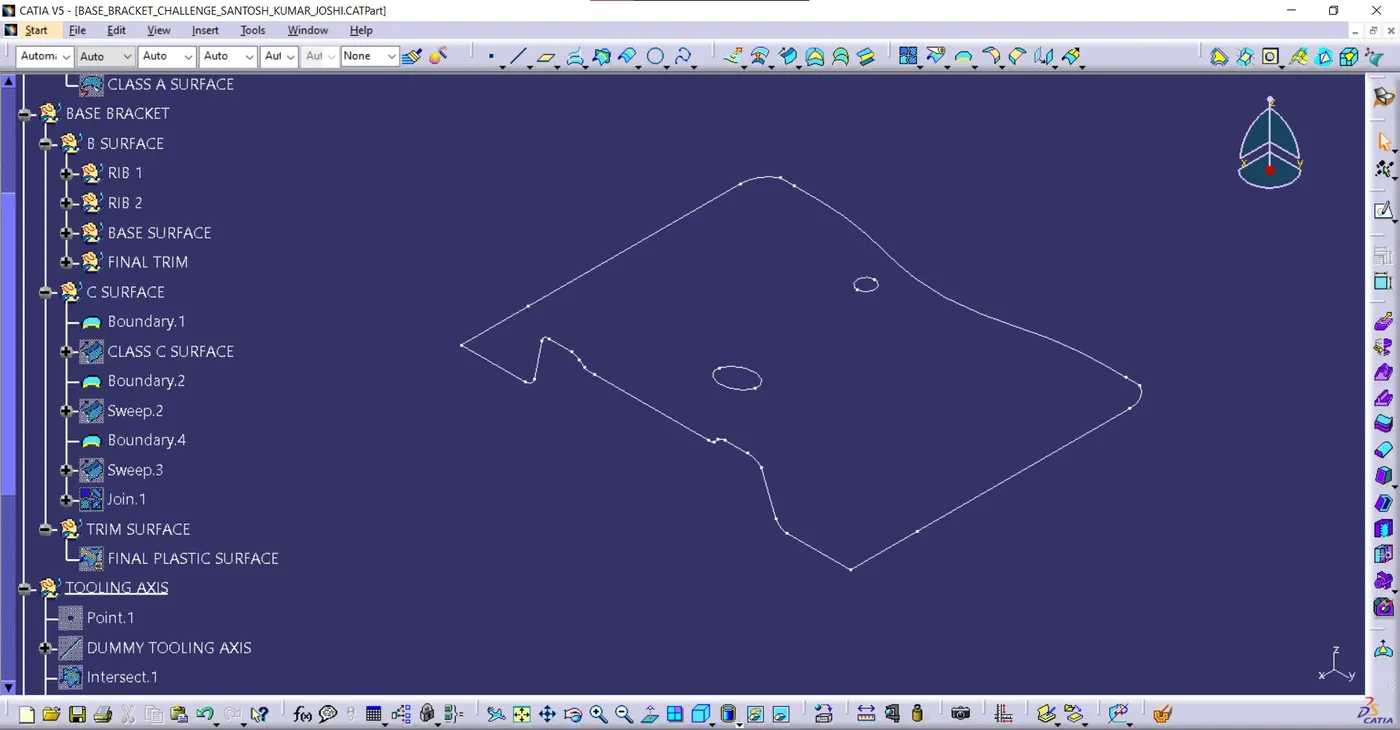
02 Then one by one sweep the boundary select tool axis along with draft angle 3 degree. there are minimum sweep 5mm.
TRIM SURFACE:
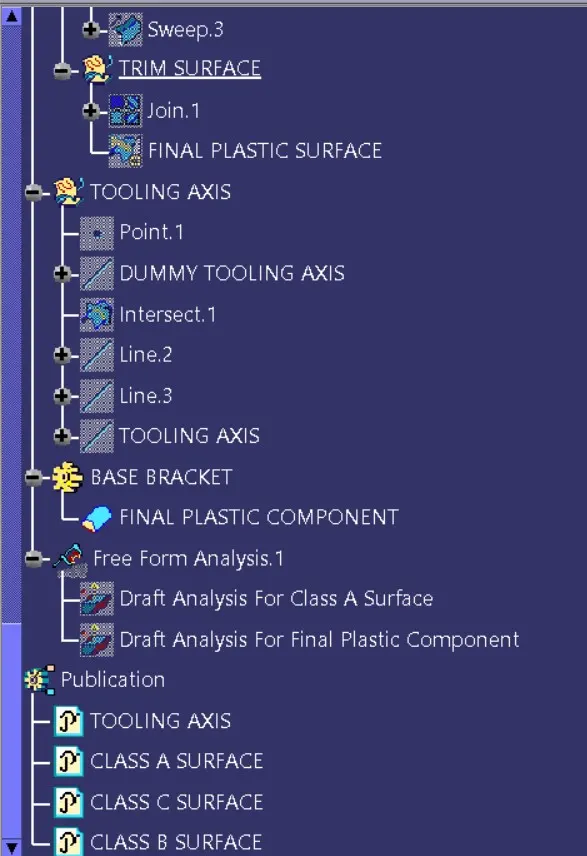
01 Here are get class A surface. then we creat class B and Class C surface.
02 Now we join class A and class C surface.
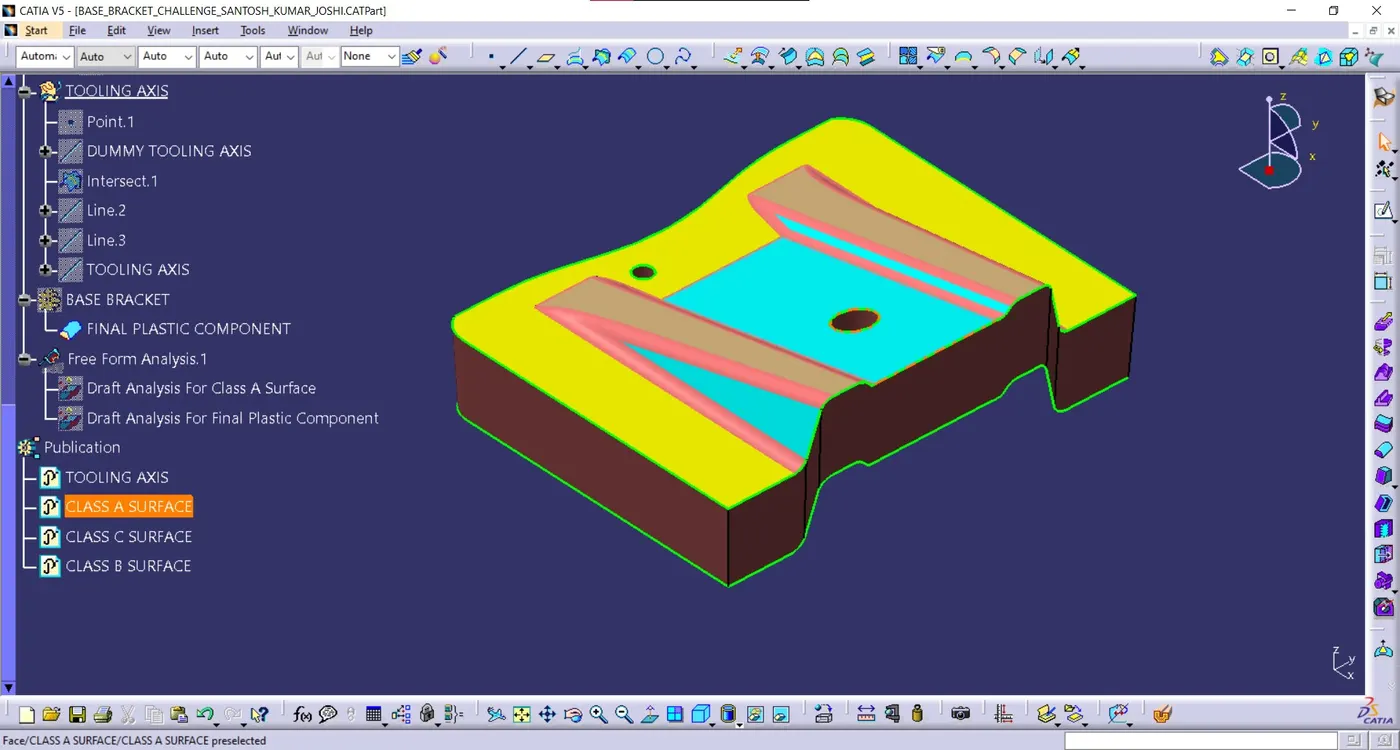
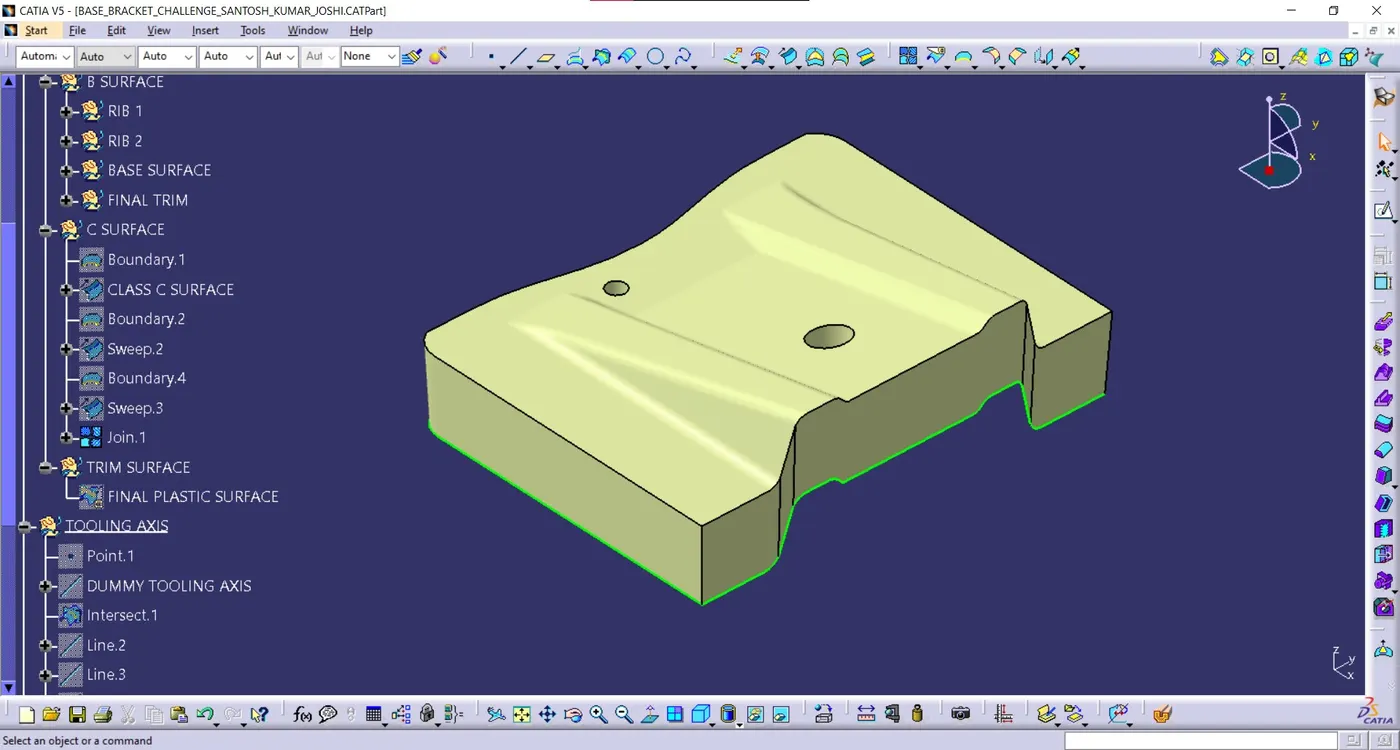
03 then trim by class B surface.
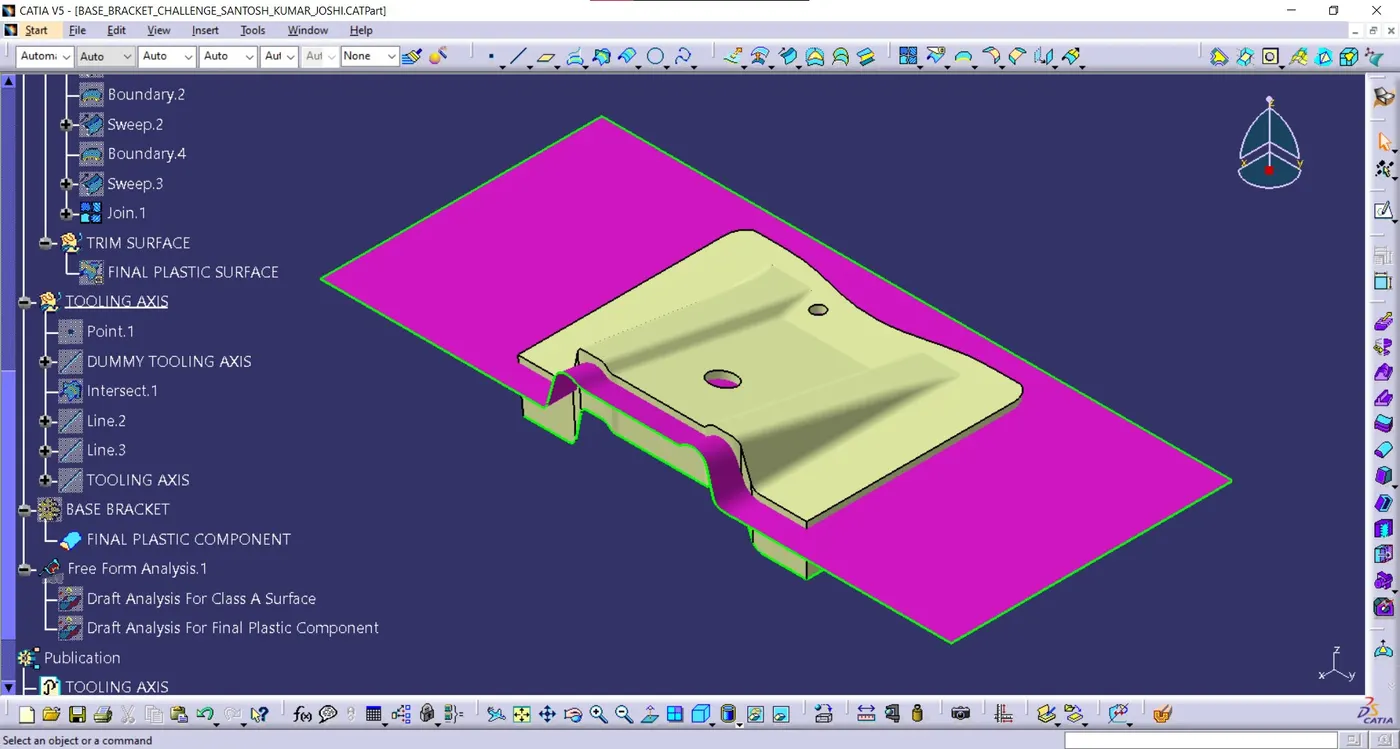
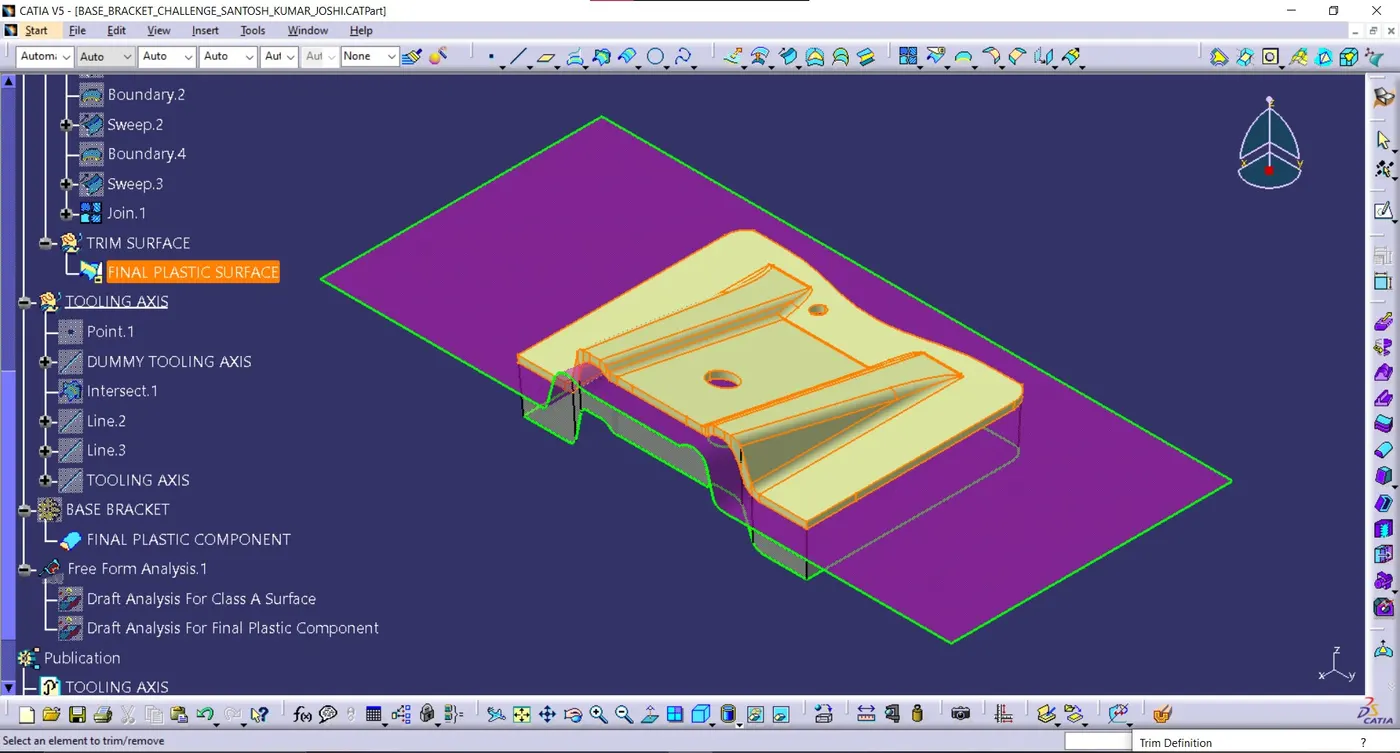
04 you get final thicken surface.
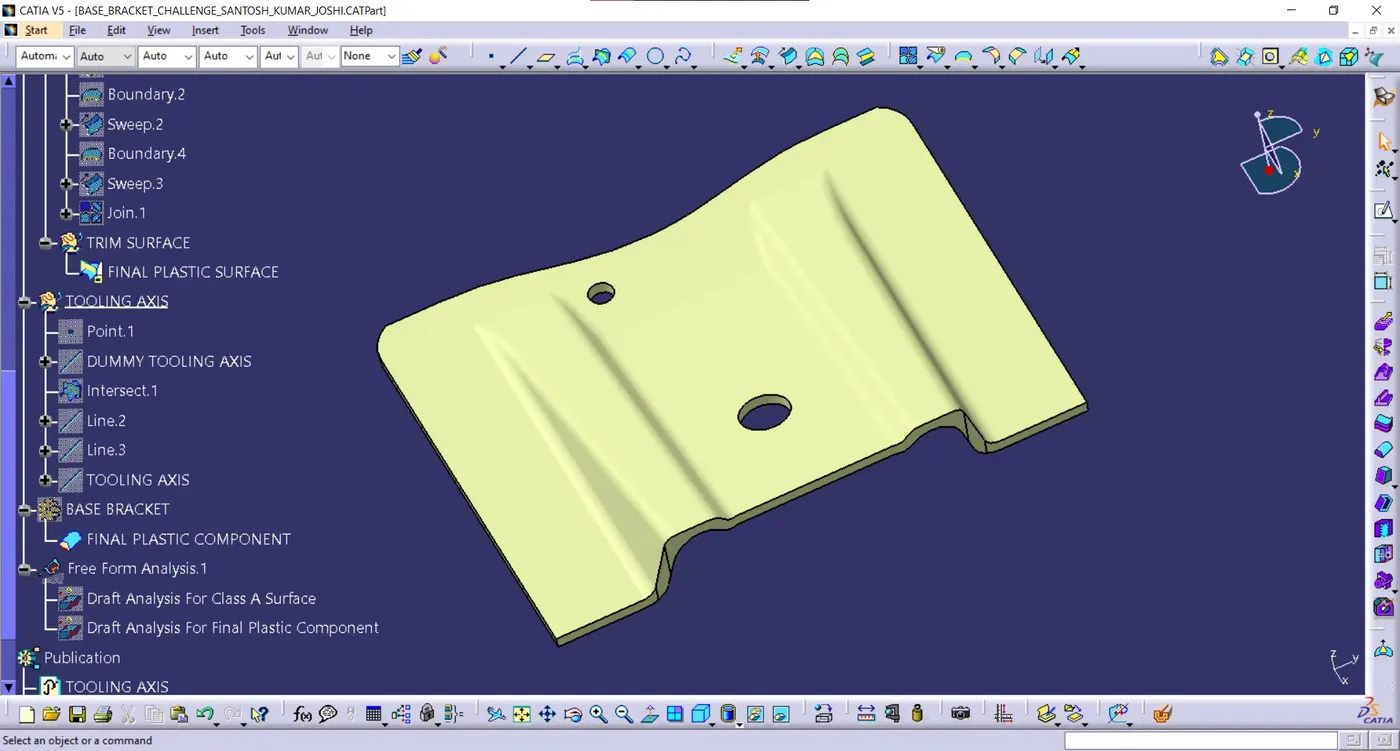
PART BODY: We select the final thick surface using the Close Surface command, and get the final plastic components.
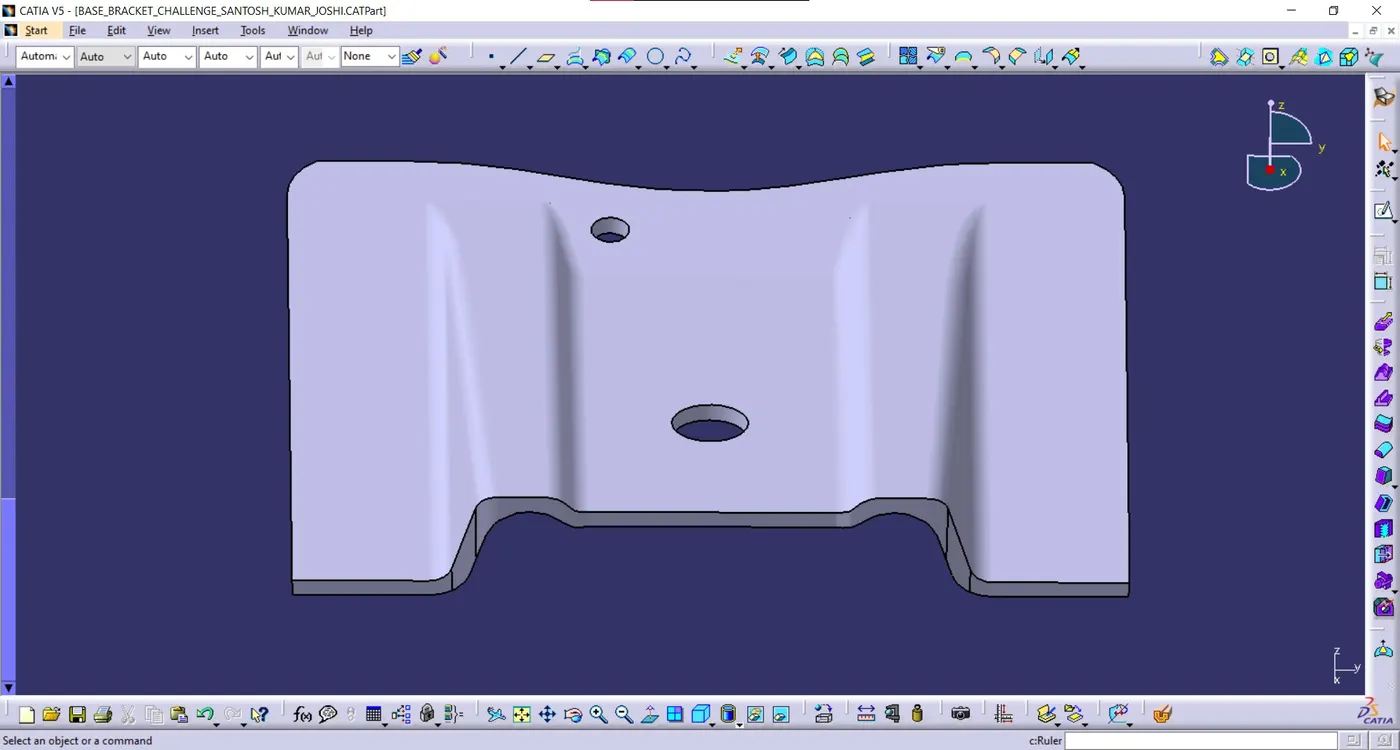
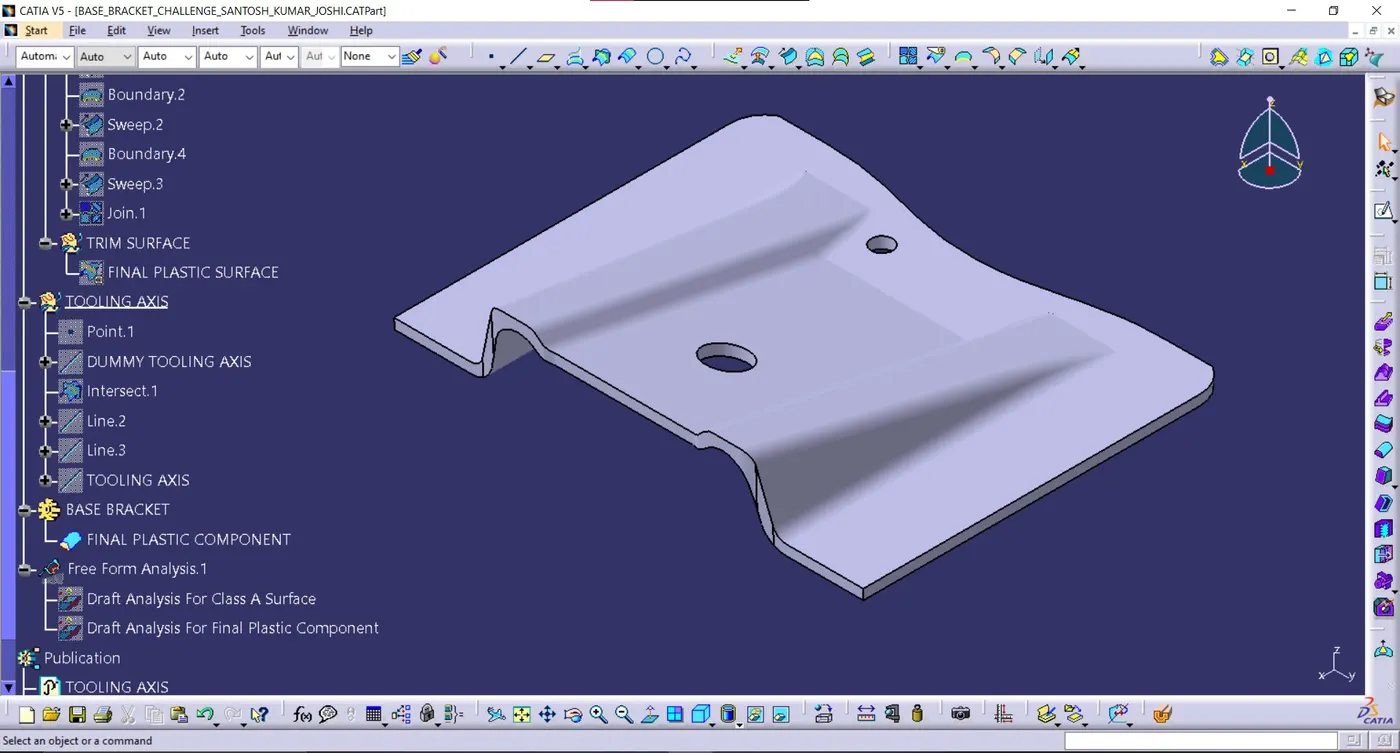
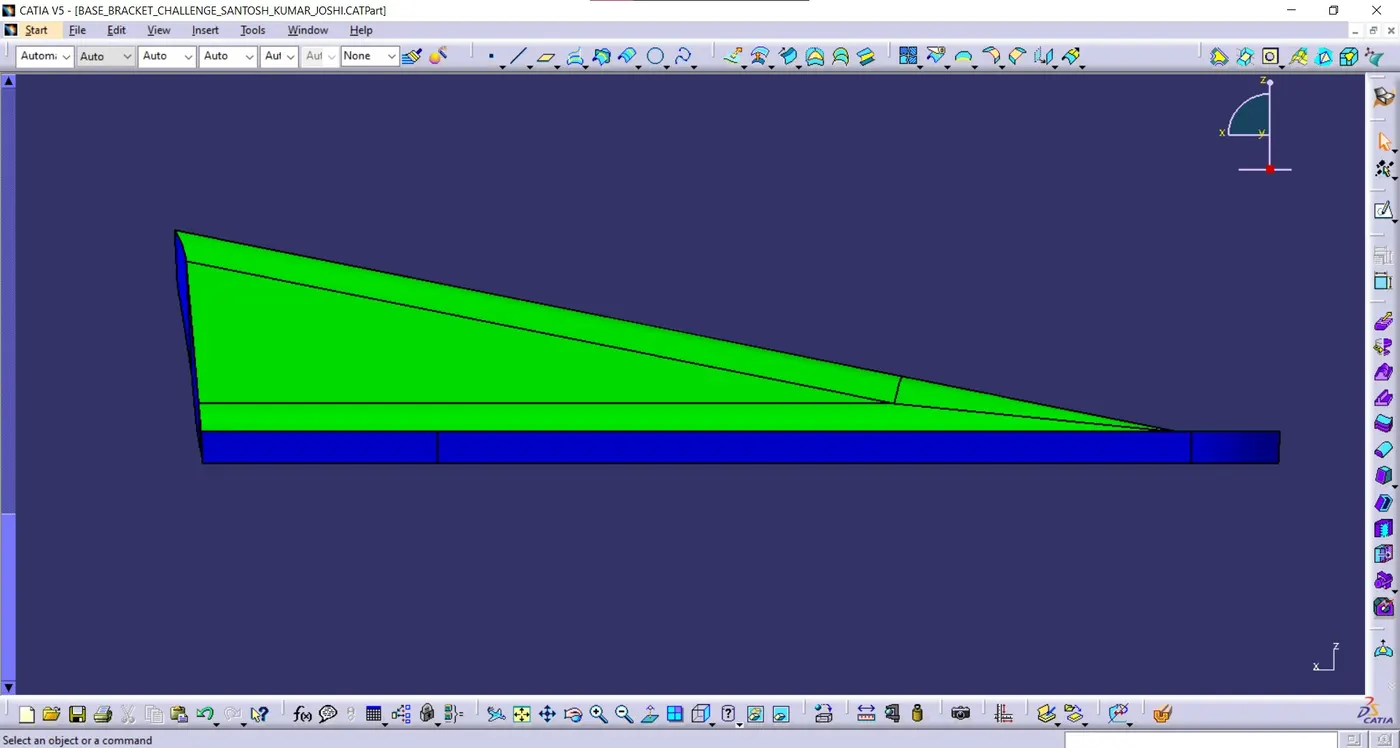
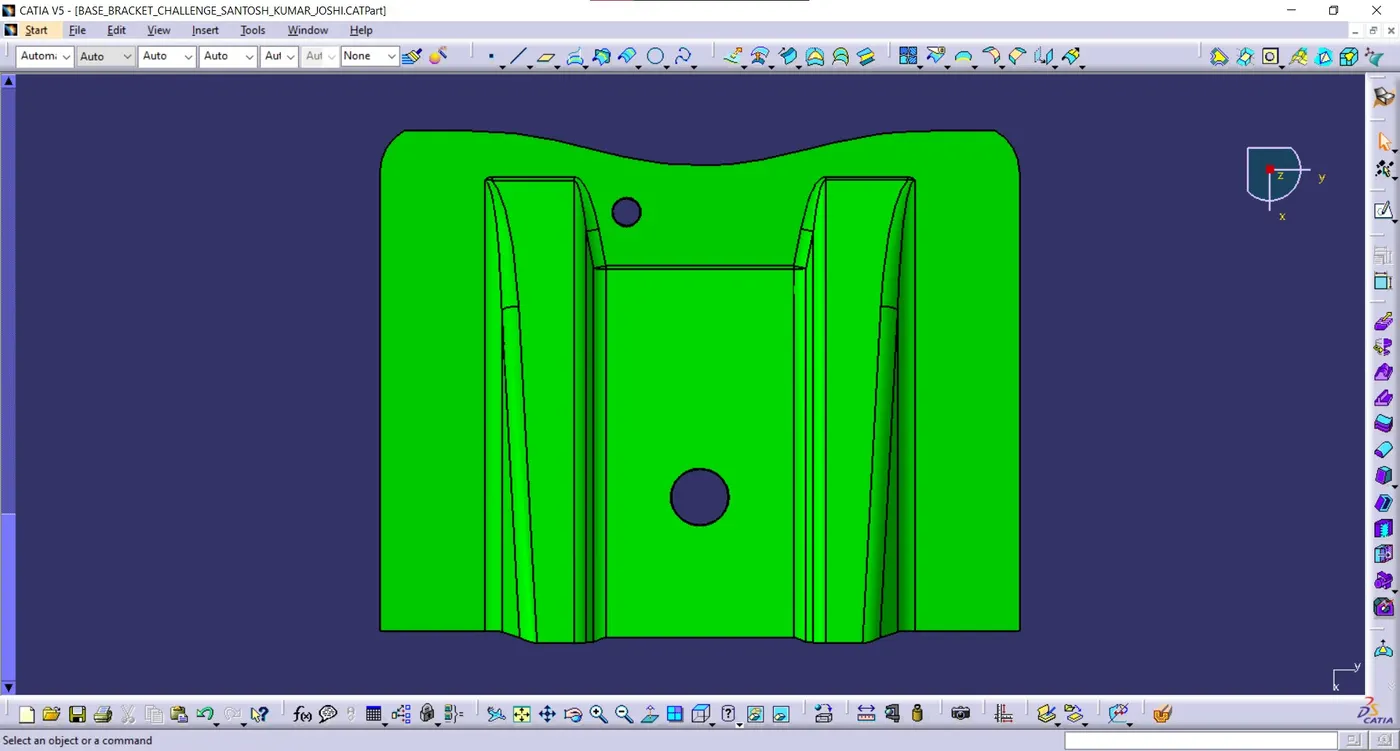
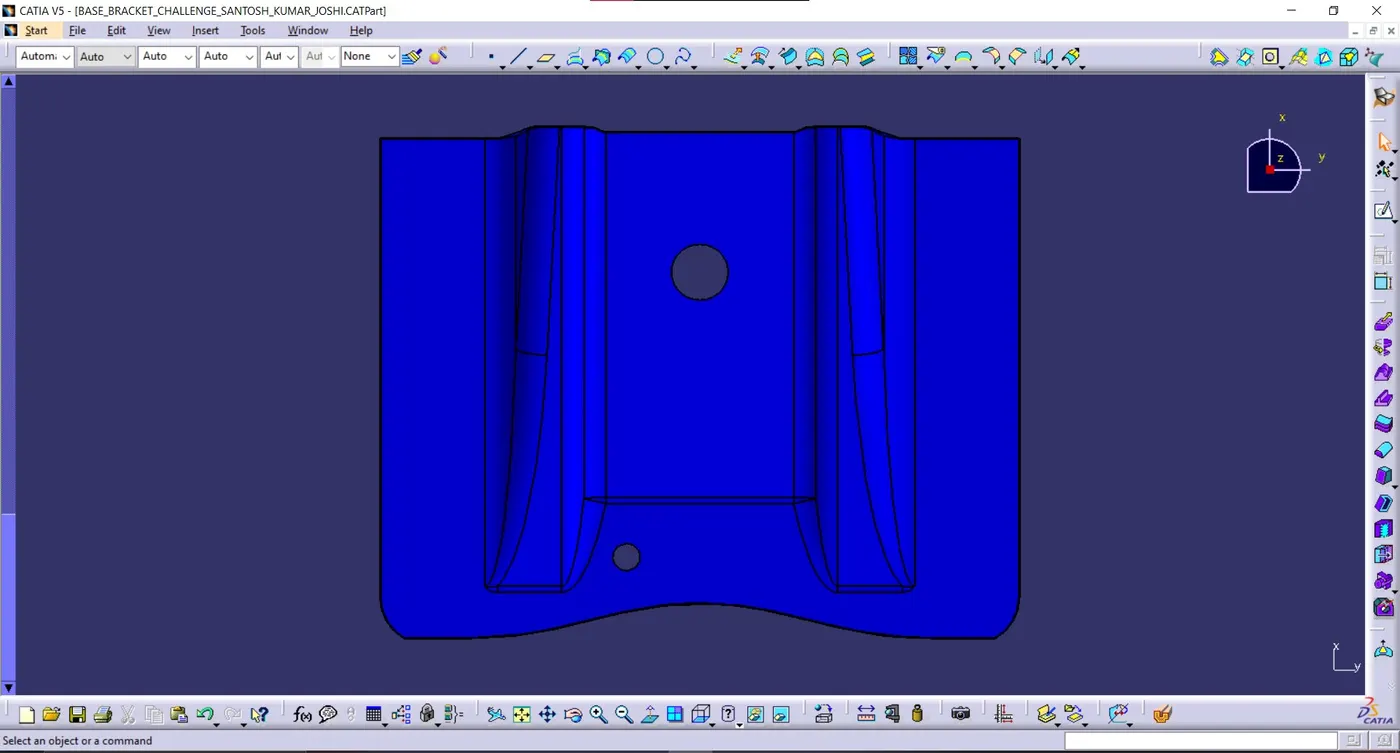
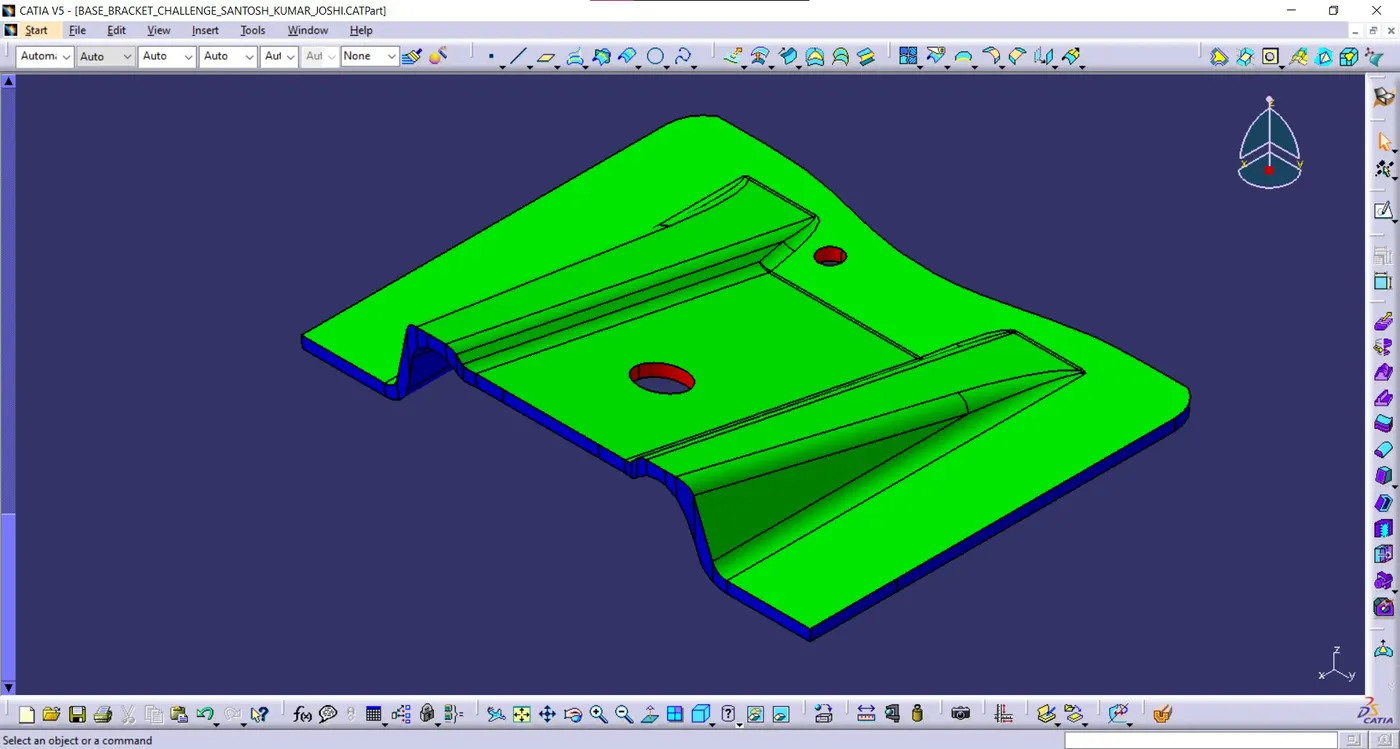
DRAFT ANALYSIS FOR FINAL PLASTIC COMPONENT:
01 Go to insert< analysis>
02 Align the tooling axis with the compass.
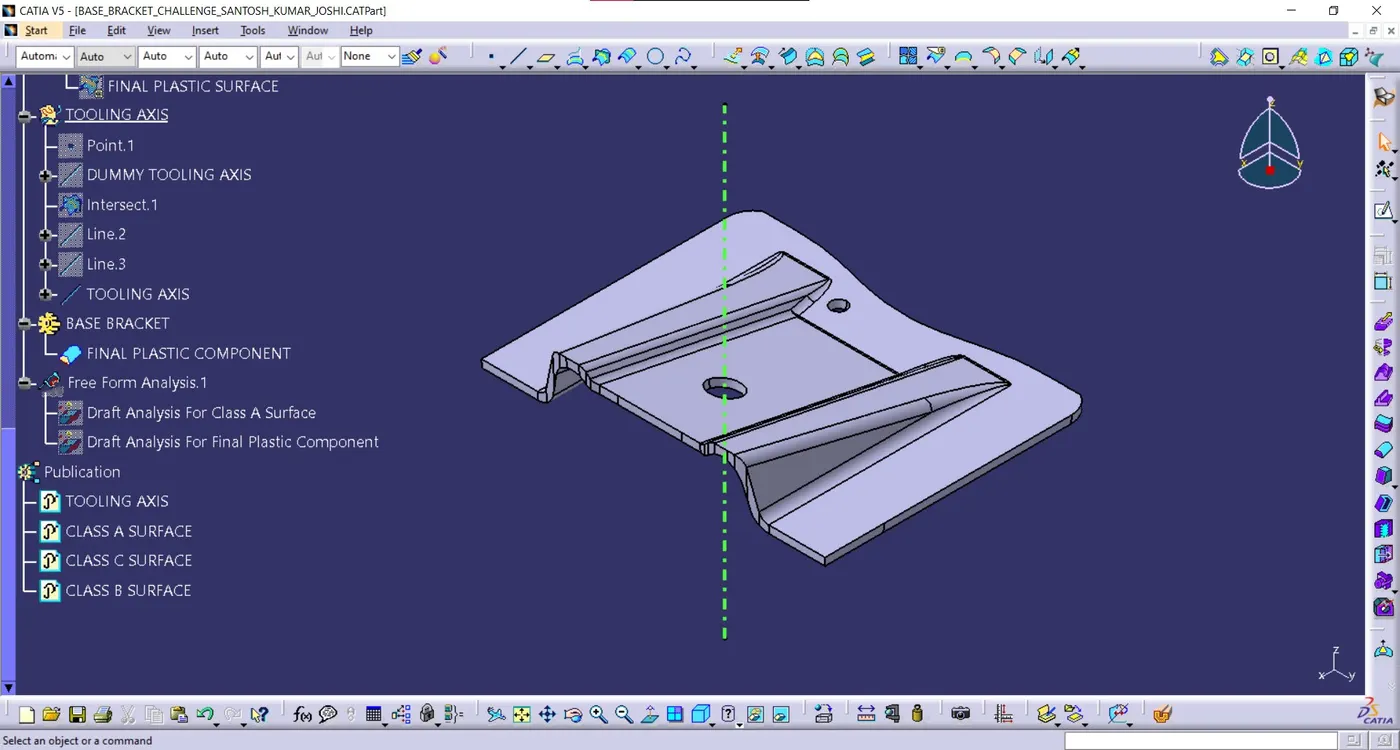
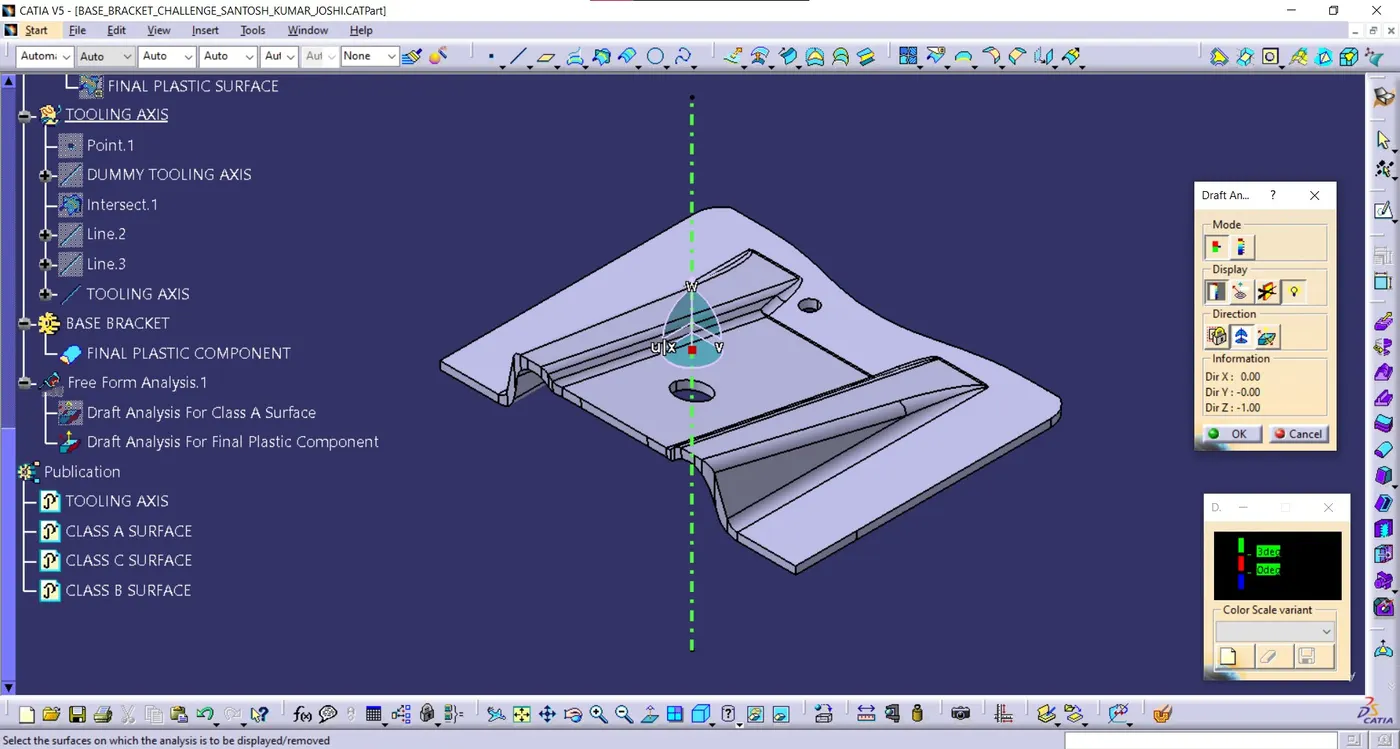
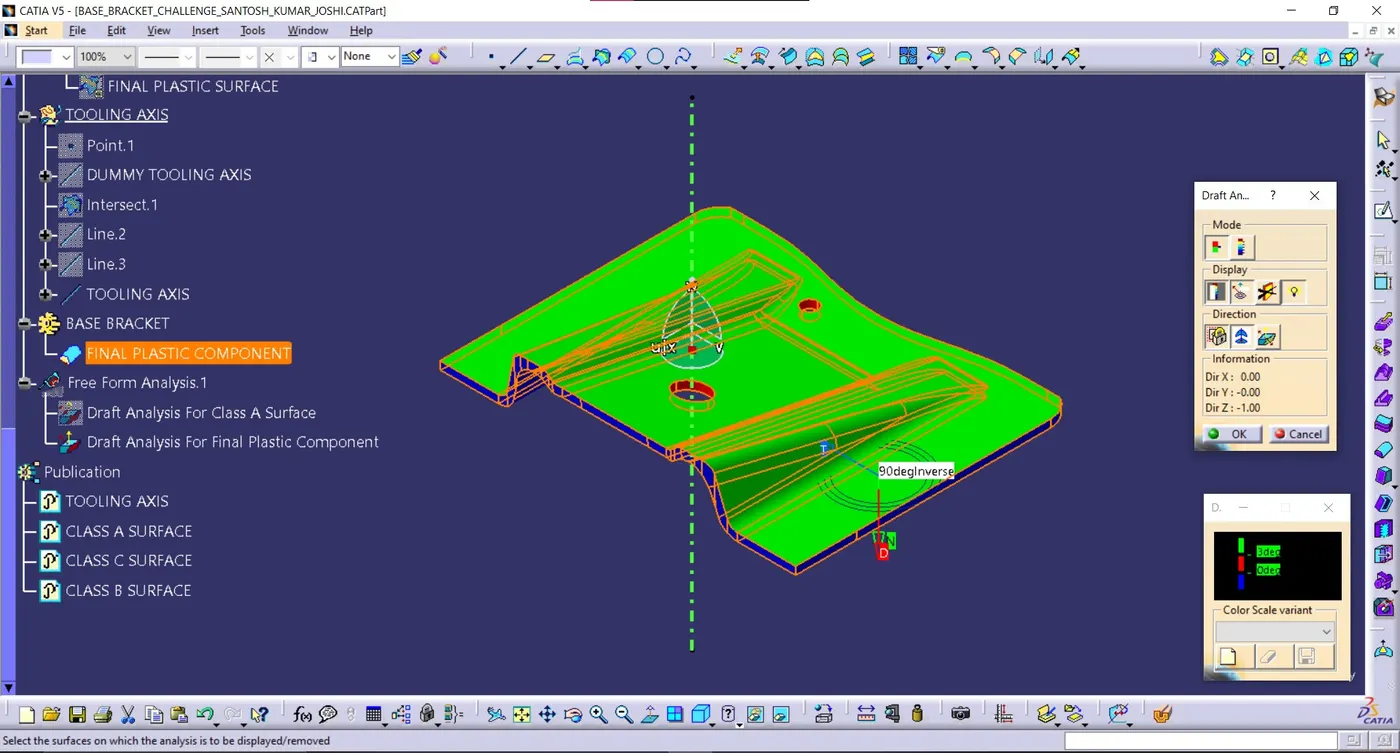
03 Click on the PLASTIC COMPONENT and see that the surface is within the permissible limit of the draft values.
04 The surface should be green and in the column proper value (3deg) should be inserted.
05 Also check the value for each face Analysis under the Running point.
Front View: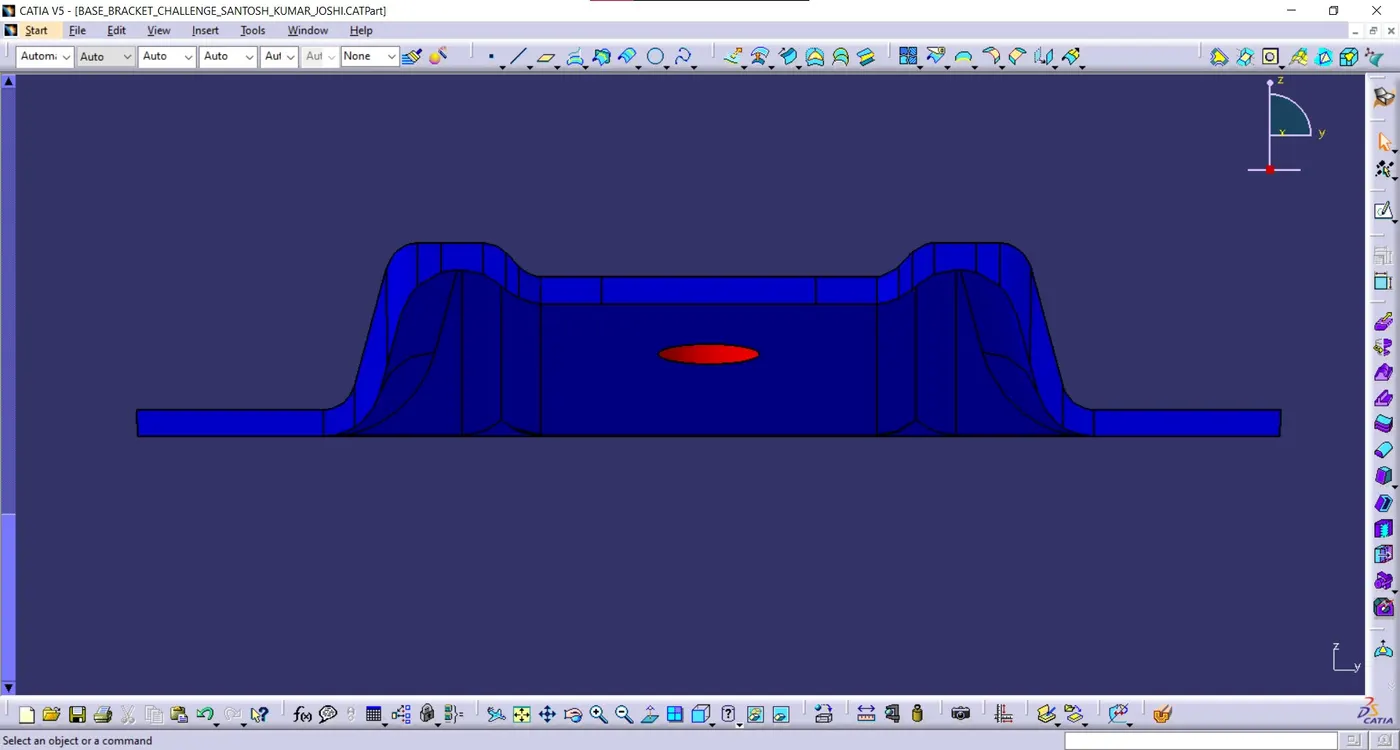
Back Side View: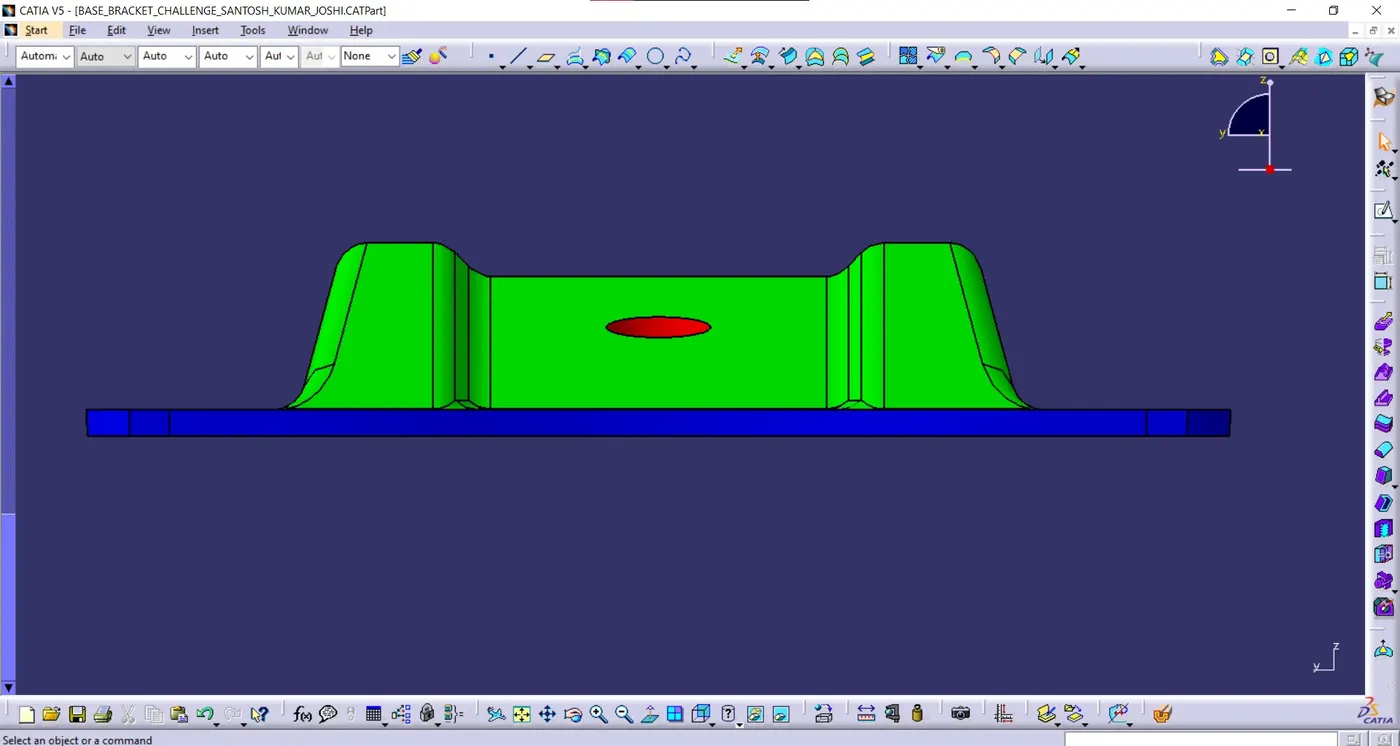
Left Side View: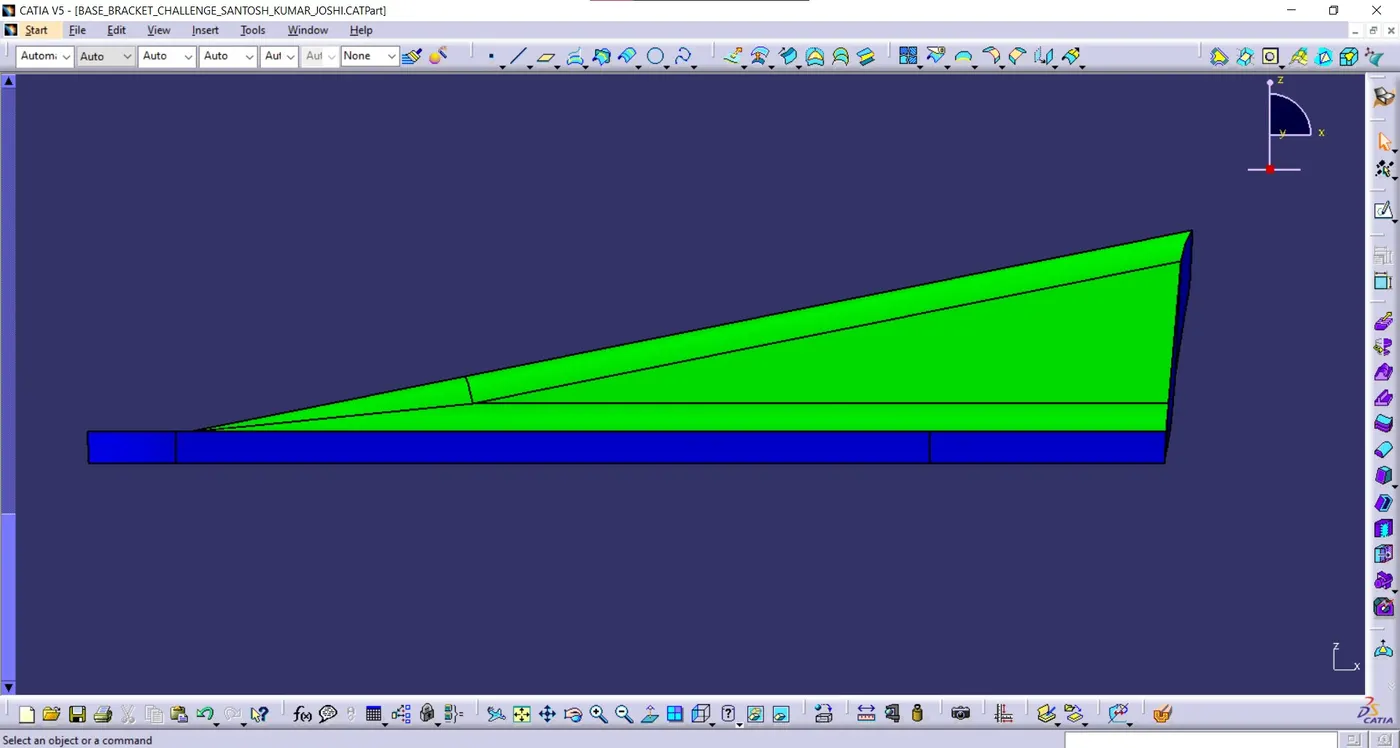
Right Side View:
Top View:
Bottom View:
Isometric View:
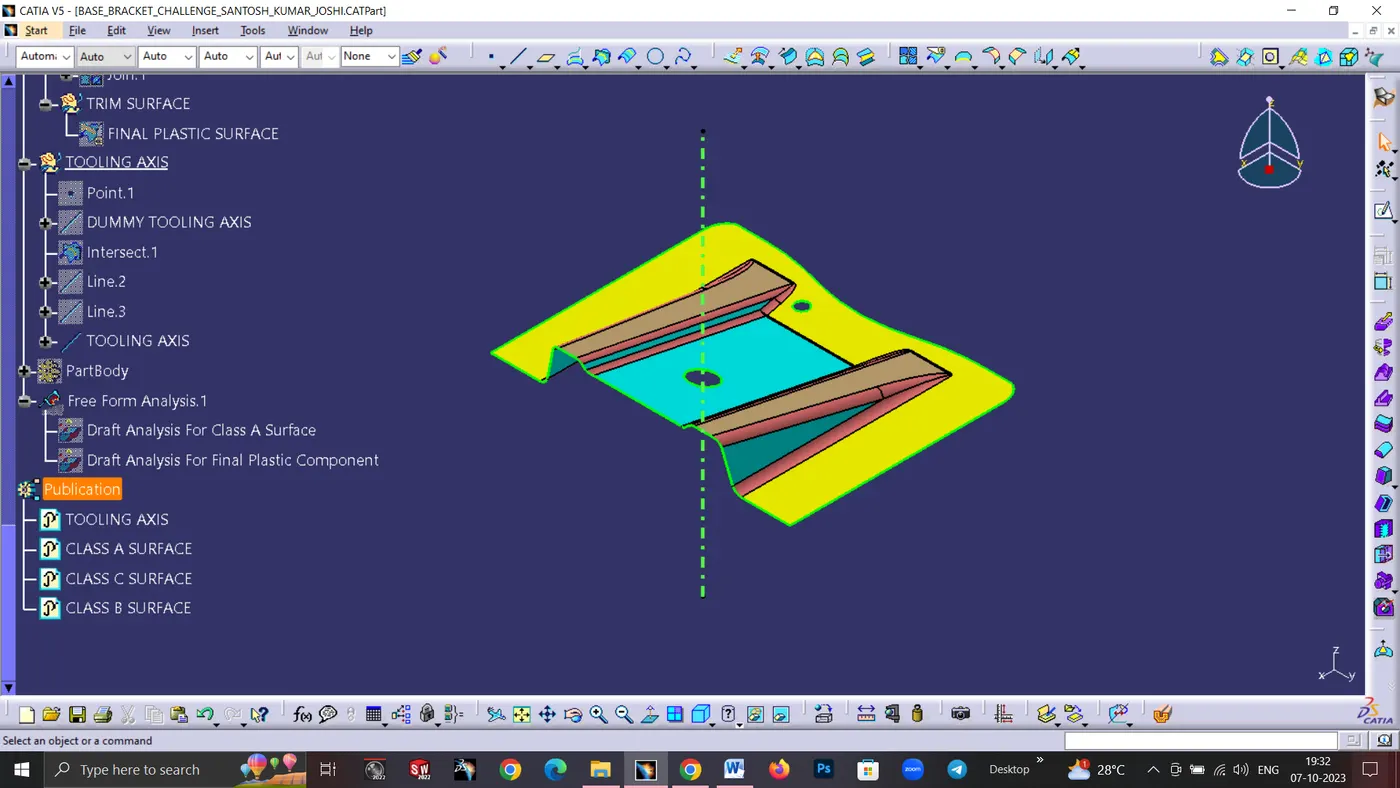
TREE STRUCTURE: