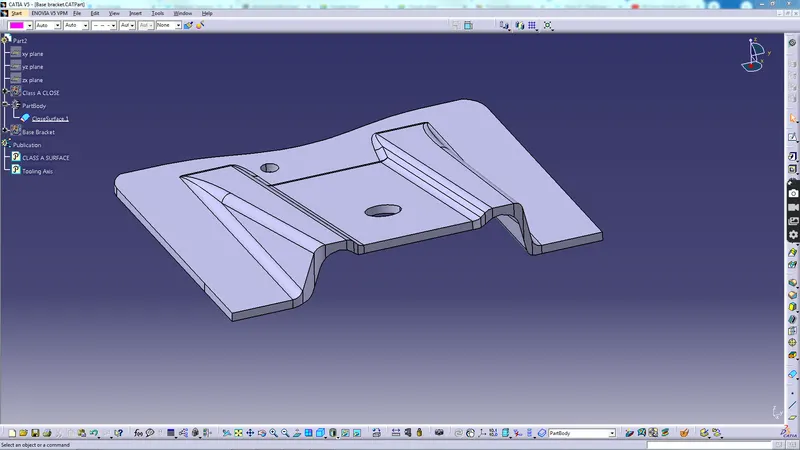
Week 9 - Challenge 1 - Base Bracket Design
1)We are given a class A surface.The first step is to create a dummy tooling axis for the surface.Give proper colour to the surface to extract them and to keep the other surfaces as it is.Create a plane in yz direction.Intersect it with the class A surface.Create the construction lines and bisecting line for the surface.
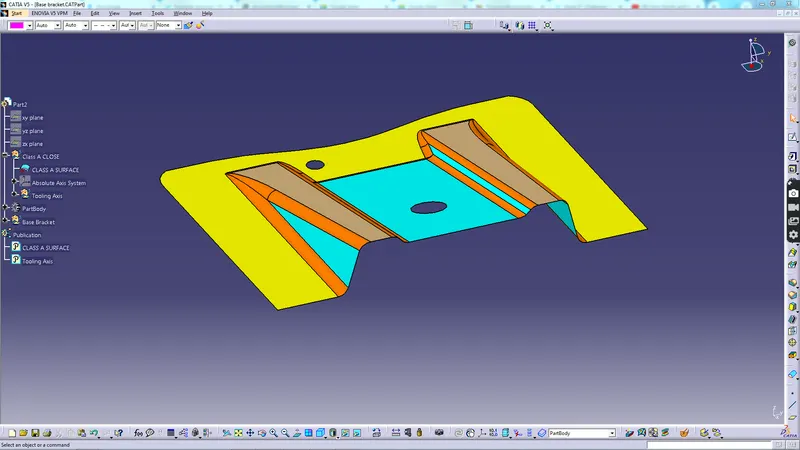
2)Create tooling axis and perform draft analysis on the surface:Select a large flat face or hole on the surface.Create a point at the centre of circular surface or hole.Then create a line perpendicular to the surface .That is the tooling axis.Give it thickness and colour.
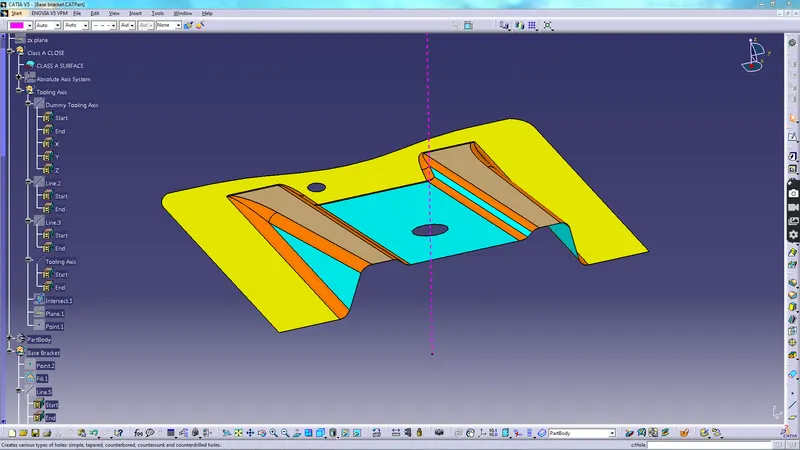
3)Select the compass and align with the tooling axis.Selct the surface the surface should become green in colour.If the colour is blue we have to flip the direction.Check the draft angle on both sides.We have found the on one side the draft angle is 15 degree and n other it is nearly 43 degree.Hide the draft analysis.
4)Thickening the component:Insert a new geometrical set naming it as Base Bracket.Create new geometrical set B surface with father Base Bracket.Offset it to desired value.
5)Extract the ribs by using the extract command .We have 3 walls of rib.Untrim the ribs.Extrapolate the ribs with point continuity.Trim the extrapolated surfaces to get desired surface like heart shaped.Publish the class A surface.Offset it to 2.5 mm.Insert it as new Geometrical set Rib 1.
6)Similiary create new geometrical set Rib 2.Give colours to both the ribs.
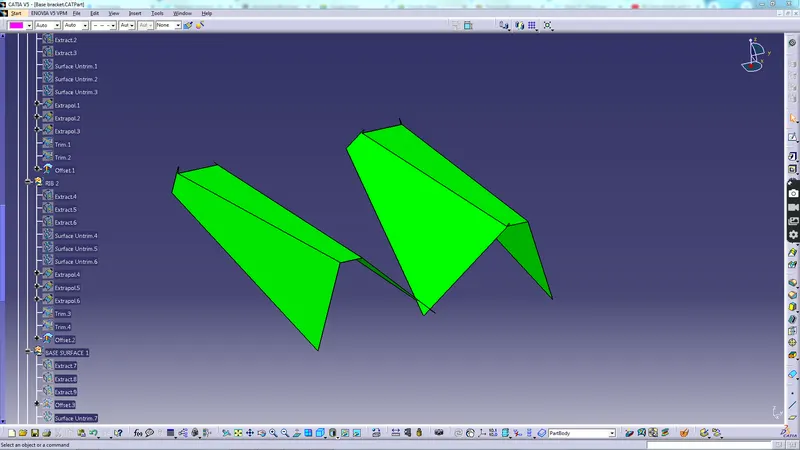
7)Create new geometrical set Base Surface 1.Offset the surface between Rib1 and Rib2.Untrim the surface.Take extract of base suface of class A.Hide the class A surface.Untrim it and hide the extract.Extrapolate the extract.
8)Insert new geometrical set Final trim in B-surface.Trim the Rib 1 and Rib 2 with the surface we have extrapolaed before.
9)Give fillets to the surface fillet value-thickness of the component(3+2.75) .And 5.5 mm for the other edges.Give it colour and proper shading.Name this as B-surface.
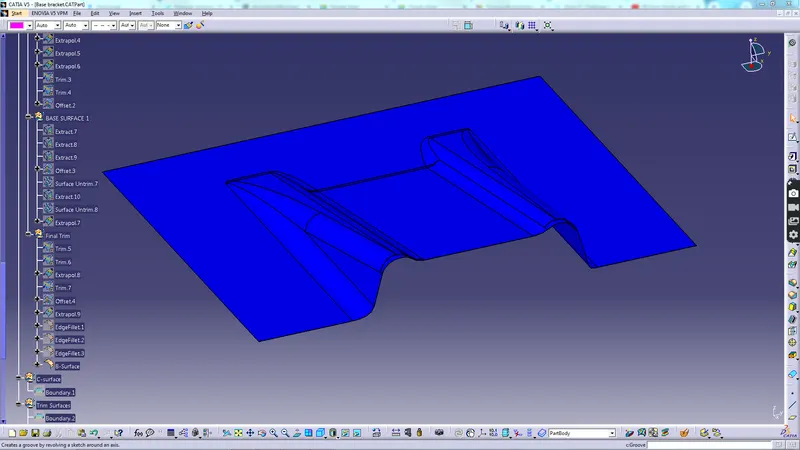
10) Create a new geometrical set and name it as C surface in the Geometrical set Base Bracket.Select the outside boundary of class A surface.Go to sweep command with subtype as draft diection .Click on the boundary 1 as guide curve and draft direction as tooling axis.Give draft angle of 2 degrees and length of 15 mm.Select the direction towards B-surface.Similiarly sweep the holes on the surface.Unhide the Class-A Surface and trim both the Class A surface and the Class C surace.Insert it in a new geometrical set as Trim surfaces.Use join command to join the Class A and Class C surface.
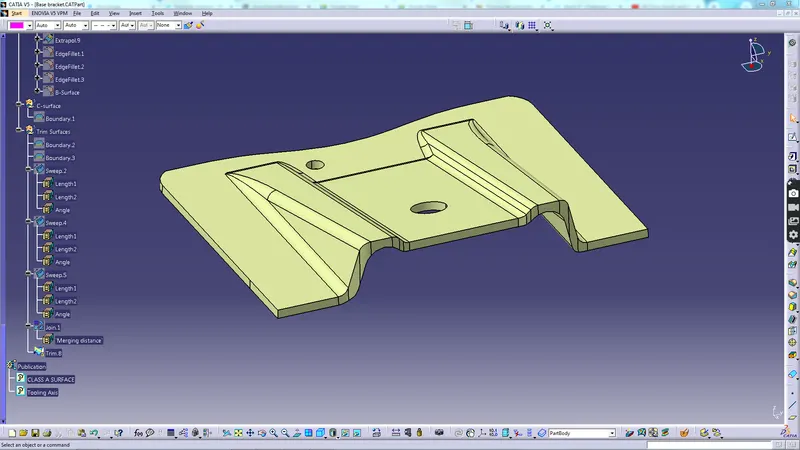
11)Unhide the B surface and trim it with the join of Class A and Class C surface.Switch to part design mode.Define part body click on the last used trim surface and use close surface feature.The obtained close surface body is the required output.