Week 9 - Attachment Feature Creation (Ribs & Screw Boss) - Challenge 1
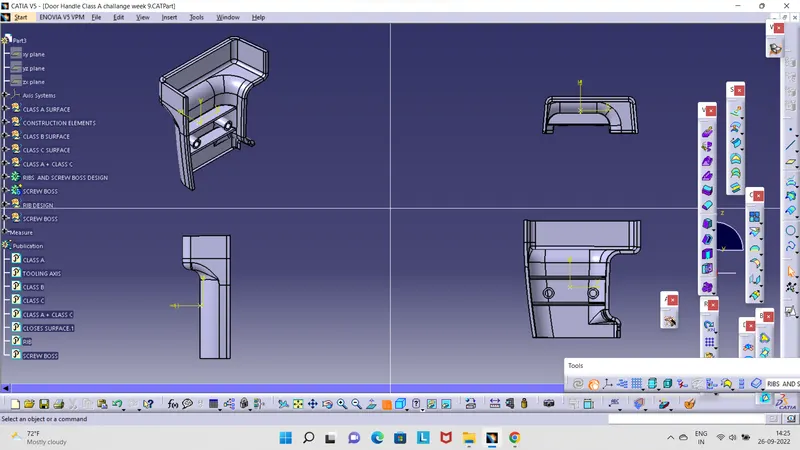
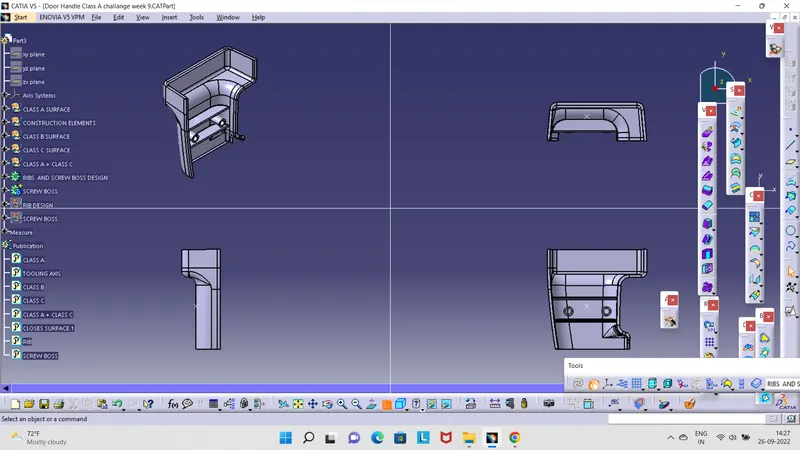
- AIM:- My main aim is To Create the Door Handle Component from the given Class-A surface. To Create the tooling axis for the given Class-A Surface meeting the requirements of the draft angle. To Attach B side Features in the component. To perform the Draft analysis on the model.
- TOOLS USED:-
- Boundary
- Join
- Multiple extracts
- Bisecting line
- Trim
- Surface offset
- Draft analysis
- Intersect
- Surface sweep
- Close body surface
- STEPS FOLLOWED TO DESIGN THE FINAL PRODUCT:-
- The class A surface is checked for the connectivity of the surface and ensures it is completely joined and there will be no gap between the surfaces.
- If it is not joined together make it with a minimum tolerance of 0.001 to 0.003 and check for surface connectivity.
- Connectivity of the surface can be done in two ways the join method and the boundary method.
- Split the surfaces into multiple profiles then Identify the surface where it is not possible to create a tooling axis and check on which direction is the best fit for the tooling axis and then define the tooling axis and draft direction.
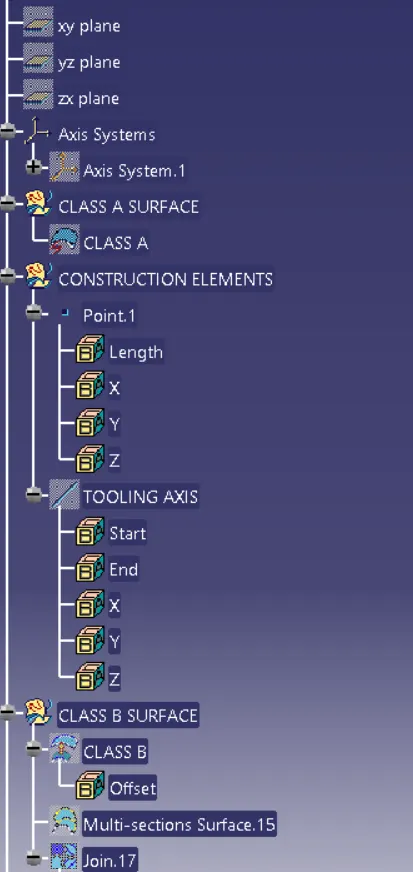
- Here for defining the tooling axis first we have created a point in the middle of the base surface and created an axis with respect to that point then define the tooling axis using the intersect method by creating a bisecting line.
- Then do a draft analysis on the class A surface and identify the draft angle then give the nominal value for the draft.
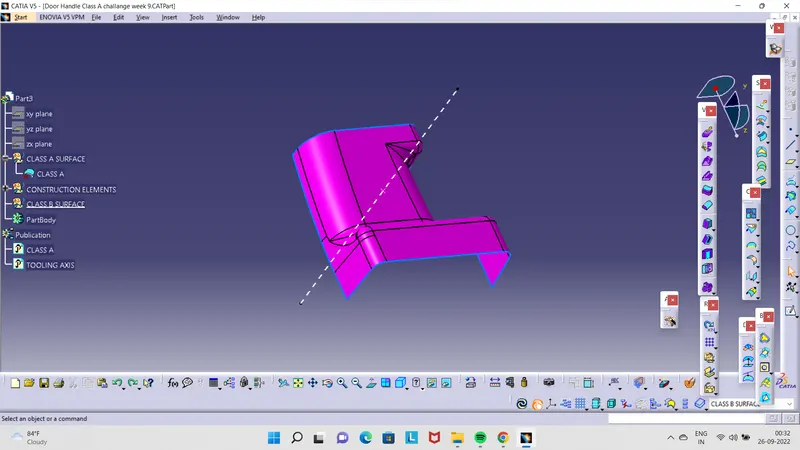
- TOOLING AXIS DIRECTION:-
- The direction in which the mold opens and closes is called the tooling axis direction.
- Check the connectivity of the surface and ensure there will be no gap between the surfaces and then define the tooling axis.
- While creating a tooling axis please ensure to give the tooling axis on a flat length surface or the surface which have a hole on it.
- Create a point in the middle of the base surface by using the point on the surface command then create an intersection for the surface and extract the reference lines which will be helpful for creating the dummy tooling axis using the intersect method by creating a bisecting line.
- Use the line command and draw the lines which are aligned with the extracted lines and extended them to the required length.
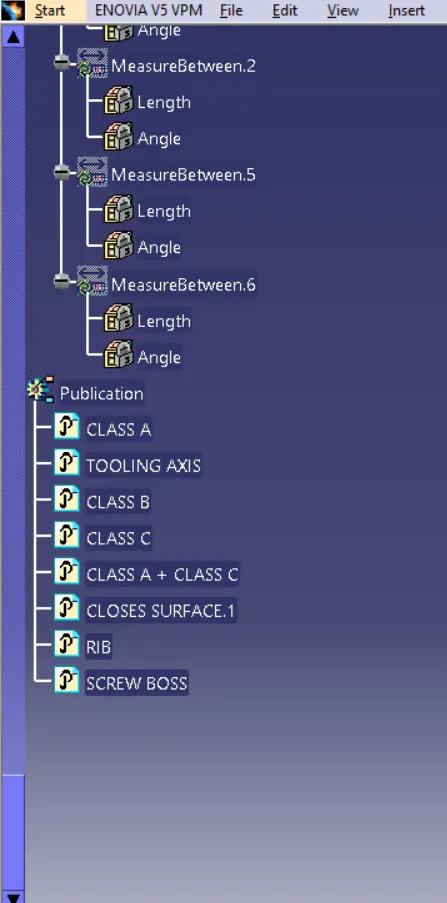
- PUBLICATION:-
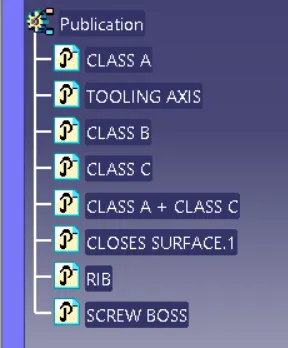
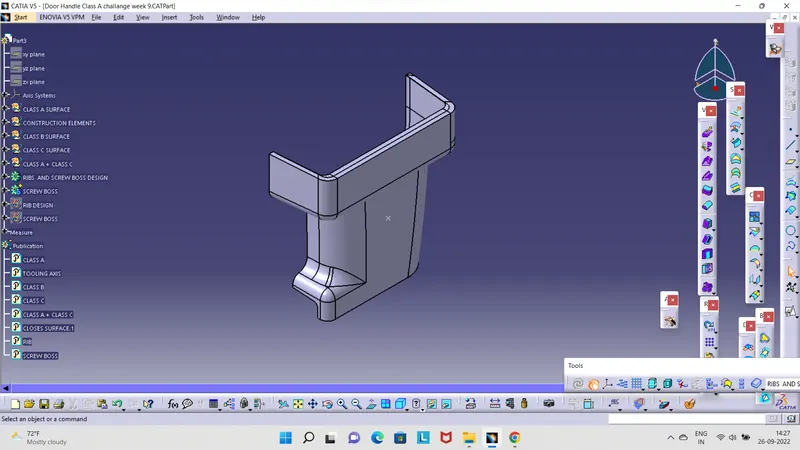
- The publication is done to the component to make it visible and navigate easily.
- To publish the component go to tools > publications and then select the tooling axis and the class A surface.
- A separate tree structure is formed under the main part.
- DRAFT ANALYSIS:-
The Draft Analysis command enables you to detect if the part you drafted will be easily removed. This type of analysis is performed based on color ranges identifying zones on the analyzed element where the deviation from the draft direction at any point, corresponds to specified values.
- Before going to drat analysis go to customized view parameter >under mesh >check material and then click ok.
- Now for draft analyses go to insert » analysis » feature draft analysis.
- Use the compass to define the draft direction.
- In the color, the scale changes the draft angle to 3 degrees.
- The component changes to green as an indication of the passing draft angle.
- Use a running point to check the angle on the component.
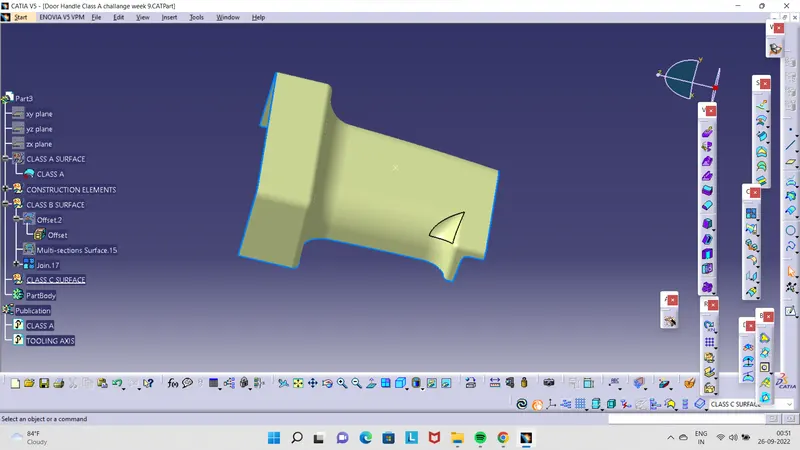
- CLASS B SURFACE:-
- Extract the surfaces from class A using multiple extracts and Antrim them.
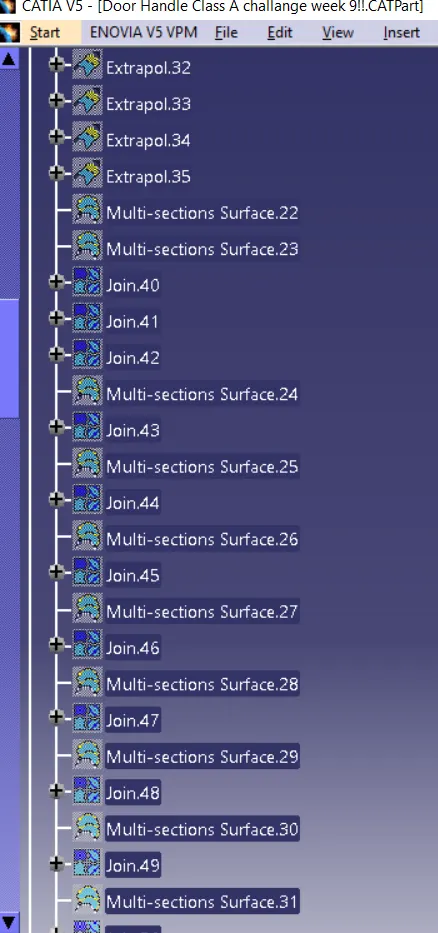
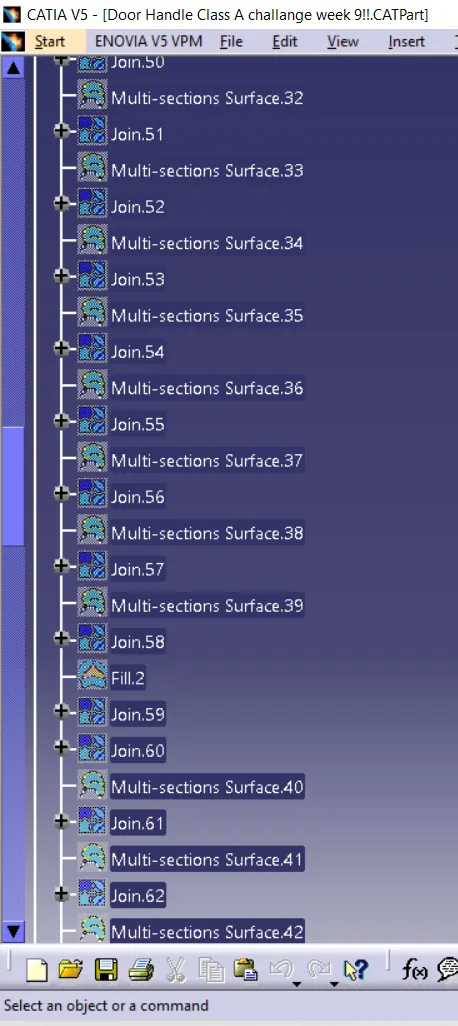
- Use Extrapolate to make sure that all the un trims are properly intersected to trim and offset the surfaces to 2.5 mm to create the thickness.
- Trim the extra surfaces using the trim command.
- Insert them into the new geometrical set and name them with respective part names.
- Apply fillets to the model after creating the entire surface.
- If the edges are outside the fillet value will be added to the thickness of the component and if the edges are inside, the fillet value will be subtracted from the thickness of the component, for instance, if the thickness of the component Is 2.5mm the fillet value is 15mm so the outside portion value should be 17.5mm and inner edges should be filleted 12.5mm to get uniform thickness.
- Perform trims one at a time so that it will be clear to understand.
- CLASS C SURFACE:-
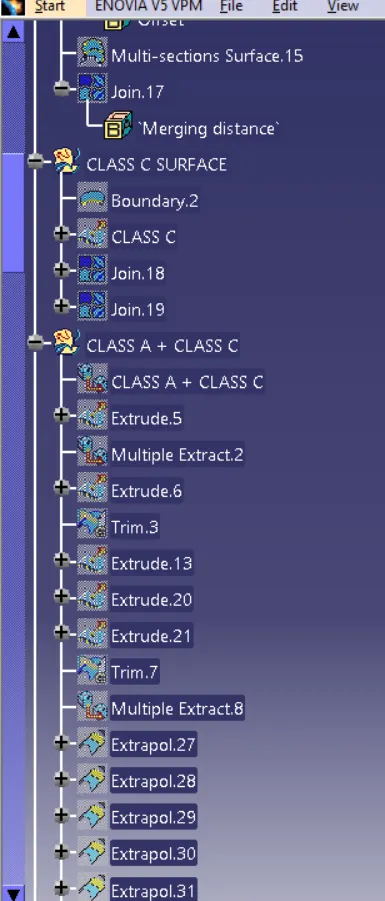
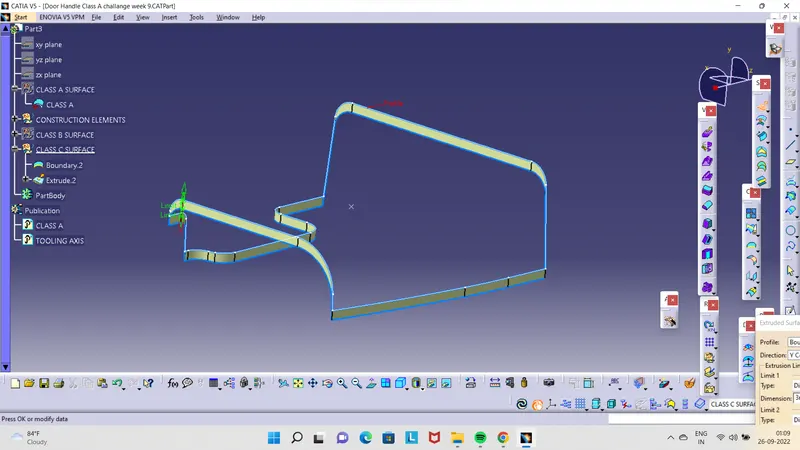
- Extract the boundary from the class A surface using the boundary command.
- Using a disassembly tool to divide the boundary as the boundary contains domains.
- Use sweep command > choose profile type line > subtype as with draft direction > choose guide curve and draft direction > draft angle as 3 degree > preview.
- After getting swept, trim the output with the class B surface to get the final output.
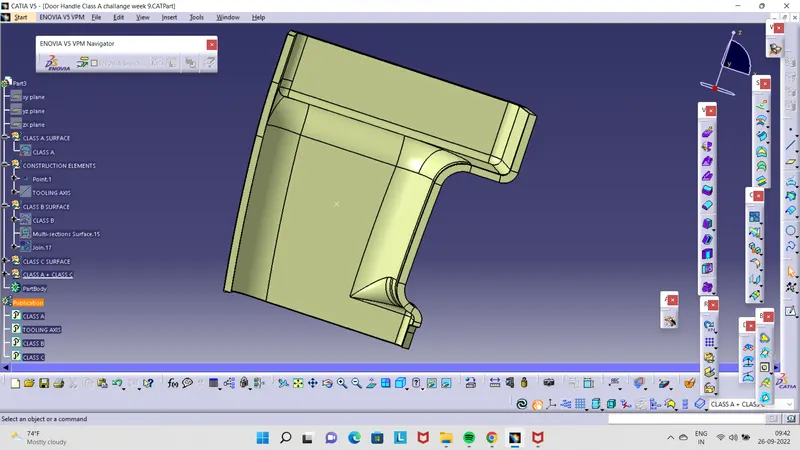
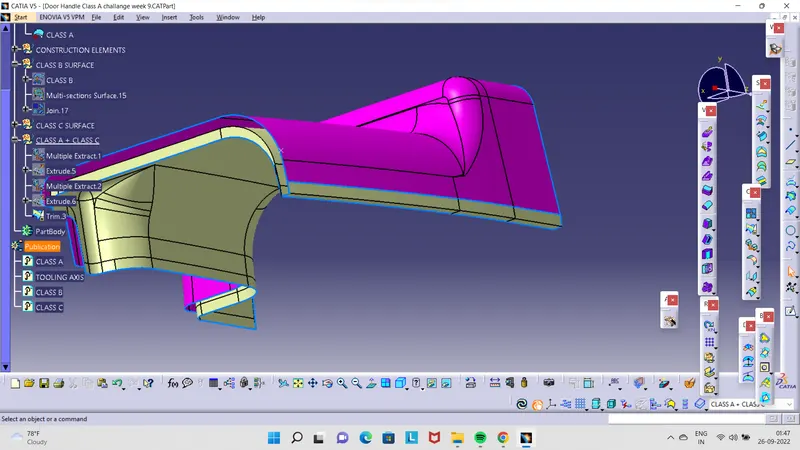
- THE FINAL SOLID BODY HAS A 2.5MM THICKNESS:-
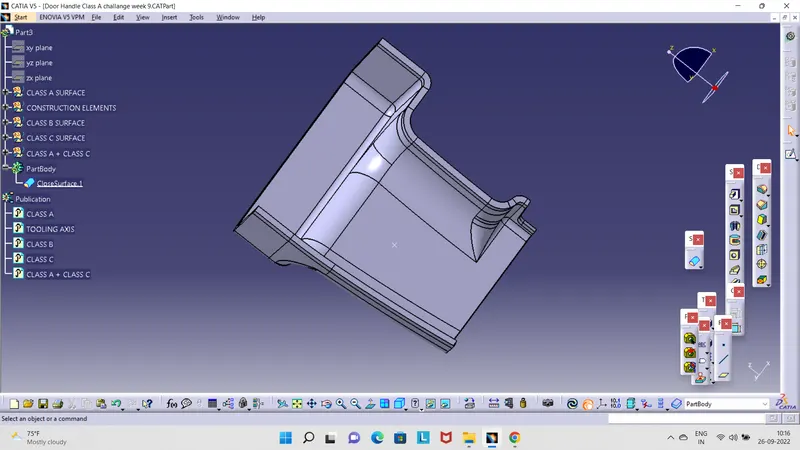
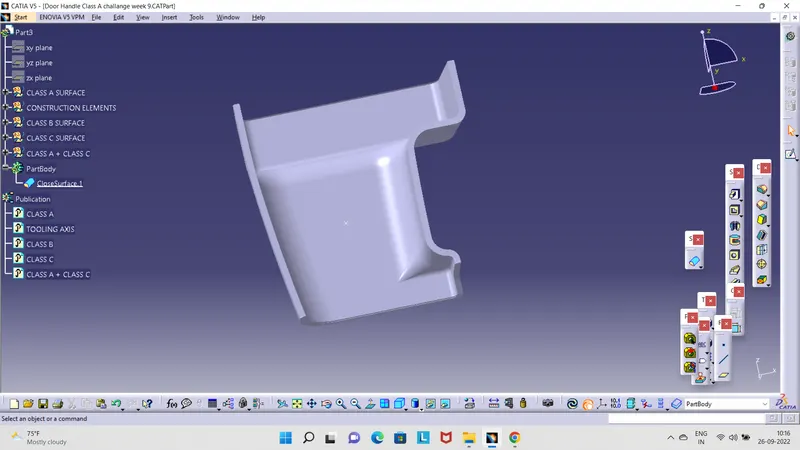
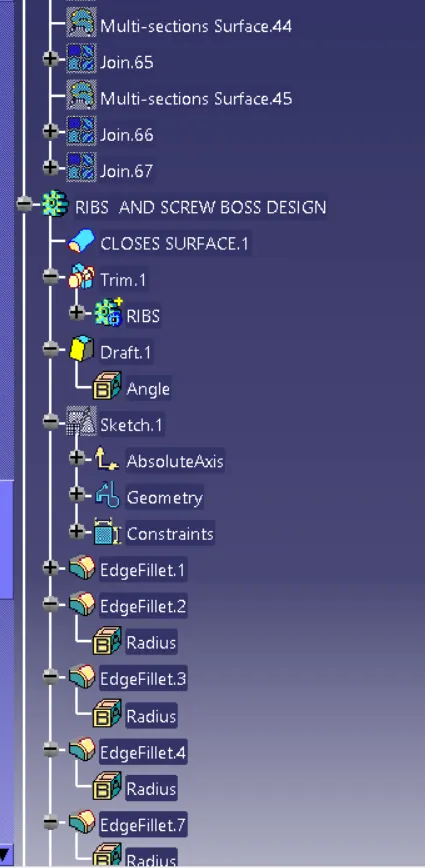
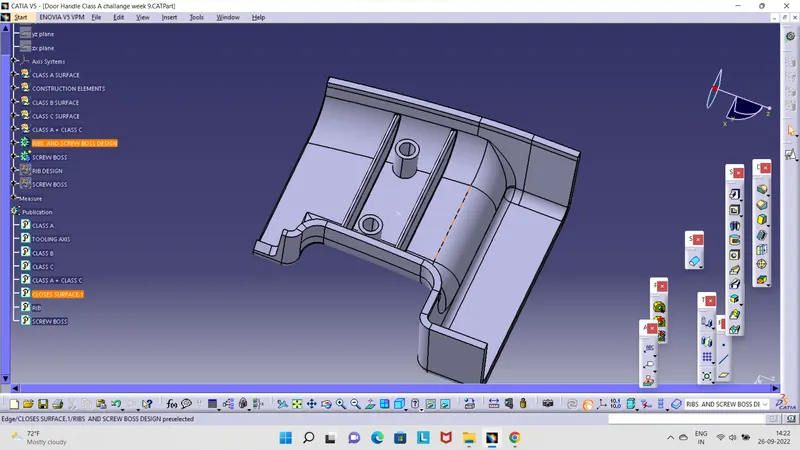
- DESIGNING OF RIBS:-
- Extract the base surface of the Rib from the solid body and draw the iso-constrained baseline for the rib by positioned sketch method.
- Extrude the reference line by giving the proper height and then thicken it to the required size on the part work bench and give proper draft by considering pulling direction as tooling axis.
- Add it to the main body and apply the proper fillet to the edges and verify all the dimensions on the rib.
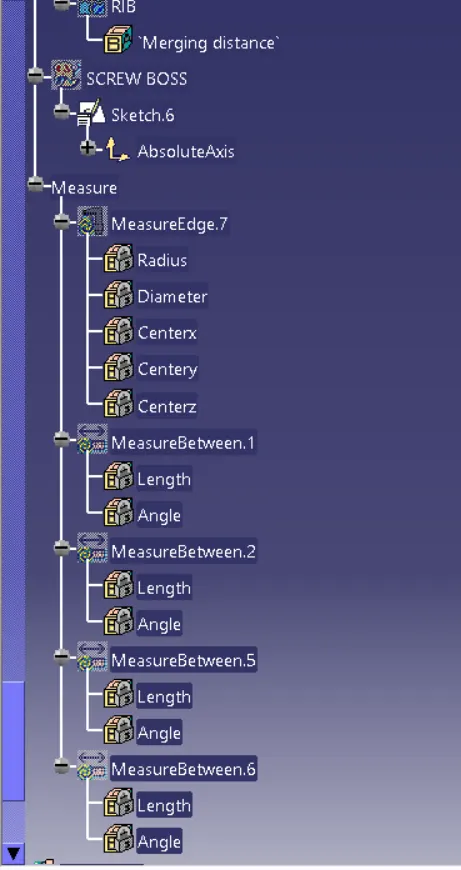
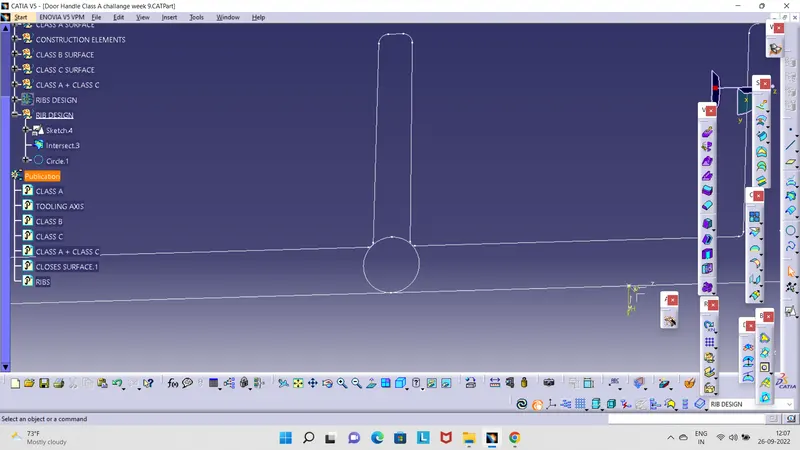
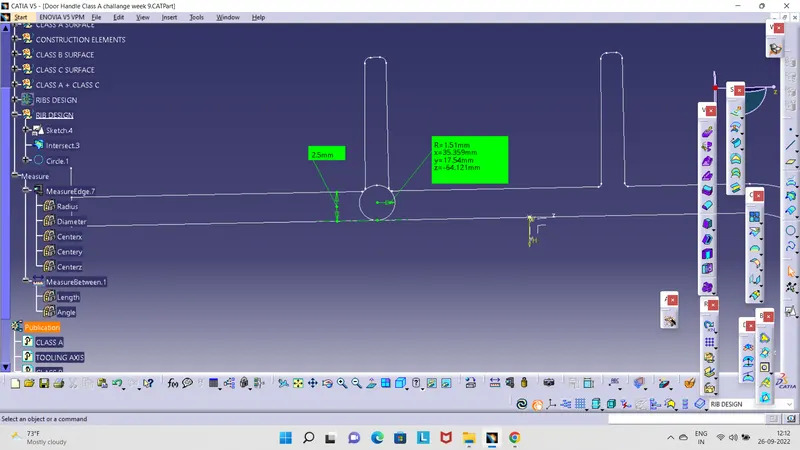
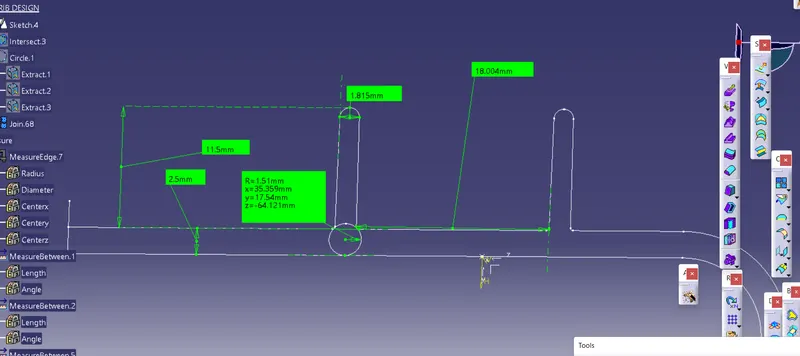
- Rib root thickness can be measured with reference to the plane created on the tooling axis and choosing a point as a vertex on the tooling axis then intersecting the body with the plane.
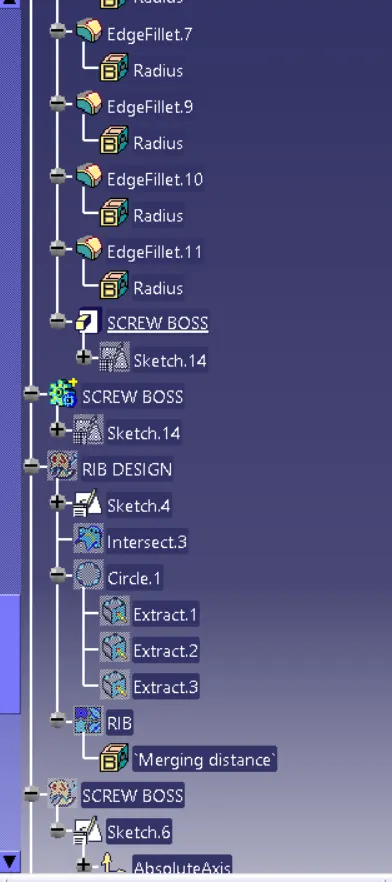
- Then create a circle by the tri-tangential method by considering the three boundaries on the intersection then adjust the circle if it is not proper.
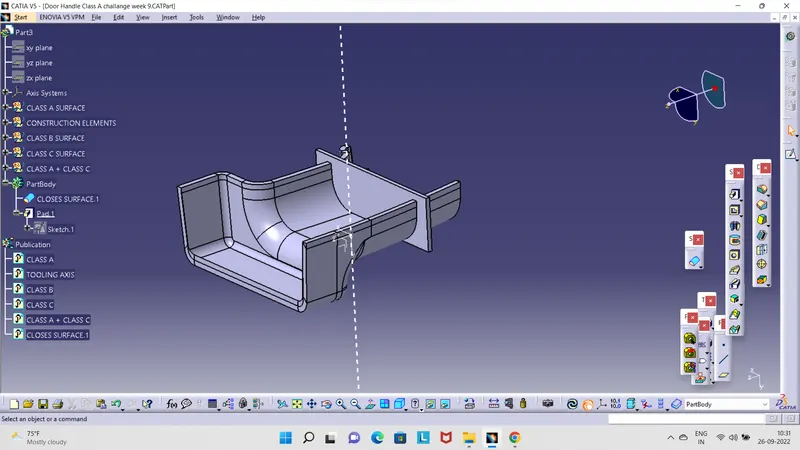
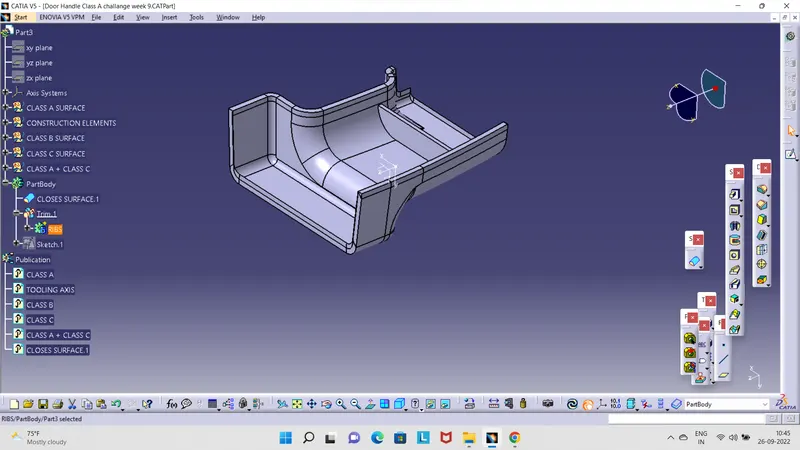
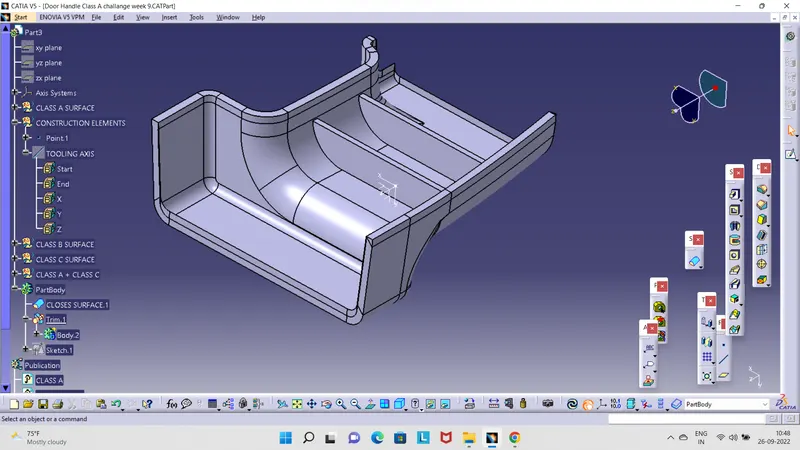
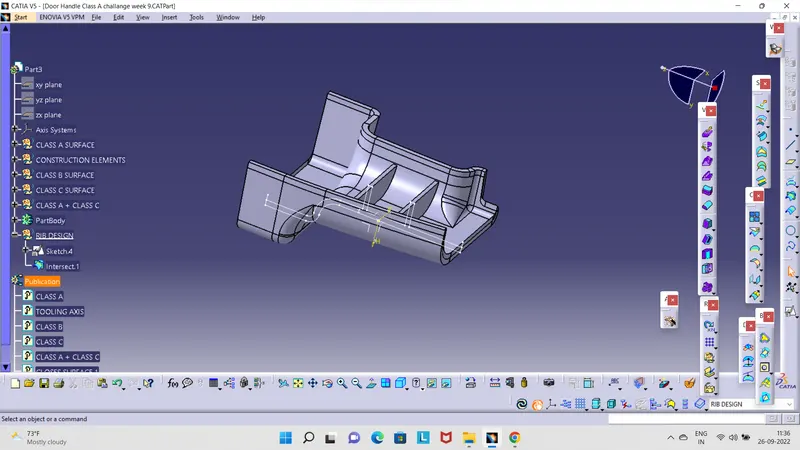
- DESIGN WHILE CREATING RIBS:-
- Extract the base surface of the Rib from the solid body and draw the iso-constrained baseline for the rib by positioned sketch method.
- Extrude the reference line by giving the proper height and then thicken it to the required size on the part work bench and give proper draft by considering pulling direction as tooling axis.
- Add it to the main body and apply the proper fillet to the edges and verify all the dimensions on the rib.
- Rib root thickness can be measured with reference to the plane created on the tooling axis and choosing a point as a vertex on the tooling axis then intersecting the body with the plane.
- Then create a circle by the tri-tangential method by considering the three boundaries on the intersection then adjust the circle if it is not proper.
- DESIGNING OF SCREW BOSS:-
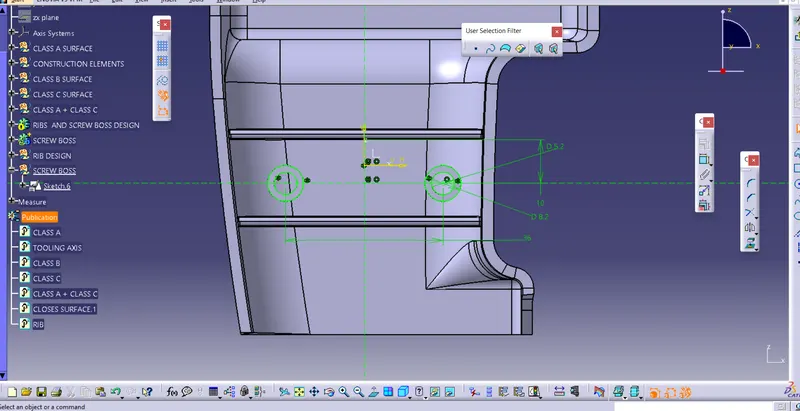
- The first step is to choose the size and type of screw or fasteners used for attachment then create cylindrical projections.
- Cylindrical projections can be created by using a positioned sketch with reference to the extracted base body then pad it and assembling to the main solid body.
- Apply the draft and fillet by maintaining the guidelines for the screw boss.
- If more screw bosses with the same dimensions are there we can translate them and position them as required.
- ALL THE VIEWS:-
- FINAL ORTHO VIEW:-
- PUBLICATIONS:-