Week 9 - Attachment Feature Creation - Challenge 2
DOOR TRIM WITH DOG HOUSE DESIGN AND DRAFT ANALYSIS
- OBJECTIVE:
- To do Draft analysis and Design the Door trim with the dog house with the help of Class-A, Class-B, Class-C, and Tooling axis.
- TOOLING AXIS
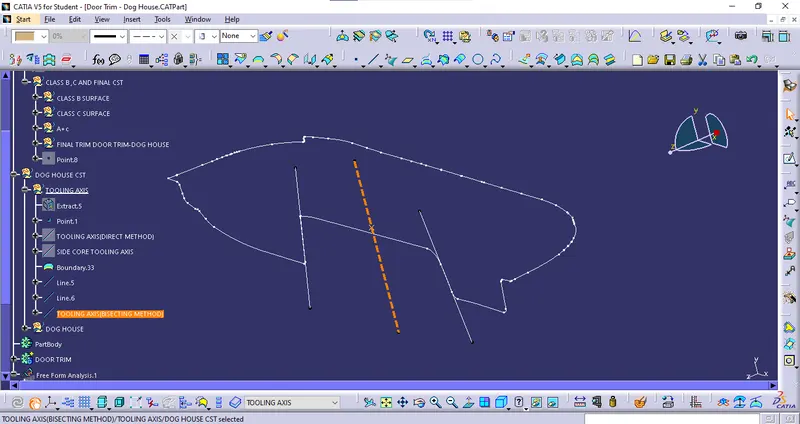
- Firstly, we have to create a tooling axis which is essential for designing the component and also for draft analysis.
- To create the tooling axis, I'm choosing bisecting method.
- With the help of bisecting method, I had to create a tooling axis that probably clears all the surface of class A.
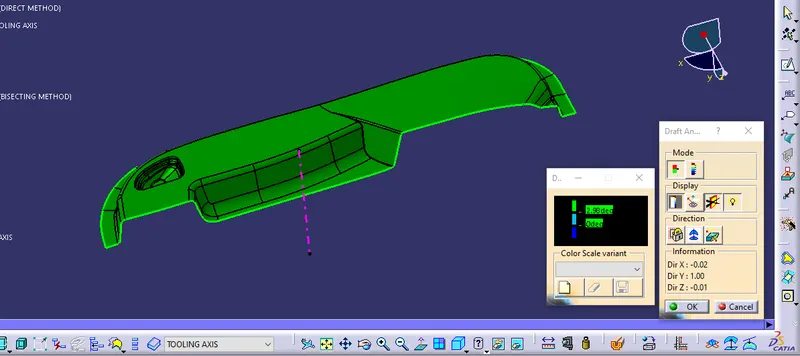
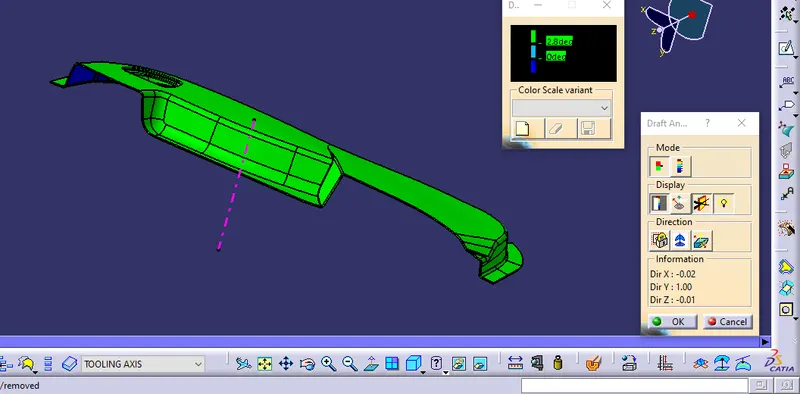
- Now, let's check the draft analysis of class A and the component Door Trim with dog house (refer to the below-given pic).
- DRAFT ANALYSIS OF CLASS A SURFACE:
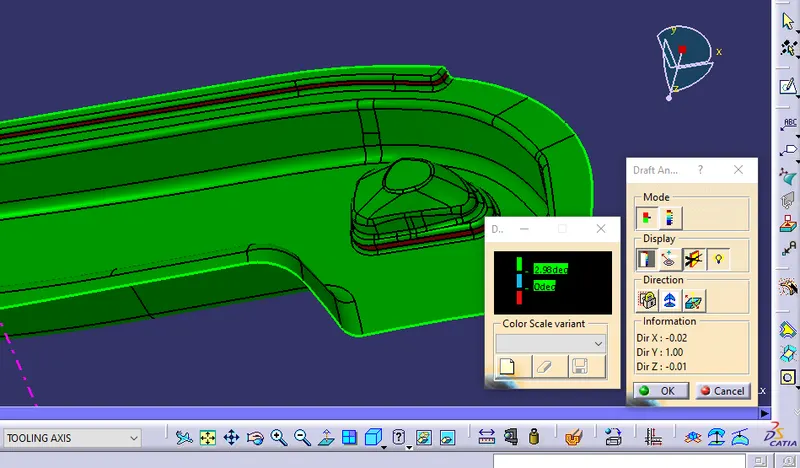
- Results: At some portions of the Class A surface, there are some problems (refer to the below-given pic).
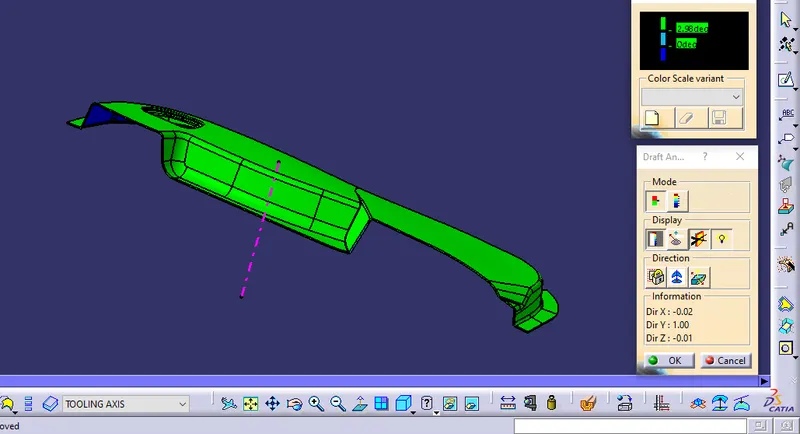
- At 2.98 draft angle, some portions of class A were not clearing it.
- But we can proceed, neglecting this problem.
2. CLASS-B SURFACE:
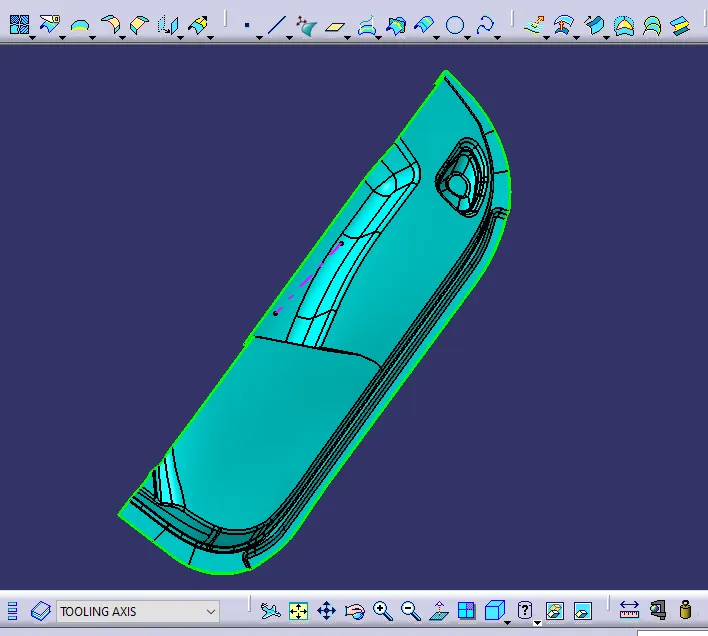
- Class B surface is used for plastic molding purposes. For providing the product, a Class-B surface is used mostly.
- After creating the tooling axis next, I will make the Class B surface.
- Refer to the pic below, which shows the Class-B surface.
- For making a Class B surface, I will use the following command:
- Boundary: Select the required boundary if required.
- Extraction: In this, no boundary is required, so go to extract the flat surface of class A.
- Untrim: After extraction, Untrim those surfaces.
- Extrapolate: extrapolate those surfaces.
- Trim: trim those extrapolated surfaces to get the desired surface.
3. CLASS-C SURFACE:
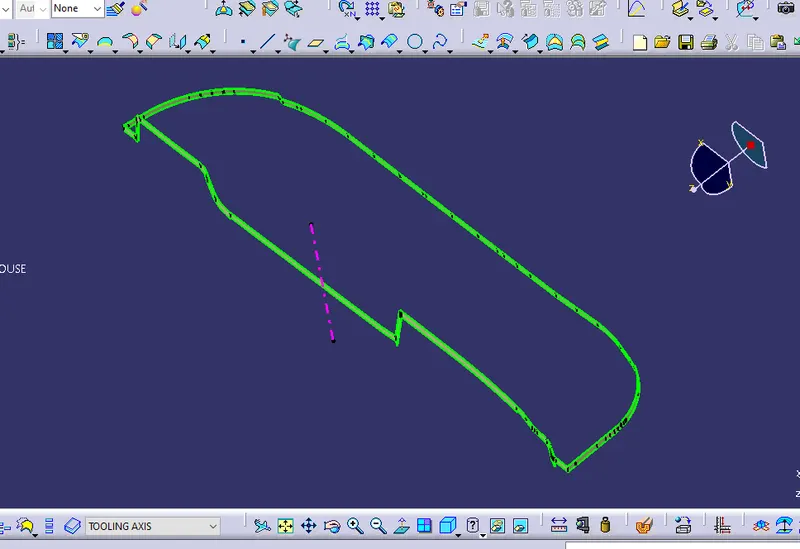
- Class C surface generally connects the Class-B surface to the Class A surface.
- Referring to the below pic, Class-C Surface is shown.
- for creating a Class -C surface use the following command:
- Boundary: pick the boundary for the next operation.
- Swept: swept the selected boundary.
- Extrapolate: surface can't join properly, so I used to extrapolate those surfaces.
- Trim: trim those extrapolated surfaces and get the required surface.
- Join: now join those surfaces with each other and form a single surface.
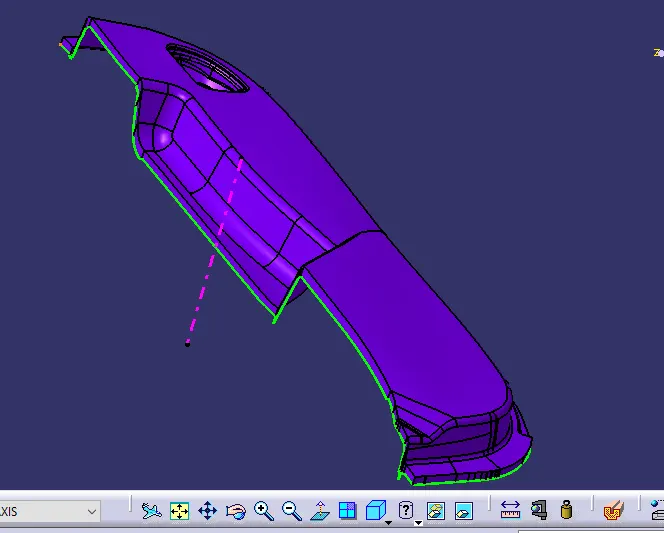
- A+C surface:
4. Final Operation to get Door trim:
- Firstly, Select the join operation and join the class A and class C surfaces.
- Trim those join with the class B surface.
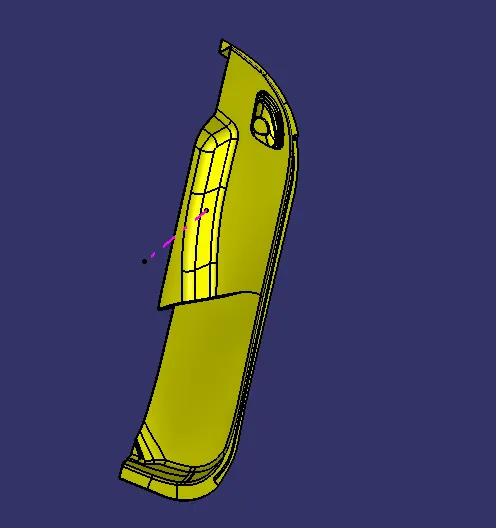
- After that, I got the final Door trim.
- As the surface is hollow from the inside, for this go to the part workbench and select the close surface.
- After that analyze the output surface with draft analysis.
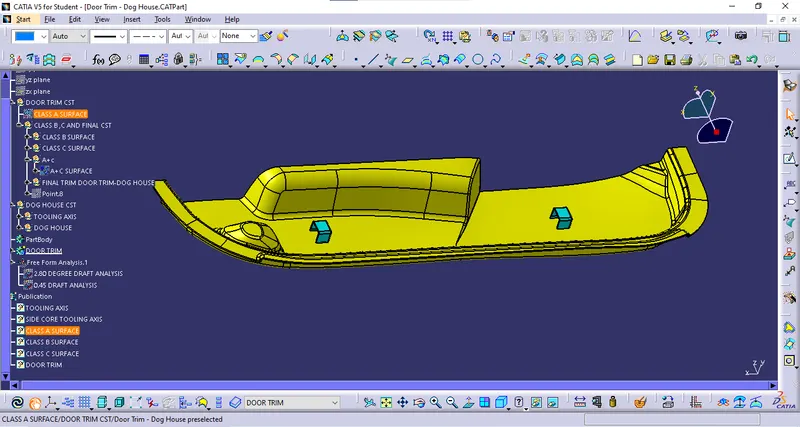
- So, in this way, we got our final design as Door trim (Referring to the pic below).
- DRAFT ANALYSIS OF DOOR TRIM:
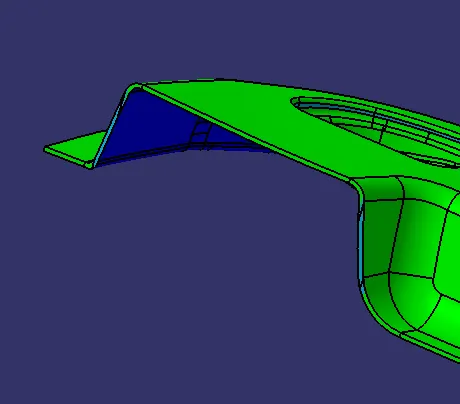
- Results: At 2.98 draft angle there are some portions that are not clearing (refer to the given pic below).
- CONCLUSION:
- To make the surface clear at that portion we have to provide more degree of the draft so it will clear.
- But here I'm just reducing the value of the draft analysis to 2.80 degrees and it clears the surfaces (refer to given below pic).
- DESIGN RULES FOR DESIGNING THE DOG HOUSE:
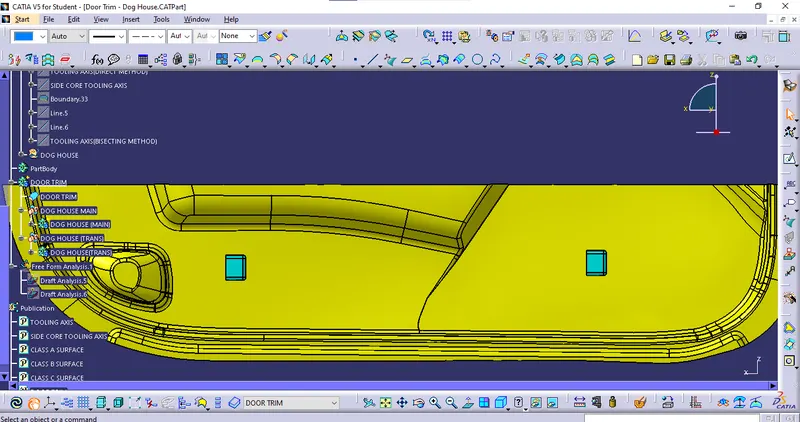
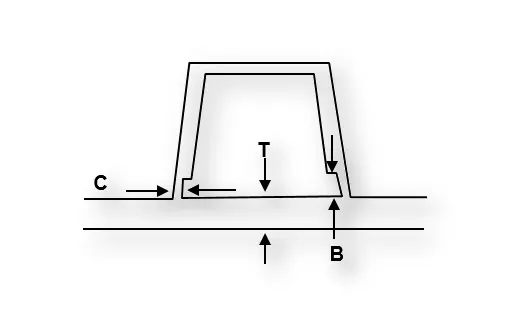
Create the Dog House for the Door Trim considering the design rules mentioned in the video. Consider the thickness of the part to be 2.5 mm.
"C" is where the doghouse contacts the backside of the surface.
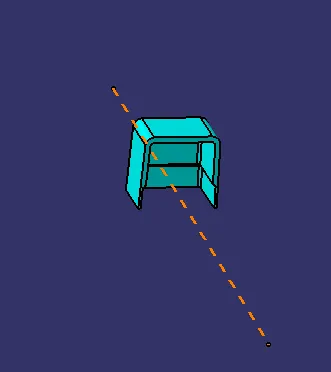
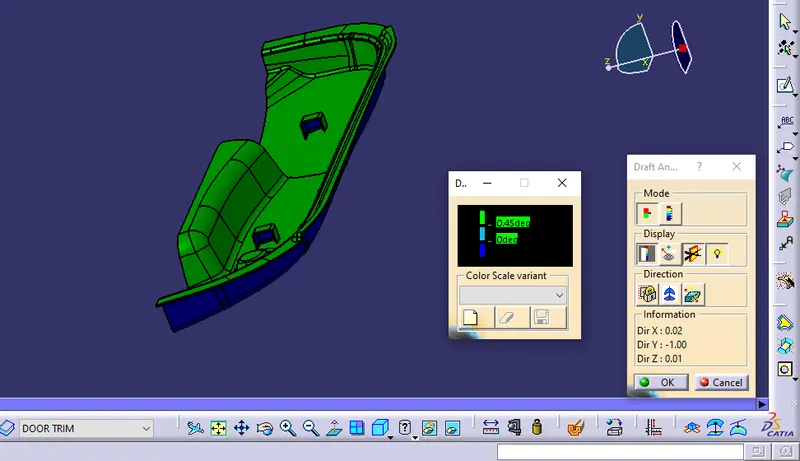
- DRAFT ANALYSIS OF DOG HOUSE:
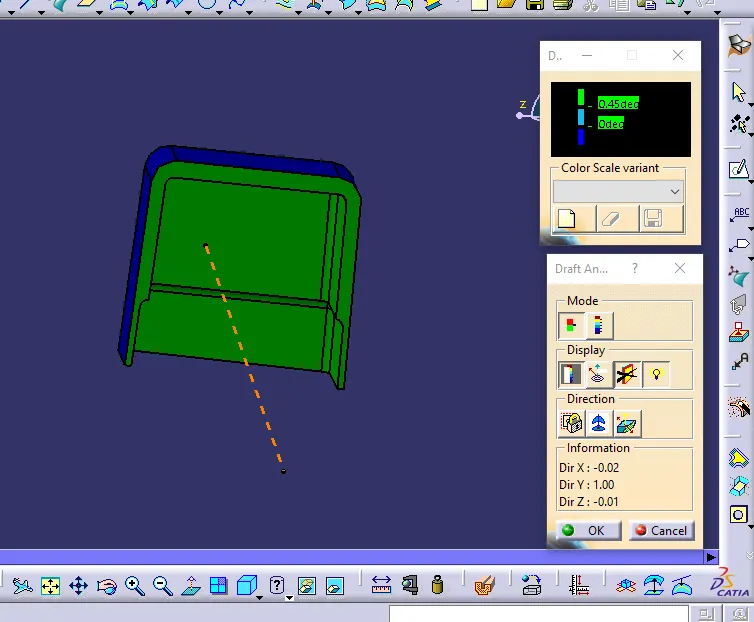
- Results: It's clearing all surfaces at 0.45 degrees of draft analysis.