Week 9 - Attachment Feature Creation - Challenge 2
Question :-
Create the Dog House for the Door Trim considering the design rules mentioned in the video. Consider the thickness of the part to be 2.5 mm.
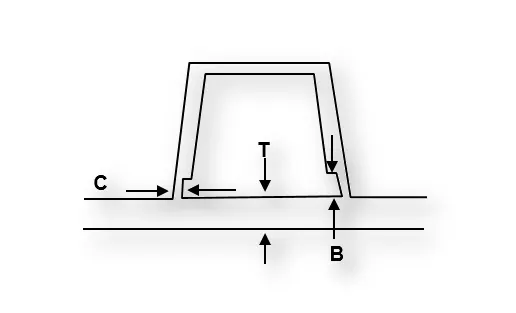
"C" is where the doghouse contacts the backside of the surface
-
Doghouse wall thickness at the intersection of the part wall ( C ) should be 40% or less than the main wall stock ( T ).
-
The height of ( B ) should be between 3.0 – 6.0 mm
Checkpoints
1) To check the continuity of Class A surface
2) Find the tooling Axis of the component
3) Making B surface
4) making C surface
5) combining surfaces and creating closed body
6) working on creating Ribs and Screw Boss
Definitions:-
Class A surface:- Class A surfaces are those aesthetic/free-form surfaces, which are visible to us (interior/exterior), and have an optimal aesthetic shape and high surface quality.
Tooling Axis:- The direction in which the mold or core and cavity opens is the tooling axis.
Creating Tooling axis:- Using the tooling axis created along the x and y-axis, these tooling axes are used for the creation of the tooling axis by a bisecting method where the two lines and point will be selected as inputs.We check the best possible tooling direction (X,Y,Z ) and find where all faces can be represented using tooling Axis
After choosing the particular direction we create Intersection points on the remaining axis were we get mean point to create the tooling axis.
This intersection can be done by Axis system or thru creating a plane.
Then we create line reflecting the surface which are difficult to visulize for the direction (parallel to axis faces ) . As parallel surface might get not clear but perpendicular face get cleared as they reflect on the surface direction.
Now we create a Bisecting Line with two line and point to get the output line (Tooling Axis).
Steps to work
Initially inorder to create Rib's and Screw we created a closed Solid Body by creating tooling Axis and using A surface and then creating B and C surfaces and all surfaces are represented Below!
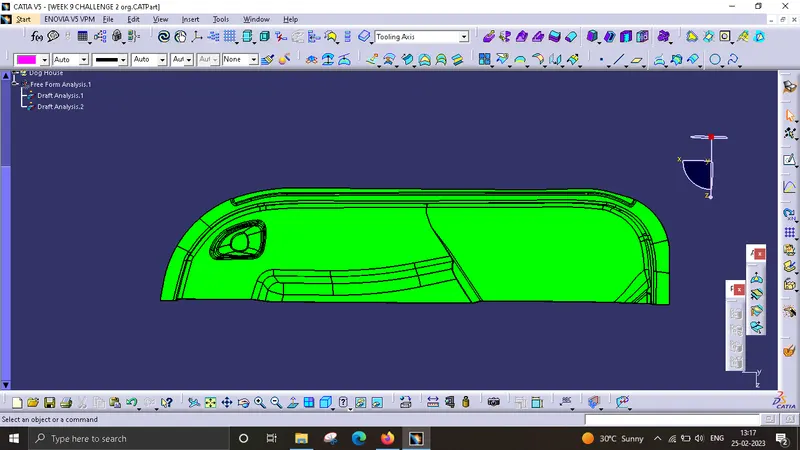
Initial Class A surface Draft analysis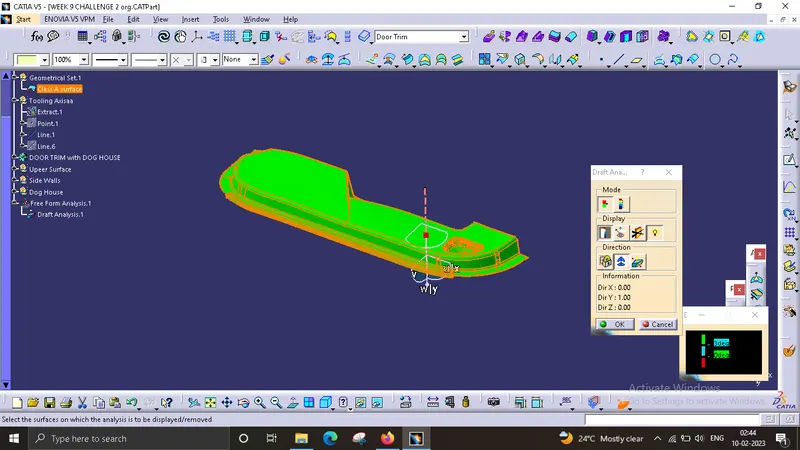
CREATING CLASS B SURFACE
- Extract the surfaces from the class A using multiple extract and untrim them.
- Use Extrapolate to make sure that all the untrims are properly intersected to trim and offset the surfaces to 2.5 mm to create the thickness.
- Trim the extra surfaces using trim command.
- Insert them into new geometrical set and name it with respective part names.
- If there any missing area's where the surface couldn't be created try taking that part from class A surface and attach it to the missing area by using boundary and trim options Some time the extended area need to be split in order to fit the surface
- later perform fillet to the required areas accordingly by considering the thickness of the body.
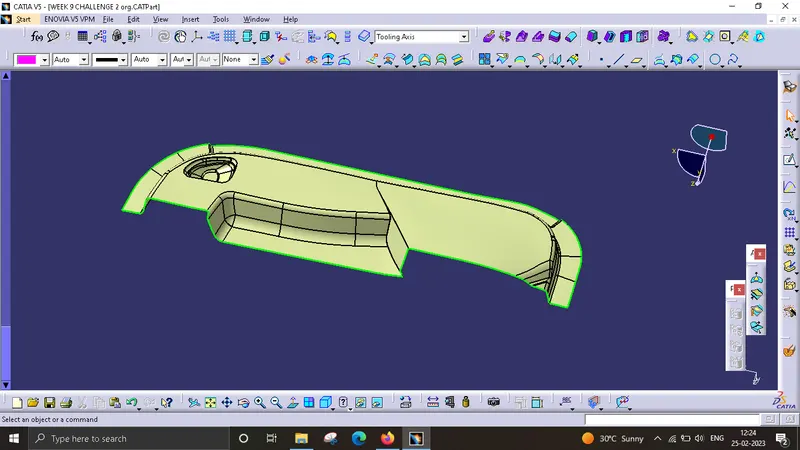
5. CREATING CLASS C SURFACE
- Extract the boundary from the class A surface using boundary command.
- Using disassemble tool to divide the boundary as the boundary contains domains.
- Use sweep command and draft direction to elongate the surface and after that trim it to the surface attachment.
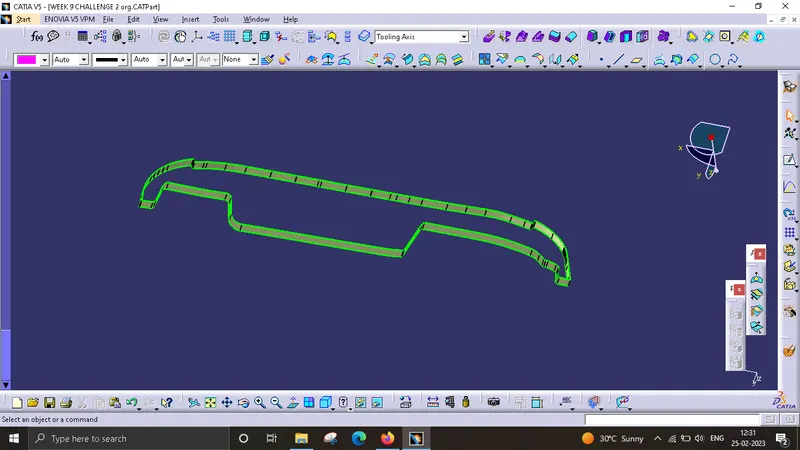
Now join all the surface to make a solid part by using boundary check the surface and make sure no boundary persists.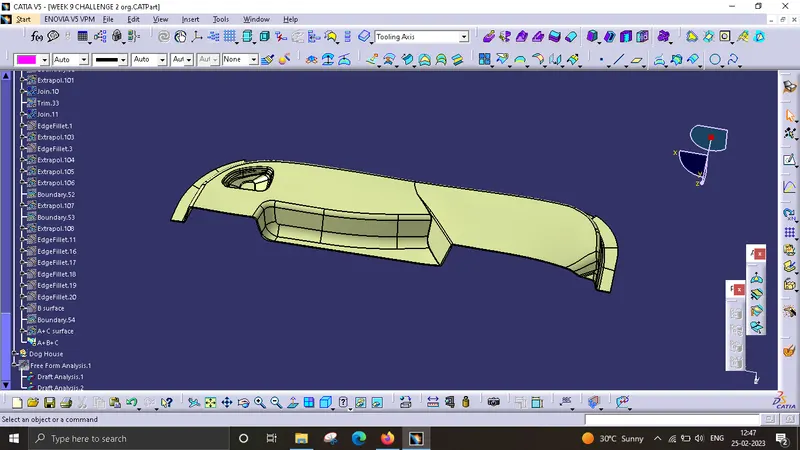
Attachments
DOG HOUSE CREATION
the Dog House is made according the value present in the above question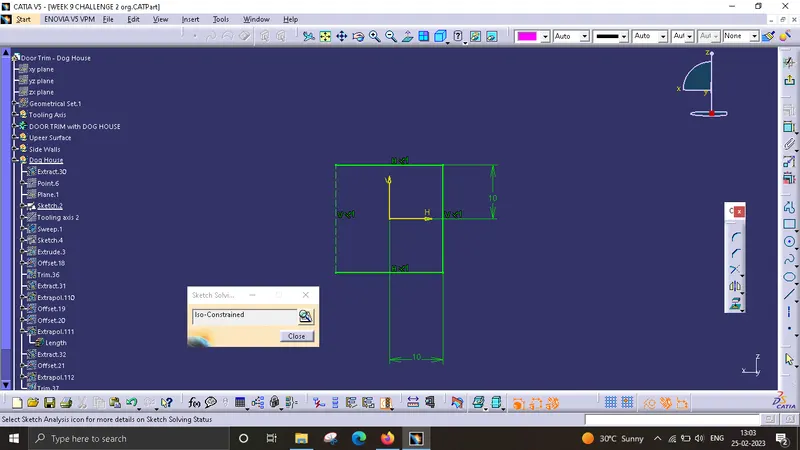
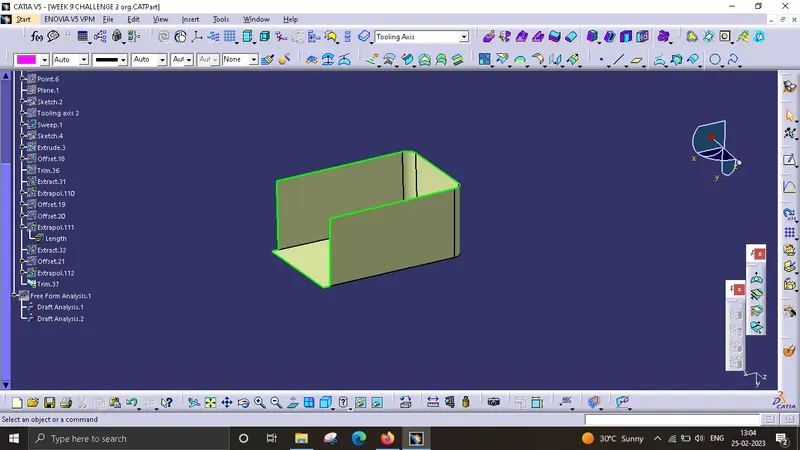
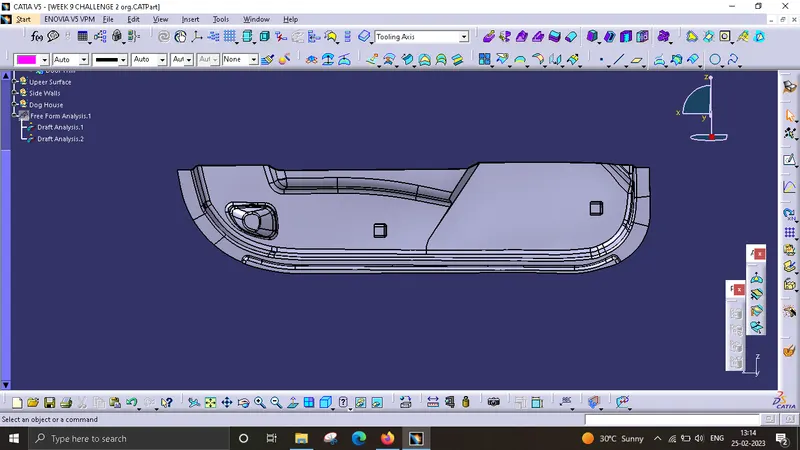
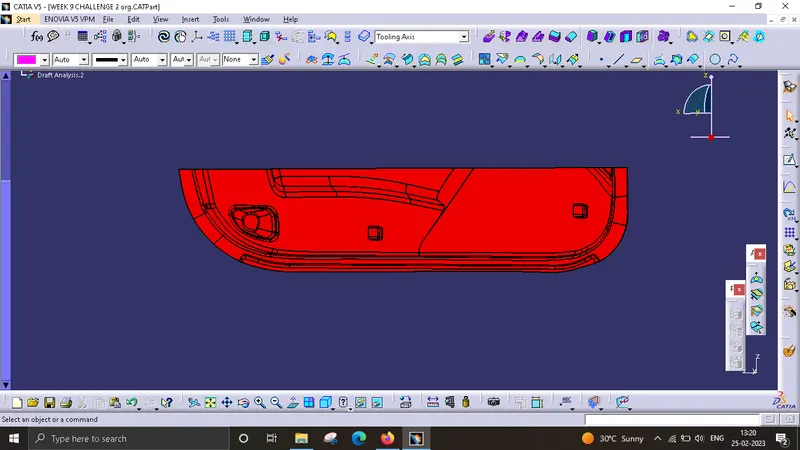
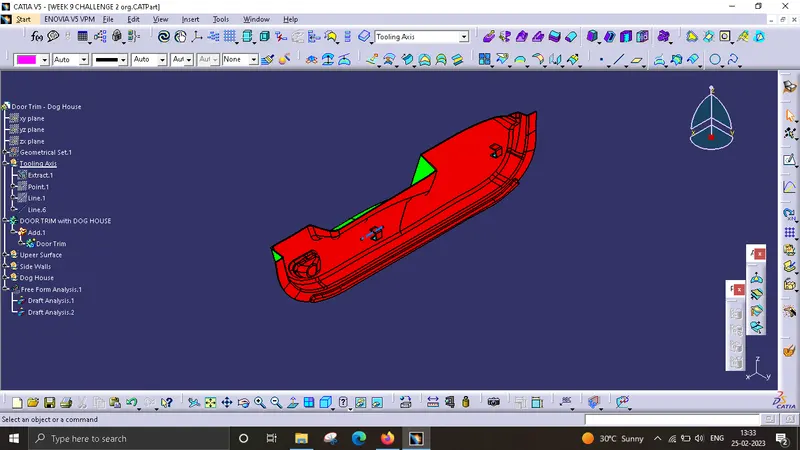
Isometric view
CONCLUSION:
- Created the Dog House for the Door Trim considering the design ruleswith tooling axis.