Week 9 - Attachment Feature Creation - Challenge 1
AIM
Create the rib for the Centre console coin holder considering the design rules.
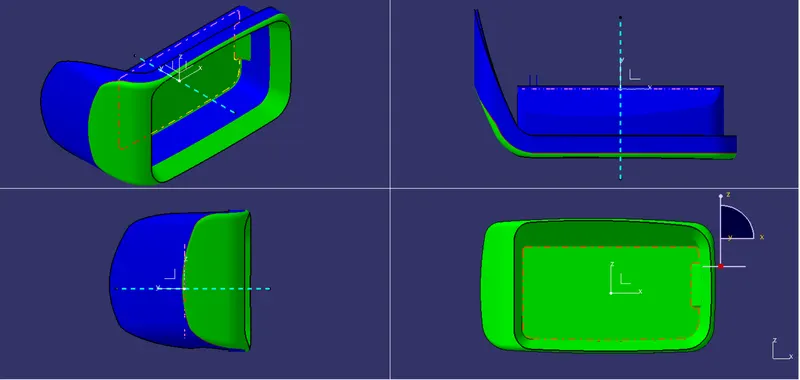
TOOLING AXIS
STEP 1
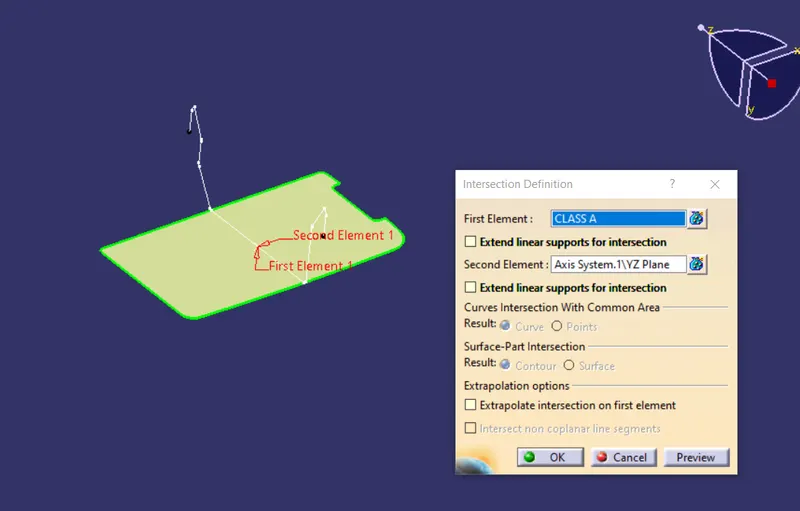
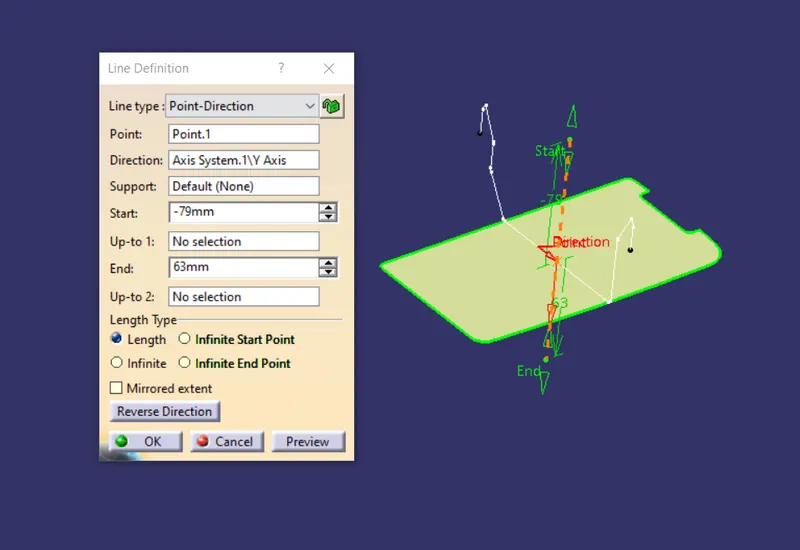
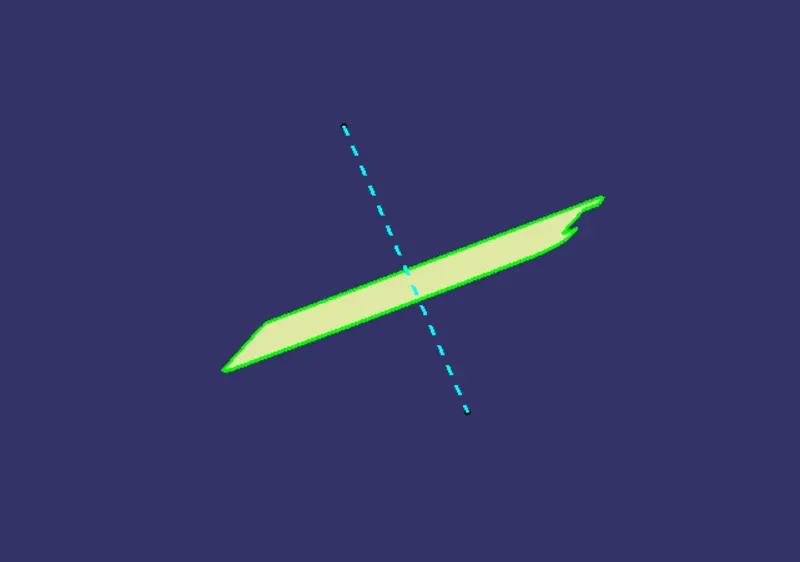
Extract the base and create a point and axis system.
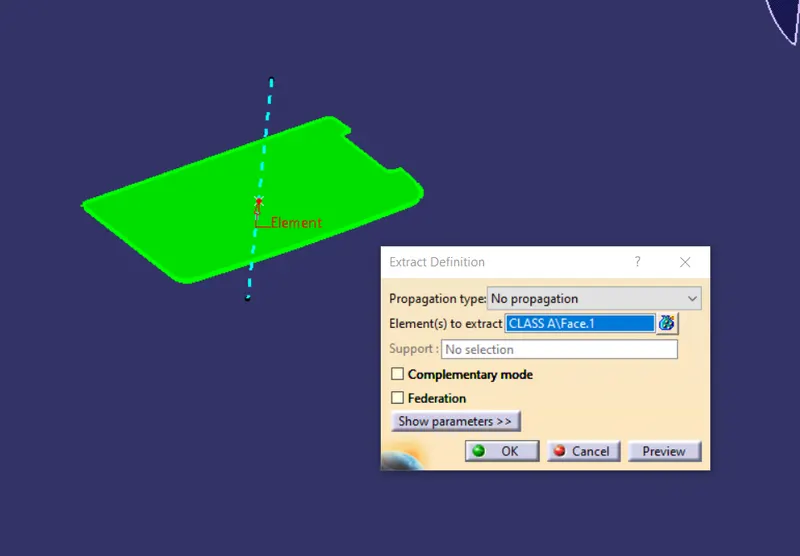
B SURFACE
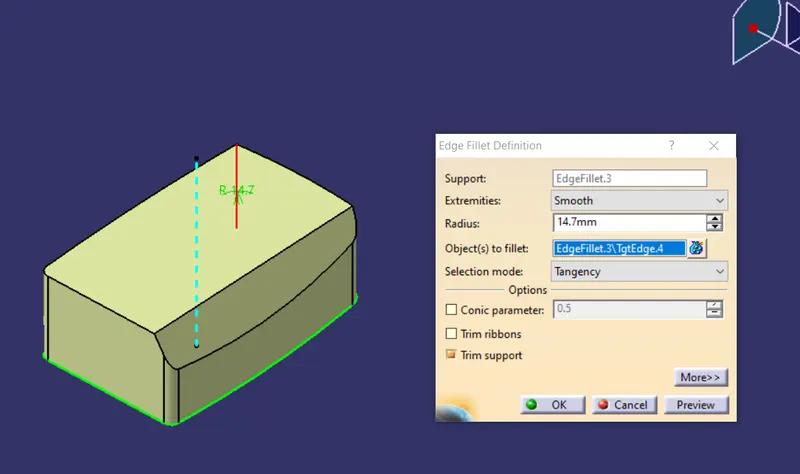
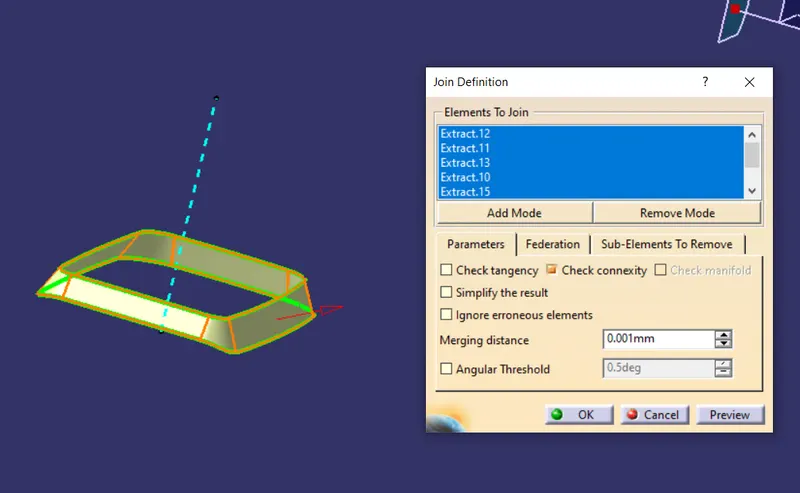
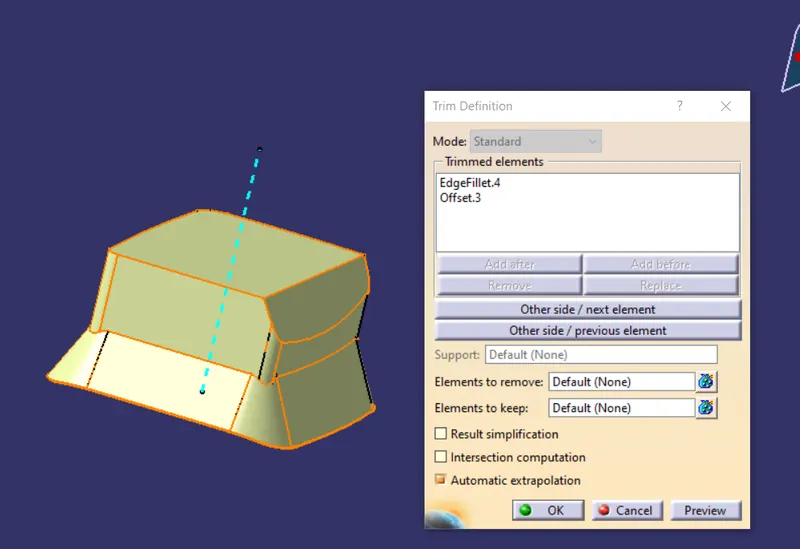
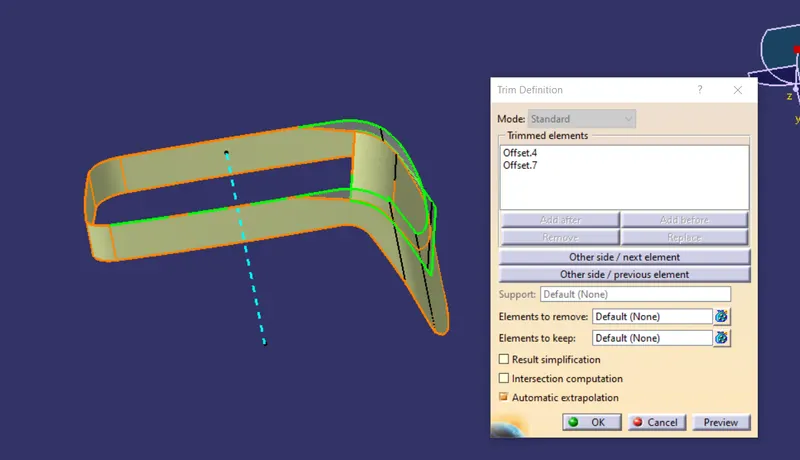
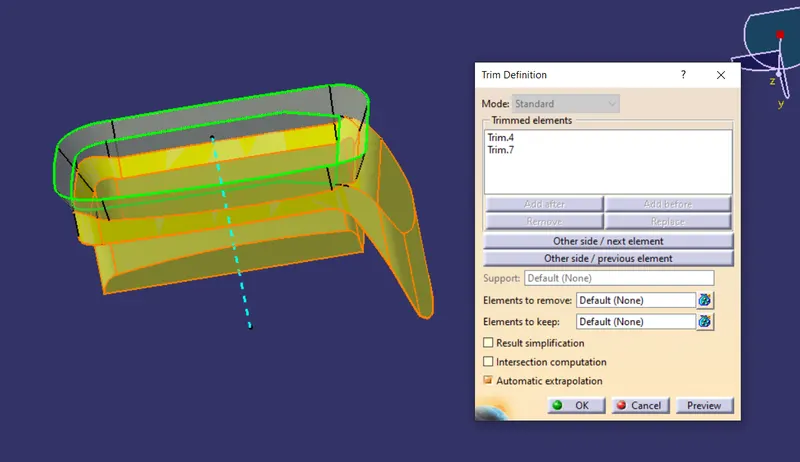
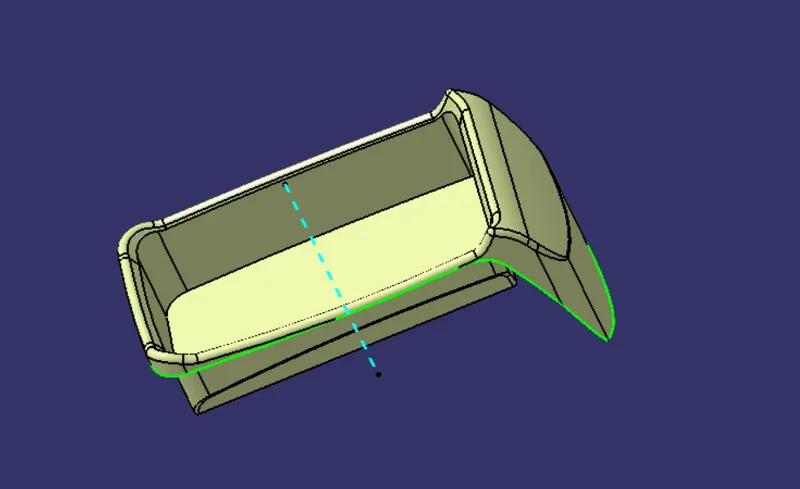
C SURFACE
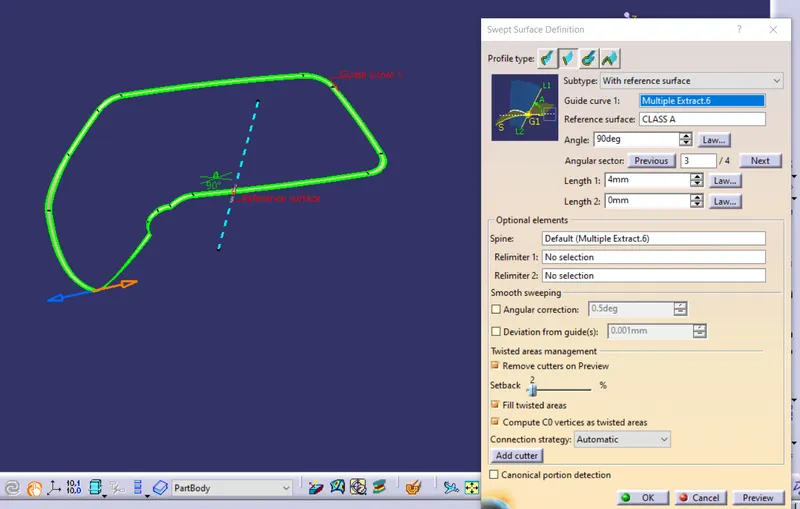
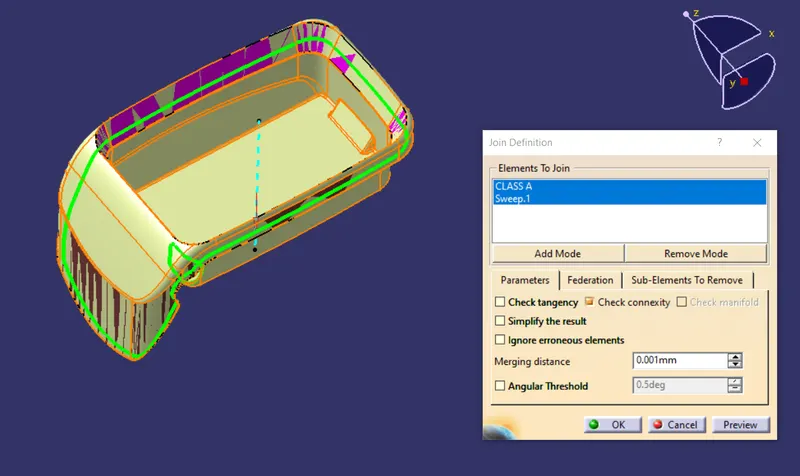
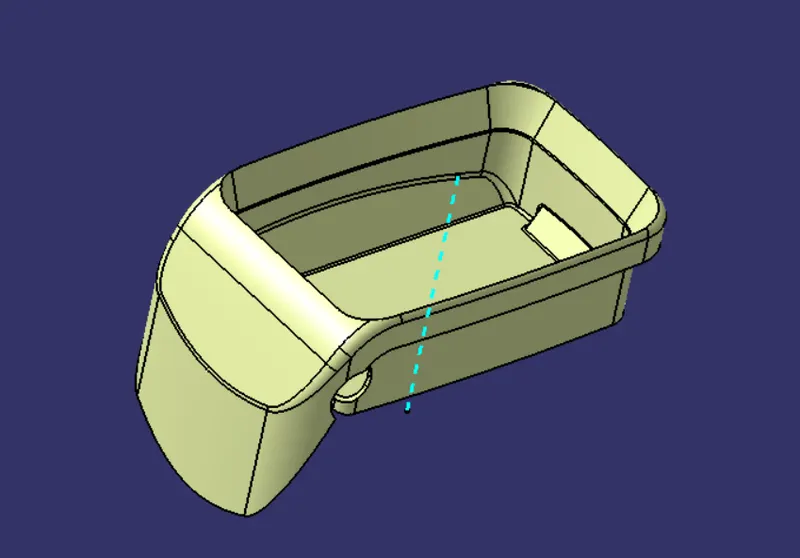
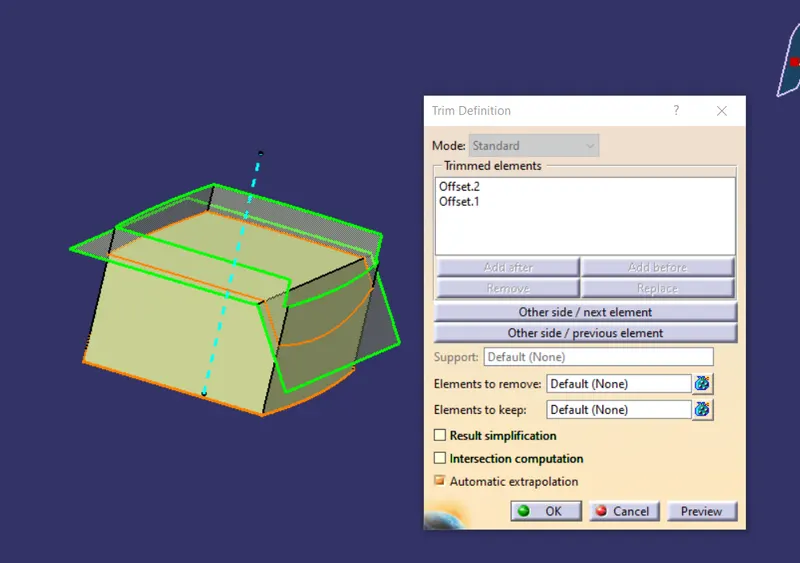
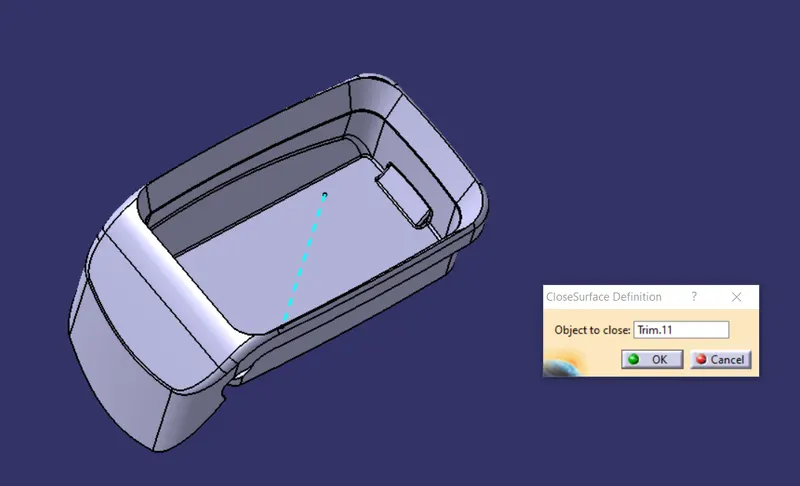
CLOSED SURFACE
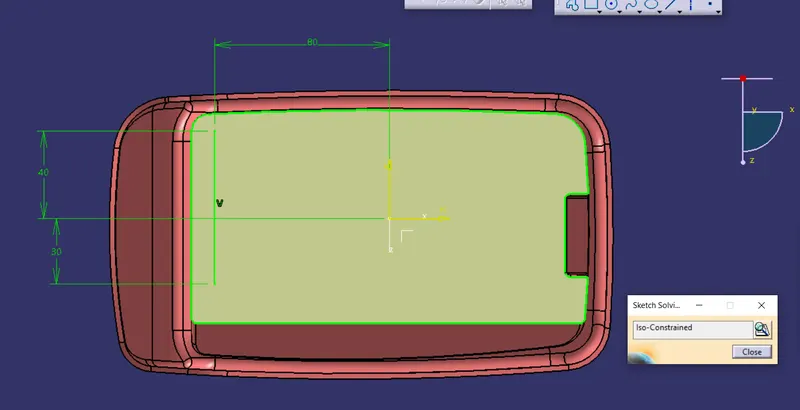
RIB CREATION
extract the surface and insert a sketch and draw a line as given dimensions and iso constrained it.
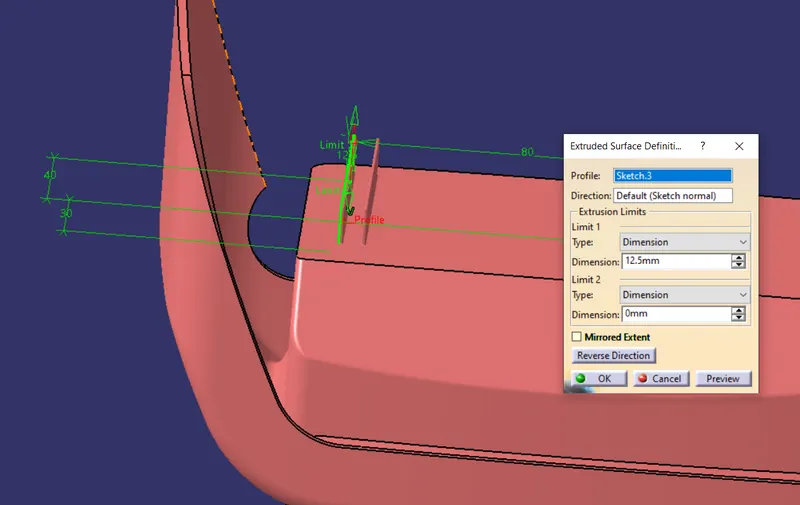
extrude the sketch up to a height of five times of thickness
height = 5 x thickness, 5 x 2.5 = 12.5
now insert the part body and thicken the extrude surface
rib thickness = 0.4 x thickness, 0.4 x 2.5 = 1mm
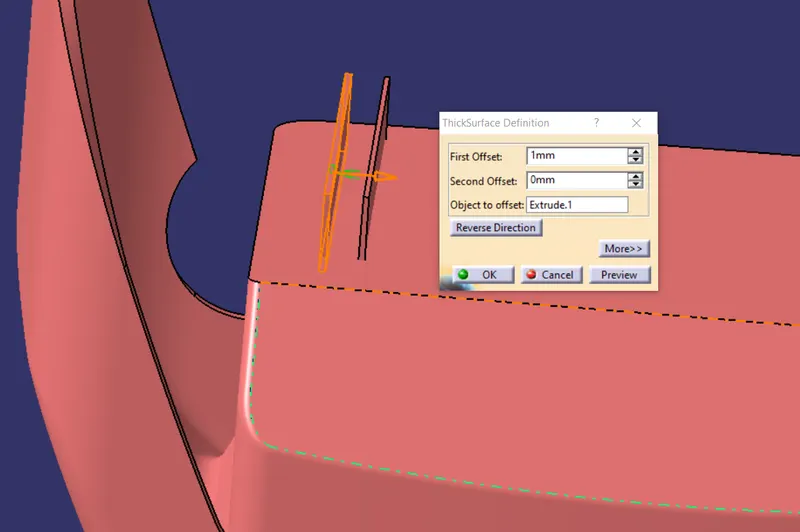
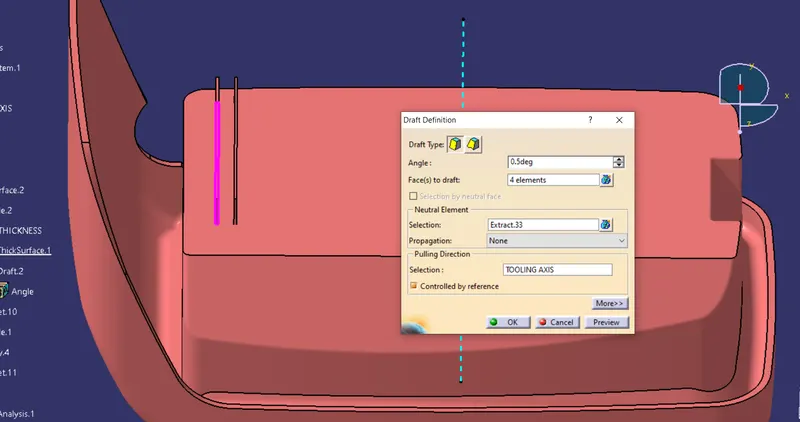
rib draft 0.5 degree
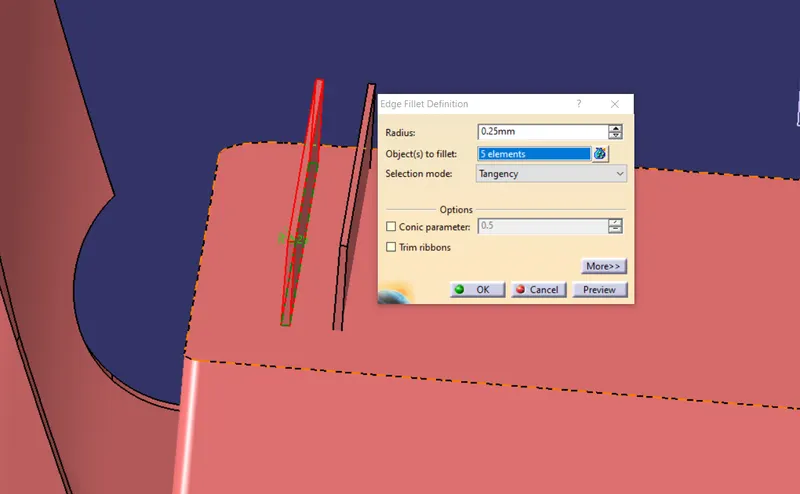
fillet the edges of the rib
rib fillet radius 0.25 max
now assemble the rib part body with Centre console coin holder part body.
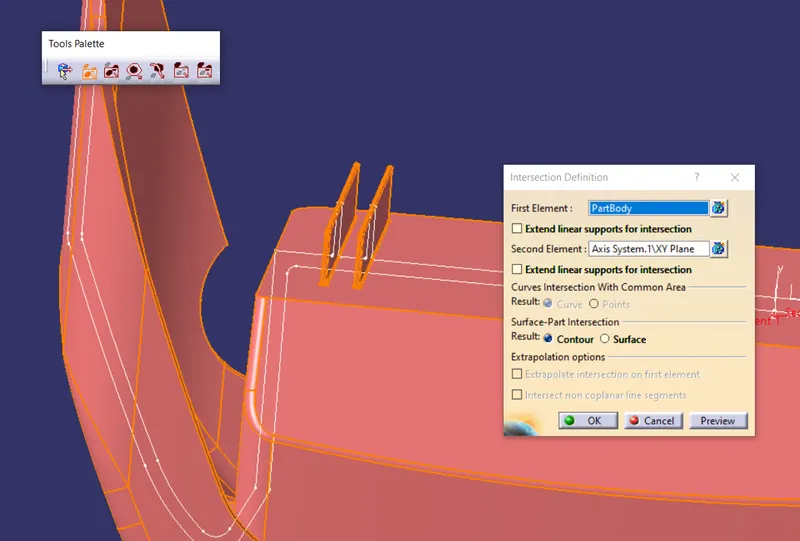
intersection the part body.
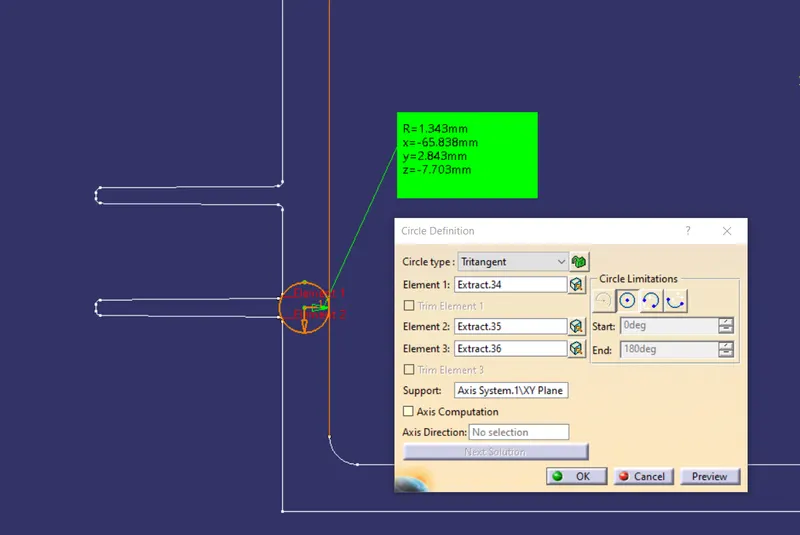
draw a circle in tritangent type,
rib root thickness,
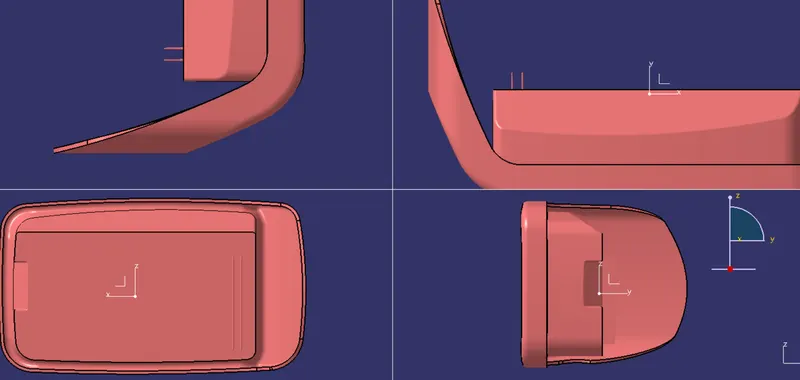
isometric view
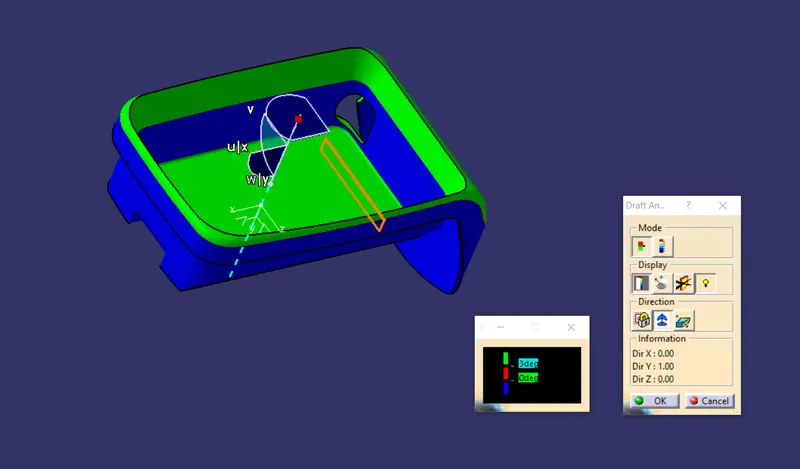
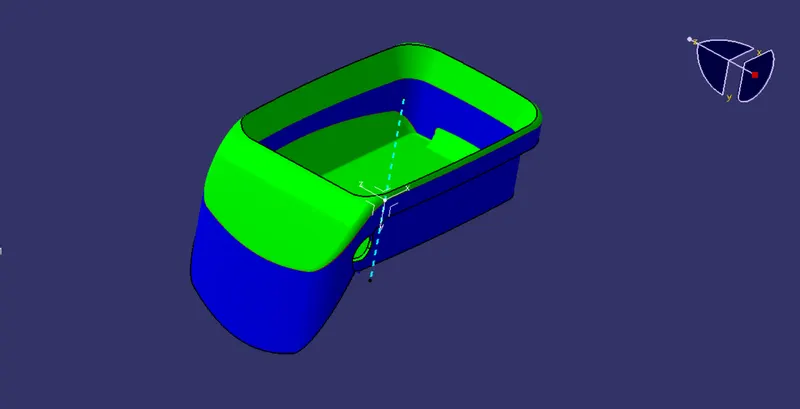
DRAFTING
It is a tool that allows the user to ‘see’ whether the part they are designing can be removed from the tool being used to make it. In the case of plastic injection molded parts it also allows the designer to see if there is enough draft on the part to ensure that it can be correctly grained. I always use the tool with the axis direction method. Put the main axis on the draft direction line with Z being parallel to it. Select the tool then select the part body. You may need to reposition the axis again. The results window has 2 options 1 with just 3 color variants and the other with many variants. They can be edited by double-clicking on them to give you the result you desire. The colors show the different draft angles