Week 9 - Attachment Feature Creation - Challenge 1
Automotive Plastic Design using CATIA V5
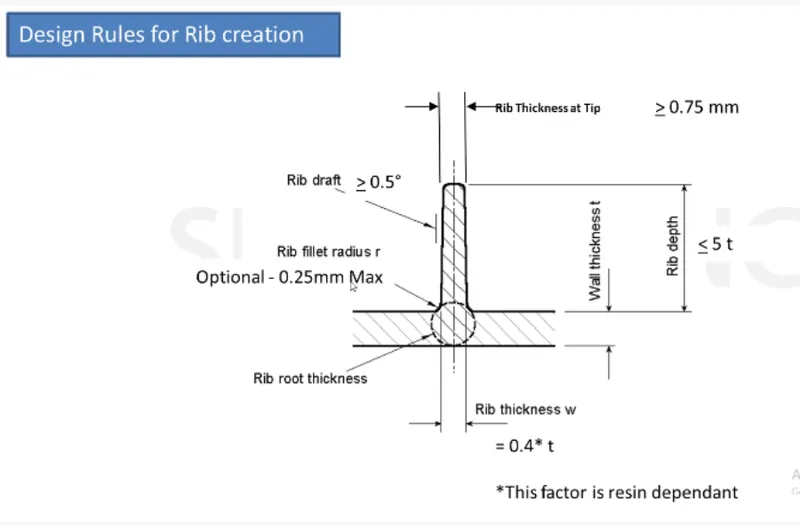
AIM: To Create the rib for the Centre console coin holder considering the design rules mentioned in the video.
PROCEDURE:
- First,Import the CAD part body or geometry to the Catia V5 designing software to work on the ribs.
- Publish the input using publication option for the comfort of user.
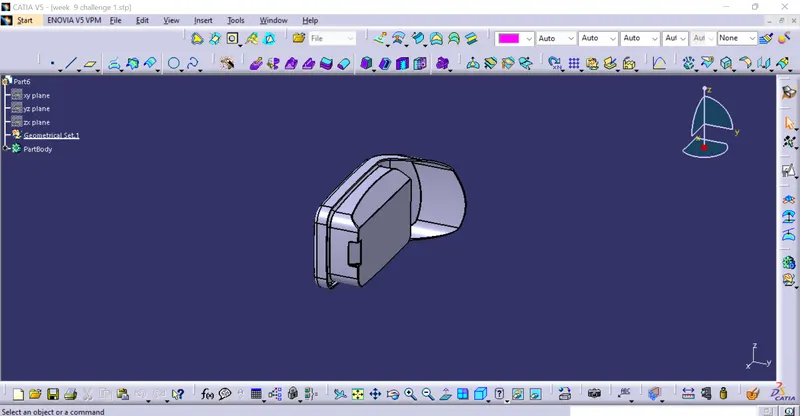
- To create the ribs first we need to create a Tooling axis for the model.
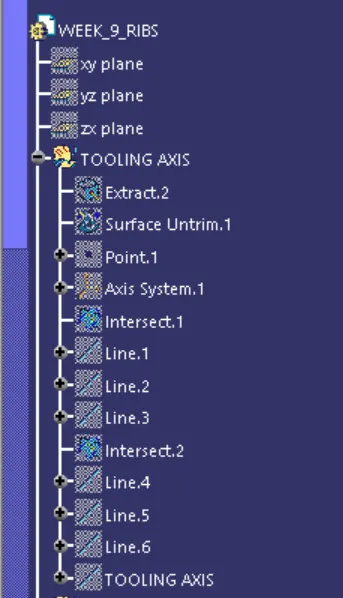
- So for that, first create a new geometrical set and after that create a surface from the model by using extract command and then create a point by using point in surface option.
- After a point is created,using that point create a axis system(make sure it is not in current).
- Intersect the model in x axis by using intersection option and taking the intersection as refetence draw two lines and then create a bisecting line for those two lines using the point as a reference.
- Do the same along y axis also and create a bisecting line on the same point.
- Now, again create a bisecting line for this two lines which we have got along the same point along the point.
- Finally we will have the tooling axis for the model , do some graphical change like increasing the thickness and color and publish the tooling axis so that the user can use it faster according to his comfort.
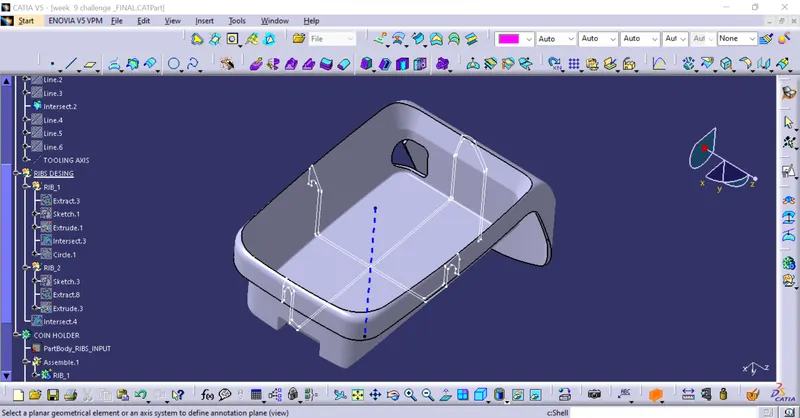
- Now, we need to create ribs, for that first create a geometrical set and name it as RIB DESIGN.
- Using the axis system we nned to create a sketch as in which a line is drawn.
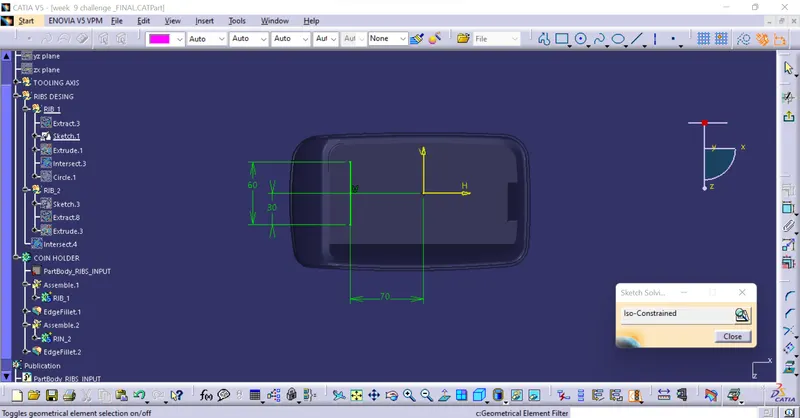
- Use the line and extrude the line along the tooling axis direction.
- The main important point we need to keep in mind is that the height of the rib should be defined now.
- The hight for the rib is given as (5* the thickness of the component). So in this model the thickness of the compound is 2.5(5*2.5=12.5).
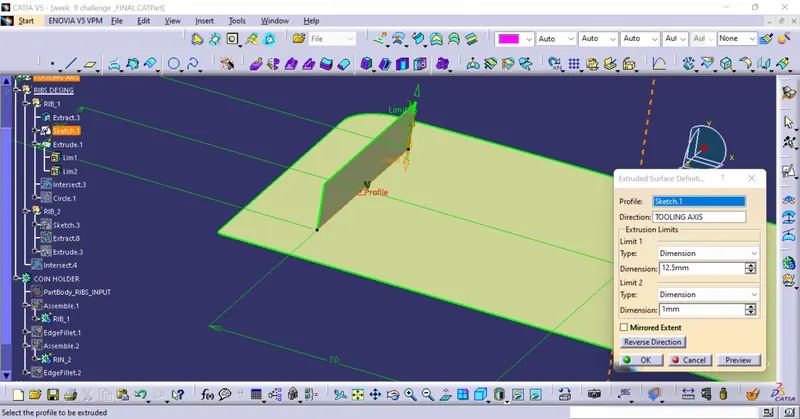
- After the height is determined.We have to create a body and using Thickness option we have to give the thickness for the ribs.
- The thickness also have a relation (0.4*the thickness of the model),so thickness of rib is given as 1mm. (0.4*2.5=1mm).
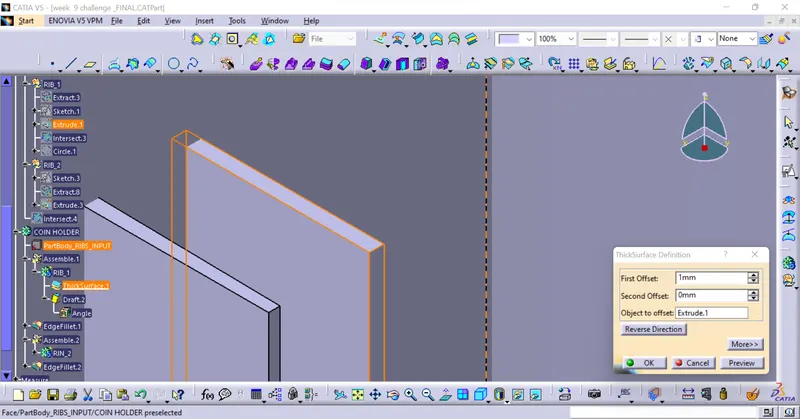
- After the thickness is assignined , we have to Draft the side to 0.5deg.
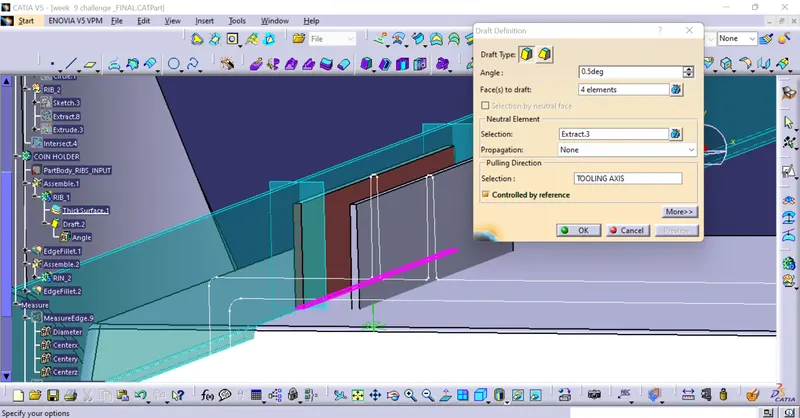
- Then we have to use the assembly option to combine the rin and the body.
- Now, using fillet option give the fillets to all the edges of the ribs.The mim radii is 0.25 for ribs.
- Finally one rib is created.
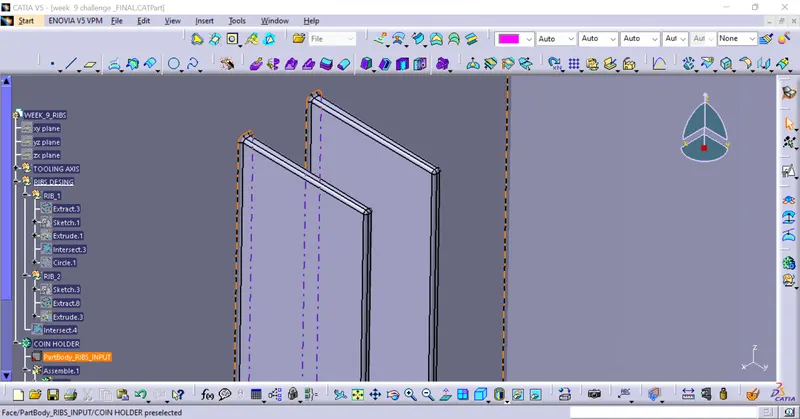
- Now, we have to do the same process to create other rib. But the gap between the ribs should alsom be defined with a condition i.e., hight/width ration should be 3:1 for steel and 2:1 is preffered.(i tool it as 2:1).
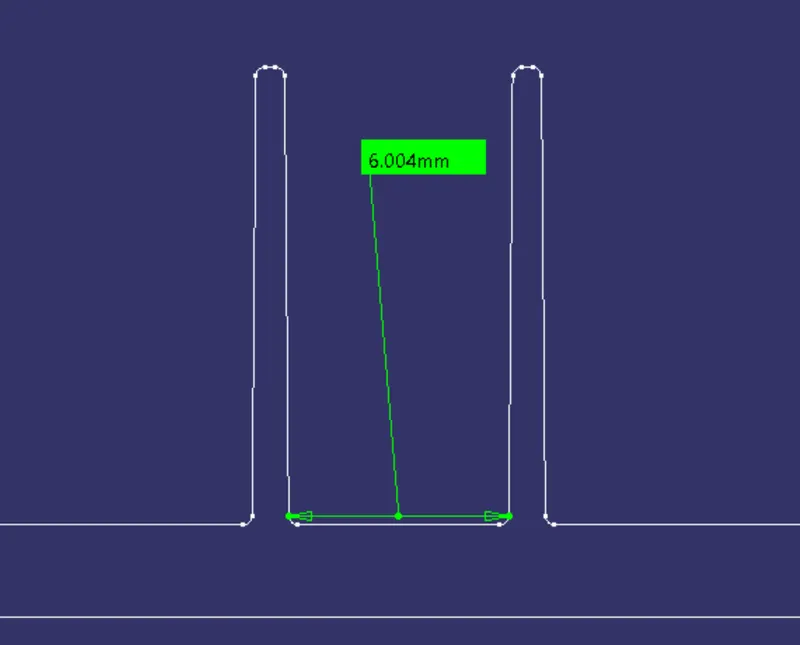
- Finally we have to check the rib root thickness to confirm weather the rib whic is designed is correct or not.
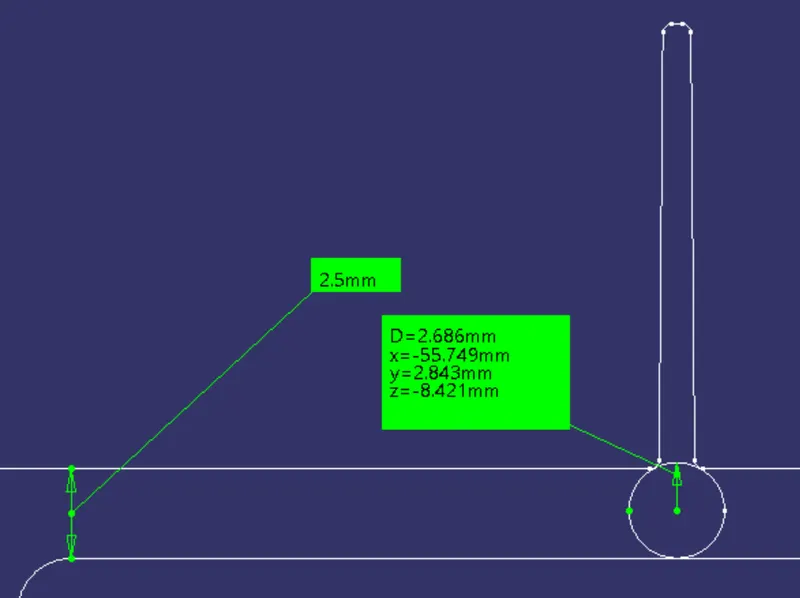
- For that we need to create a circle using Tritangent.
- Befor that first intersect the model. then use the tritangent in circles and extract the curves by right clicking and selecting create extract option . Finally the circle will be created
- The diameter of the circle should be almos the same or more to the thickness .than the rib which is designed is proper.
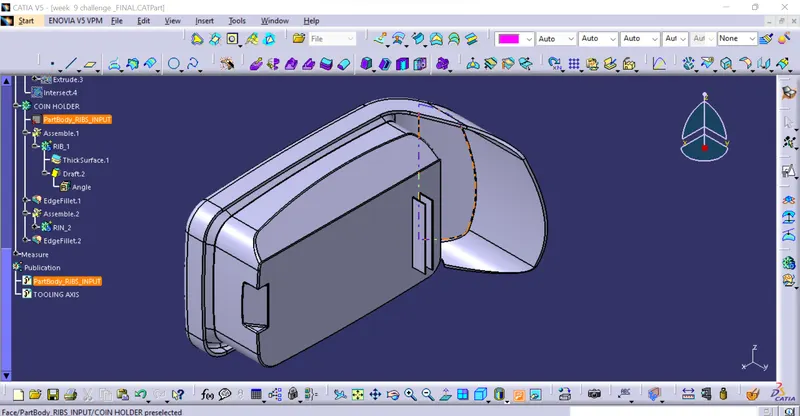
WHOLE MODEL:
TREE:
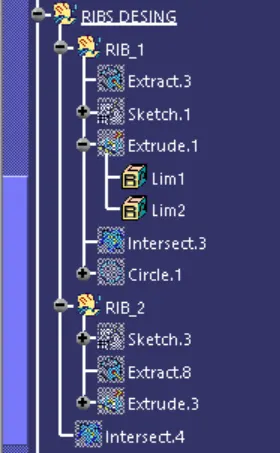
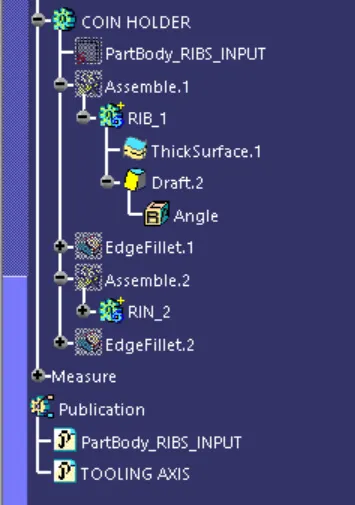
VIEWS:
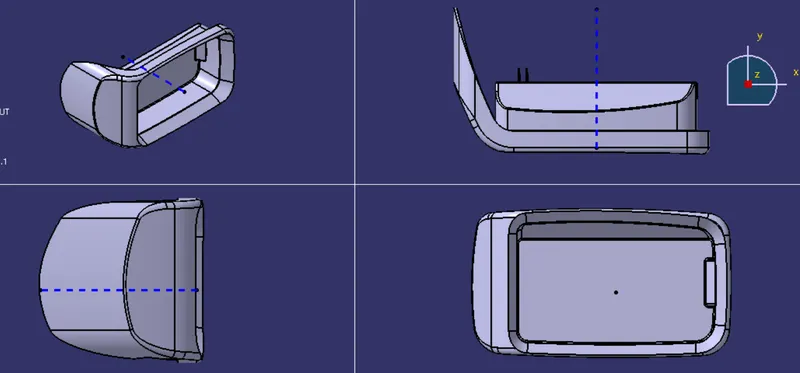
CROSS SECTION:
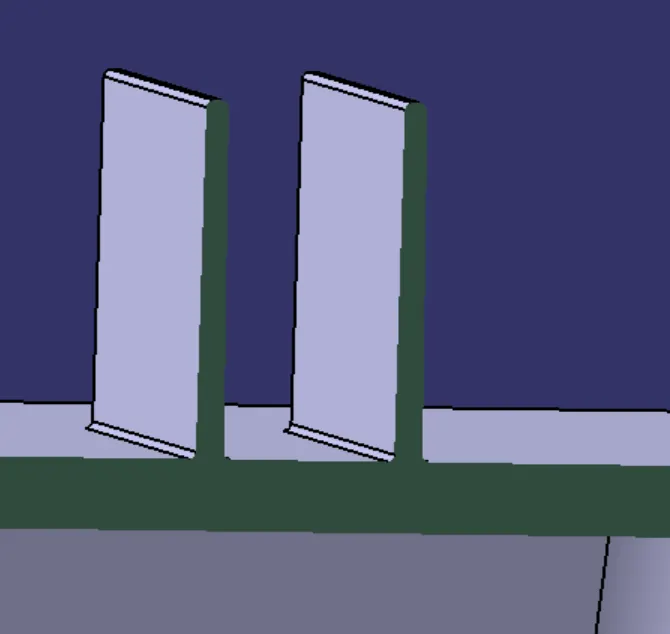
CONCLUSION: Finally, We have Create the rib for the Centre console coin holder considering the design rules mentioned.