Week 4
MANUAL MID SURFACING AND MESH GENERATION OF A PLASTIC BOTTLE CAP WITH VARYING THICKNESS
AIM: To genarate the mid surface of a plastic bottle cap component and optaining good mesh flow
PROCEDURE:
STEP 1: Importing the required or the given CAD geometry(BOTTLE CAP) to ANSA
- The topo clean up should be performed on the geometry
- In the Modules buttons we have a option called FACE in which we have a button name TOPO.
- By selecting the topo we can perform the topo clean up for the geometry
- Checking the geometry and fixing the errors by doing the Geometry clean up in CHECK option
- In TOOLS we have the CHECKS MANAGER, under this commend we can performthe geometry clean up and fix all the errors.
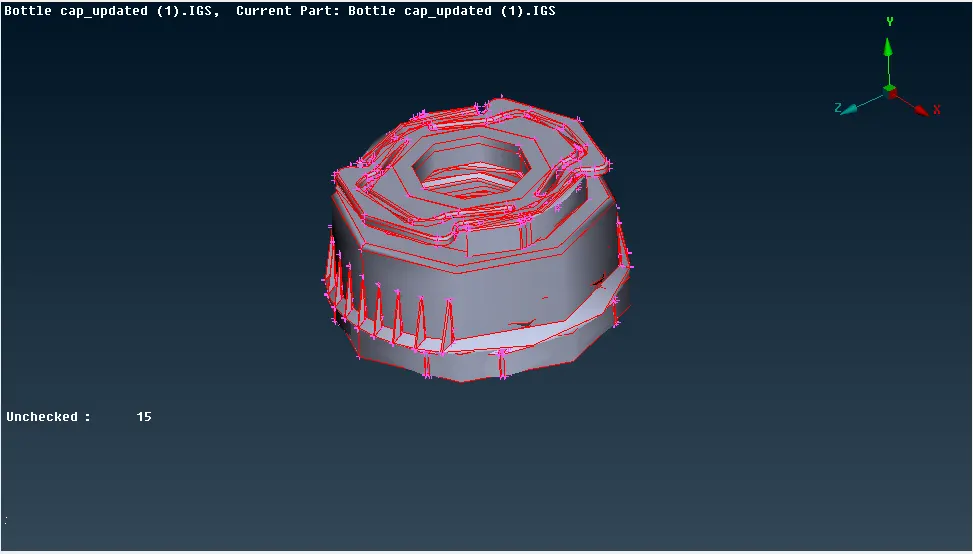
"Image 1: IMPORTING THE BOTTLE CAP"
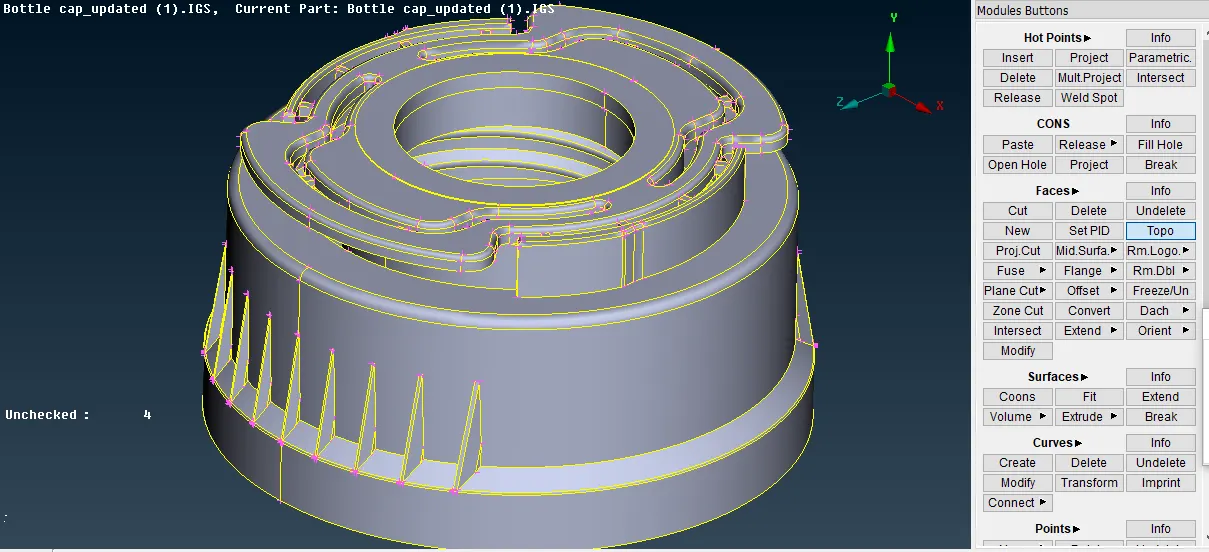
"Image 2: TOPO CLEAN UP FOR THE BOTTLE CAP "
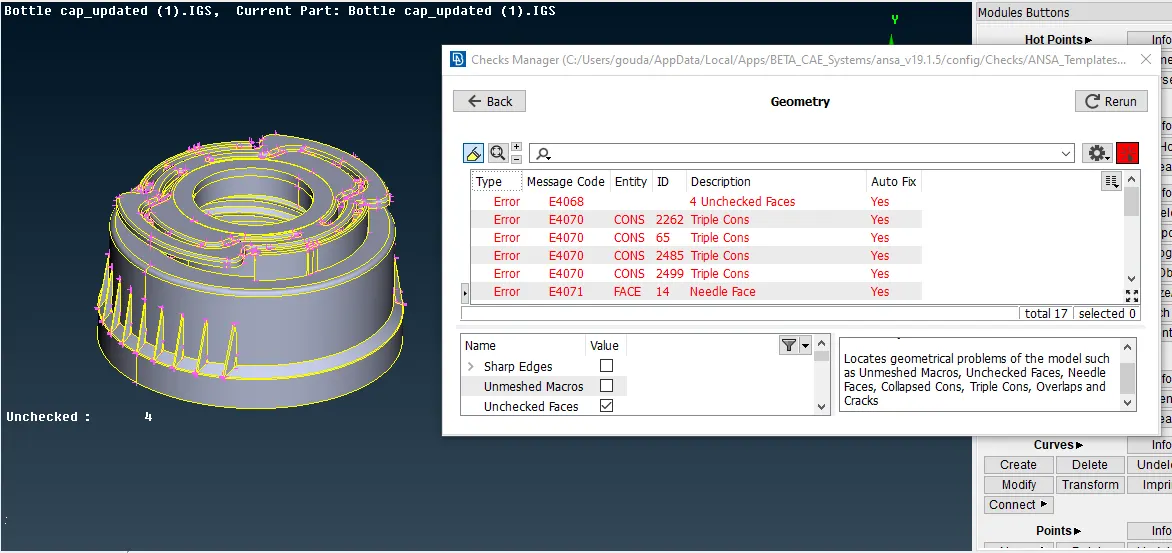
"Image 3: FIXING THE ERRORS FOR THE BOTTLE CAPCEOMETRY IN CHECK GEOMETRY OPTION"
- After fixing all the errors we can set PID for the geometry
STEP 2: Setting up the PID for the bottle cap geometry
- In LISTS, we have the PROPERTIES by which the PID for the geometry are assigned individually
- First the whole geometry is assigned as the Parent geometry
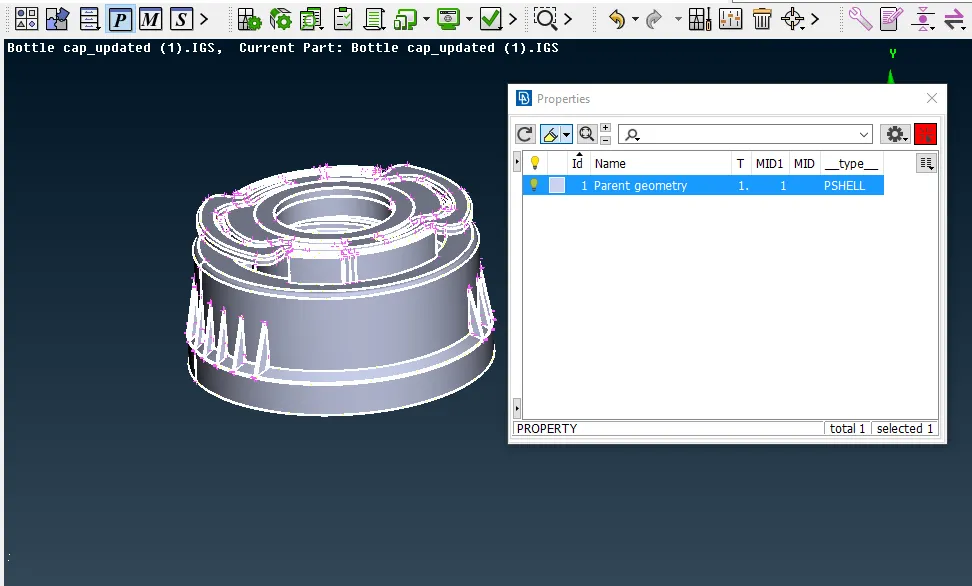
"Image 4: SETTING UP PID FOR THE MODEL"
- After setting up the PID, the Mid surface should be obtained
STEP 3: Mid surface should be genarated to the given model
- For a plastic componet like the bottle cap the thickness varies fromone part to other so the Mid surfacing should be done part by part and we need to assigine each part a different PID individually
- For obtaining the mid surface we need to use some commands like MIDDLE(SINGLE,MULTI), OFFSET, EXTEND, INTERSECT, NEW, CUT, etc in FACES BUTTON which is present in the MODULES BUTTONS
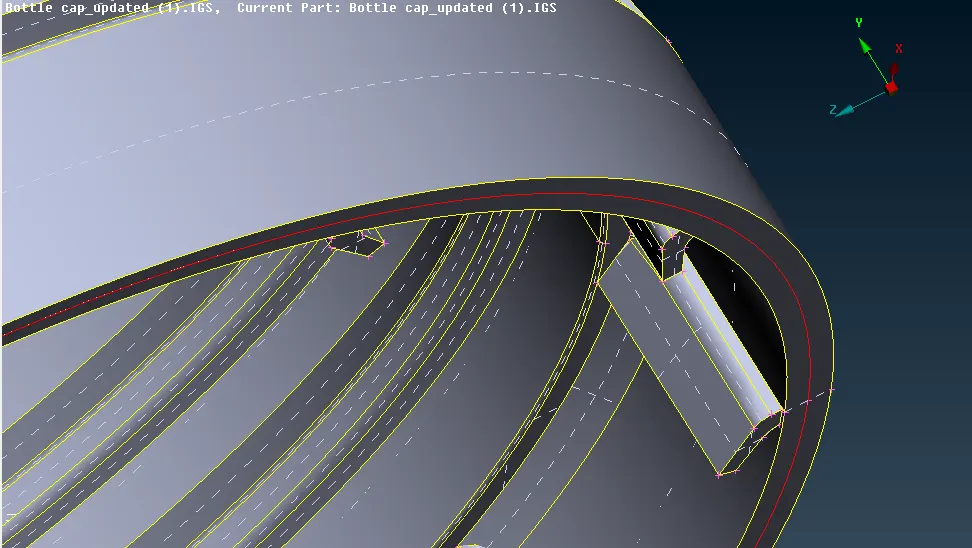
"Image 5: MID SURFACE GENERATINO BY USING OFFSET AND MIDDLE ON BOTTLE CAP"
- For Edges and Threads,we need to creact a curve in the middle by using MIDDLE option in the CURVE button which is also located in the modules buttons
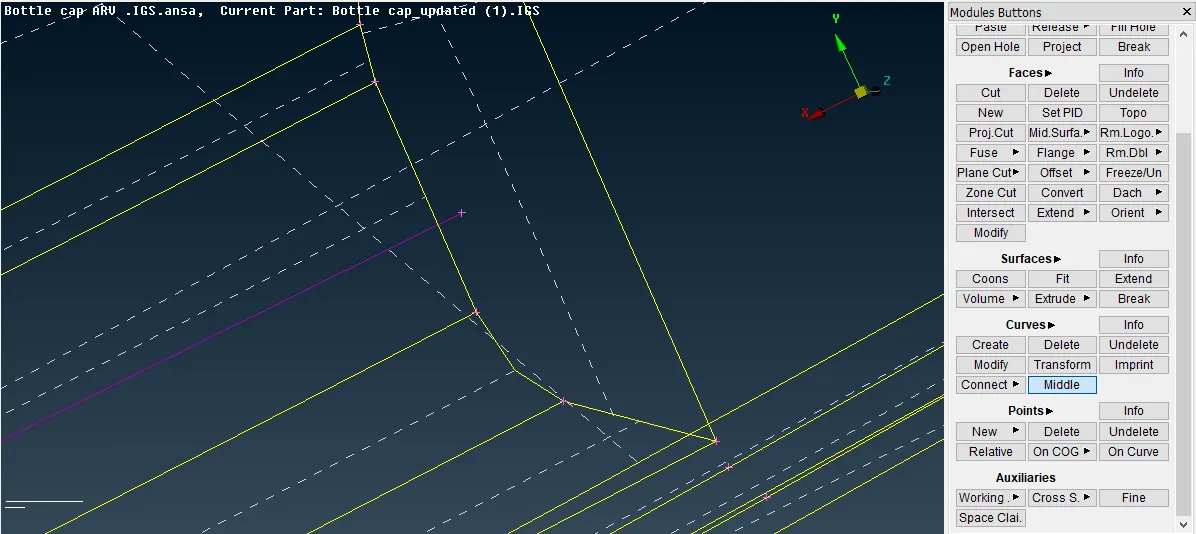
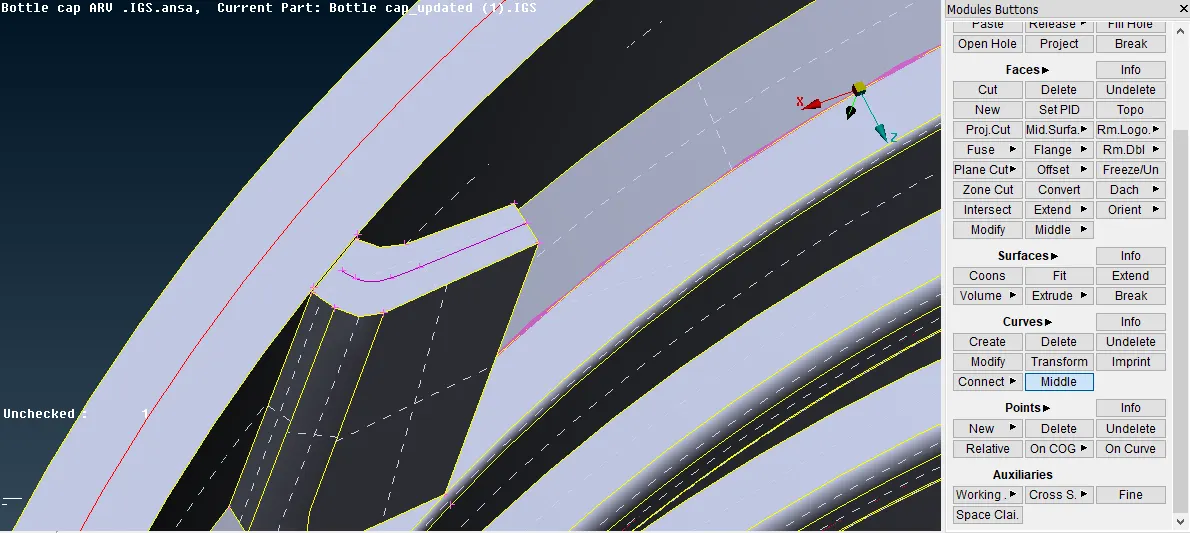
"Image 6: CREATING CURVES FOR THE THE THREADS AND EDGES FOR THE BOTTLE CAPETO CREATE THE MID"
- After creating the curve ,project the curve to the face,and by using the curve and the face we can create the mid surface
- In the bottle cap model we have many rotating edges , so we can create a mid for one surface and transform the edges by wsing TRANSFORM optin the UTILITIES ,where we need to copy the entite and than by using to center points we can transform the mid.
- To create the center point we need to again go to ON COG command in POINTS button which is again located in the modules buttons
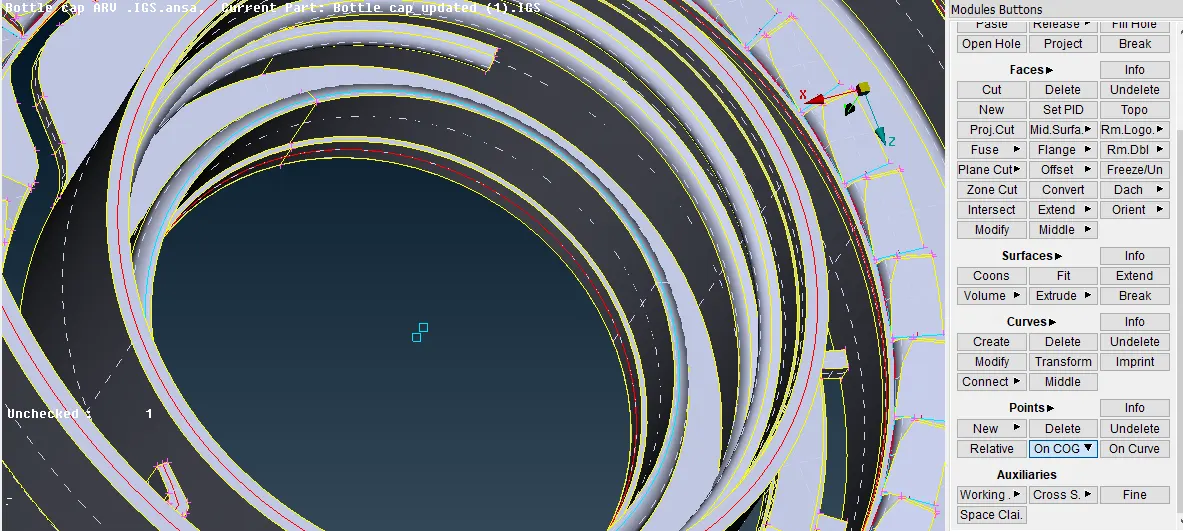
"Image 7: CREATING THE CENTER POINTS BY USING ON COG COMMAND"
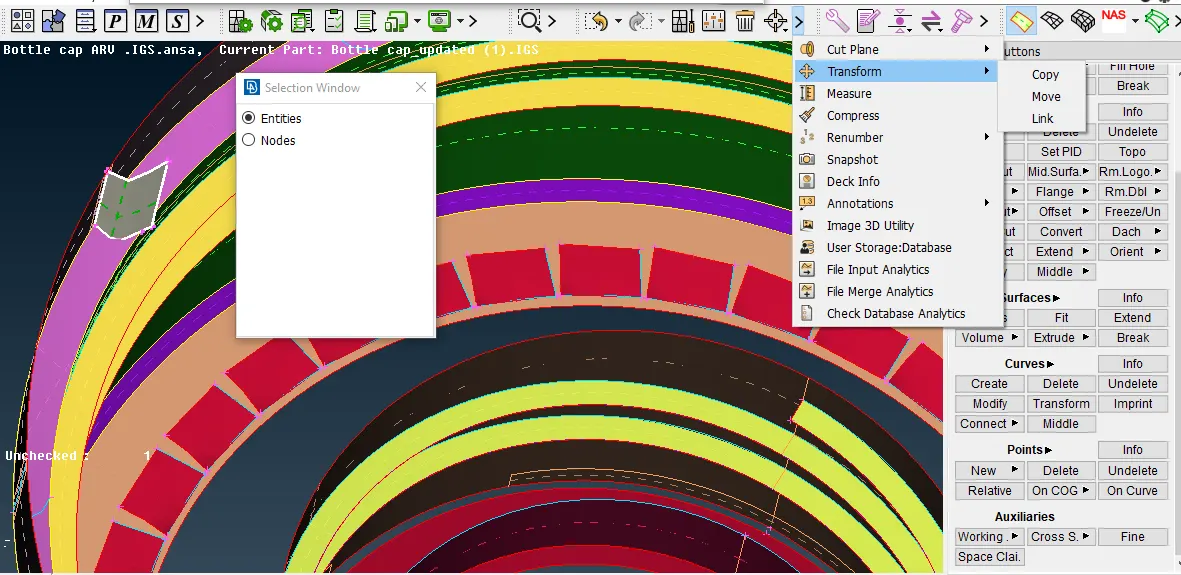
"Image 8: ROTATING THE EDGES IN THE MODELBY USING TRANSFORM OPTION "
- Using extendand intersect option we can extend the surfaces which are not attached ,and by attaching them we can obtain good mid surfaceach component in the model.
- By using all the above buttons we can generate the mid surface for the bottle cap model.
- Each part in the model is assigined with different PID,because as the bottle cap is the plastic model the thickness varies from one part to other.
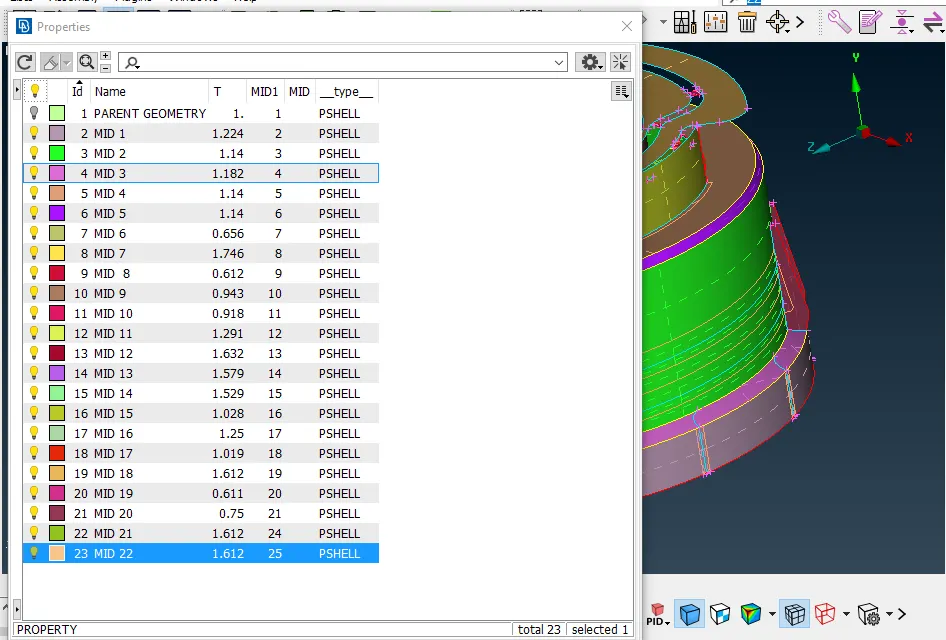
"Image 9: ASSIGINING DIFFERENT PID FOR EACH PART OF THE MODEL DUE TO VARING THICKNESS "
- Final result of the mid surface of the bottle cap is optained and it is ready for meshing
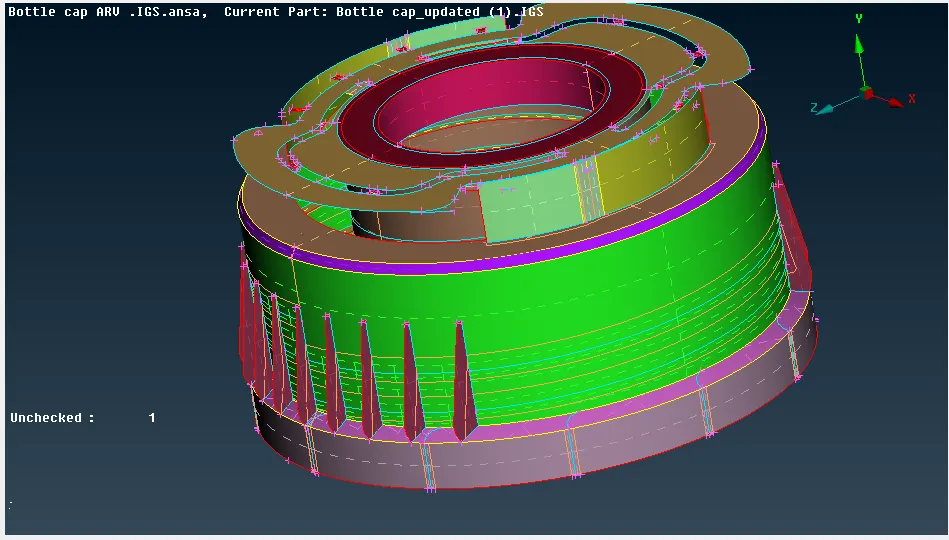
"Image 10: MID SURFACEOF THE BOTTLE CAP "
- After obtaining the mid surface the quality criteria and mesh parameters are assigned
STEP 4: Quality criteria and Mesh parameters are assgined as per the requirements to the given bottle cap geometry.
- The quality criterias and the mesh parameters are assigned tothe given geometry to obtain the required mesh results
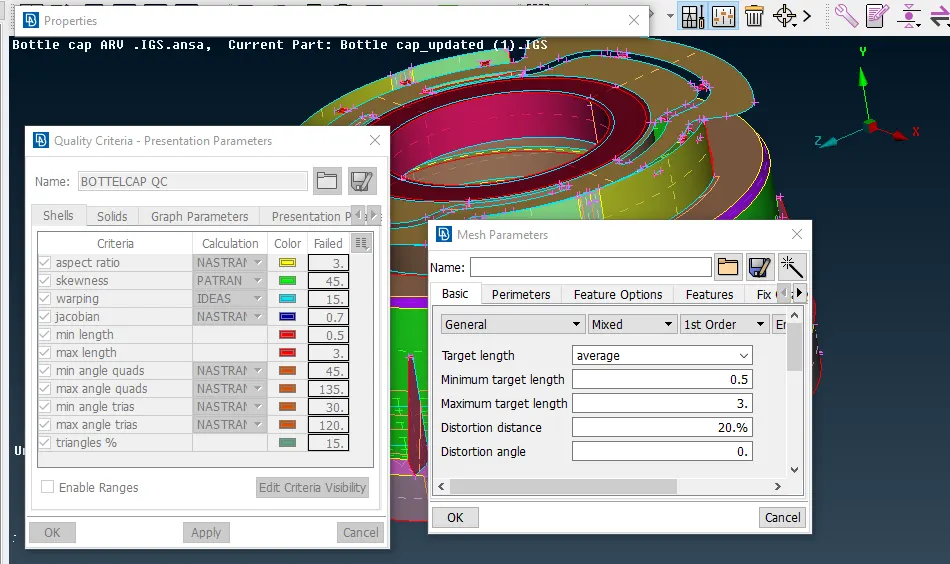
"Image 11: ASSIGINING QUALITY AND MESH PARAMETERS TO THE MODEL "
- After the quality criteria and mesh parameters are assigined, the mesh should be generated
STEP 5: Mesh of the model is genatared by applying the quality criteria and mesh parameters
- After the mid surfacing and appling the quality criteria , we need to switch to MESH mood from TOPO mood ,the in mesh mood we have MESH GENERATION by which we can obtain the mesh for our model
- In mesh generation, we have some commands like BEST, SPOT etc which are used to obtain the mesh.
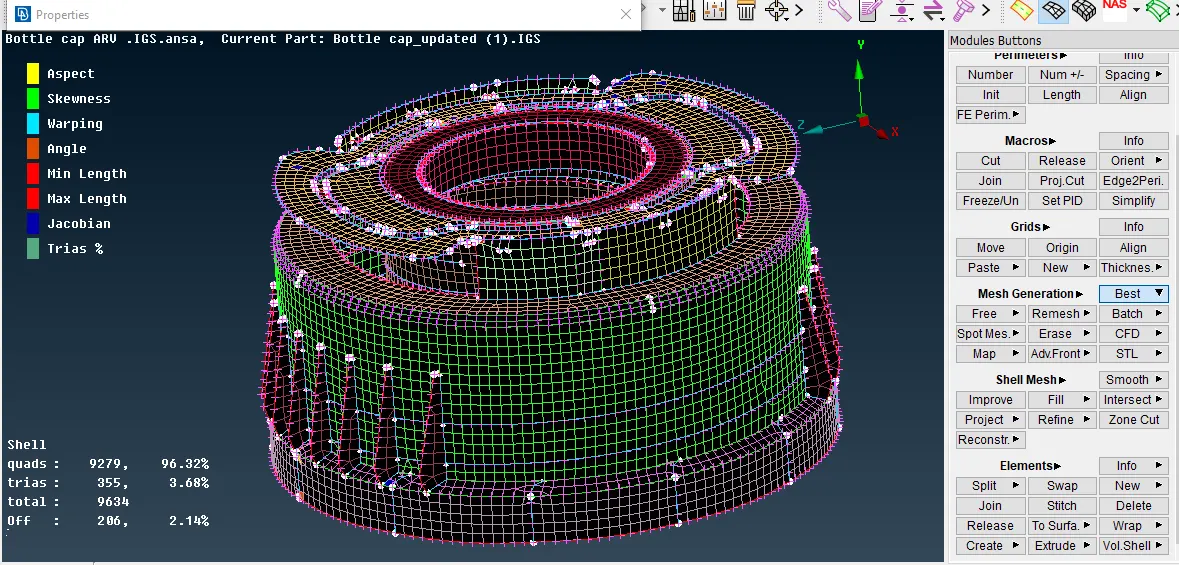
"Image 12: MESH GENATATED BY USING BEST COMMAND "
- After generating the mesh we have to improve the mesh quality by using some commands in SHELL MESH and ELEMENTS like SMOOTH, RECONSTRUCT, SPLIT ,SWAP.
- Finally, we have obtained a good mesh flow.
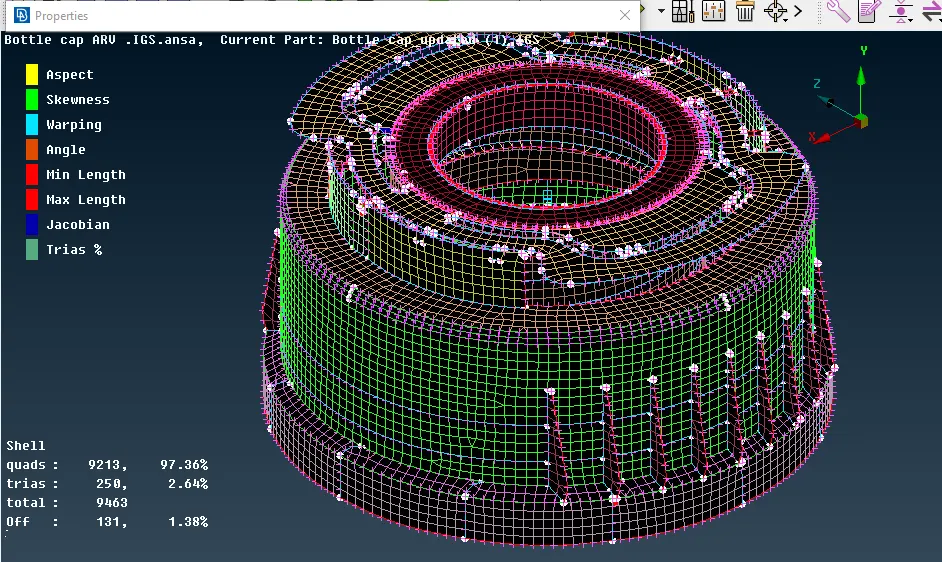
"Image 13: FINALMESH RESULT OF BOTTLE CAP "
- The thickness mush be given to the model after the mesh is generated.
STEP 6: The varying thickness is given to each part of the mid surface for the bottle cap model
- As, each part of the model have different thickness, the mid is also generated individually and given different PID's, so now each part of the model is given its respective thickness and the final result is as follows.
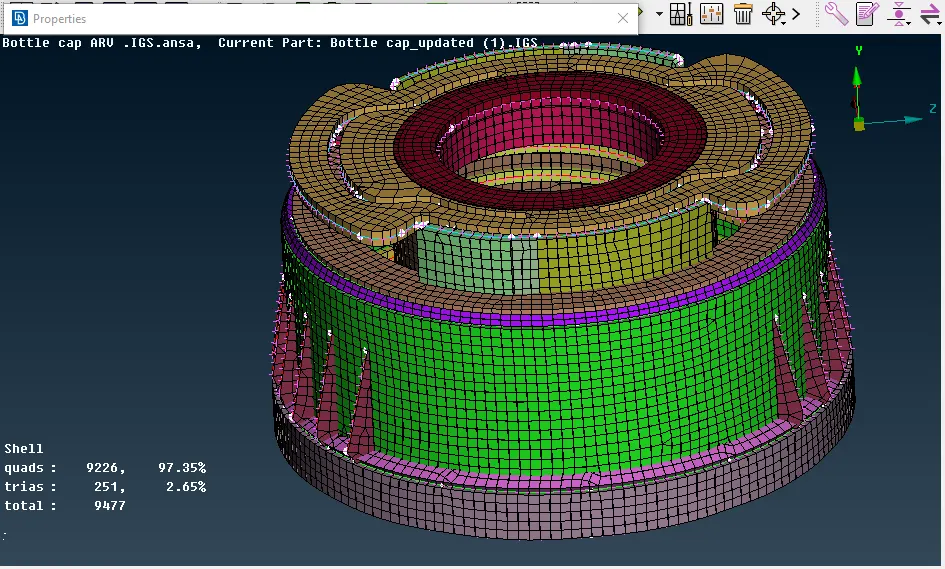
"Image 14: MID OF BOTTLE CAP AFTER ASSIGINING THICKNESS "
LEARNING OUTCOMS:
- Learned how to import plastic component to ANSA.
- Learned how to do topo clean up.
- Learned how to check the geometry.
- Learned how to generate the mid surface by using the middle option ,offset option in faces.
- Learned how to use intersect option and extend option.
- Learned how to creat a new surface by using curve middle.
- Learned how to give PID for each part
- Learned how to use transform option
- Learned how to mesh the model by using different options
- Learned how to assigne qualitycriteria and mesh parameters for the model
- Learned how to improve mesh quality.
- Learned how to assigne the thickness for the mid surface after completing the meshing
CONCLUSION:
we can conclude that the manual mid surfacing and mesh generation of a plastic bottle cap with varying thickness is done by using ANSA.
https://drive.google.com/file/d/1z8n42FdjZyrk7C9klm5p8fWkL5b2q8mp/view?usp=sharing