Week - 8 - Morphing
WEEK - 8 : MORPHING
AIM :
To perform Morphing by using the suitable techniques for the given 2 models.
PROCEDURE :
- The given models are imported in the ANSA window and checked for any geometrical errors.
- The geometrical errors are fixed by auto method in the geometry or fixing the errors by using the suitable mehod.
- Morphing can be performed on either the surfaces or FE mesh. There are various types of morphs such as 1D morphing & 2D morphing and these morphing can be worked by either direct morphing or box morhping.
- The morph models given here are Floor Panel & Hand Rest and both models are here to be morphed based on the given requirements.
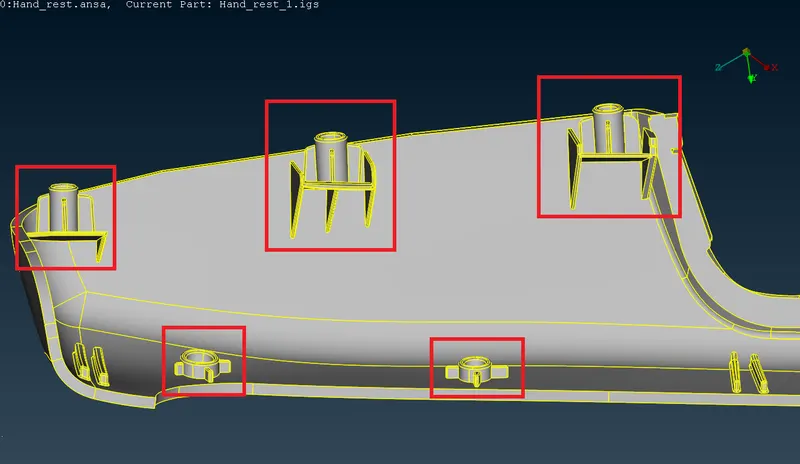
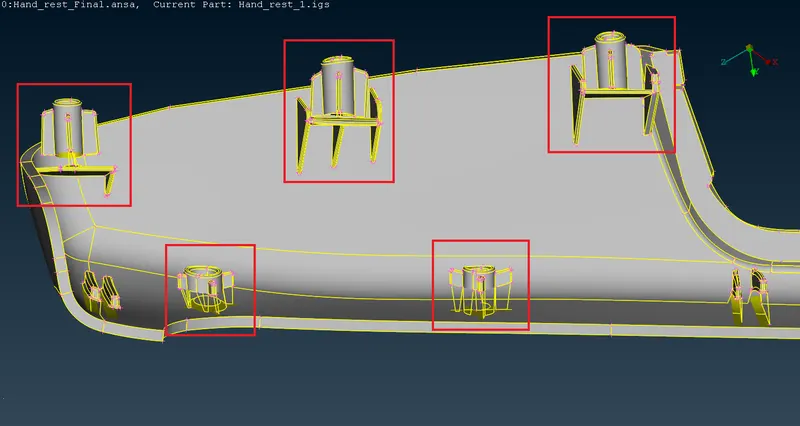
- The floor panel is to be morphed at various joint sections and the hand rest is to be morphed by increasing the height of the doghouses and ribs in the model.
- Next to that the surfaces to be morphed are inspected for creating morph boxes which is created to move or transform or slide the geometry under morphing.
- The morph boxes are created by following the steps Morph Module → Boxes → New → Ortho → Geometry, where the faces are selected to be morphed and on mouse middle click the box is created.
- The morph boxes created can also be divided into number of smaller boxes using the split option in the boxes section.
- Post that the grids of the morph box are selected based on the surfaces that are to be move, scale, transform etc. The grids are selected in the move option under the box morphing section.
- Then the x,y & z axis are switched on/off based on which axis it is to morphed and the grids are moved accordingly for morphing. Thus morphing can be done by following the above steps.
CAD MODEL IMAGES :
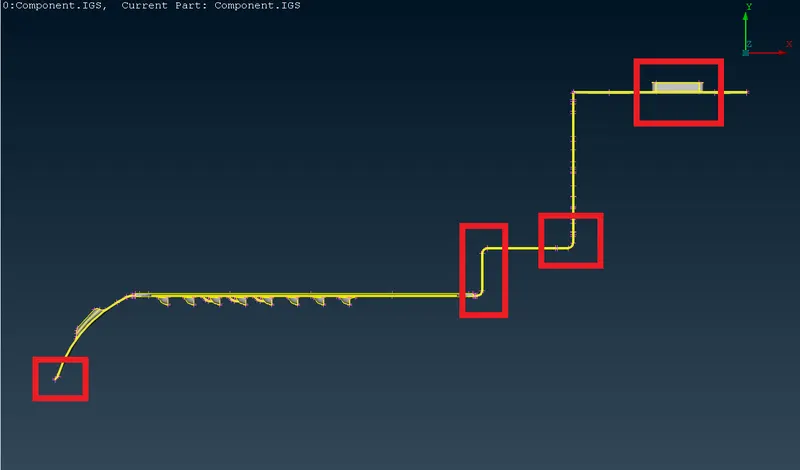
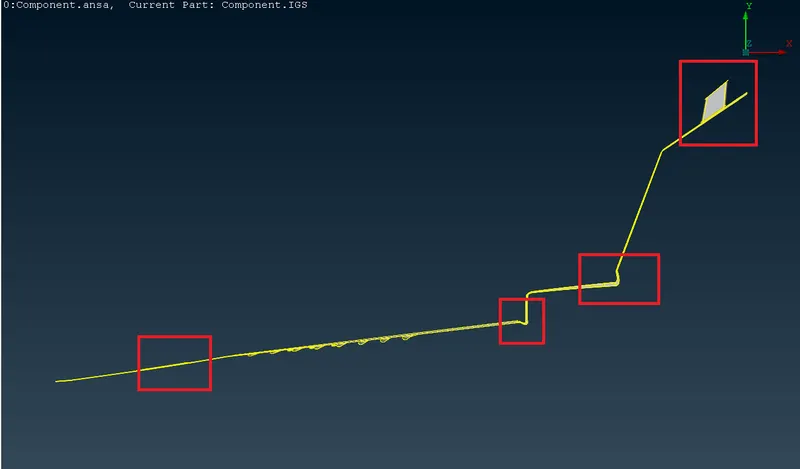
The morphing processed in the model 1 is compared with the given model and the processed model as shown below,
GIVEN MODEL 1 :
PROCESSED MODEL 1 :
GIVEN MODEL 2 :
PROCESSED MODEL 2 :
CONCLUSION :
Thus the given 2 models are morphed on the given requirements successfully.