Week 4- Challenge
MID SURFACING AND 1D ELEMENTS
OBJECTIVES :
To mesh the given component and to create 1D elements with the provided cross-sections and DOFs on the given component.
PROCEDURE :
- Initially the given model is imported and the midsurface is extracted in both the brackets by using the midsurface option in Geometry.
- The solid part remaining in the model after midsurface extraction is deleted using the delete option.
- The material is created in the feature tree and renamed as Steel with the card image as MAT1.
- Similarly using the create option in the feature tree, 2 properties are created and renamed as Bracket 1 & Bracket 2 namely.
- The Bracket 1 is given a thickness value of 2.0 and the material assigned is Steel which was created in the above step.
- Similarly the Bracket 2 is given a thickness value of 2.5 and the material assigned here is Steel.
- The 2 properties created are assigned respectively to the 2 brackets in the components section.
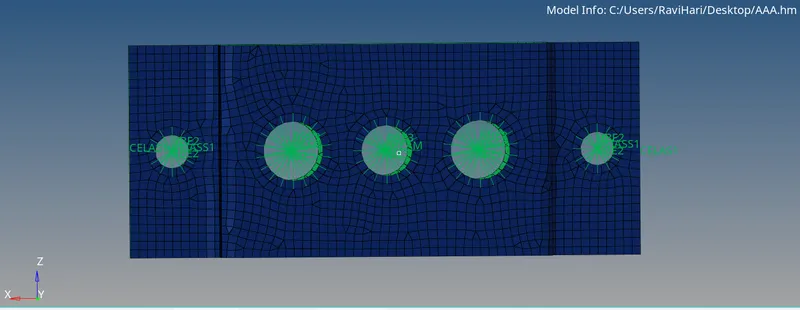
- Using the washer split option in quick edit in geometry section, the washer split is provided with an offset value of 5 to all the holes in the model.
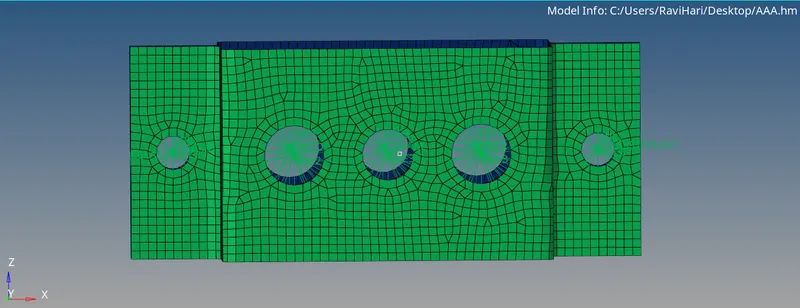
- In 2D section, the automesh option is opted by giving the element size vaue as 5mm and the surfaces to be meshed are selected and the meshing process is done.
- To make the mesh complete and as the mesh does not capture properly on the surface, the number of nodes in & out of the hole circumference are made equal and thus the mesh is done.
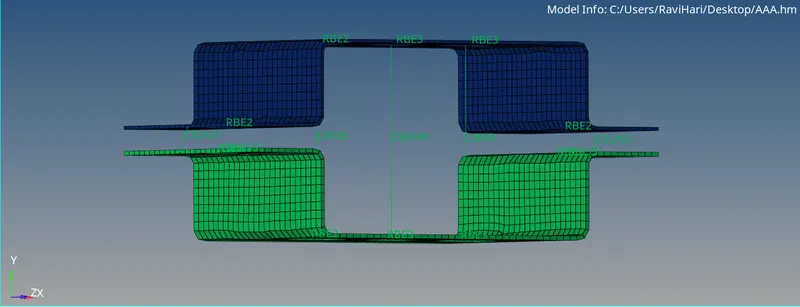
- Now the surface of the 2 brackets are hidden and the RBE2 RBE3 links are created under 1D section.
- The links are made over the holes and the holes are named as a,b,c,d & e in the model.
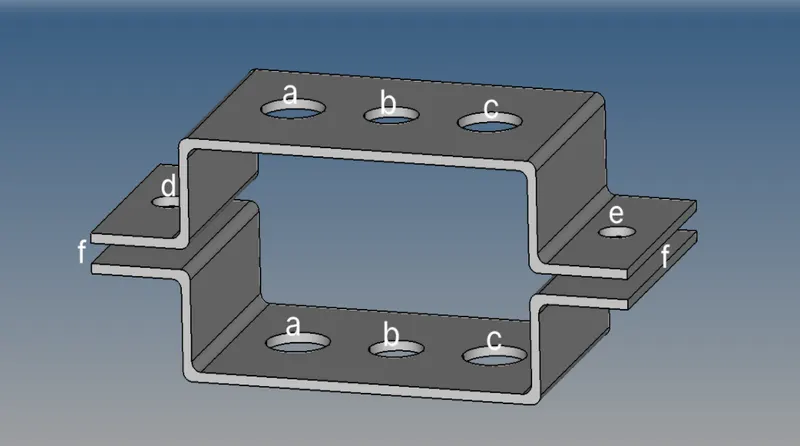
- For creating a RBE2 link in hole a, rigids option is slected and the node option is customized as calculate nodes with multiple nodes and the nodes are selected by path. The DOF for this link is with only the translational DOF are constrained and the RBE2 link is created.
- Similarly RBE2 links are created for holes d & e with all DOF are constrained for it. Then the mass of magnitude 10 are added to the holes d & e by using the masses option in which the respective node is selected and the properties such as the element type as CMASS1 and the magnitude of mass is provided.
- In hole b, a RBE3 link with all DOF constrained is created using the rbe3 option in 1D section and the nodes are selected by path.
- Similarly, a RBE3 link with only x & y DOFs constrained is created for hole c.
- Hyperbeam option is selected and in standard section-hypermesh the 2 required cross sections such as thinwalled box and standard I-section are created under the given dimensions and the remaining 1 cross section which is cross is created in standard section-optistruct under the given dimensions.
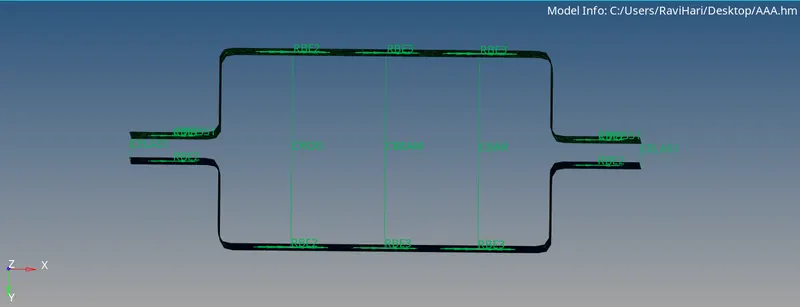
- On switching to model view, the rod element is created by selecting the nodes of respective link as shown in image using the rod option in 1D section.
- Similarly the beam and bar element are also created by selecting the nodes of respective links using the bars option in 1D section.
- Now the properties for 3 elements are created in feature tree and the respective card image and the cross sections are assigned.
- Next the created properties are applied to the 3 elements respectively using the update option in rod and bars options.
- The springs are added in between the two brackets at the position f by using the springs option in 1D section.
- Now on selecting the 1D detailed element representation the 3 elements along with various cross sections are shown in the display.
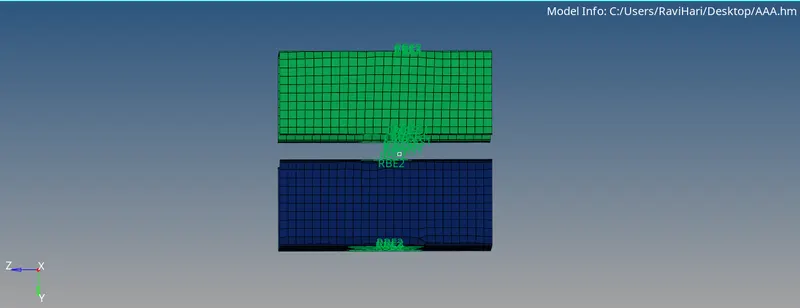
- In order get the 3D view, select the 2D detailed element representation and thus 3D view of the model is shown in display.
CAD MODEL IMAGE :
FINAL MODEL IMAGE :
CONCLUSION :
Thus the given model is meshed with the given element size and the given 1D elements are created under the given parameters successfully.