Week - 8 - Morphing
Aim: To perform morphing techniques on the given model.
Procedure: Import the given models and perform geometric clean-up.
model 1:
Given model after performing topo
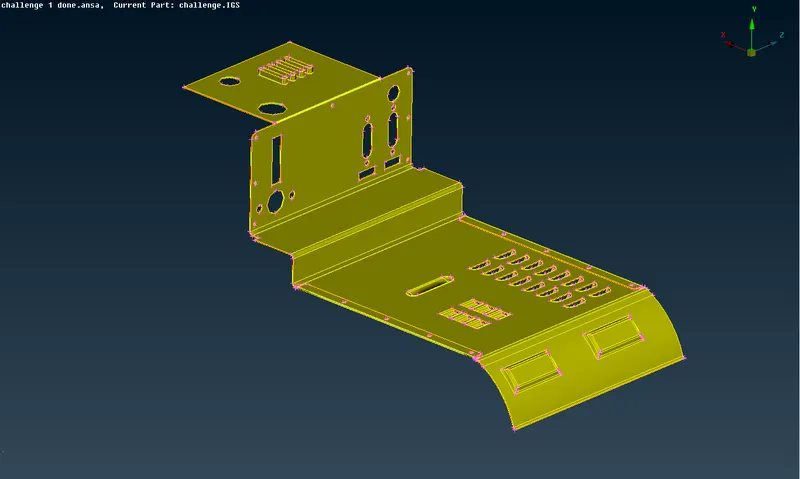
Check for geometrical errors, model should be free from errors.
Performing morphing tools on the model:
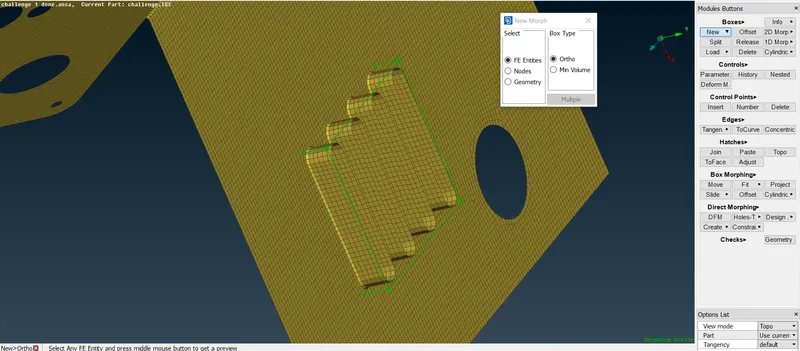
Morphing deck >>> Boxes >>> New
> select the entities in the box ( FE, Nodes, Geometry)
The box is created covering the entities that are selected as shown above.
Morphing >>> Box morphing >>> Move
> Select the nodes/entities, use right click to see the co-ordinate system, use left button to move the respective nodes in a defined direction.
> Click middle mouse button to stop extending.
> One can reconstruct or smoothen the mesh if required by selecting.
> Click OK to end the process.
>The extended surface is shown below.
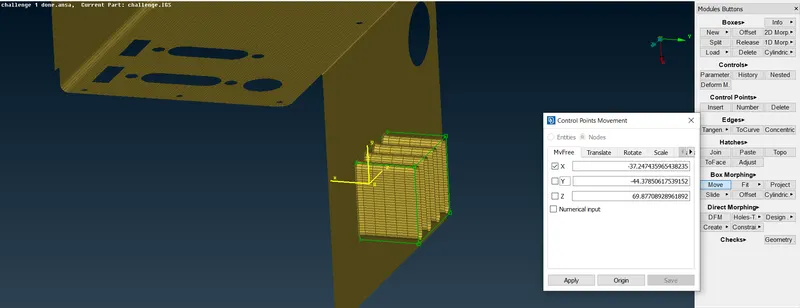
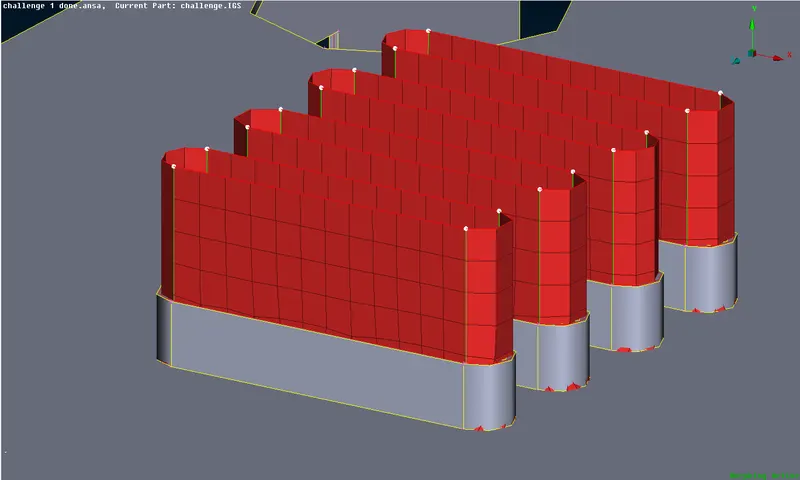
Similarly select the FE entities by box selection or macro area selection which are to be morphed.
Define the co-ordinates to which the entities to be moved and repeat the same procedure as mentioned above.
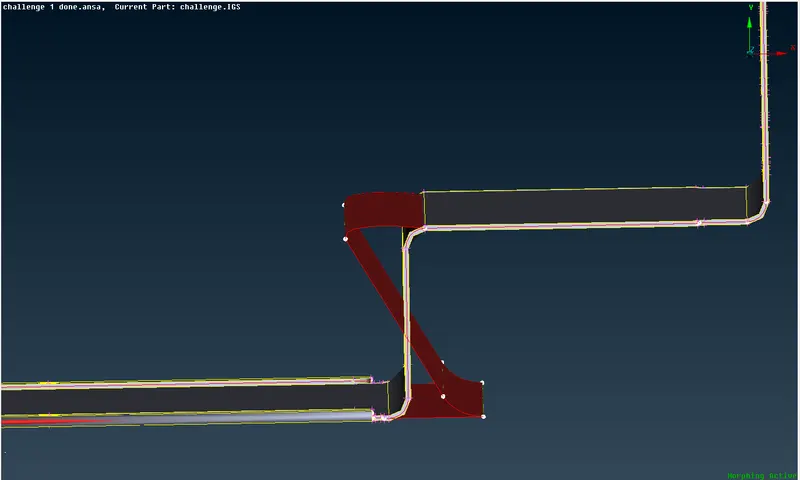
Morphing >>> Direct Morphing >>> Design.
In action, select the entities that are to be modified.
In direction, select the direction in which the feature is to be modified.
In transition, select the neighbouring entities if needed.
In fixed, it is optional to select either the nodes or edges.
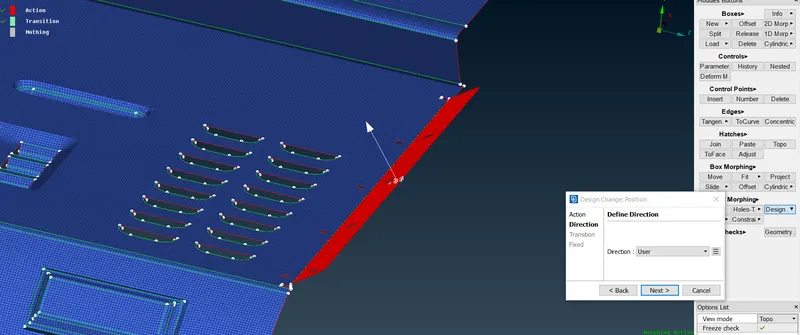
The morphed geometry can be seen beow.
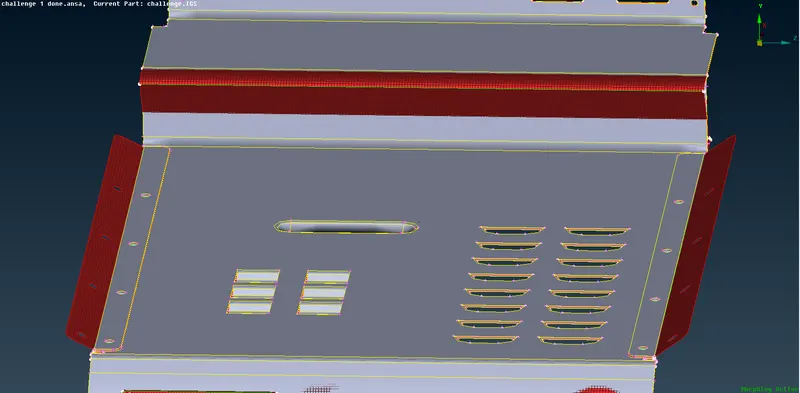
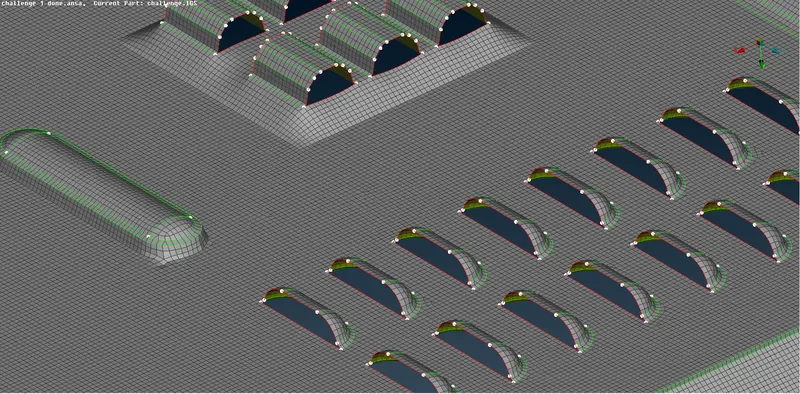
Similarly the feature along with the adjacent nodes are extended as shown below.
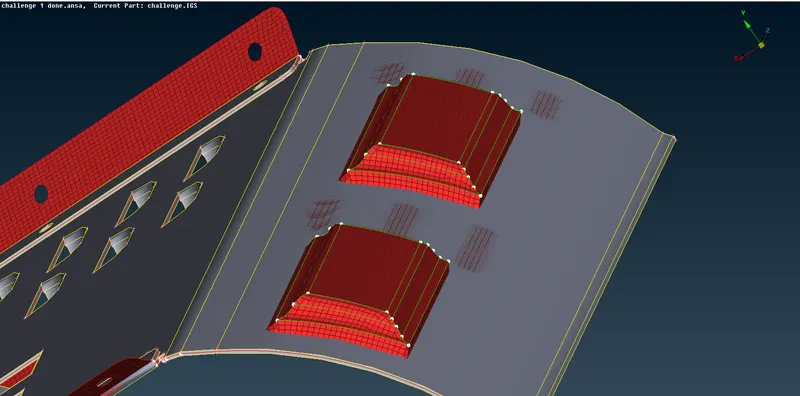
The features before performing the morph.
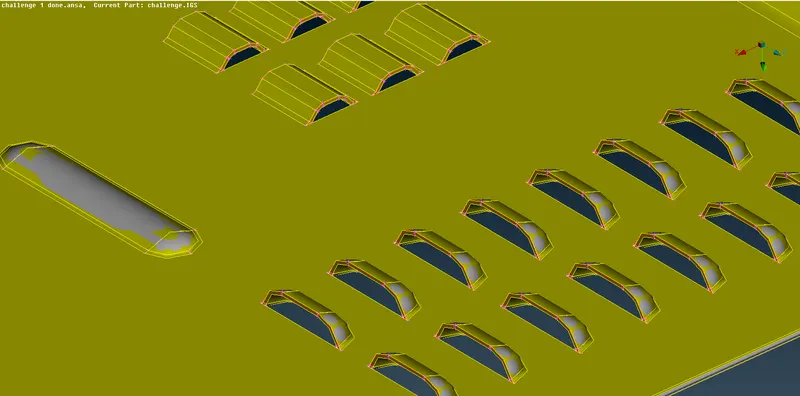
The features after performing the morph, by the same procedure as mentioned above
Model after morphing:
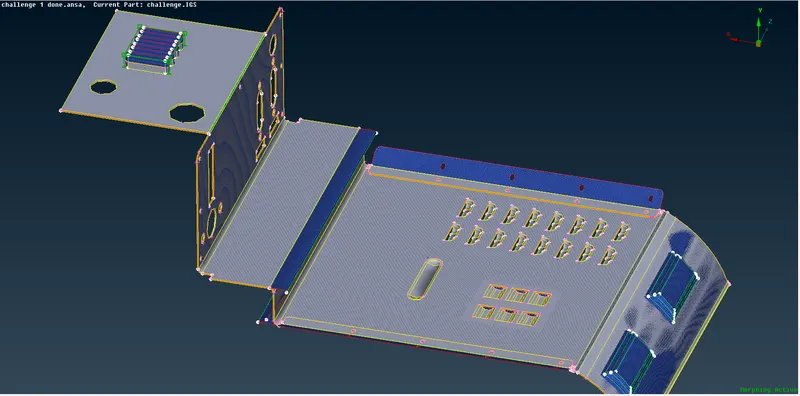
Model 2
Given model after performing topo:
Check for geometrical errors, model should be free from errors.
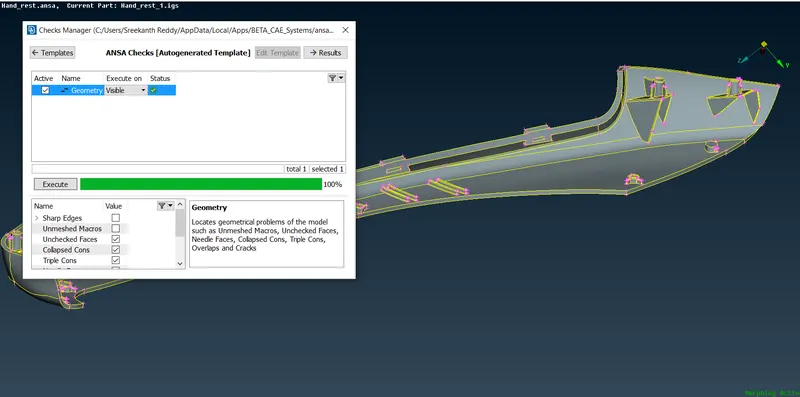
Performing morphing tools on the model:
Morphing deck >>> Boxes >>> New
> select the entities in the box ( FE, Nodes, Geometry)
The box is created covering the entities that are selected as shown below.
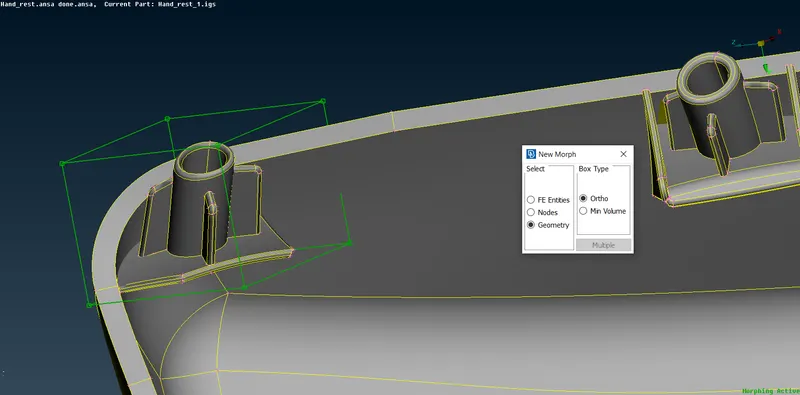
Morphing >>> Box morphing >>> Move
> Select the nodes/entities, use right click to see the co-ordinate system, use left button to move the respective nodes in a defined direction.
> Click middle mouse button to stop extending.
> One can reconstruct or smoothen the mesh/geometry if required by selecting.
> Click OK to end the process.
>The extended surface is shown below.
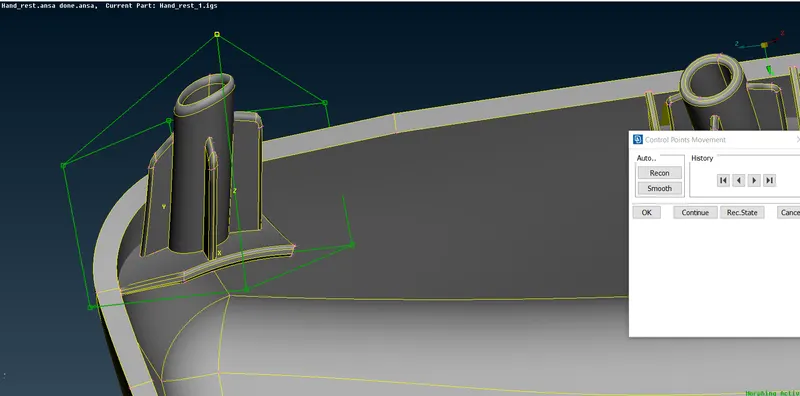
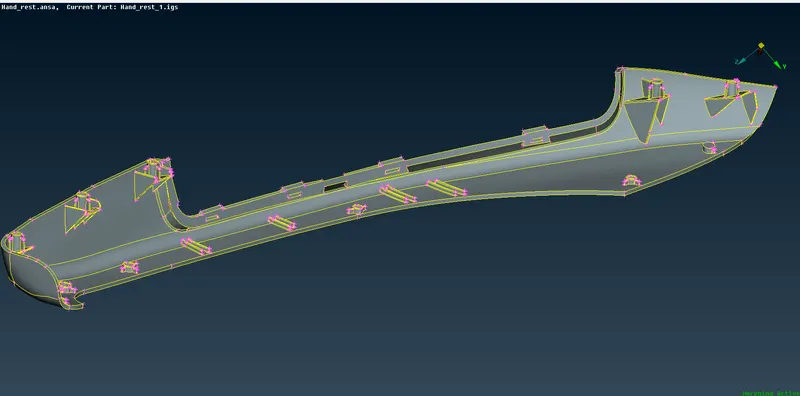
The above procedure os repeated in extending the shape of Dog houses and ribs.
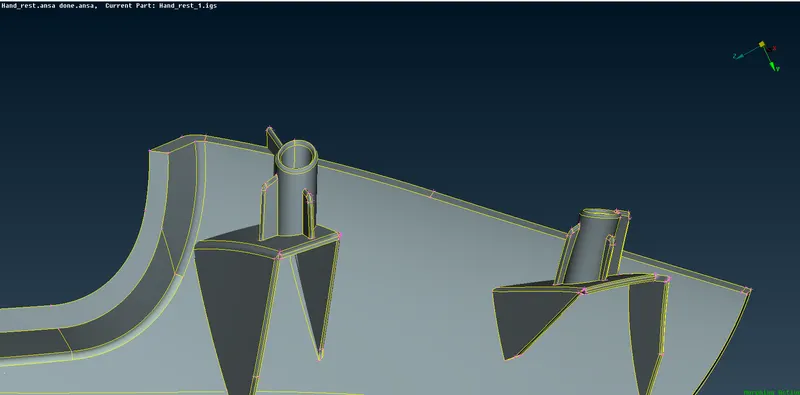
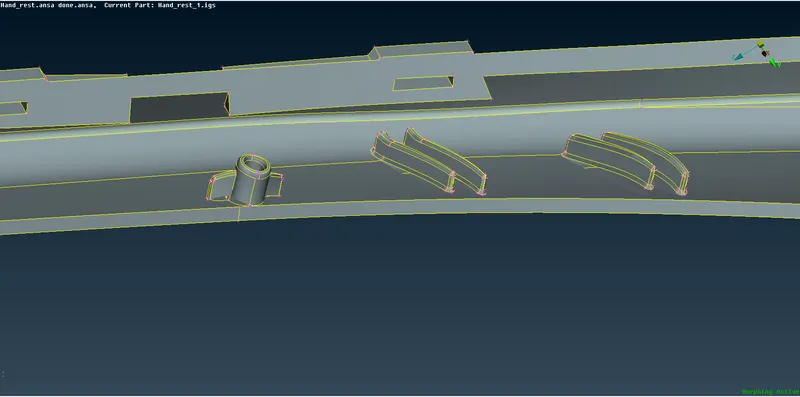
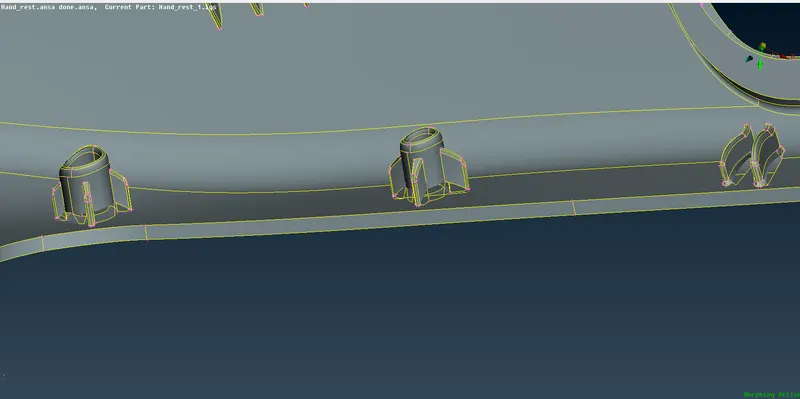
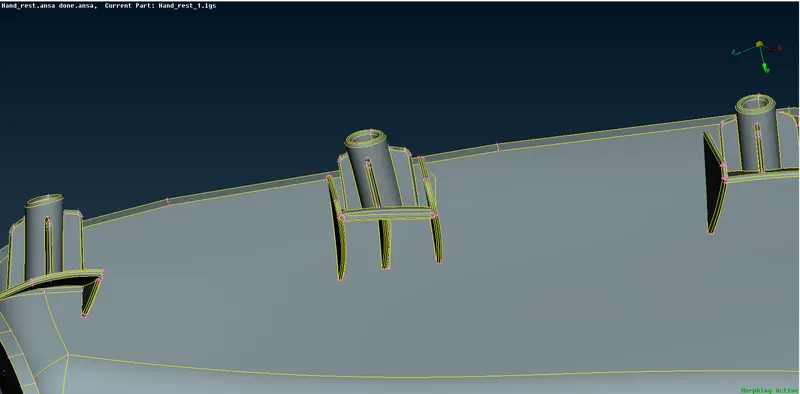
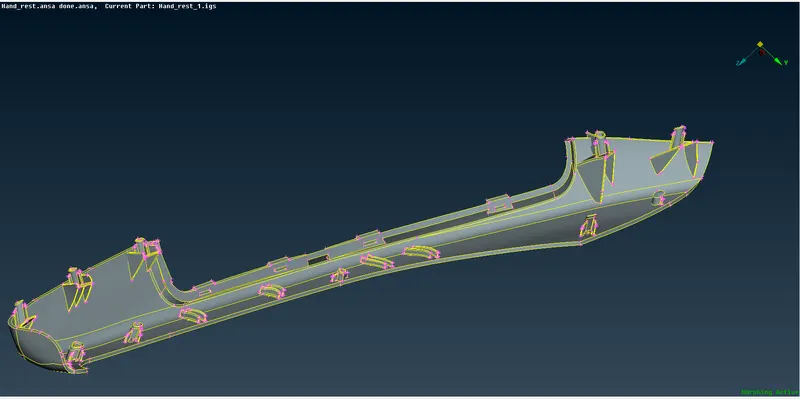
The hand rest model after performing the Morphing techniques:
Applications of Morphing:
The overarching idea of a morphing wing is to adapt its aerodynamic shape to obtain better performances, lift-to-drag ratio of morphing wing is 10.3% larger than that of the conventional wing.
Learning Outcomes:
Got the exposure of Morphing tool where in design/model can be modified by suitable techniques and can be analyzed without prototyping the model, which reduces time, cost, material etc.
In model-1, I have learnt how to change the shape and size of the feature by using "Direct morphing >>> Design".
In model-2, I have learnt how to change the height of the dog hause and ribs by using "Box selection >>> Move".
Conclusion:
Morphing is an usefull tool to modify and optimize the existing model to produce a new model.