Week - 8 - Morphing
Aim:
To practice all the Morphing techniques learnt till now in the given Model-1 and then perform morphing operation for the given Model-2 to increase the heights of the Dog houses and Ribs.
Morphing:
Geometrical Morphing in CAE softwares is an advanced technique where the shape or form of the parent geometry along with the FE can be edited according to the design requirements without even moving back to the CAD packages.
Moving back and forth to the CAD and CAE environments would consume huge amount of time.
By modifying the shapes and adding/removing features within the same software environment not only helps in saving time but also saving the labour by not needing to perform the pre-processing operation over and over again.
Advantages and Applications of Morphing:
- Minor changes in the geometry shape can be performed by using morphing tool.
- Beads, Stamps, Flanges, Openings etc can be created without the help of a CAD software.
- It is extensively used in the Automotive and the Aviation sector, where the shapes of the vehicle body can be easily modified. For an instance, models in the sub-4 metre segment (small hatchbacks and compact sedans) like the Honda Brio and Amaze which are identical to each other in all areas except in the rear end of the car. This kind of geometrical morphing is very useful and time saving as in this case.
- Some of the other similar examples are the AUDI's Sedan and Sportback models, Mercedes' Shooting Brake and Sedan models.

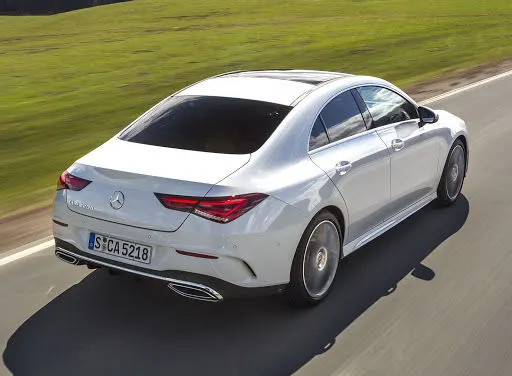
Shooting Brake Sedan
Procedure:
The procedure for morphing the given models are as follows:
Import Geometry:
Go to File > Open > Select file to import
Topology clean-up:
- Initially when the model is opened, perform Checks > Geometry on the component to make sure there are no irregularities present. If any errors occur, we can use Auto fix to solve them or do it manually by using various commands in the Topo deck.
- At times when some of the features are not appearing in their original form, the Auxiliaries > Fine command can be used to increase the resolution at that particular area and check the original shape of the feature.
- Then, the Faces > Orientation command is performed to make sure that all the faces are in same orientation (i.e., positive or negative).
Morphing:
For Morphing the component, we have to switch to the Morph Module.
There are 2 different approaches to morph ah model namely, Box morphing and Direct morphing.
For this challenge, I have used Box morphing. Two types of Box creation have been used for this challenge.
Ortho Box can be used in cases where the whole geometry is aligned to the global coordinate axes and for those geometry that have their planes parallel to either of the coordinate axes.
Min. Volume Box can be used for those gemetry which are not properly aligned to the coordinate axes and those which need geometry morph done at a perticular attribute or feature.
1.Ortho Box - Model 1
- Click on Boxes > New.
- As the FE is not available currently, only the geometry has to be morphed. So, choose the selection type as Geometry.
- Then, choose the Box type as Ortho.
- Select the geometry portion to be morphed and middle click using the mouse.
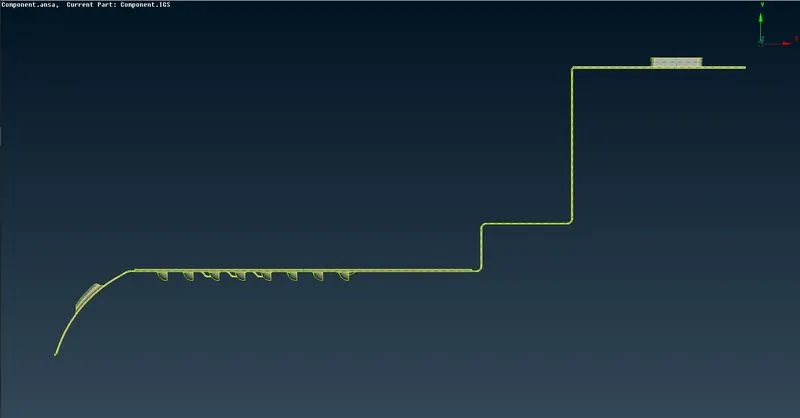
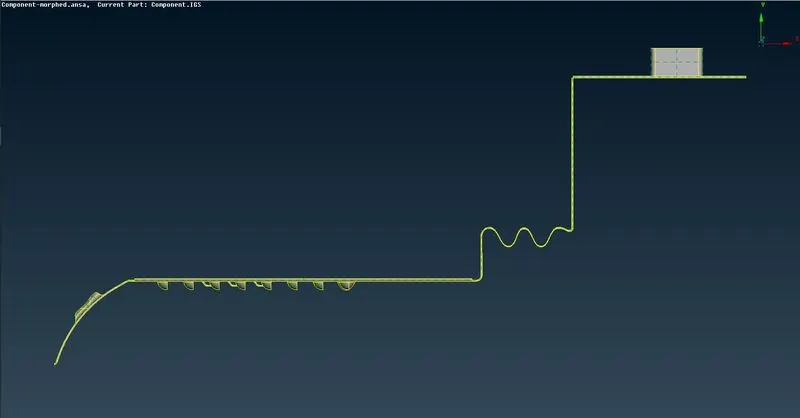
Before After
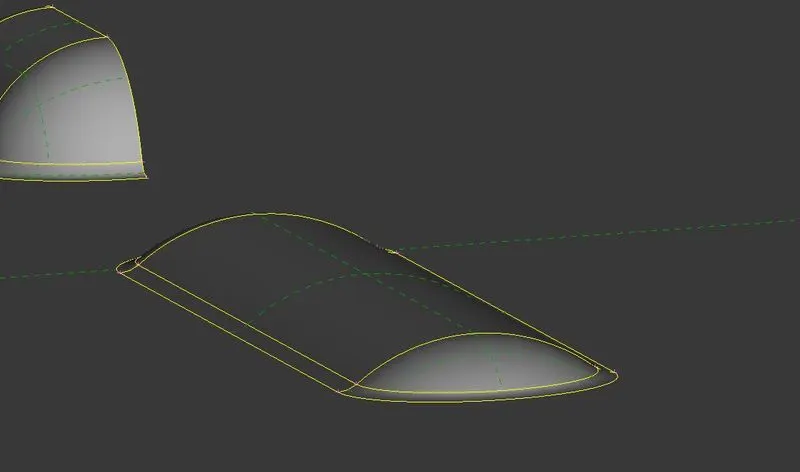
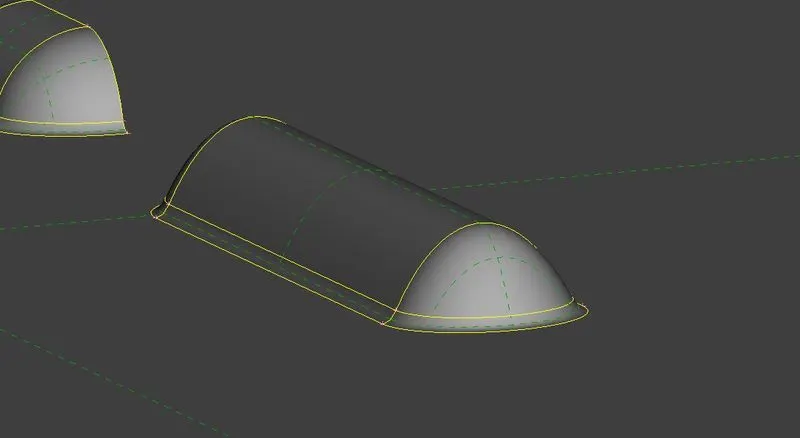
Before After
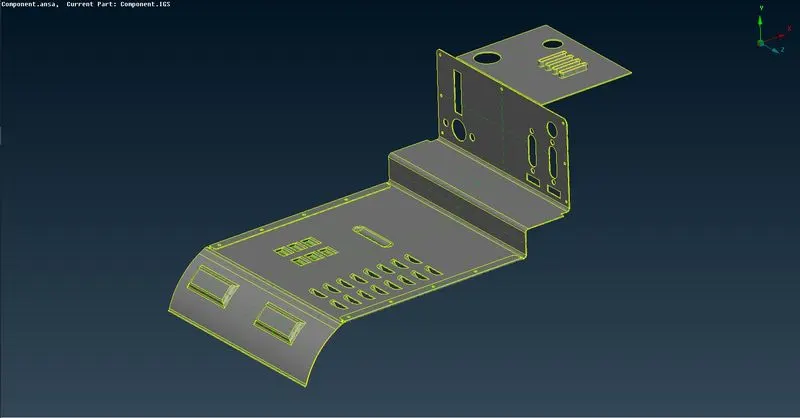
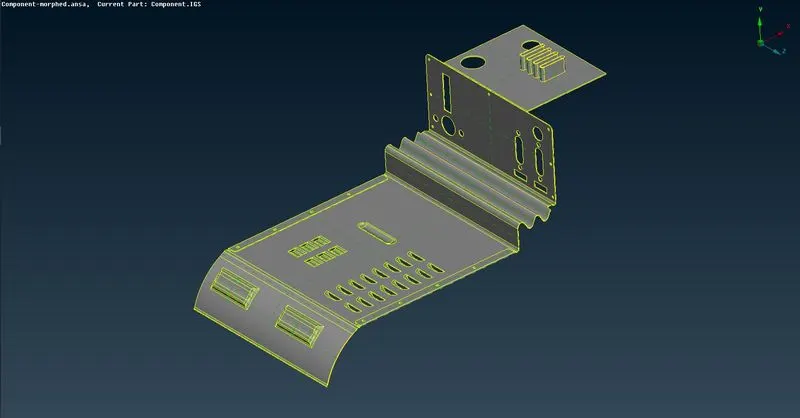
Before After
2.Minimum Volume Box - Model 2
- Click on Boxes > New.
- As the FE is not available currently, only the geometry has to be morphed. So, choose the selection type as Geometry.
- Then, choose the Box type as Min Volume.
- Select the geometry portion to be morphed and middle click using the mouse.
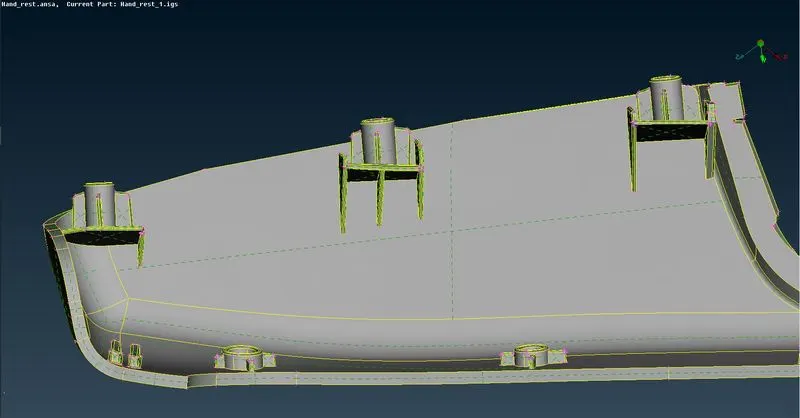
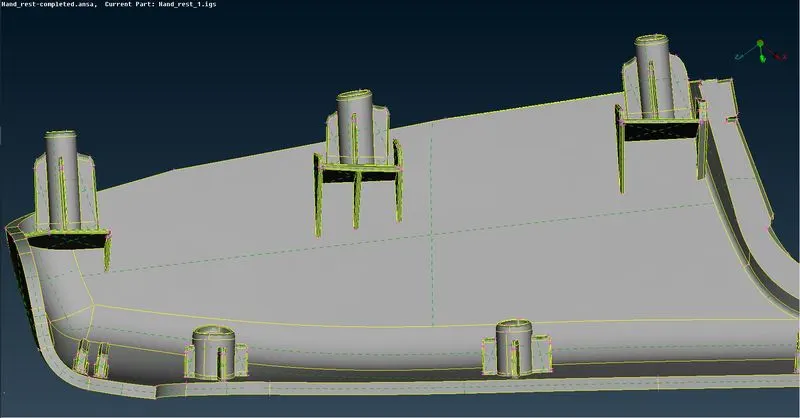
Before After
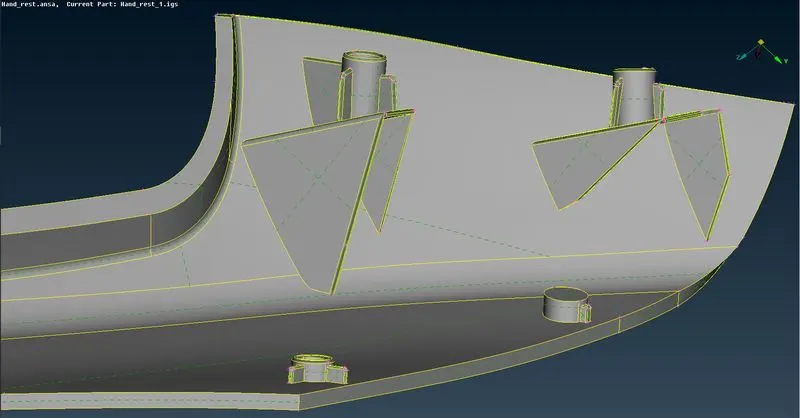
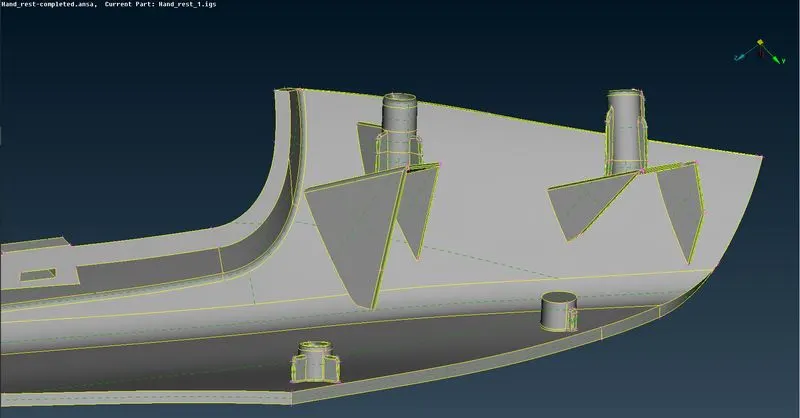
Before After
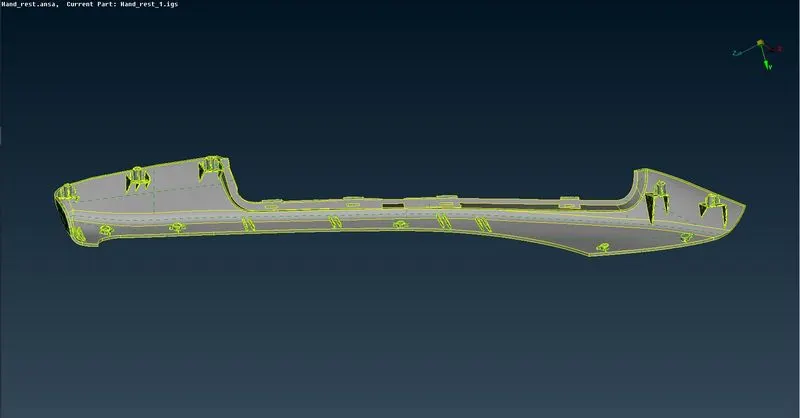
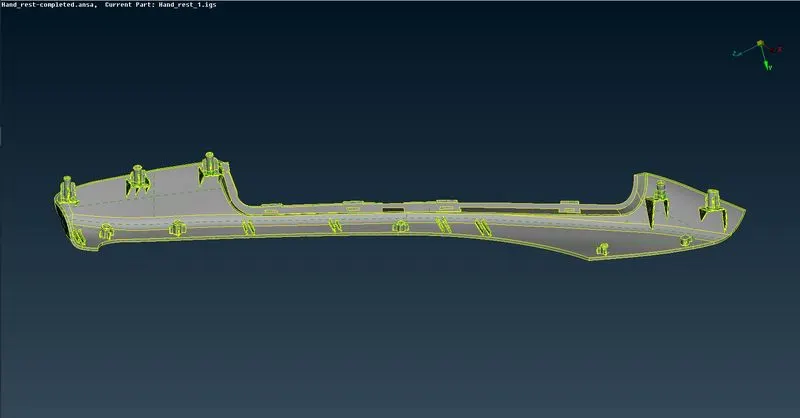
Before After
Editing the Node location to morph the geometry:
- After the Ortho Box is created, Goto Box Morphing > Move and select the nodes to be moved. This can be used to move the nodes which in turn help to morph the selected gemetry. The nodes can either be moved freely or can be moved using the parametric values.
- Use the split option to divide the box into a number of boxes in order to get precise results.
Learning Outcomes:
- Learnt the concept of morphing and the applications of morphing.
- Gained insights on the various techniques that can be used for morphing.
Conclusion:
Thus, all the Morphing techniques learnt till now on the given Model-1 and morphing operation on the given Model-2 to increase the heights of the Dog houses and Ribs have been performed.