Week - 8 - Morphing
Week - 8
Morphing
AIM:To practice and apply the Morphing techniques on the given models and morph the model as given in the question.Practice all the Morphing techniques that were shown in the video for Model-1, Perform morphing for the Model-2 and Increase the Height of the Dog houses and Ribs.
Procedure:
Import the CAD model to the ANSA software, do the cons resolution, do the topo and do the geometrical clean up. Then switch to MORPH MODULE, for creating a box ,as we have to first create a box to morph the model,MORPH MODULE<BOXES<NEW<ORTHO<GEOMETRY<select the area in the geometry < BOX is created by conforming.After the box is created , We have SPLIT command in BOXES where we can split the box created MORPHE MODULE<BOXES<SPLIT<click on the box entities or nodes to split. After creating the box, To change the length of any particular part in the model we have go to BOX MORPHING OPTION In MORPH MODULE.In BOX MORPHING we have a command called MOVE which helps to change the length of the geometry in the partiular part where the box is created.MORPH MODULE< BOX MORPHING<MOVE<ENTITIE<select the entities ofthe box created and by comforming and moving the mouse we can change the lenght of the selected area in the box according the global axis.
Model - 1
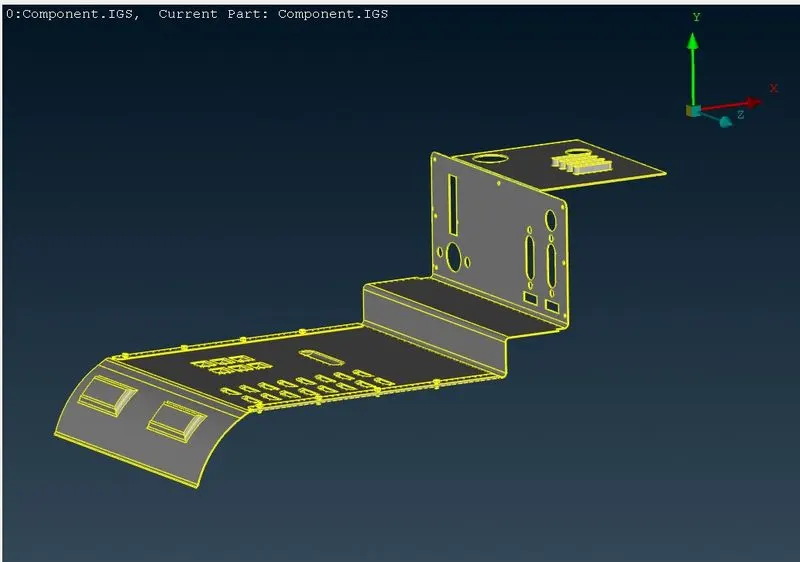
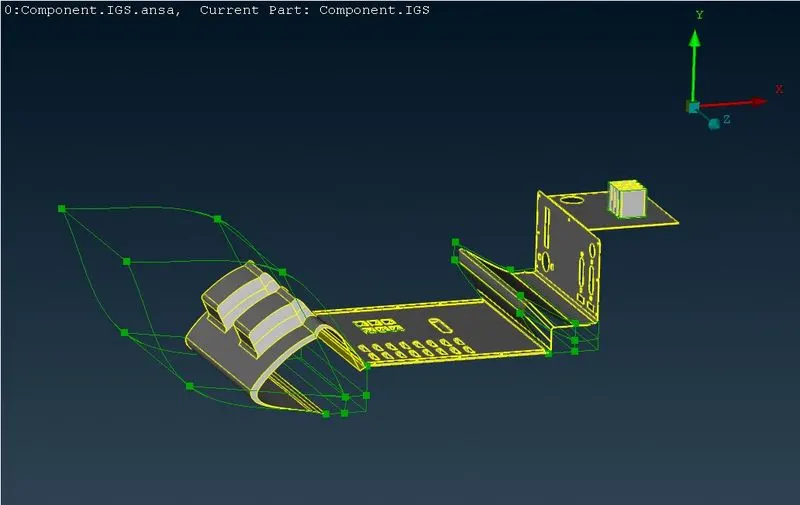
Model- 2
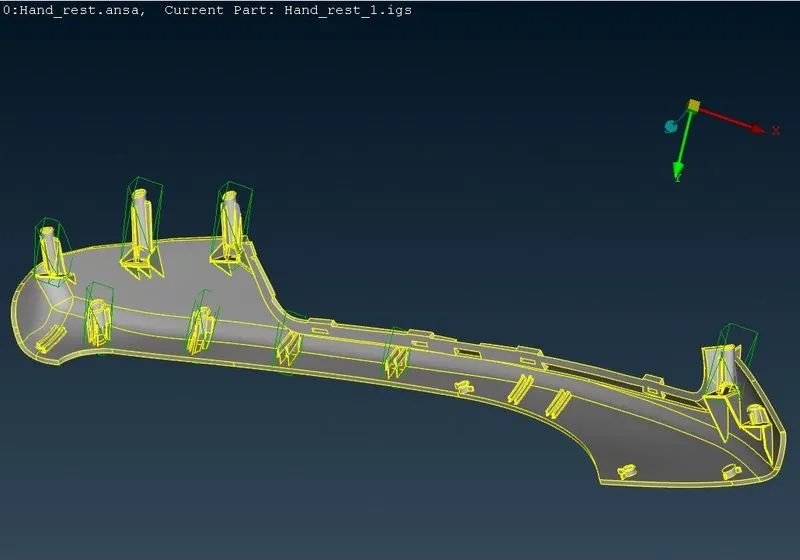
The height of the dog houses and the ribes are changed by morphing.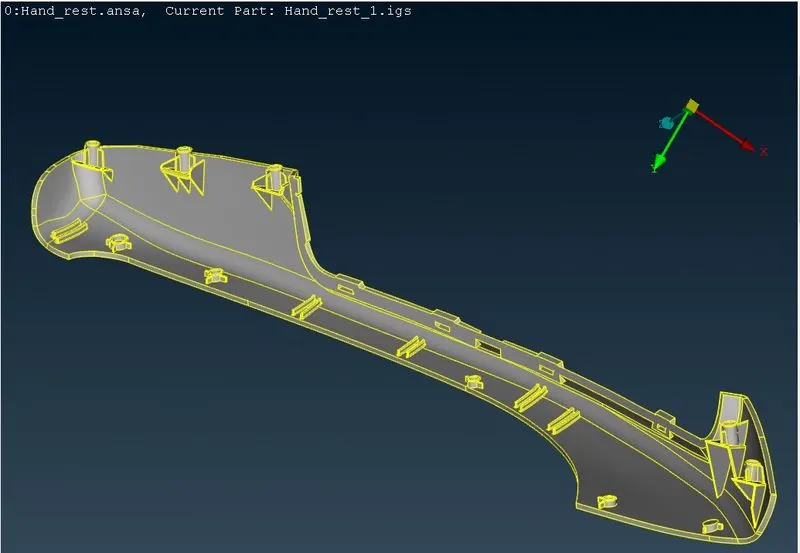
LEARNING OUTCOMES:
Learned how to create a new box for morphing.
Learned how to split the box created.
Learned how to how to change the lenght of the area in the geometry where box is created by using MOVE command and entities of the box.
Learned how to how to morph the FE MODEL.
CONCLUSION:
Finally, we practiced and learned MORPHING on Model 1 and Changed the Height of the dog houses and ribes which are maked by creating Boxes and MORPHING.