Week - 8 - Morphing
Model-1
1.
TOPO and orient is to be done first (from topo module)...
Then we can move to Morph Module... (Fig.)
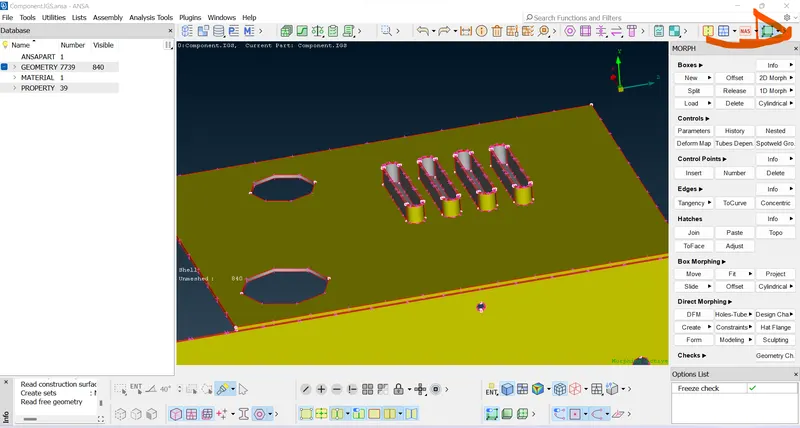
2.
MORPH Module---Boxes---New (Fig.)
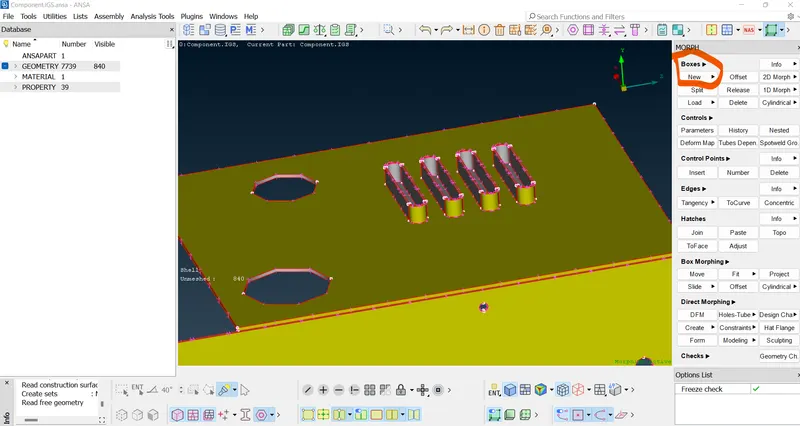
Select the entities using iNOT command and lock the selected entities
3.
Create the morph box around the element to be morph as shown in Fig.
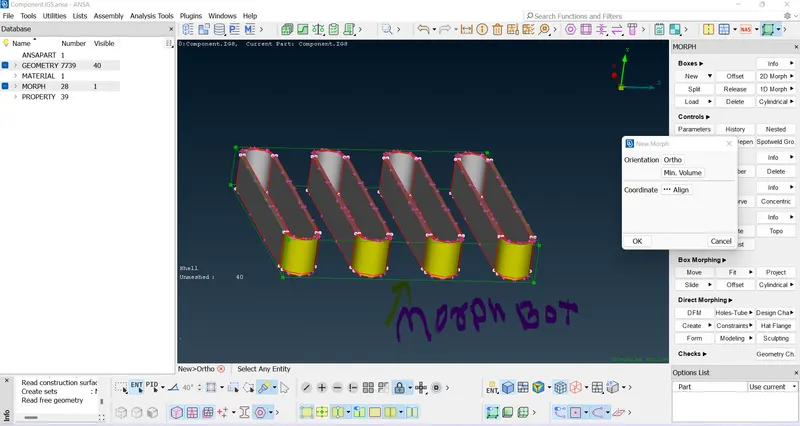
4.
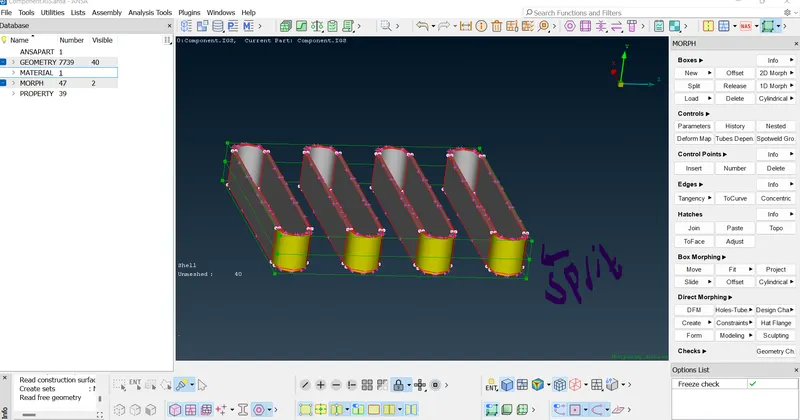
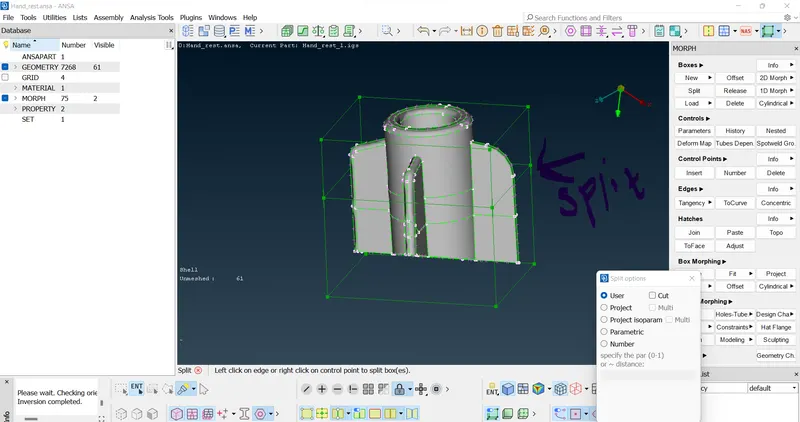
after creating the box , we have to split it into the heights. (because we are increasing heights)...MORPH Module---Boxes---Split
5.
MORPH Module---Boxes Morphing---Move..
use this command to increase the height of object in specific direction....
6.
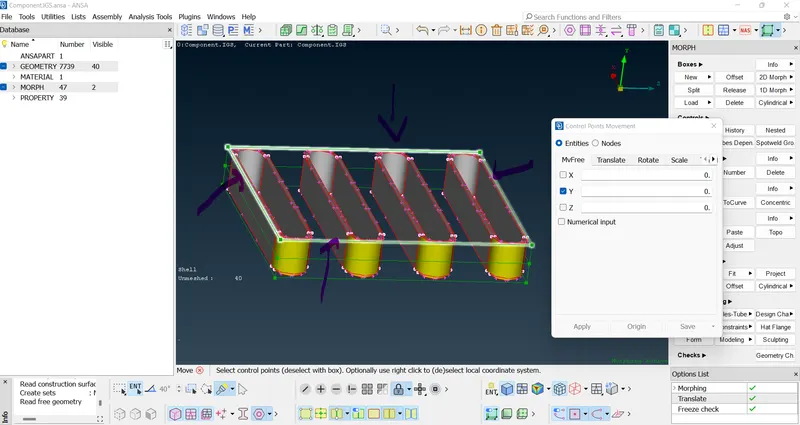
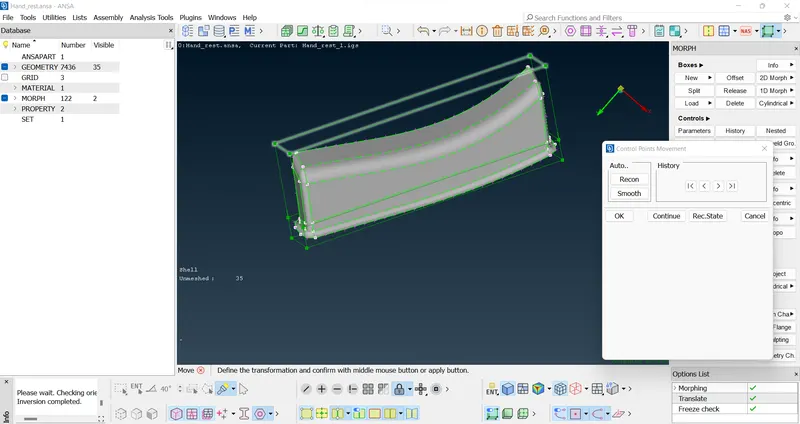
after selecting the entities as shown in fig, give middle mouse click and you can increase the height as long as you want by moving cursor...
(IN Mvfree)
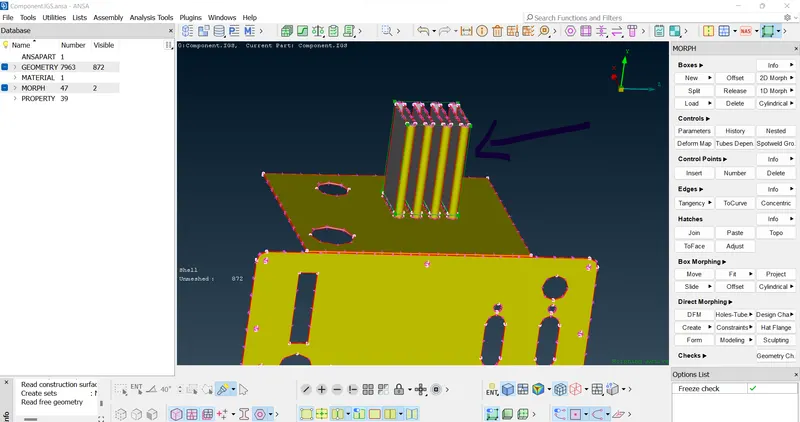
Morphing is done....
Model-2
1.
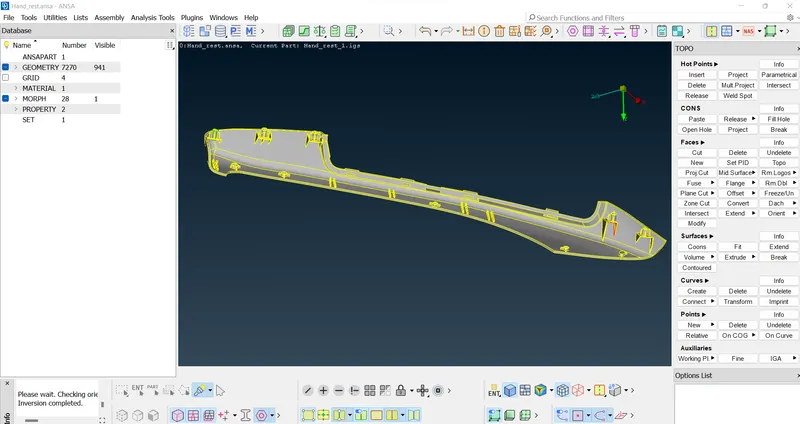
TOPO and orient is to be done first (from topo module)...
Then we can move to Morph Module... (Fig.)
2.
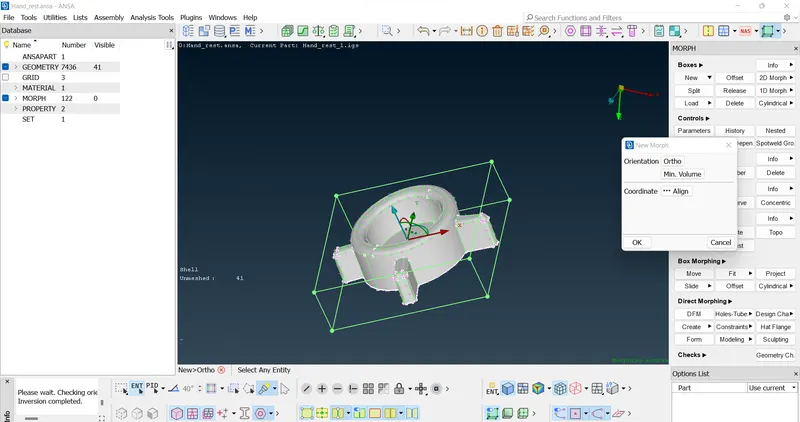
MORPH Module---Boxes---New (Fig.)
Select the entities using iNOT command and lock the selected entities
3.
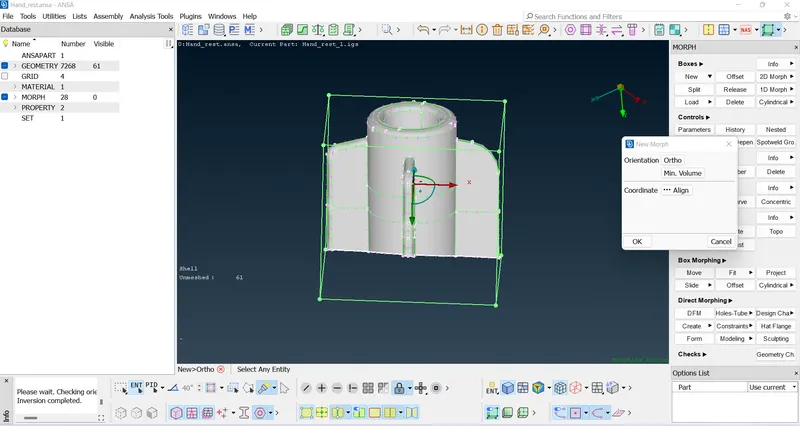
Create the morph box around the element to be morph as shown in Fig.
4.
after creating the box , we have to split it into the heights. (because we are increasing heights)...MORPH Module---Boxes---Split
5.
MORPH Module---Boxes Morphing---Move
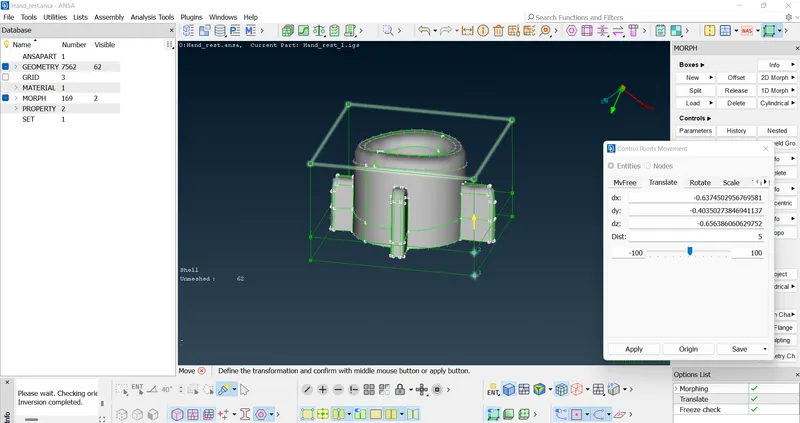
In this model or geometry , In move option Mvfree would not be good choice to morph the object as global axis is not matching with the given entities.. so here we are using translation command to perform the operation (increase height)
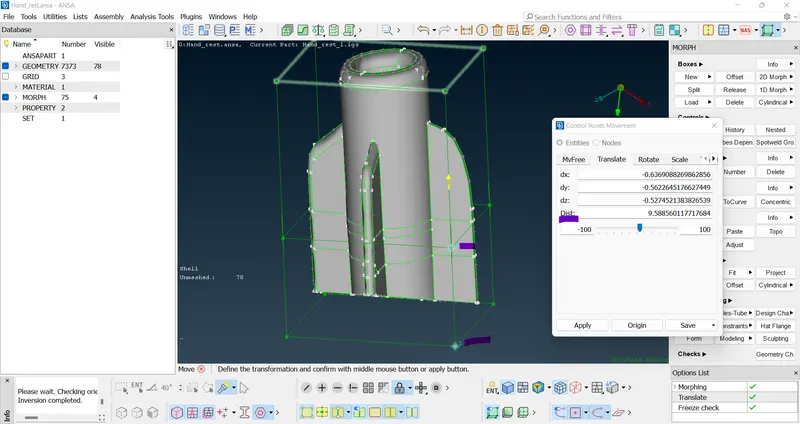
In Dist option enter the value of height to reshape it..
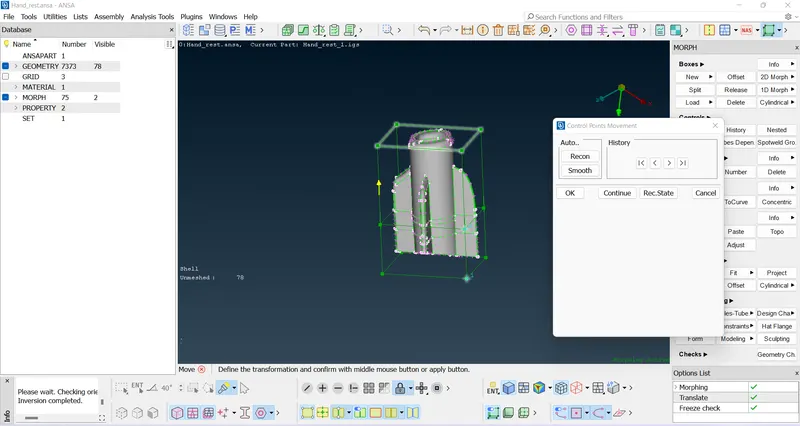
same process can be applicable for other objects too.......
object-2
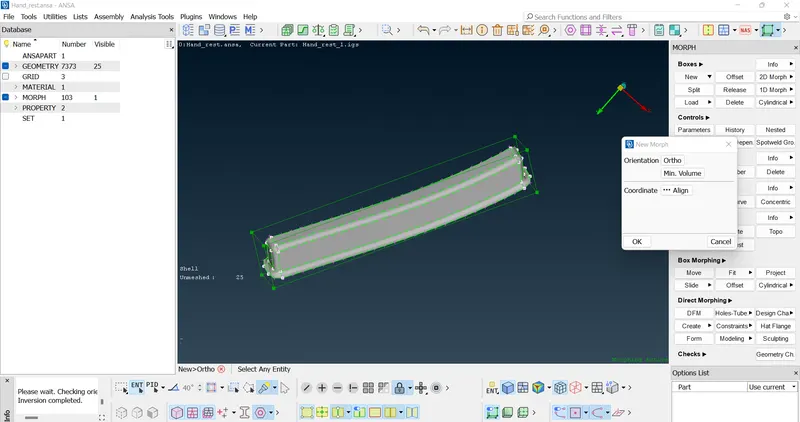
object-3
Final
Applications of Morph
Change the size and modified the design of Wings of plane & other components .
back side of car (hatchback to sedan), modified the size of cars selectend component..