Week - 8 - Morphing
Aim:
There are several goals for this challenge, among them:
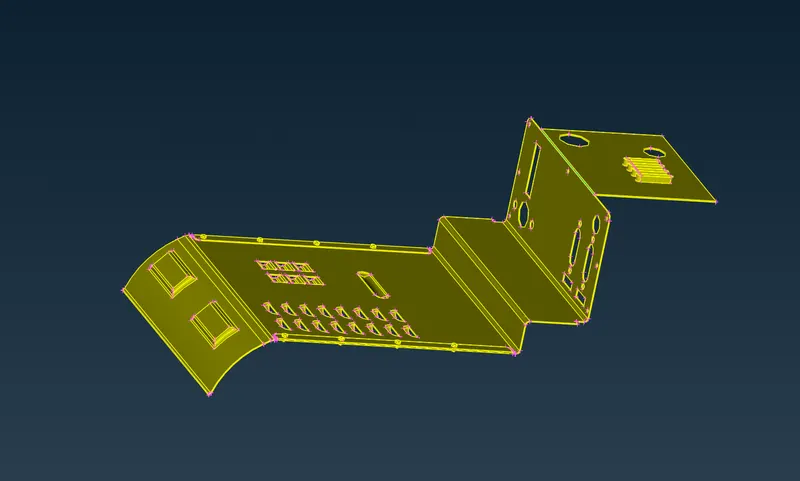
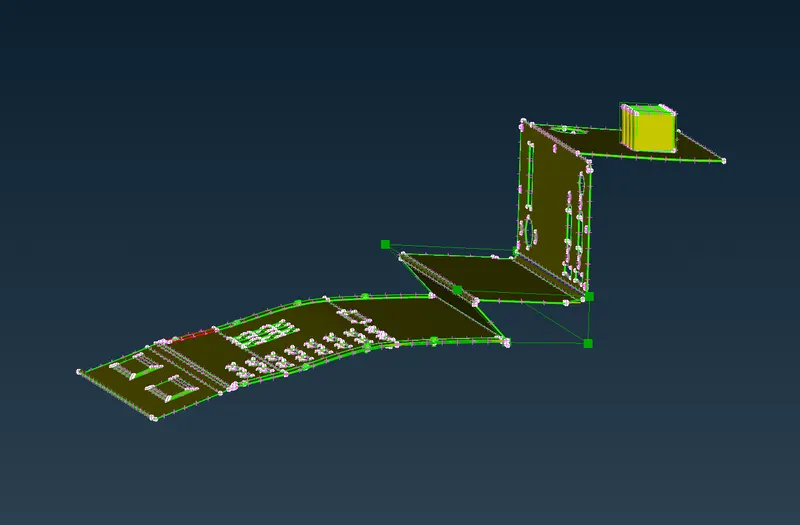
1. To apply the morphing techniques covered in the week 8 video to the Model-1 sheet metal part that has been provided.
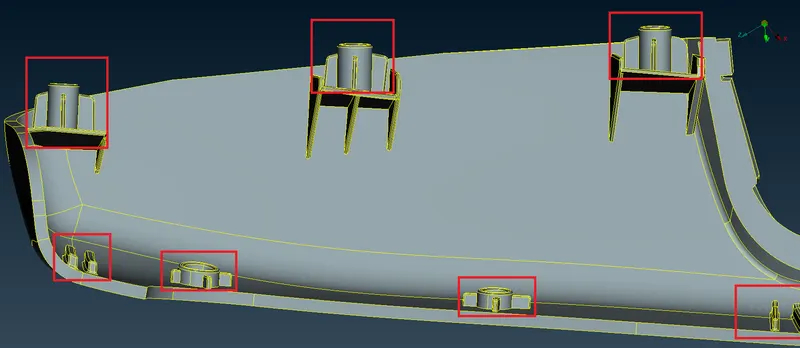
2. To modify "Model-2" by raising the ribs and doghouses indicated in the next screenshot.
Procedure:
1. We must "prepare" the component before beginning any morphing operations, which entails eliminating any deformities, stray single cons, hot points, etc. To use the topo tool from Faces > Topo in the topo deck, this model needs to be topologically cleaned up. When the tool is active, we can proceed by highlighting the entire component. Since it is supposed to be a closed volume, this corrects all the single cons, which are now accurately depicted as double cons.
2. Then the orientation of the component takes place.
3. After that, a geometry check and cleanup must be done, and ANSA includes a tool for that. Checks > Geometry in the upper toolbar will bring up the checks tool. All components must be visible in order for the checks to be performed. The tool will highlight any geometric errors, and you can remedy them all by selecting them all, right-clicking, and selecting fix.
4. We can now start the morphing process after finishing the geometry cleanup. As the protrusions are the ones we will be morphing, this area of the component is separated using one of the focus tools (Not/!Not).
Then, we shall go to the ‘Morph’ deck and there we need to go to Boxes > New > Ortho and then Geometry is selected.
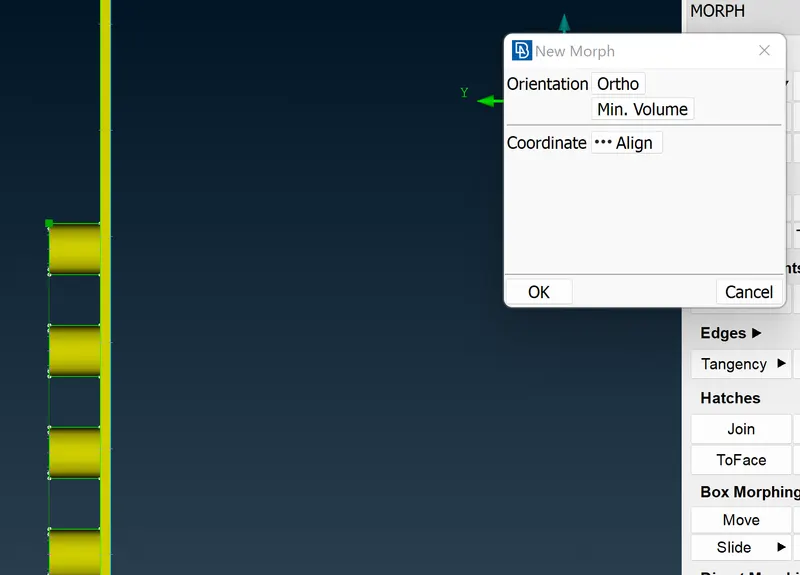
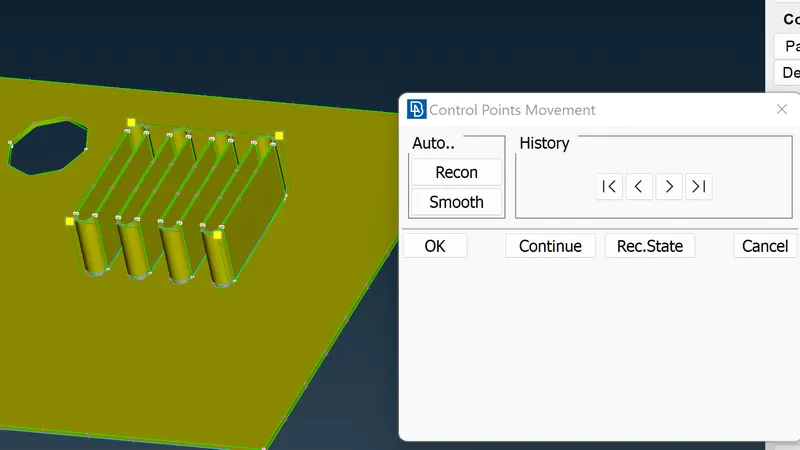
5. Now we can select Box Morphing > Move to move these control grids on the morph box. This is essentially ‘morphing’. After accessing the tool and selecting the nodes of the grid(s), we can move them based on the coordinate system. By right-clicking one of the nodes on the grid, the tool uses the local coordinate system, which makes the morphing process more intuitive, personally.
Model 2:
1. The requirement in the case of Model-2 is to increase the height of the dog houses and ribs.
2. As we did in the previous component, we are to highlight the particular doghouse & ribs using Boxes > New > Ortho. Since this is not a mesh and is a geometry, the geometry option is selected. After highlighting the doghouse and ribs, the middle mouse is clicked and the morph box is formed as shown.
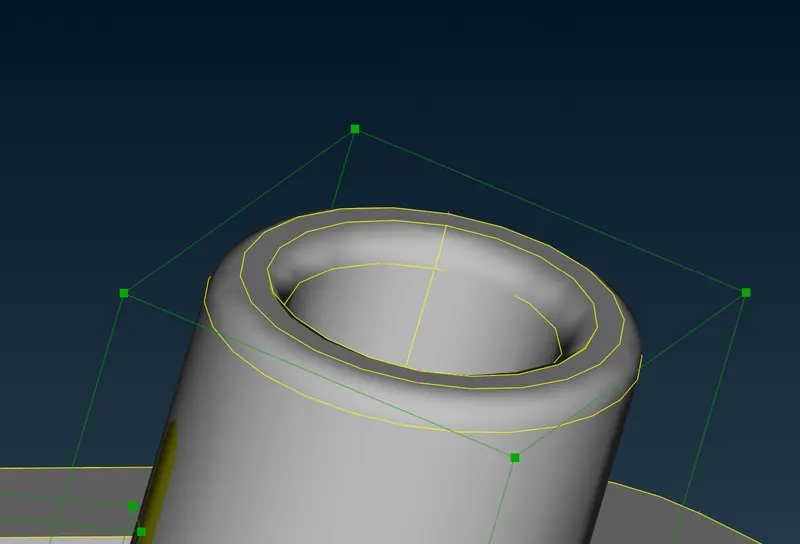
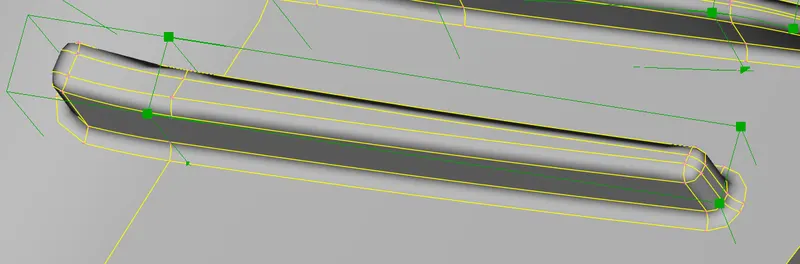
In the rib cases, using the ‘Min volume’ setting from the morph box options seems to provide a more accurate morph box that facilitates the morphing of these ribs.
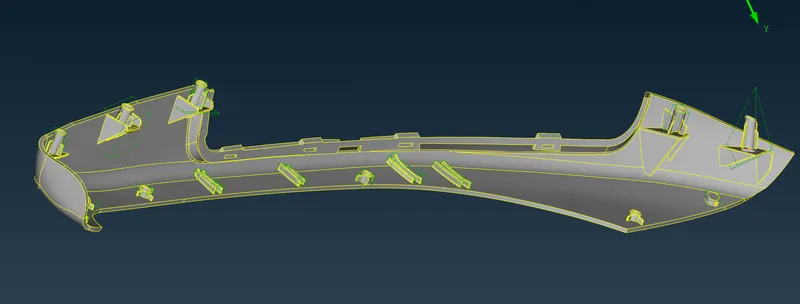
final model
Application of merphing:
1. The morphing feature is basically as its name says, an algorithm that lets the user rapidly morph existing CAD or FE models to match new geometry and/or to new proportions. They are usually carried out to fit target design features such as styling lines, sections, proportions etc. precisely.
2. Morphing is primarily utilized in the automotive industry where it is typically used to match styling, upper body to carry over under body matching, morphing sedan to station wagon or SUV etc. can be executed rapidly.
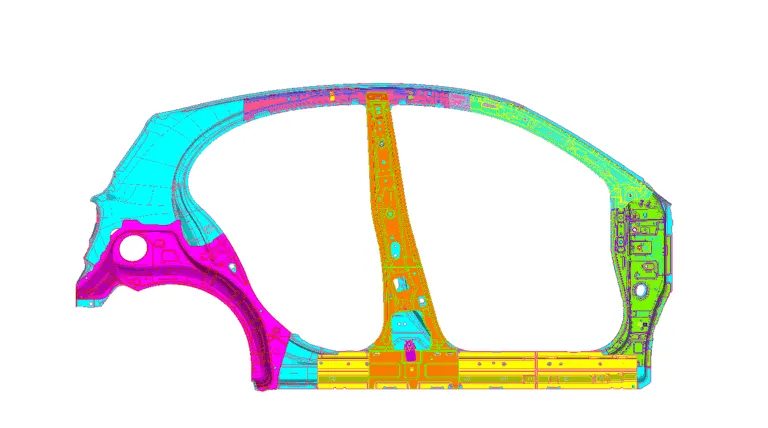
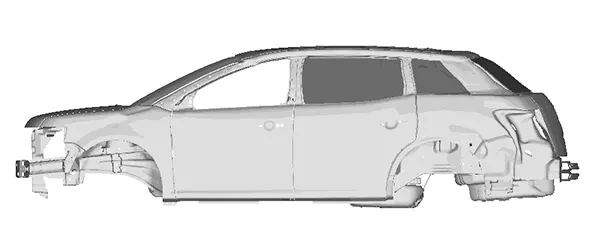
Other applications involve it being used in the aviation industry, especially when it comes to improving aerodynamic efficiency. Aerodynamic efficiency is a key aspect in commercial aircraft design as it allows reducing fuel consumption and meeting emission and performance requirements.
LEARNING OUTCOMES
1. Learned the concept of morphing and morph tools available in the morph deck.
2. Learned about the applications of morphing.
RESULT
Both the given models were morphed as per requirements - the first model was morphed as per the Week 8 video on morphing and the second model’s ribs and doghouses were morphed as specified in the given screenshot.