Week - 8 - Morphing
Morphing the given Models
AIM:
To do morphing on the given two models and change the height of the Dog houses and Ribs in the second model. Finally comparing the given and morphed model for geometry change visualization.
MORPHING:
Morphing is nothing but the changes done to the geometry of the model to have different models that are slightly having design changes to rectify the failure of the parts/model and help the model to be successful. These techniques are generally used by the CAE Engineers to get better results and help the model to serve its purpose or what the part is intended to do without fail.
The following will provide the steps involved in morphing the geometry and comparing it with the given geometry for better visualization.
MODEL-1:
The given model has been imported to the ANSA Software and a preliminary check namely Geometry or topology check was done on the CAD Model. If any issues or errors were present in the model, were cleared later. Figure 1 shows the given model, figure 2 shows the geometry check made on the model and the issues present in it. The figure shows that the model is free from all geometrical errors.
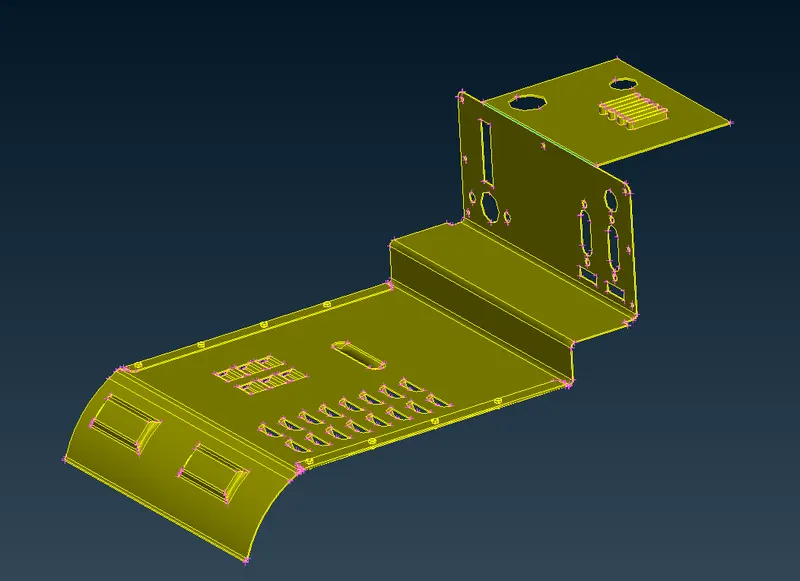
Fig.1 Model imported to ANSA
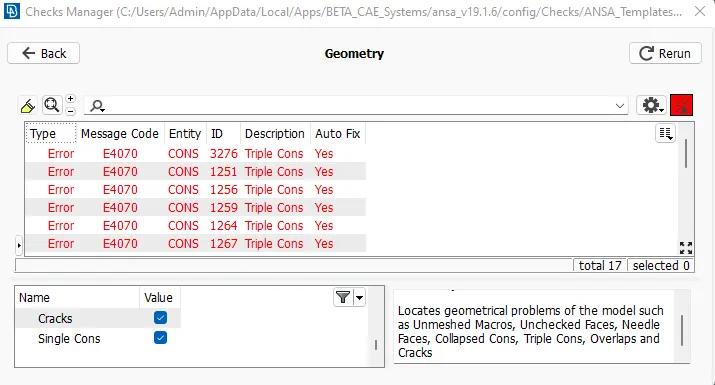
Fig.2 Geometry Check
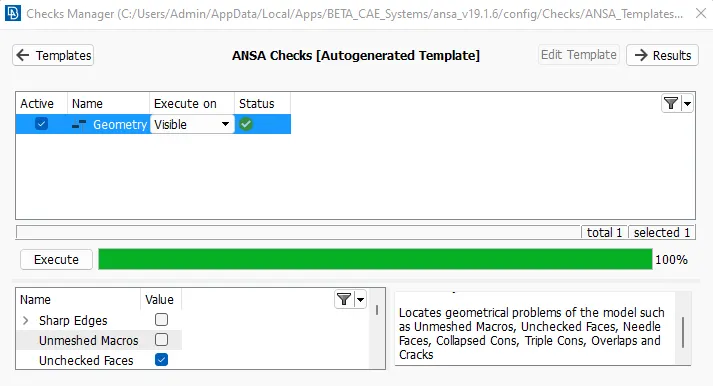
Fig.3 Geometrical Errors Cleared
After clearing all the topological errors, then it is switched to the MORPH Module where morphing options are available. For changing the size or geometry of any feature, the first boxes need to be created as shown in figure 4.
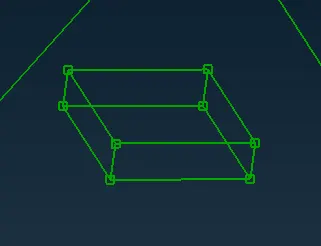
Fig.4 Box created for the feature to be changed/resized.
Then the respective nodes are selected and moved either in the global axis or local coordinate axis to change the feature size. Figure 5 shows the Morph Boxes created to change the model design.
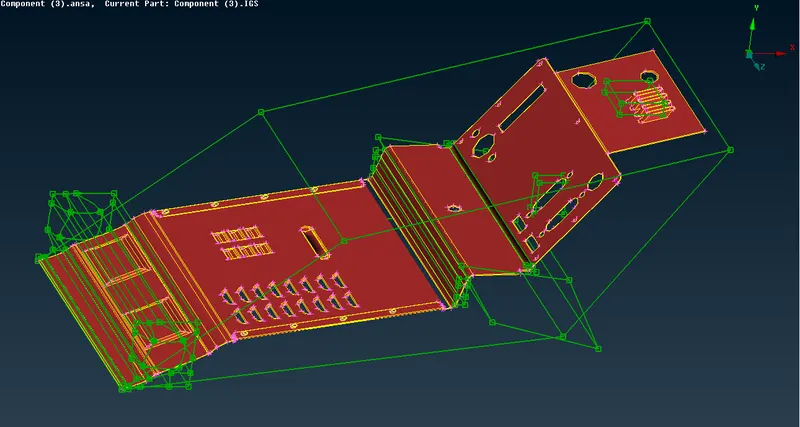
Fig.5 Morph Boxes were created to change the design.
Figure 5 shows all morphing techniques carried out as per the data given. In some places, SPLITS were used to split the boxes to get the required design change. It helps in easily changing the design at only the specific locations/areas without altering the neighboring areas. After that, the morphed model is compared against the given original model for better visualization. Figure 6 shows the Morphed model (i.e. Design Change).
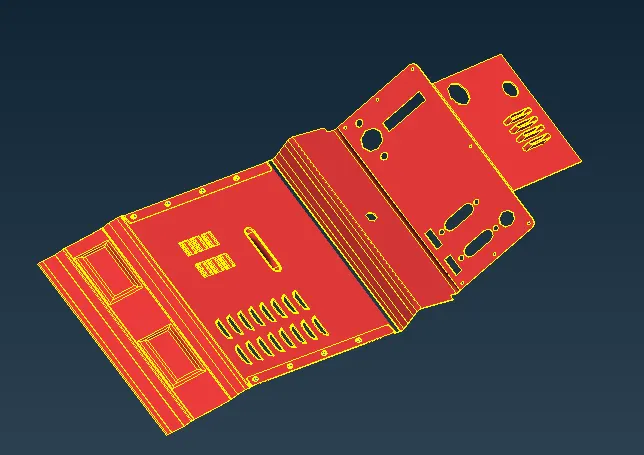
Fig.6 Morphed Model
Figure 7 & 8 shows the comparison between the Morphed and Original Models. This comparison helps to understand the design changes or modifications made to the model. These help to get the design better and fulfill the intended use of the model.
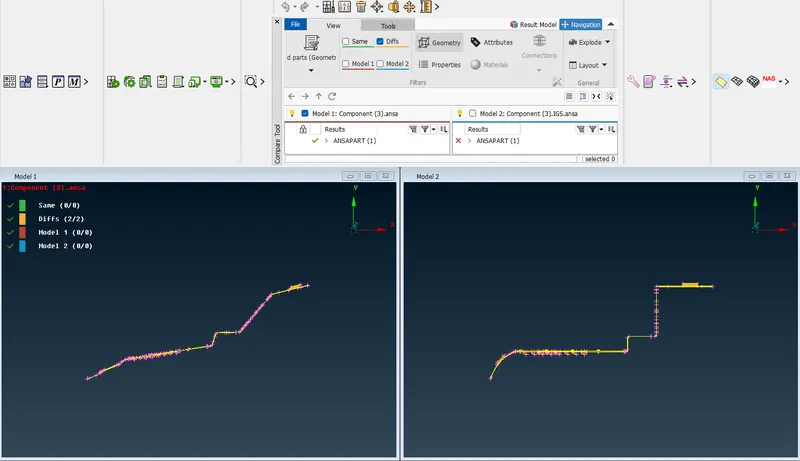
Fig.7 Comparision Morphed Vs Original Model
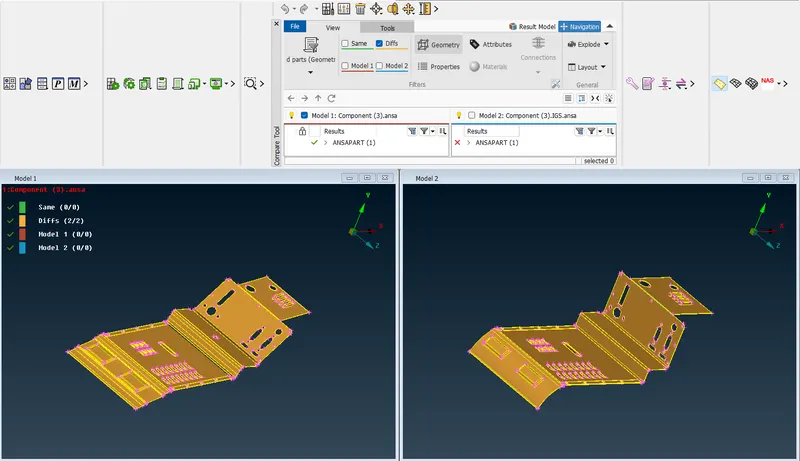
Fig.8 Comparision Morphed Vs Original Model
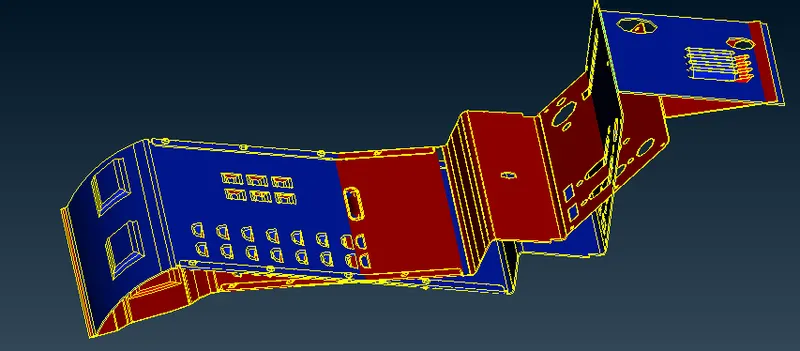
Fig.9 Morphed (RED) & Original (BLUE) Model
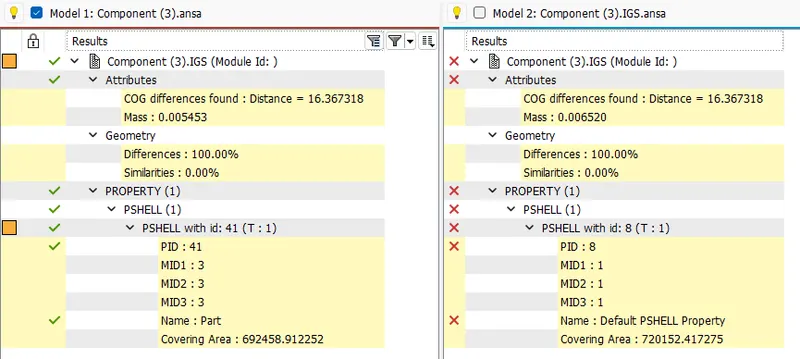
Fig.10 Differences in Properties of the two models.
From figure 10 it is clear that there is no change in COG of the models but there is a slight change in mass for the Morphed model compared to the original model.
MODEL-2:
The given Hand Rest model has been imported to the ANSA Software and a preliminary check namely Geometry or topology check was done on the CAD Model. If any issues or errors were present in the model, were cleared later. Figure 11 shows the given model, figure 12 shows the geometry check made on the model and the issues present in it. The figure shows that the model is free from all geometrical errors.
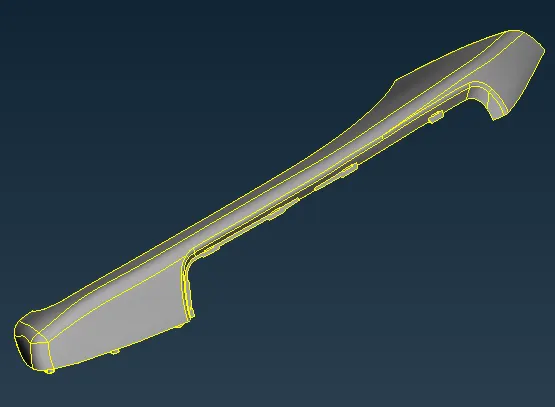
Fig.11 Model imported to ANSA
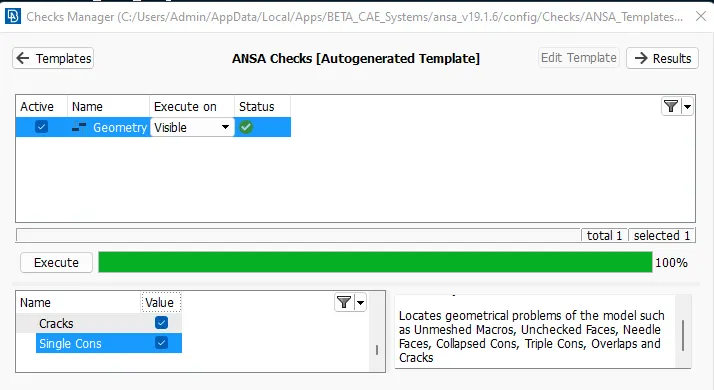
Fig.12 Geometry Check
After clearing all the topological errors, then it is switched to the MORPH Module where morphing options are available. For changing the size or geometry of any feature, the first boxes need to be created as shown in figure 13.
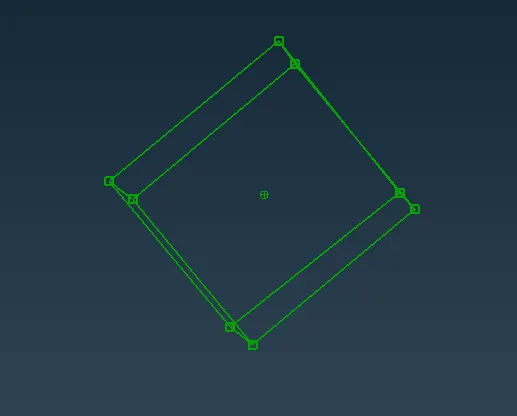
Fig.13 Box created for the feature to be changed/resized.
Then the respective nodes are selected and moved either in the global axis or local coordinate axis to change the feature size. Figure 13 shows the Morph Boxes created to change the model design.
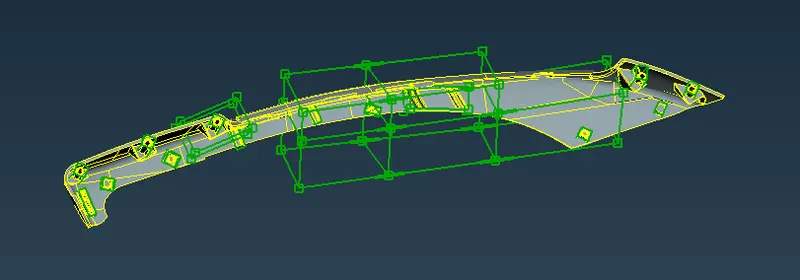
Fig.14 Morph Boxes were created to change the design.
Figure 14 shows all morphing techniques carried out as per the data given. In some places, SPLITS were used to split the boxes to get the required design change. It helps in easily changing the design at only the specific locations/areas without altering the neighboring areas. In addition to that Dog Houses and Ribs present on the back side of the Hamd Rest were altered by changing their heights. After that, the morphed model is compared against the given original model for better visualization. Figure 15 shows the Morphed model (i.e. Design Change).
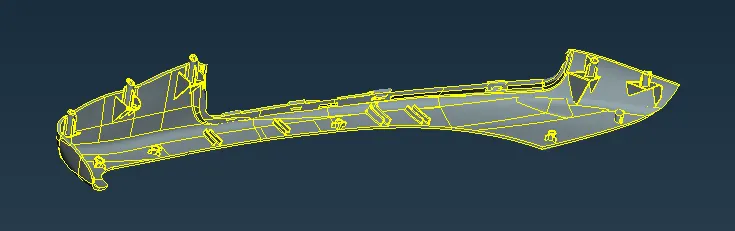
Fig.15 Morphed Model
The altered Dog houses and rib heights are shown in figure 16 along with the original heights. The height of the Dog House has been increased to 31.19mm from 14.49mm. The Rib height was increased to 5.39mm from 3.3mm.
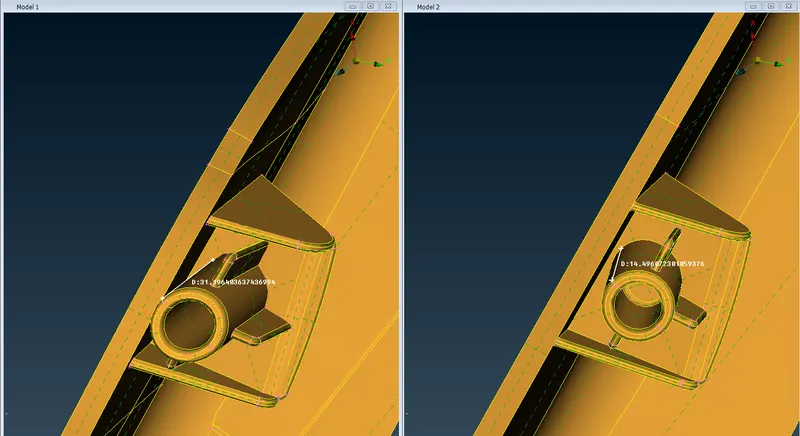
Fig.16 Height Difference of the Dog Houses between Morphed and Original Model
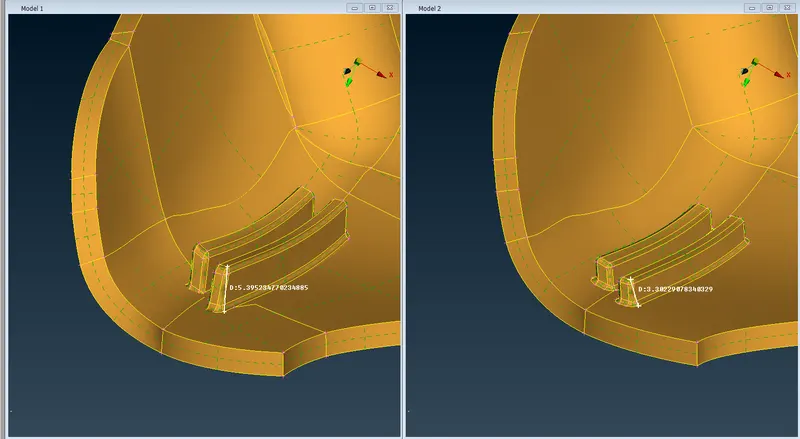
Fig.17 Height Difference of the Ribs between Morphed and Original Model
Figure 18 & 19 shows the comparison between the Morphed and Original Models. This comparison helps to understand the design changes or modifications made to the model. These help to get the design better and fulfill the intended use of the model.
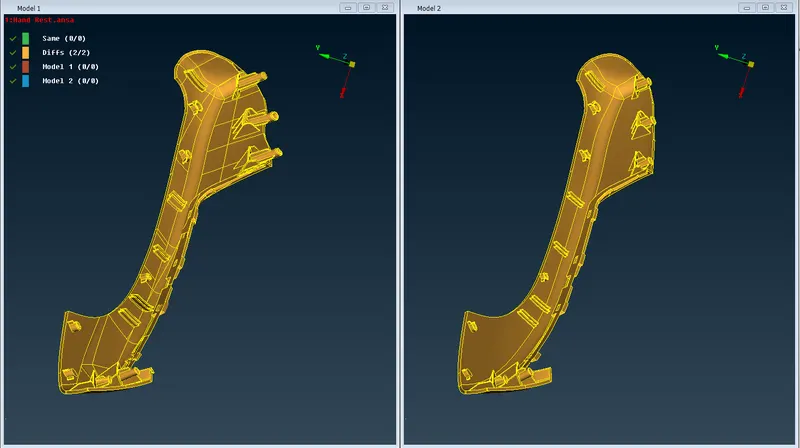
Fig.18 Comparision Morphed Vs Original Model
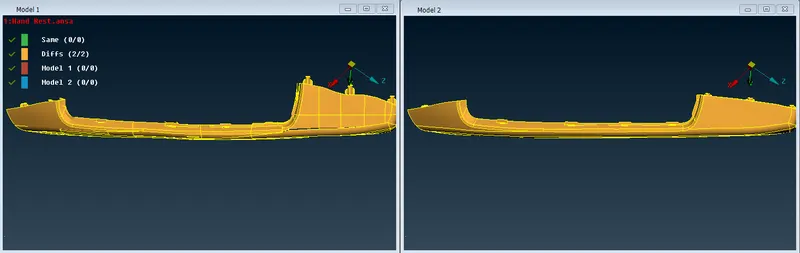
Fig.19 Comparision Morphed Vs Original Model
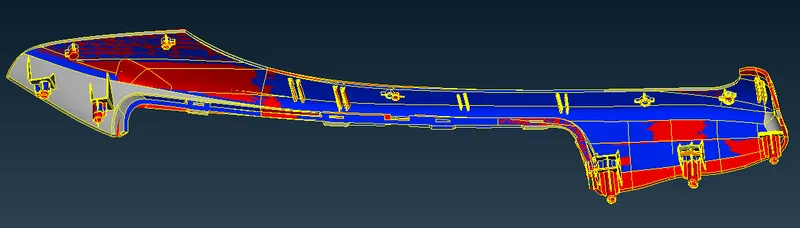
Fig.20 Morphed (RED) & Original (BLUE) Model
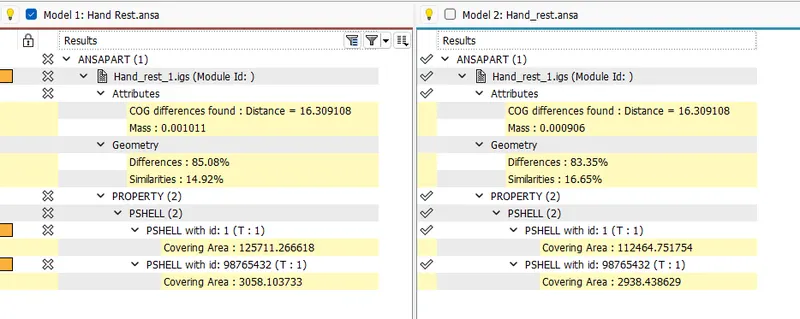
Fig.21 Differences in Properties of the two models.
From figure 21 it is clear that there is no change in COG of the models but there is a slight change in mass for the Morphed model compared to the original model.
LEARNING OUTCOMES:
- Making design changes using Morph Module.
- Altering the geometry to get the best out of the given model.
- Creation of new design with notable changes in geometry and not from scratch.
CONCLUSION:
The morphing Technique helps to better results from the designed model and also improves the design by altering at the preprocessing stage itself without having to redesign the entire part or model. Thus saving time and also a variety of design changes can be made and results can be viewed instantaneously.
APPLICATIONS:
The morphing Techniques are used in every industry where there is a need to create a new design without starting from scratch. Because, if the design is started from scratch will take more time and the results were not good as predicted for the designed model, then it is a total waste. In such cases, Morphing can be used to get rid of the old design and alter the same to get the predicted results.
Morphing helps to get the best out of the given design model with the possibility of altering at the given instances, thus saving time and improving results at outcomes.