Week - 8 - Morphing
BASIC MORPHING DECK OPERATIONS BY USING ANSA
OBJECTIVE = The main objective of this project is to perform the BASIC MORPHING operations on Hand Rest Plastic Component and Sheet Metal Component.
PROCEDURE =
Model 1 - Sheet Metal Component
- Import Cad Geometry = File - Open - Select Geometry.
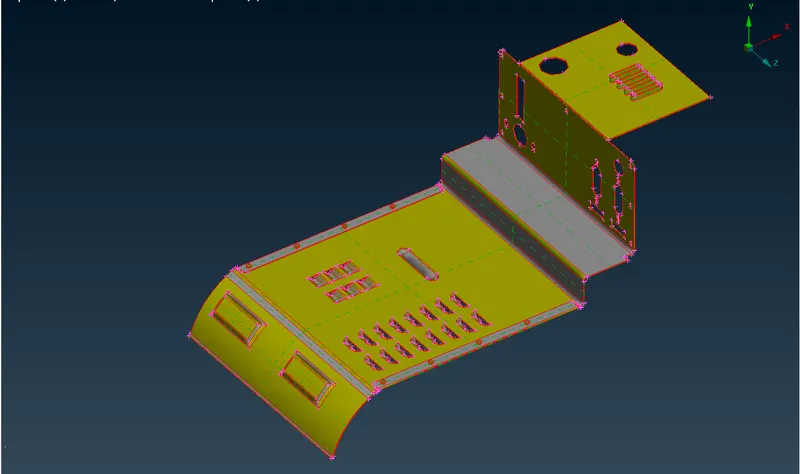
- Image 1: Imported CAD Model (Sheet Metal Component)
- The given CAD Geometry imported in ANSA workbench and orientation checked.
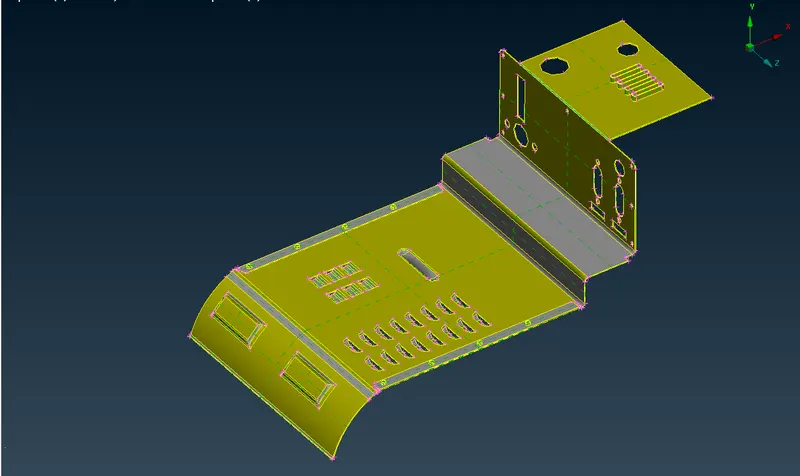
- Image 2: Topo Clean-Up
- Geometry Clean-UP = Tools - Checks - Geometry. Errors are resolved automatically by using fix command in geometry.
- Topo - Faces - Topo Command used to clear issues with the orientation
- All geometrical errors are cleared using auto FIX option.
- Morphing operations are performed by using Morphing Deck from modules.
- When Morph module is on then, Morphing Active window is shown on screen at the bottom right side.
- Morph - Boxes - New is used to create a box to performe morph operation.
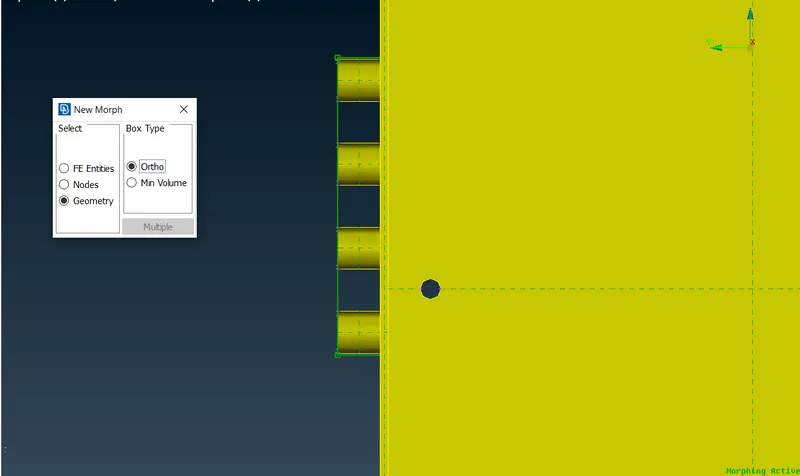
- Image 3: Morph Box Creation
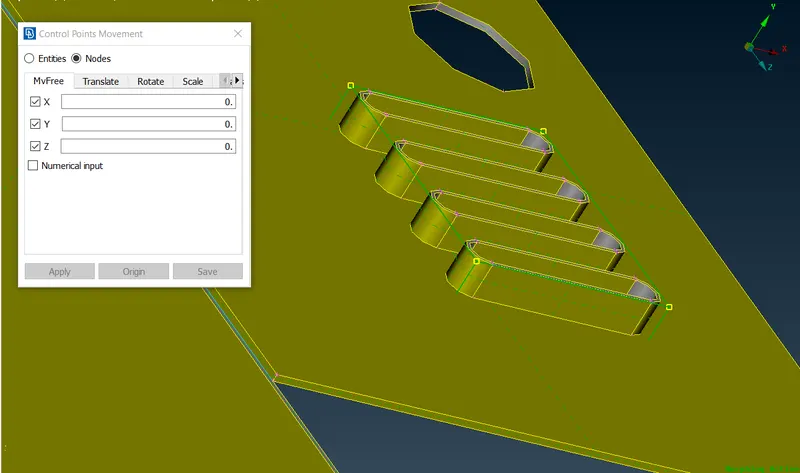
- Image 4: Selection of Grid Morphing
- Morph - Box Morphing - Move is used to control the points movement.
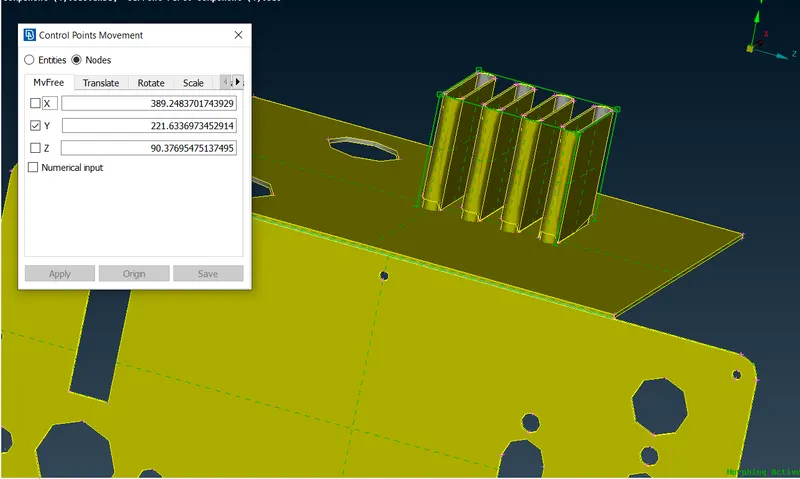
- Image 5: After Morphing
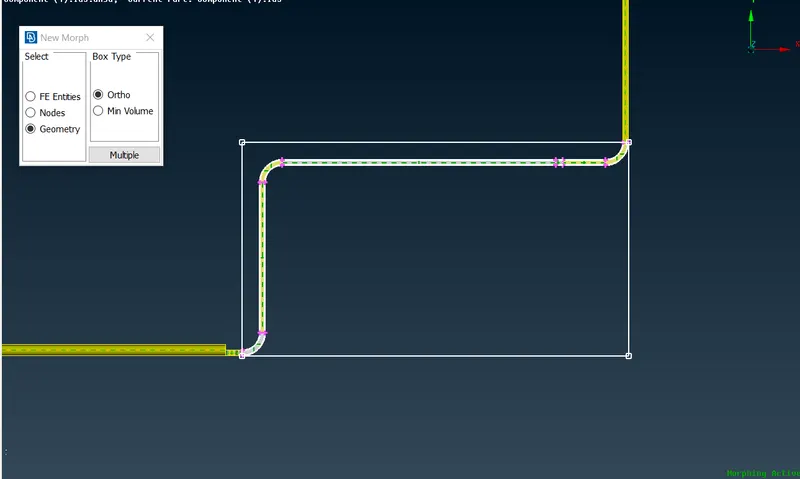
- Image 6: Morph Box Creation
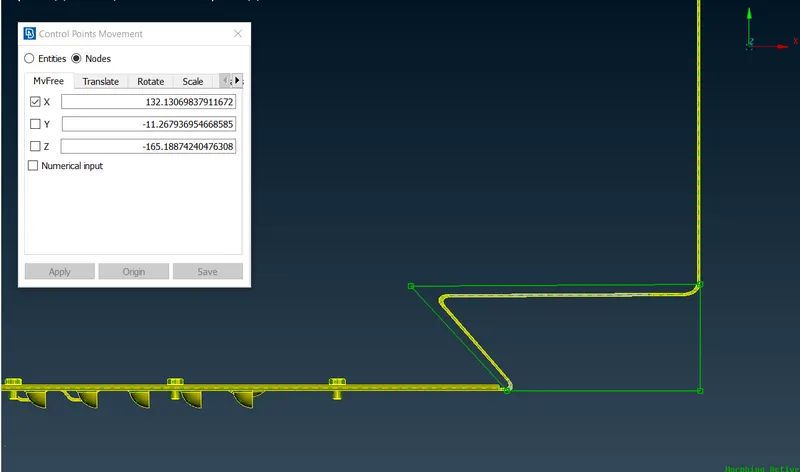
- Image 7: After Morphing
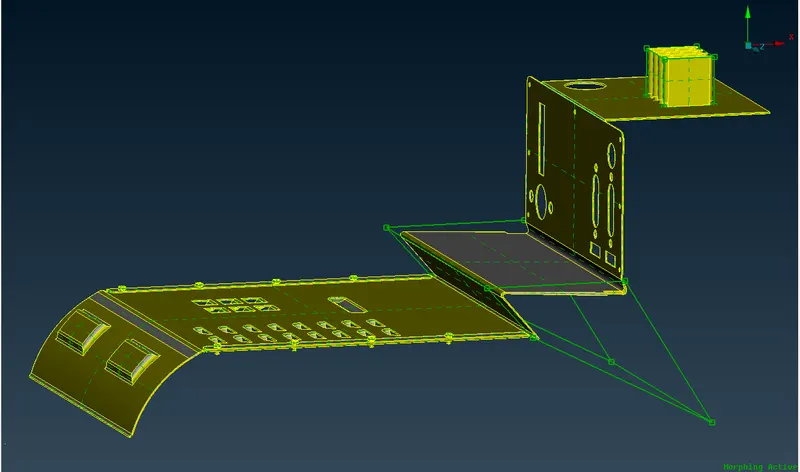
- Image 8: After Morphing Sheet Metal Component
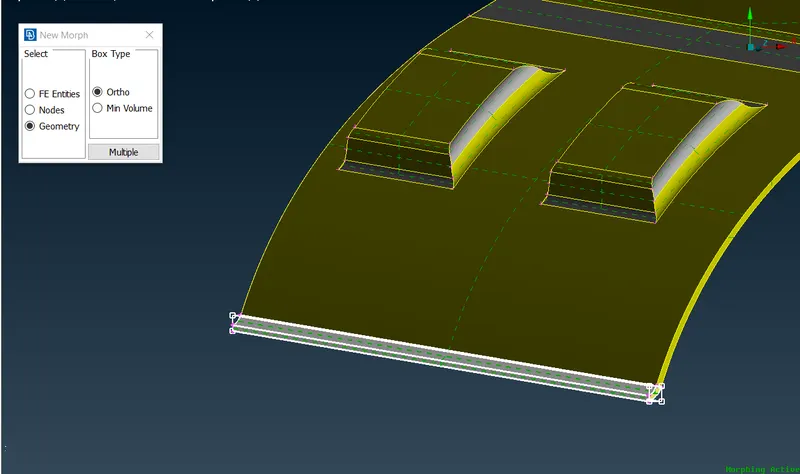
- Image 9: Morph Box Selection
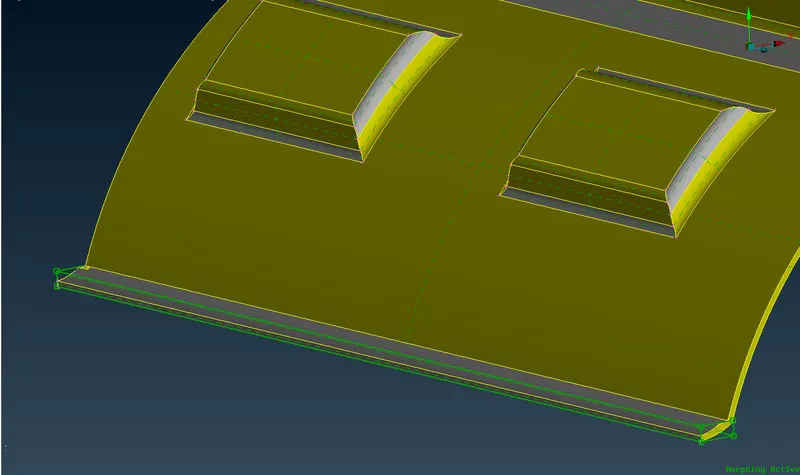
- Image 10: Selection of Grid
- Morph - Boxes - Split used to split the already created boxes.
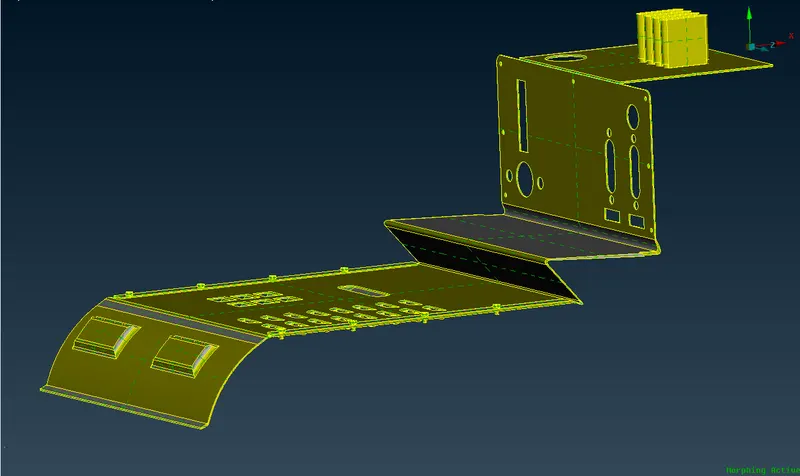
- Image 11: After Morph Operation Sheet Metal Component
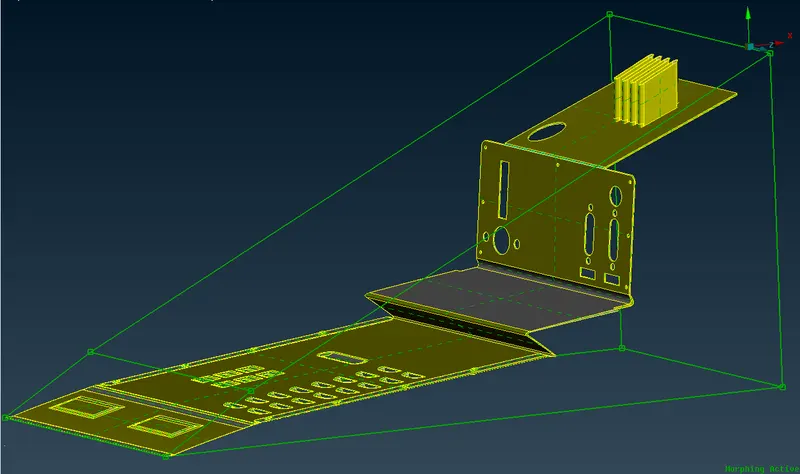
- Image 12: Finished Morph Component
Model 2 - Hand Rest Plastic Component
- Import Cad Geometry = File - Open - Select Geometry.
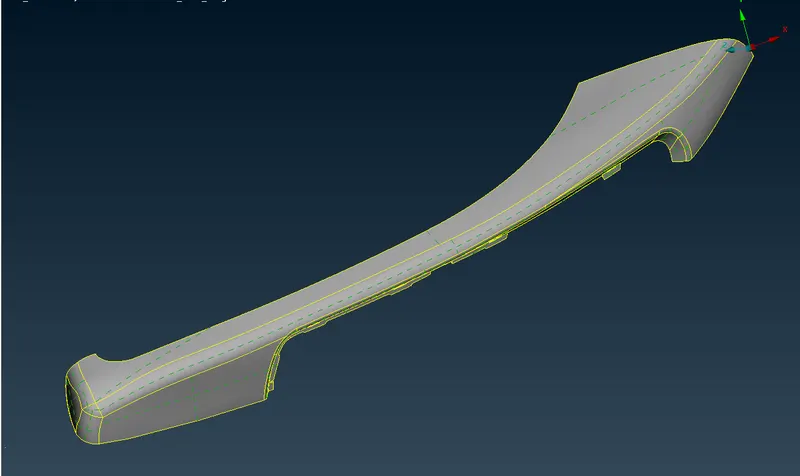
- Image 1: Imported CAD Model (Hand Rest Plastic Component)
- The given CAD Geometry imported in ANSA workbench and orientation checked.
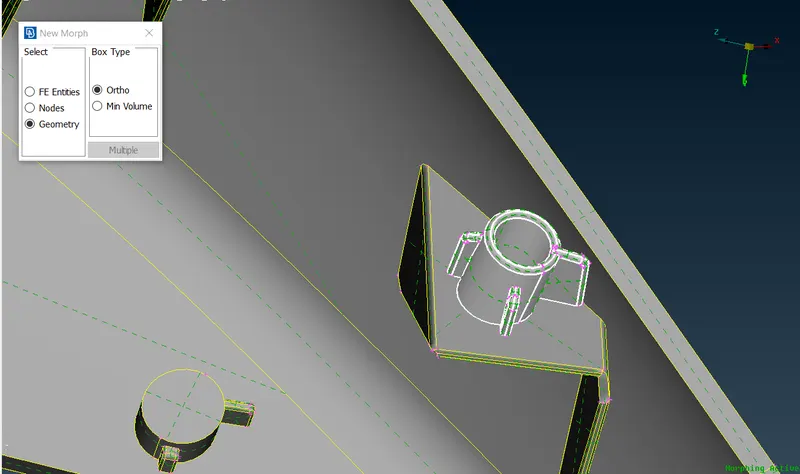
- Image 2: Morph Box Creation
- Geometry Clean-UP = Tools - Checks - Geometry. Errors are resolved automatically by using fix command in geometry.
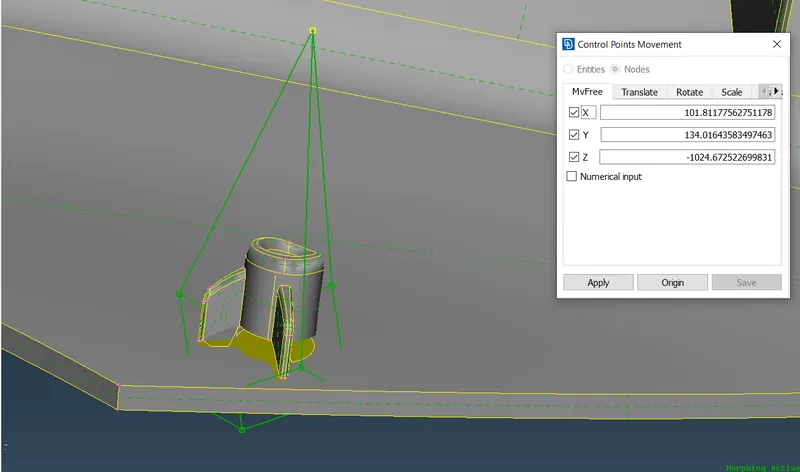
- Image 3: Selection of Grid
- Topo - Faces - Topo Command used to clear issues with the orientation
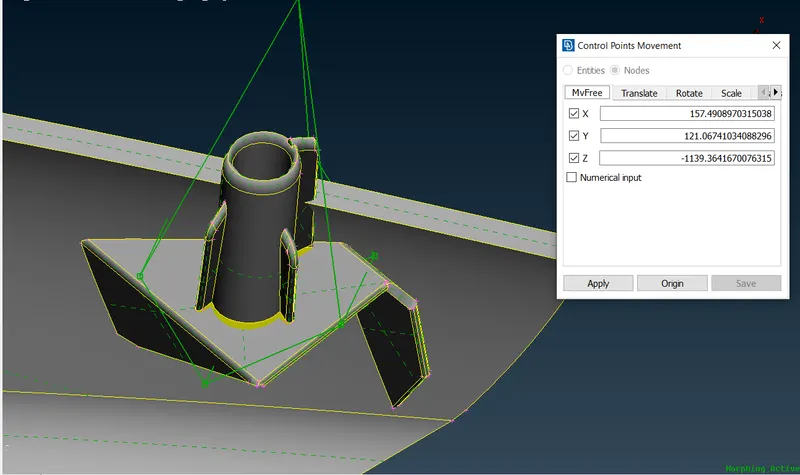
- Image 4: Control Point Movement
- All geometrical errors are cleared using auto FIX option.
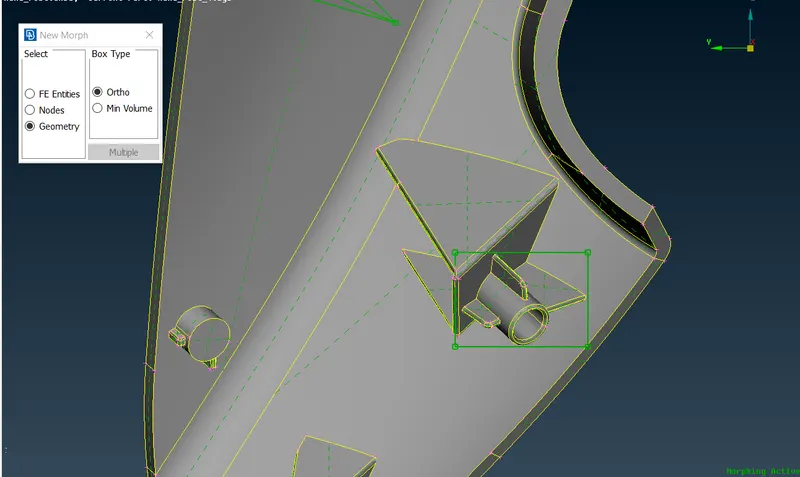
- Image 5: Morph Box Creation
- Morphing operations are performed by using Morphing Deck from modules.
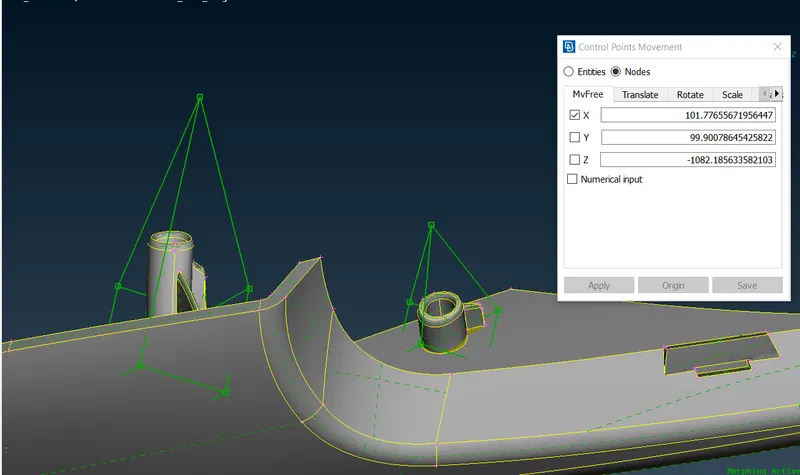
- Image 6: After Morphing
- When Morph module is on then, Morphing Active window is shown on screen at the bottom right side.
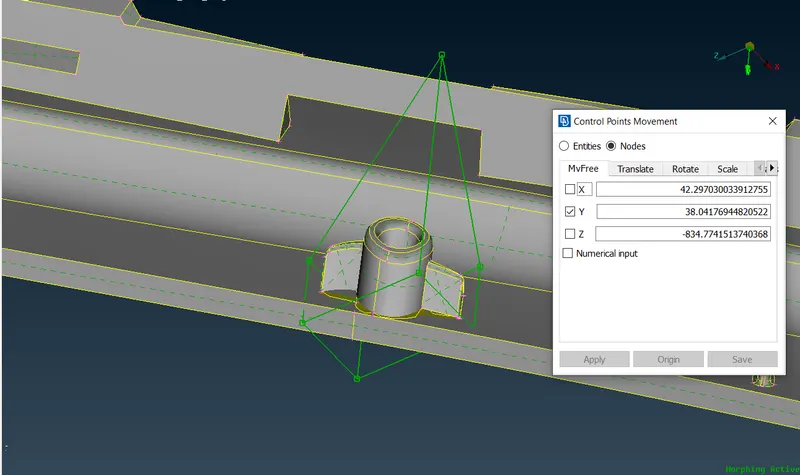
- Image 7: Control Points Movements
- Morph - Boxes - New is used to create a box to perform morph operation.
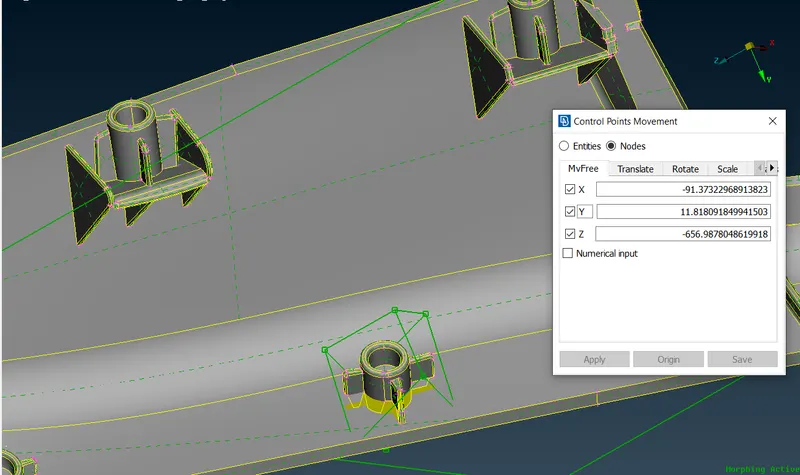
- Image 8: After Morphing
- Morph - Boxes - Split used to split the already created boxes.
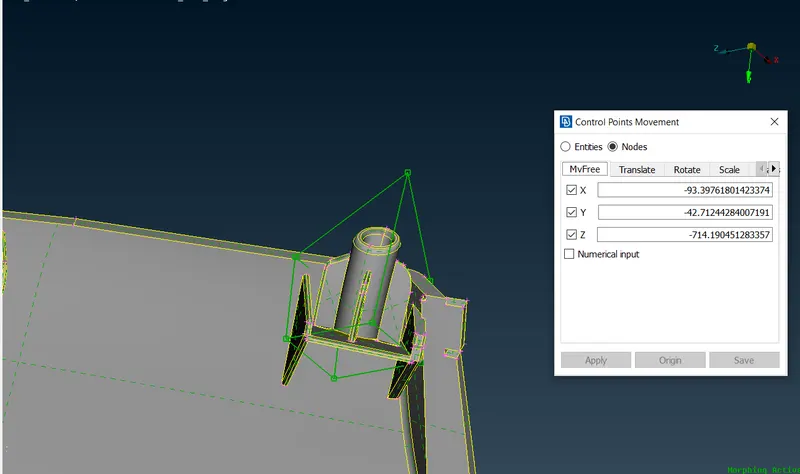
- Image 9: After Morphing
- Morph - Box Morphing - Move is used to control the points movement.
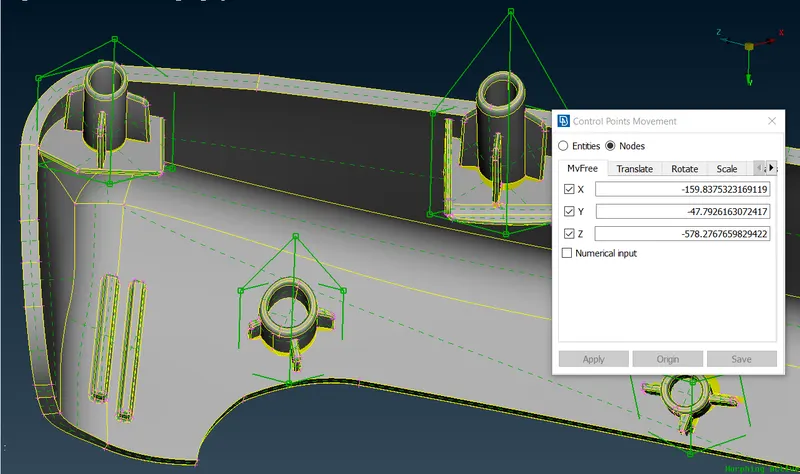
- Image 10: After Morphing
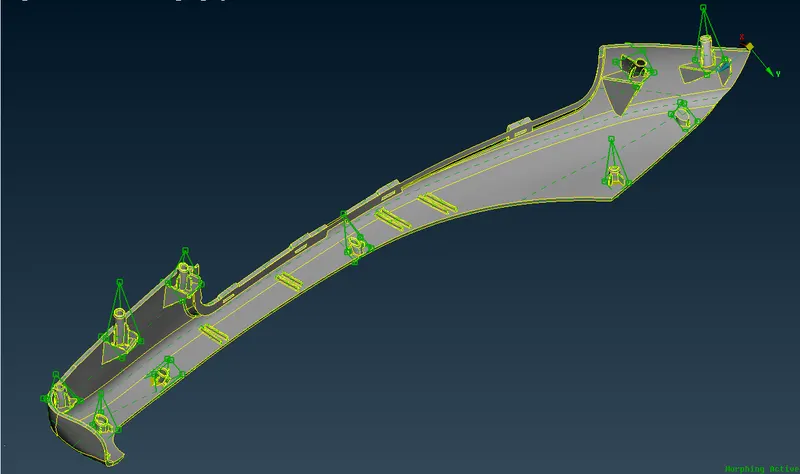
- Image 11: Morphed Hand Rest Plastic Component
Result = The Morphing Operations are done by using Morph Deck on Sheet Metal as well as on Plastic Component.
Conclusion = From this challenge I learned about CAD model import, Geometry clean-up, Morph Deck, Basic Morphing Operations, Morph Box Creation, Splitting of Already created Morph Box, Adjusting the Morph Box etc in the Plastic as well as in the Sheet Metal Component.
Applications = In Automotive Industry to Design or Modify the Older Version of the Model.