Week - 8 - Morphing
Aim:
a) Practice all the possible morphing techniques on Model 1
b) Same practice has to be done on Model 2 with an addition to increase the height of dog houses and ribs in the given areas.
Procedure:
Model 1
The general morphing techniques were done on the first model as given below:
a) Box Morphing (Geometry)
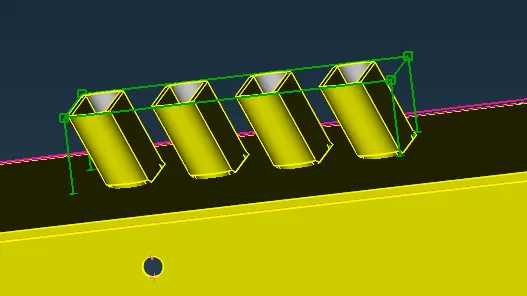
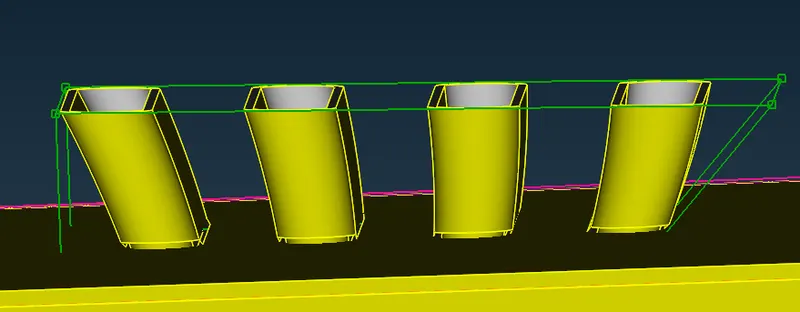
After choosing the box morphing and then select the geometry selection, morph box can easily be created. After creating the morph box, geometry was moved by selecting the move option from tool bar. Given images above illustrate the exact shape of geomtery after doing the morphing.
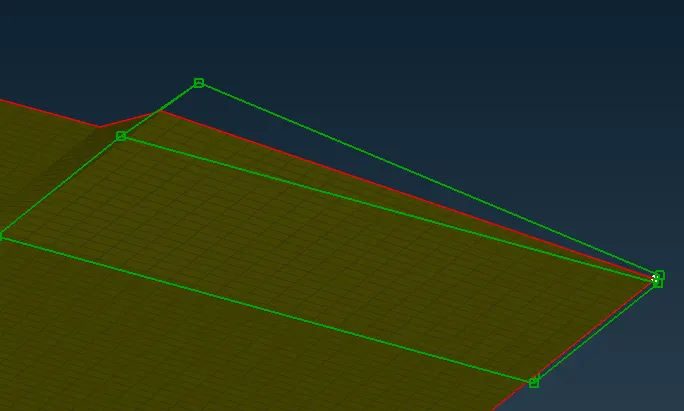
b) Box Morphing (FE)
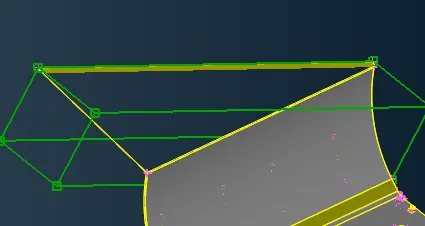
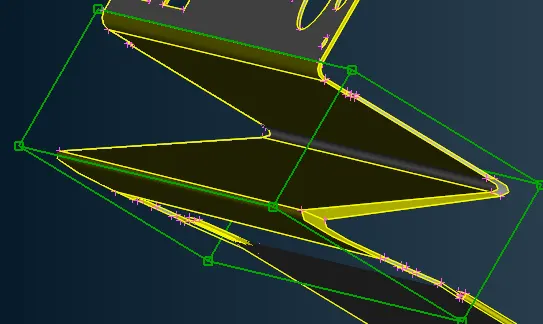
Just like above, same morphing techniques can also be applied on finite elements as given below:
c) 1D Morphing
This technique includes the change of orientation of a point as given below:
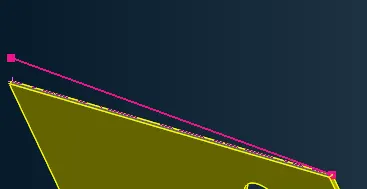
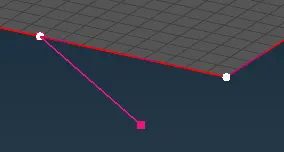
After selecting the 1D morph option from toolbar, point can be selected and the selected point can easily be relocated or reoriented on the desired location.
Model 2
Increasing the height of dog houses and ribs
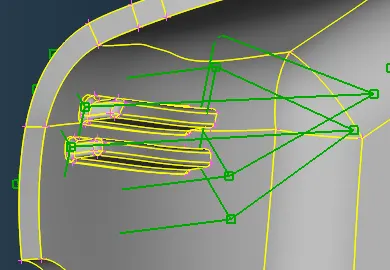
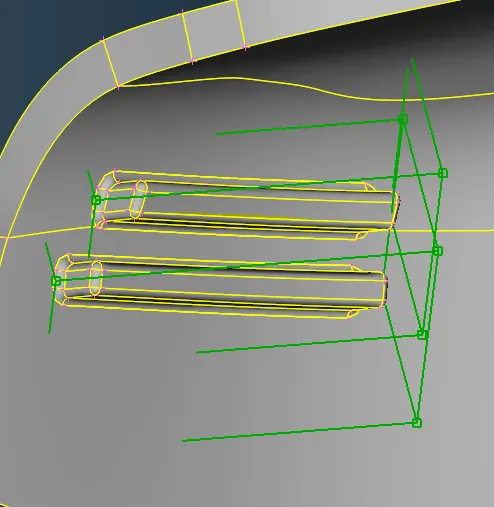
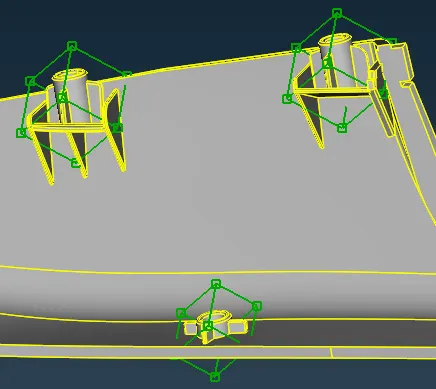
Just like the model 1, first the morph box was created for each of the dogs and ribs. After creating the box, height of dogs an dribs was increased by moving the vertex of box in the vertical upward direction.
Results:
a) Model 1 was successfully morphed and shape/size of the geometry was changed.
b) In the model 2, height of the dog and ribs were successfully increased.
Applications of Morphing
a) Automobile design changes with less time available and quick response.
b) In shipping industries, morphing techniques are applied in hull design because this is a parametric design.
c) In biomedical industry as in bone change modelling, cell and tissues reactions and the particular positioning of implants.
d) In thermal and aerodynamic industry as mesh shape change and geometry editing to analyse the systems.