Week - 8 - Morphing
AIM
The project aims to change the design of the component without any numerical values by using the Morphing method. In this project, the height of the dog house and ribs are altered in the design.
PROCEDURE
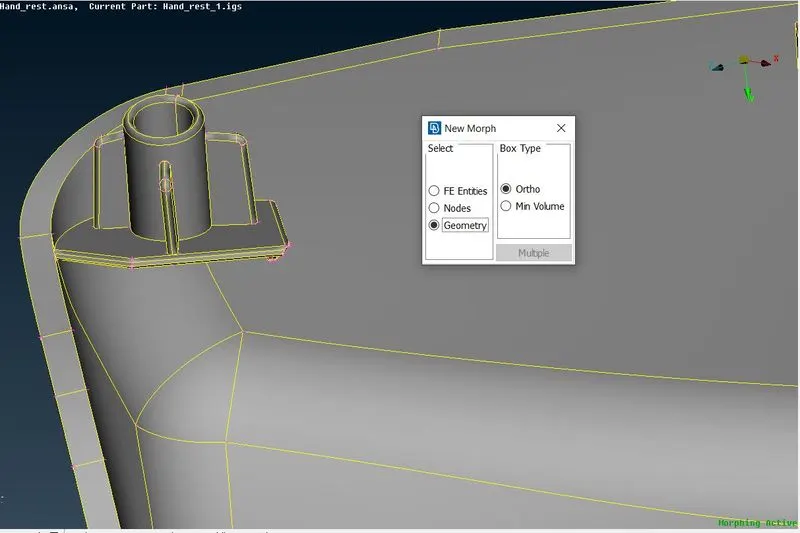
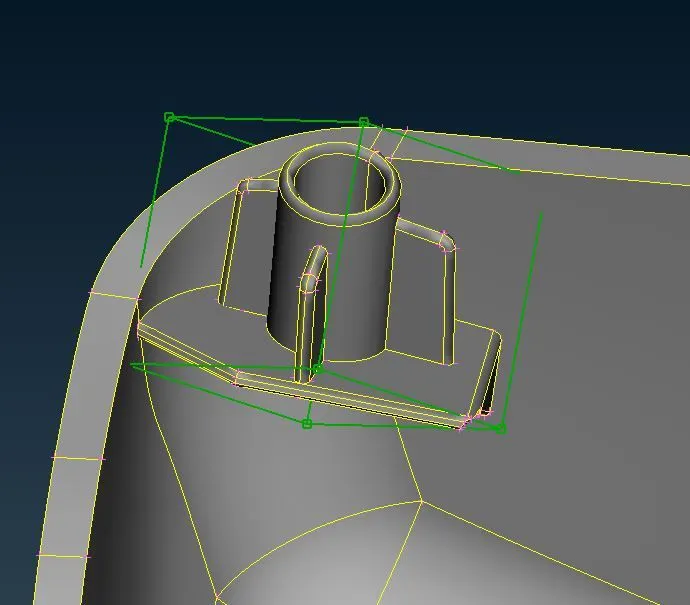
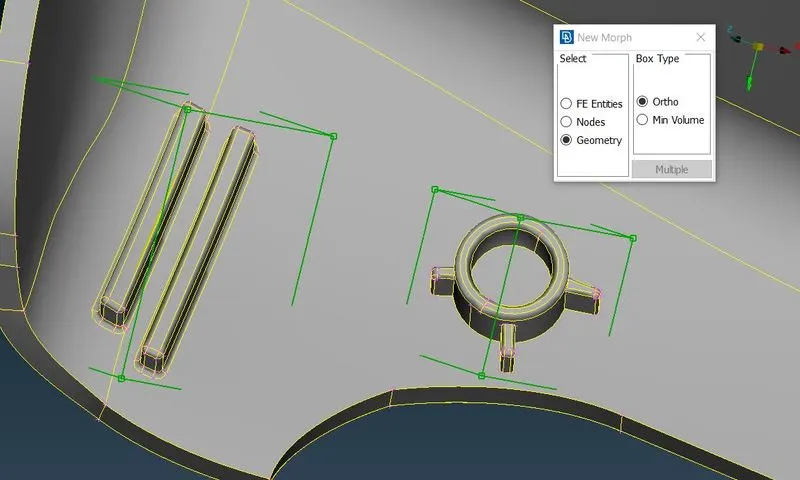
The procedure to obtain such design modification on the given design is done by free-free morphing techniques. Once we get into the morphing deck, morphing active is visible on the workplace box in Ansa. To change the height of the dog house and ribs in the given hand rest design, an orthogonal box has to be created on the particular mentioned components. The orthogonal box has been created by selecting the NEW command in the Morphing deck. Under NEW command, by switching to geometry, the desired ribs and dog houses are selected and the orthogonal box is created around it. The following image shows the representation of the orthogonal box around the feature to be modified.
Once the orthogonal box is created, by using the MOVE command the nodes of the orthogonal box can be moved according to the selected directions. The following image shows the nodal representation on the orthogonal box.
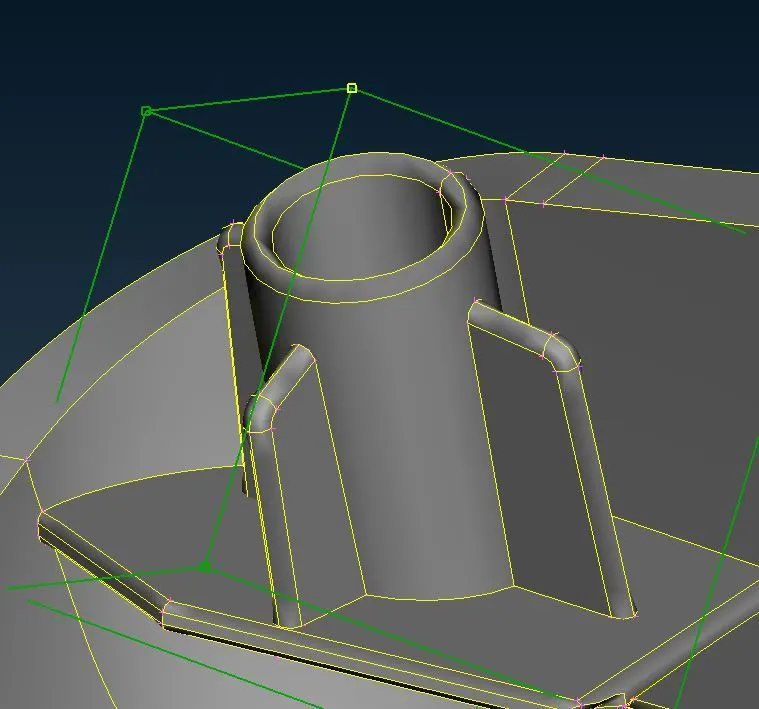
Since the height of the ribs and dog house has to be altered, the node point and the respective y-direction have been selected and shown in the following figure.
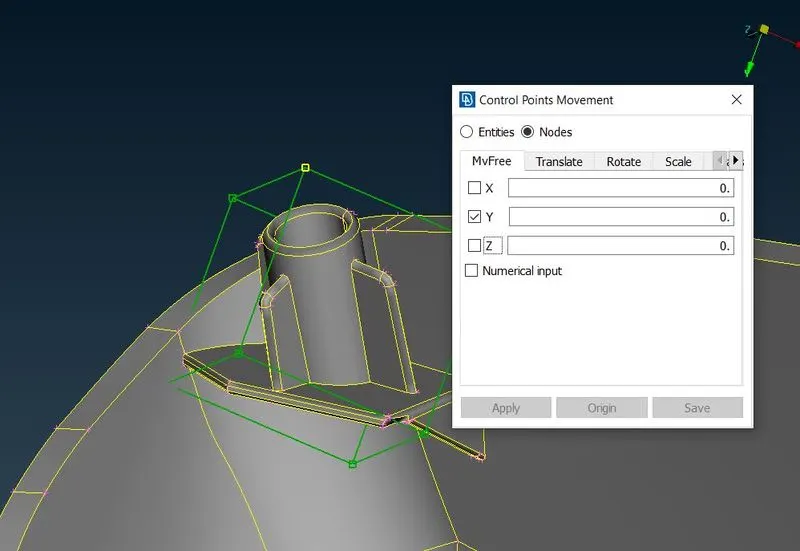
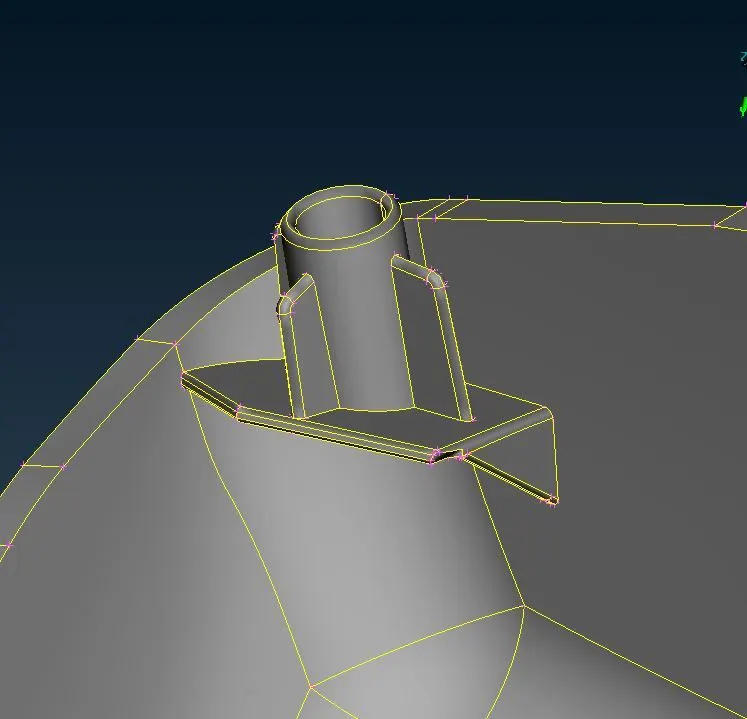
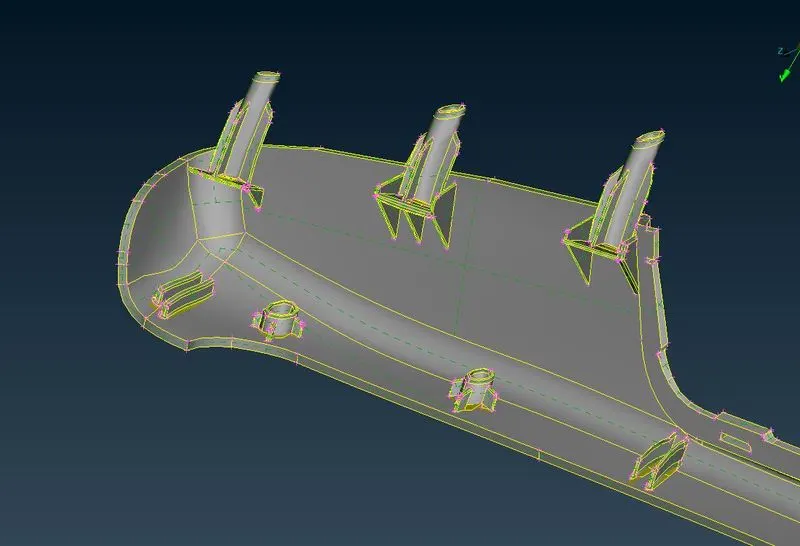
On moving the mouse cursor, the height of the dog house and ribs of this model have been altered. Once the height has been modified, the orthogonal box has been deleted by using the Delete command. The orthogonal box can be split into many parts, which allows making minute design changes on the component. The actual design and changed design of the dog house and ribs are shown in the following figure.
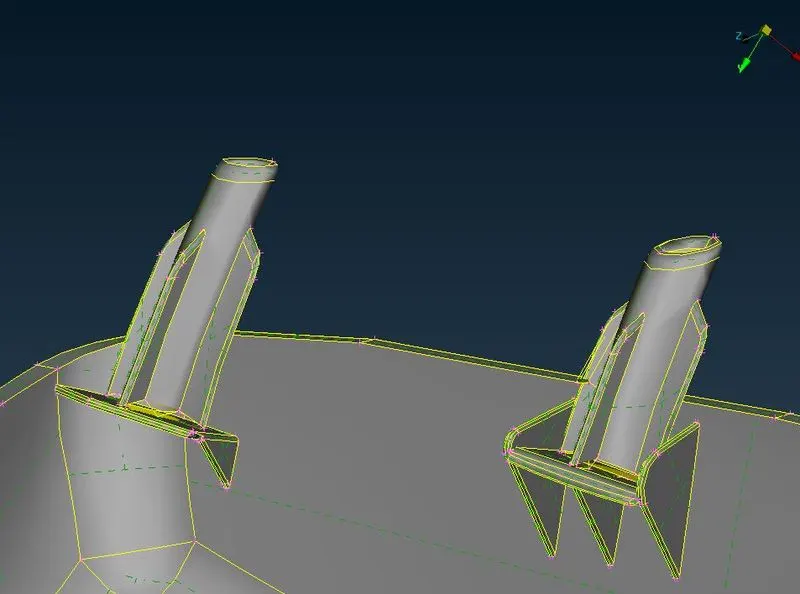
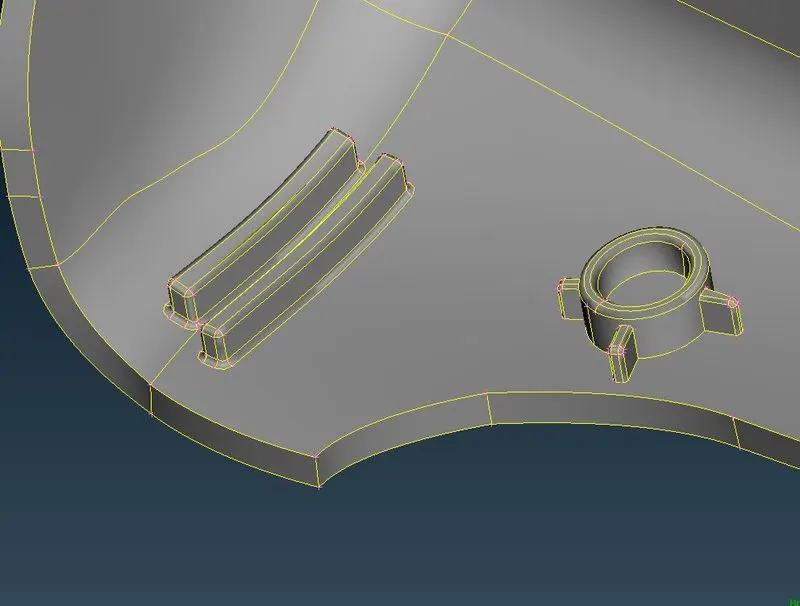
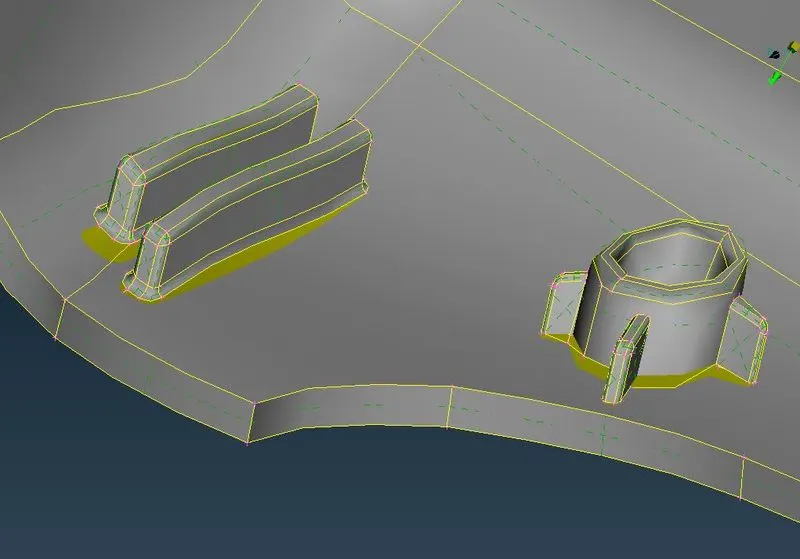
The same procedure is applied for all the other dog house and ribs and shown in the figure.
MODEL 1 PROCEDURE
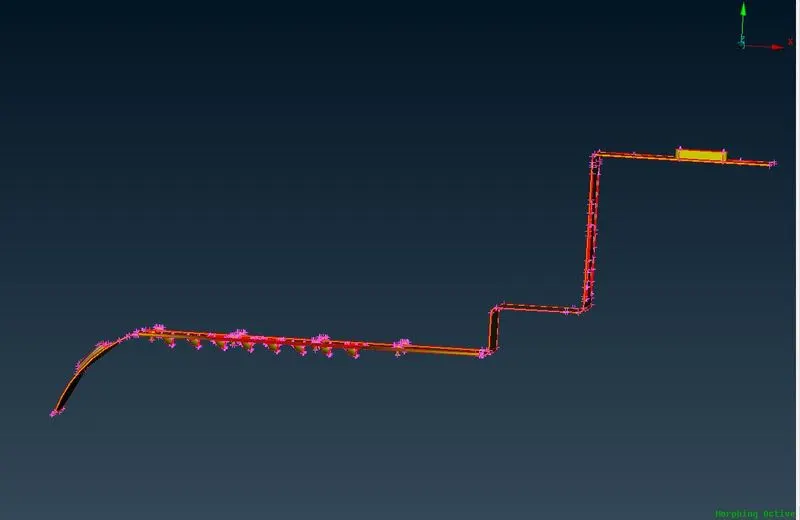
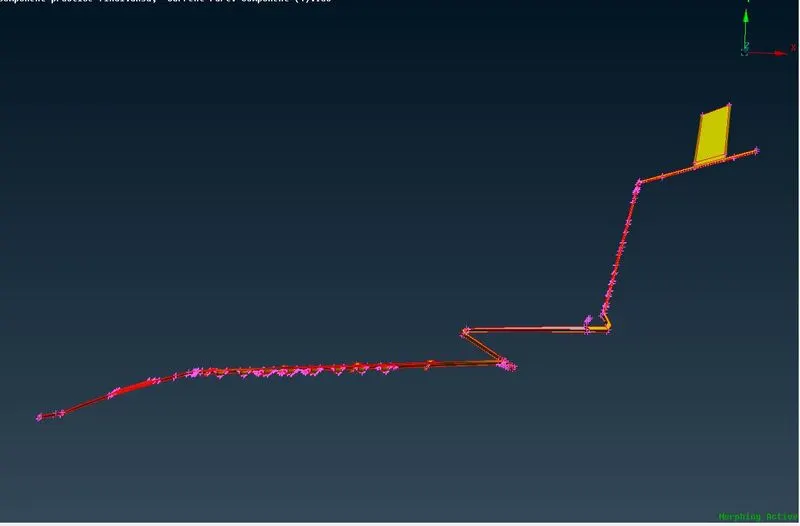
In This practice model, I have practiced creating the orthogonal boxes on the different sides of the design. Furthermore, I have practiced changing the design by moving the nodes on the orthogonal boxes with respect to the XYZ directions. The following image shows the difference in design modification from the actual design by using the Morphing technique.
Industrial Applications:
This Morphing technique gives an idea of how the model will look after changing any designs on the particular component. Designing with the given numerical values is the time taking process and morphing can be done to alter the designs in a quick span of time to get an overview. In automobile industries, hatchback models are converted into sedan-type models by using the morphing techniques where the body of both cars are the same till the B-pillar. Once the design modification is appreciated, the designers can work more on this to get a more accurate design.
Learning Outcomes:
I learned how to change the design size and shape of the component in any direction by using the Free-Free Morphing techniques. Furthermore, I learned how to create a morphing box or orthogonal box on the design. I learned how to split the orthogonal box into small segments to achieve the minute design changes. I learned how to move the component in any direction with respect to design requirements. More I work on the Morphing module I get familiar with different commands on the morphing deck.
Conclusion:
After completing this specific task, I would like to conclude that I get confident in changing the design size and shape in any direction as per the desired requirements. I got a complete overview of how Morphing is done in the industries. I conclude that it’s great learning.