Week- 5 - Solid meshing
AIM:
The project aims to mesh the rear-view component with 2D elements on the surface of the geometry and the volume inside the component should be meshed with tetra elements. The mesh should have a good flow of elements and match the quality criteria and mesh parameters.
Procedure:
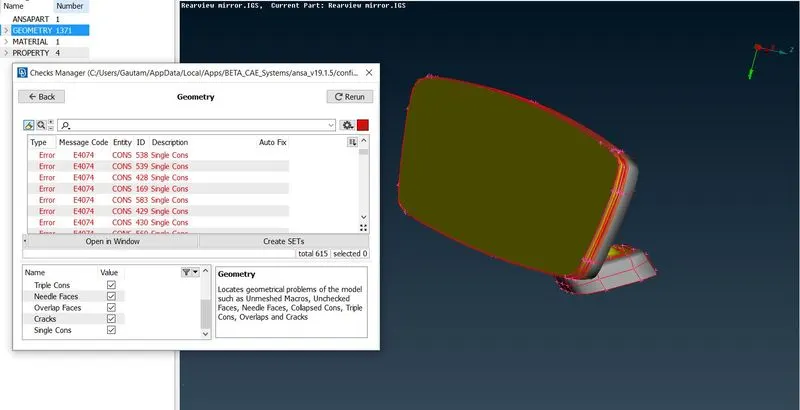
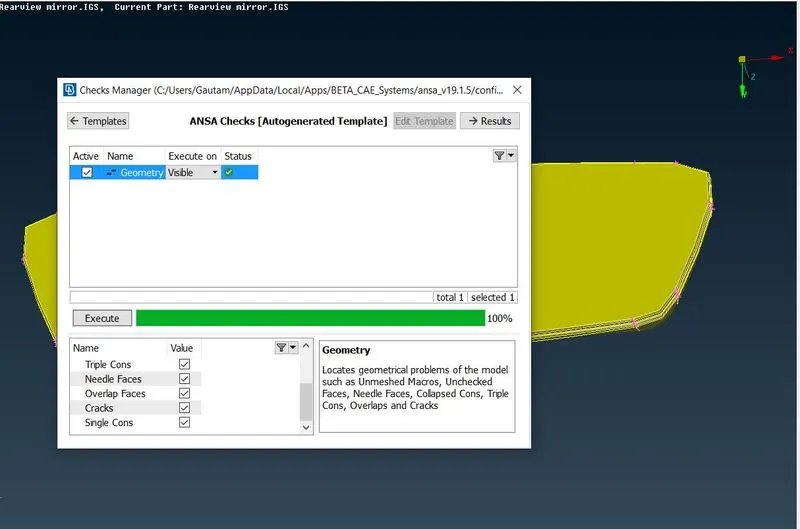
Once the model is imported in Ansa, the model is subjected to various checks to clean up the geometry. Under geometry check, 615 errors have been popped up, the single con errors are cleared by using the topo command and by selecting the whole surface of the component. The single cons are then converted into double cons whereas eliminating the single con errors and the other errors are cleared by using the auto-fix option. since the geometry topo is cleaned up, the material has to be defined in the material card. Orientation is done to get the same grey color all over the surface. The following figure shows that the geometry has been cleaned up.
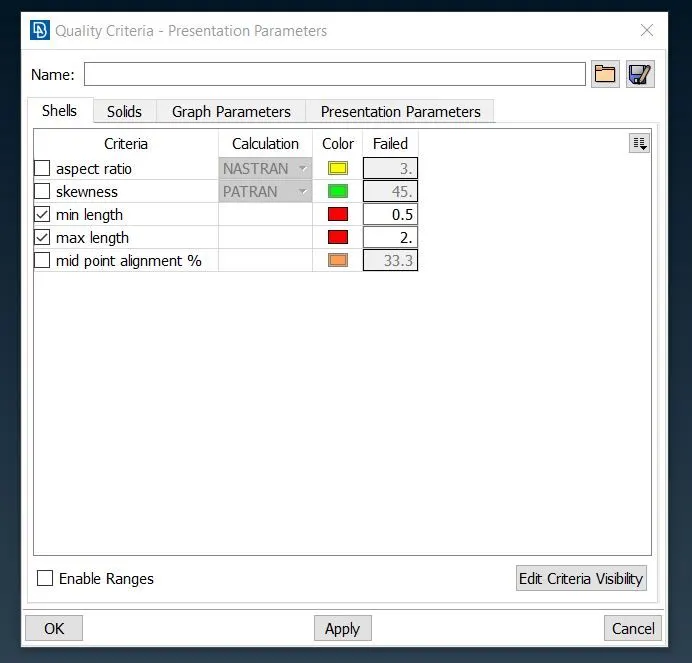
As it has been clear from the property card, the rear-view component has four properties for four different parts, and shown in the figure. To generate the volume mesh, there is no need to take a mid-surface for each different part. The mesh has to be carried out on the surface of the geometry. In the material card, the first property is chosen. The Mesh parameters and quality criteria have been set up according to the given condition. To generate the tria elements length of the element is considered such as Target length, Maximum Length, Minimum Length shown in the figure.
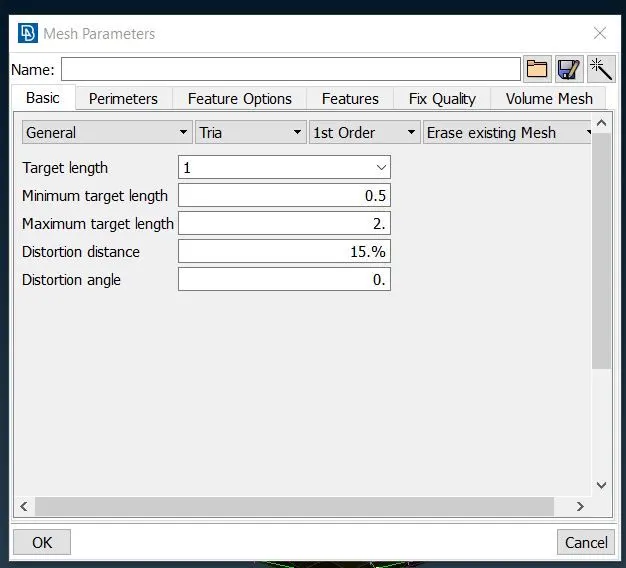
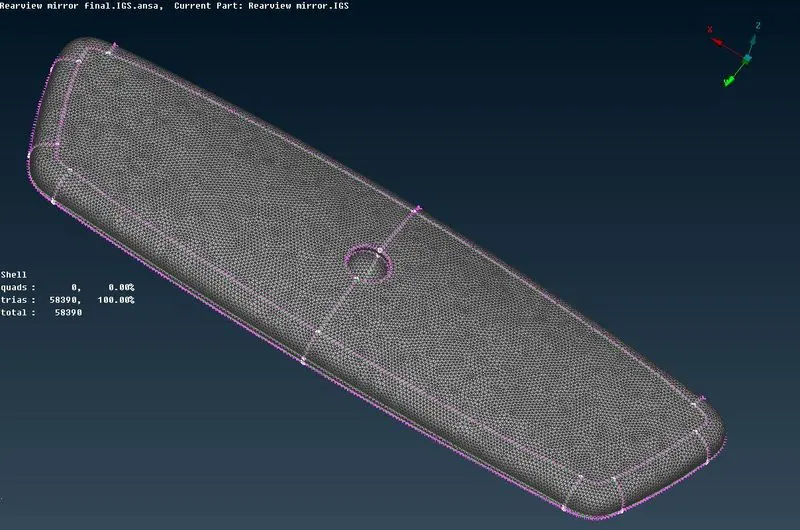
In mesh parameters, the element type is set as tria. The tria elements are generated on the flat surface of the geometry. In case for the geometry which has a curvy shaped portion or bend, the orthogonal elements are preferred to get a quality mesh on those surfaces. The element type has to be changed according to the nature of the surfaces of the geometry to get a good mesh flow and quality element. . Before meshing, the perimeter and macros edges should have the given element of 1. The distance between the nodes has to be checked at critical surfaces to avoid quality failures. If the distance between the nodes falls below the minimum length the defeaturing of the surface should be done. when the mesh is generated and it falls for minimum length by using the edge2perimeter option, the new con is generated, and joining the cons helps to avoid the quality failure at the critical points like fillets and curvy areas. once the mesh is generated, it is reconstructed to get a good flow of elements. As soon as the mesh has been generated, shadow mode should be shifted to hidden mode. In hidden mode the falling elements are visible for different qualities and care should be taken to avoid the off elements. All the off elements on the different parts should be cleared and each part should have good mesh flow and patterns. In the following picture, the flat surfaces have meshed with tria elements and other surfaces have meshed with orthogonal tria elements.
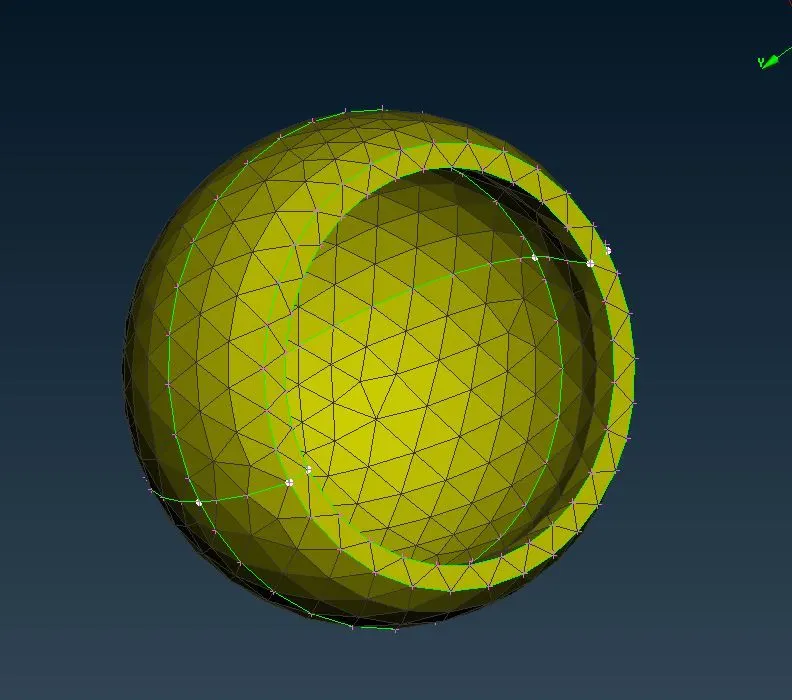
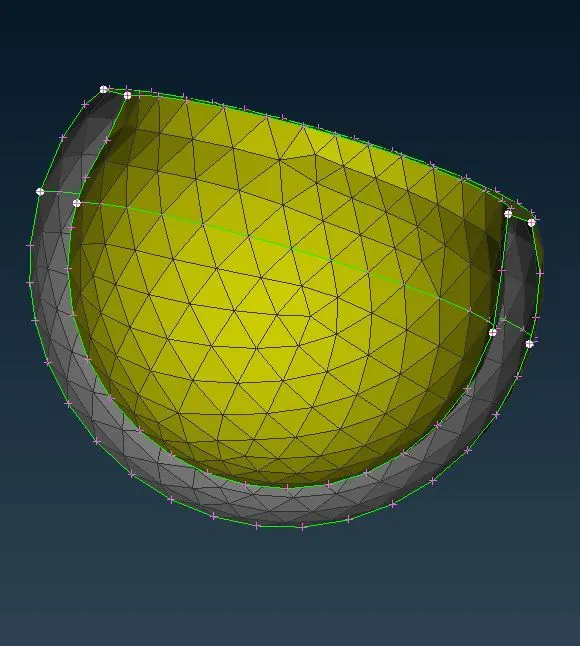
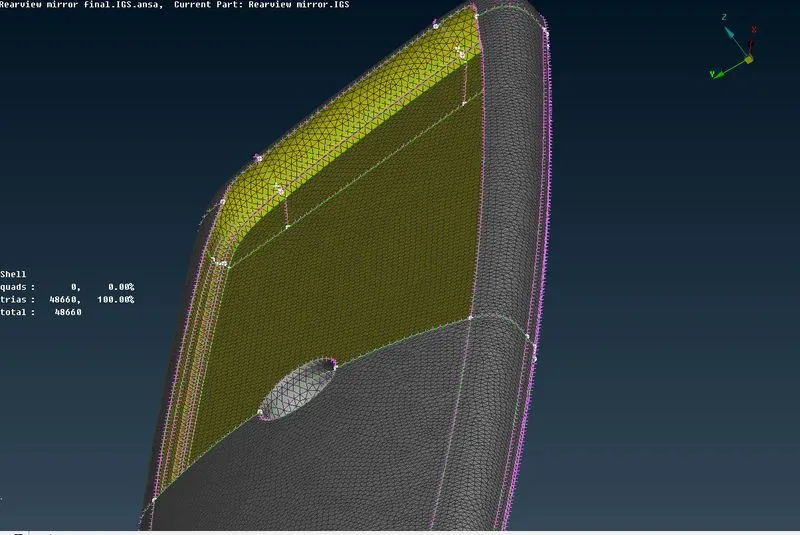
The same procedure is followed for the other parts to generate the mesh on the surface of the geometry. The following illustrates the mesh generated on the flat surfaces are tria elements and the mesh generated on the other parts are the orthogonal tria elements. The meshing of the other three parts is shown in the figure.
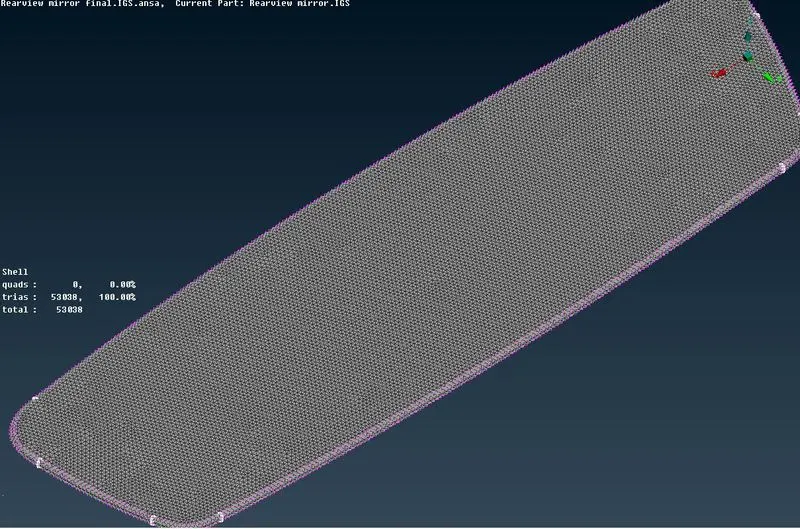
The part 3 components with meshing and without mesh are shown in the figure
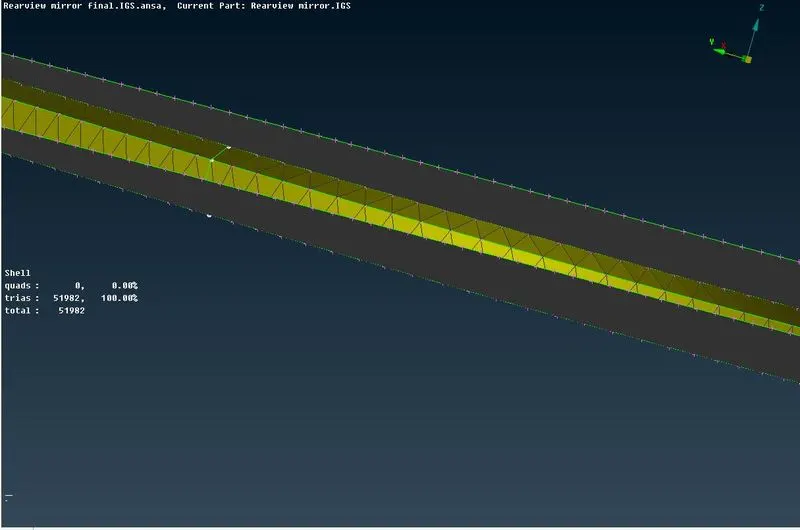
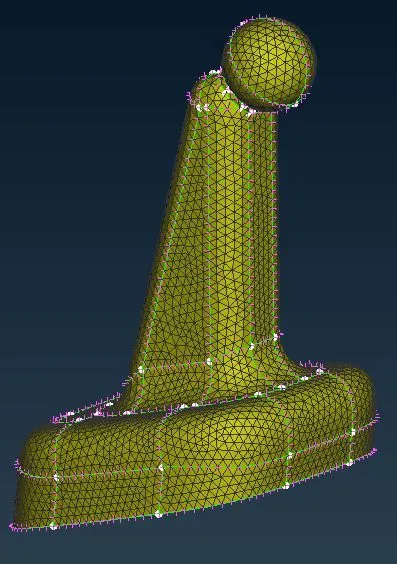
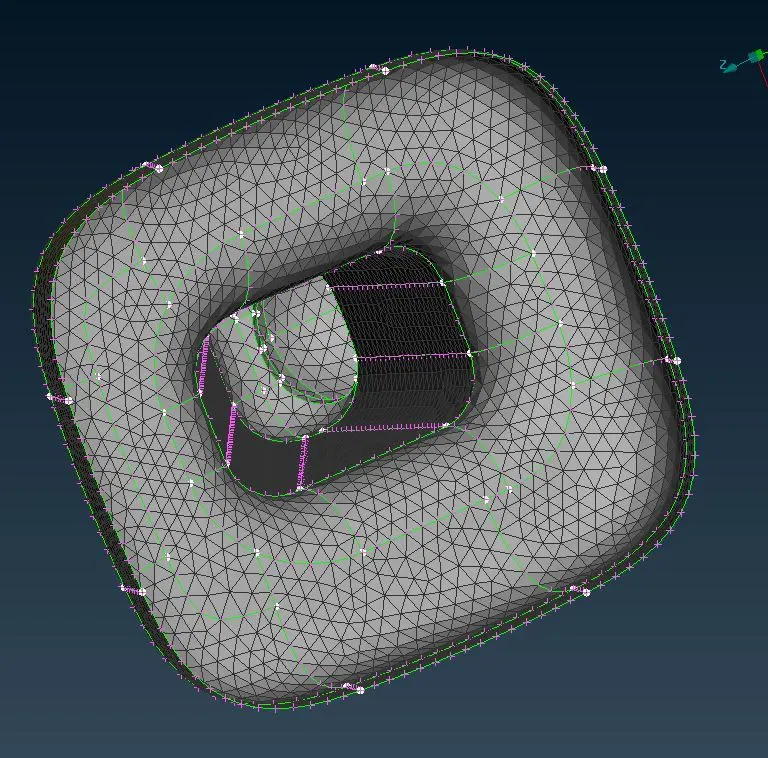
The part 4 components with meshing and without mesh are shown in the figure
The following figure shows that the FE elements are not failing for the quality parameters and the whole 2D mesh is with zero off elements.
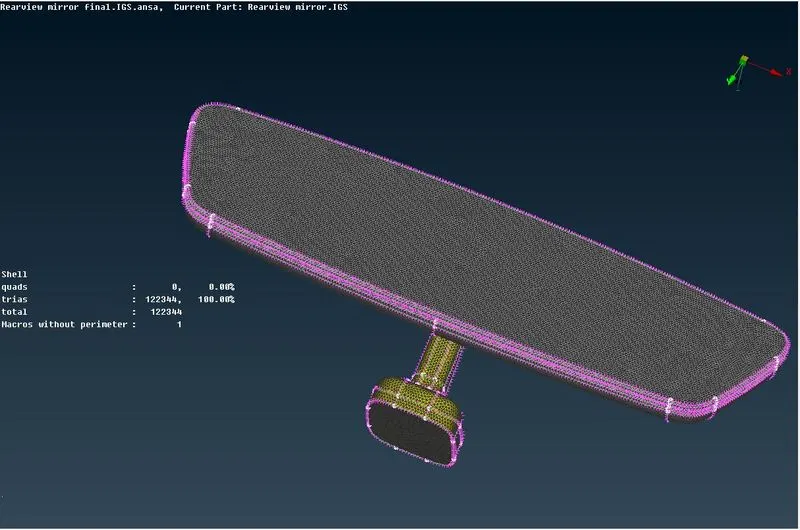
Since the 2D elements are generated, it is important to generate the volume mesh inside the volume of each component. To create a volume mesh, each part should have a closed volume. It should be checked before going into the next stage of the process. Moving on to the next step, Volume should be defined for each part. To define the volume, by using the define command in the volume mesh deck, the volume of the part can be defined manually. once the volume is defined, the same process has to be carried out for the parts. The defined volume can be checked by using the list command on the volume mesh deck. The defined volume for each part is shown in the figure.
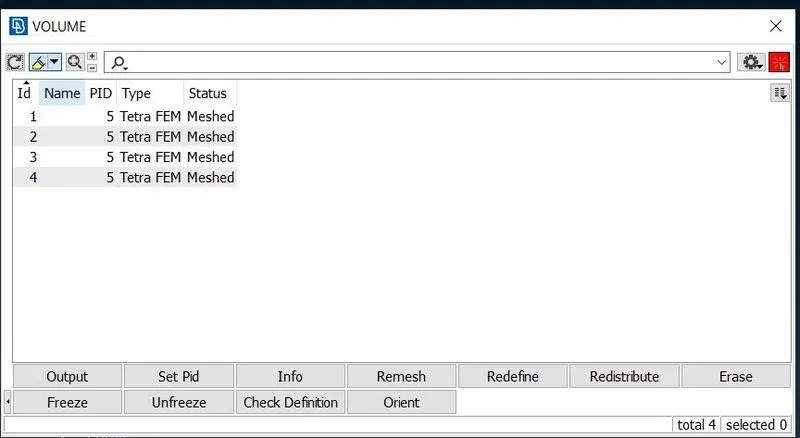
once the volume is defined for each part, the list table shows the type of mesh and status as undefined and unmeshed respectively. To mesh the volume, either Tetra Rapid or Tetra FEM is used. In this project, the Tetra FEM command is selected to mesh the volume in each part. the volume mesh is generated for all four parts and shown in the below figure.
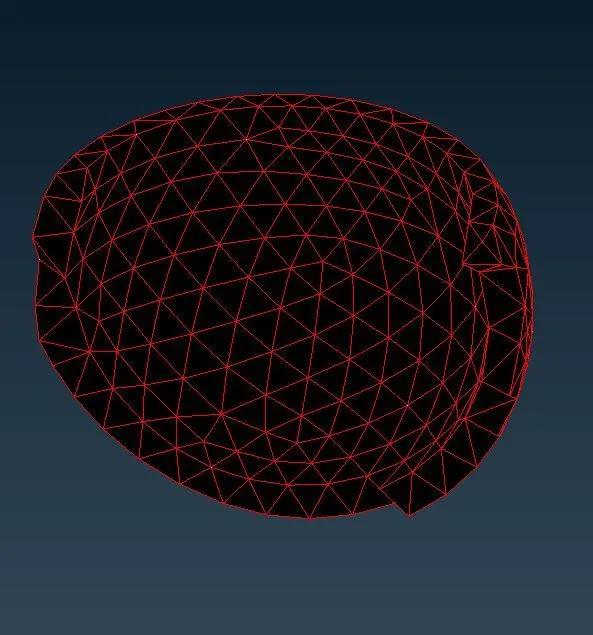
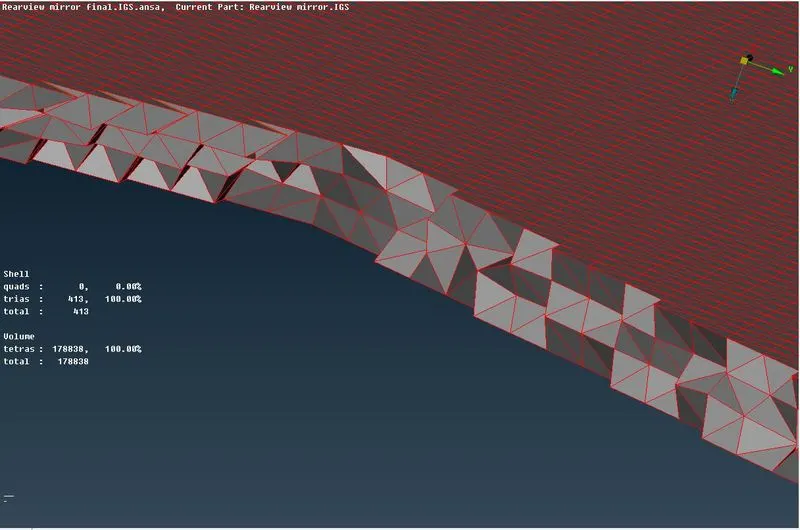
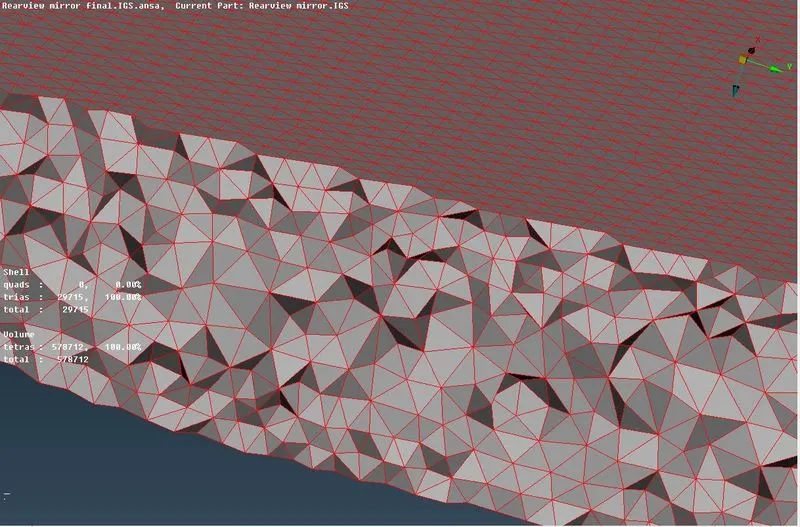
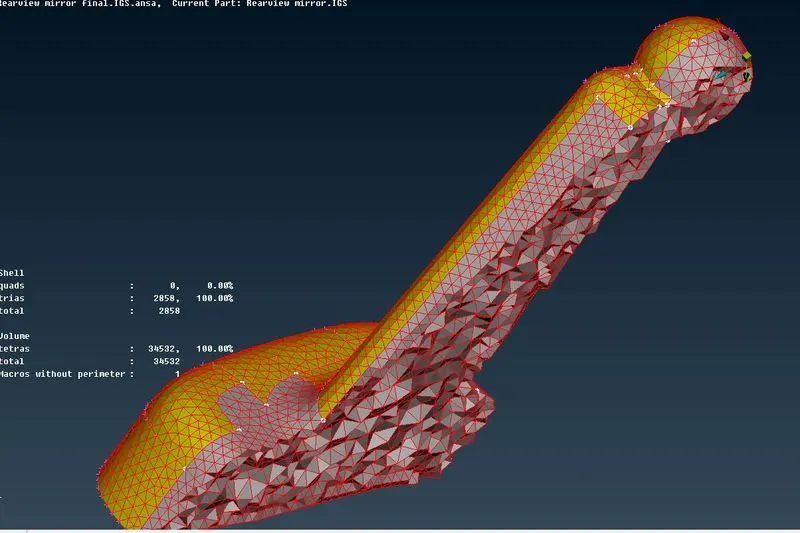
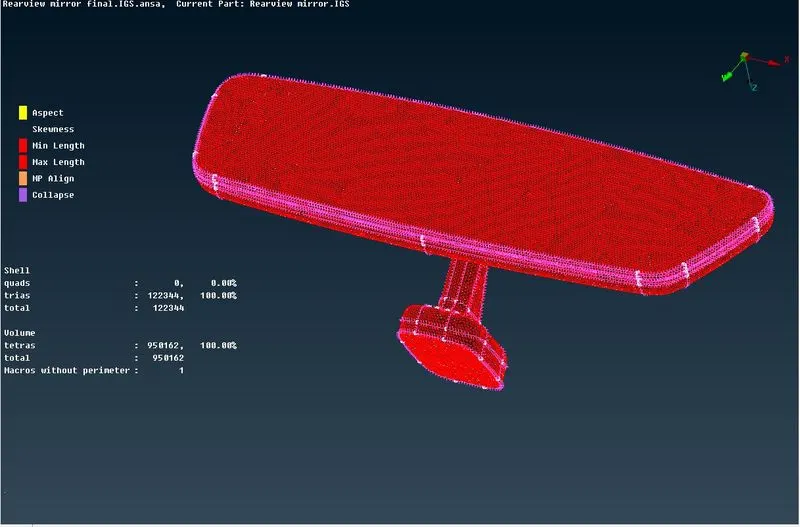
The quality failures are eliminated in the volume mesh and it has zero off elements. Surface quality after volume mesh is good and it has no kinks and dips. the following image shows that both 2D elements and volume mesh elements have zero off elements.
Learning Outcomes:
I learned how to clean up the geometry in the topo module, how to mesh the different faces by using tria and orthogonal tria elements, how to eliminate the quality failures on tria and orthogonal elements, setting up the mesh and quality parameters, how to deal with the critical surfaces such as defeaturing, and how to achieve good mesh flow by giving manual cuts. Furthermore, I learned how to define the volume for the component in the volume mesh deck, how to mesh the volume with tetra Rapid and tetra Fem mesh and I learned how to eliminate the collapse failure in the volume mesh. More I work I get familiar with the different options in the topo, mesh, and volume mesh module.
Conclusion:
After completing this specific task, I would like to conclude that I get confident that I will achieve good mesh flow and quality 2D elements on the surface of the geometry. In addition to that, I could define the volume and mesh the volume with the given quality parameters. I conclude that it’s great learning.