Week - 8 - Morphing
AIM:
To perform morphing operation on the given models to achieve the required shape.
INTRODUCTION:
MORPHING:
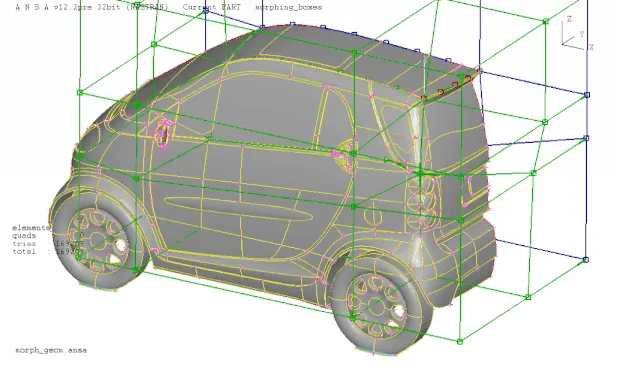
Morphing is an adaption of given shape to a new form. The geometry of a given model can be modified to required shapes to create new designs.
The functions of the Morphing menu can be used to efficiently re-shape both FE and/or Geometry based models.
PROCEDURE:
MODEL 1:
IMPORTING:
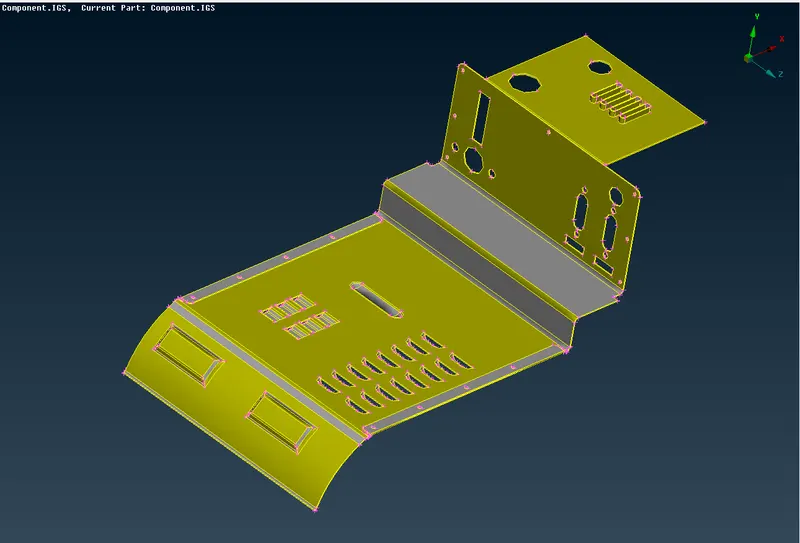
- The CAD model is imported into the workspace by using file > open and select the CAD model.
- The model will be imported into the workspace.
- In ANSA we can import all types of CAD software file formats.
GEOMETRY CLEANUP:
- Before working on the model we need to check whether the model has any geometrical errors.
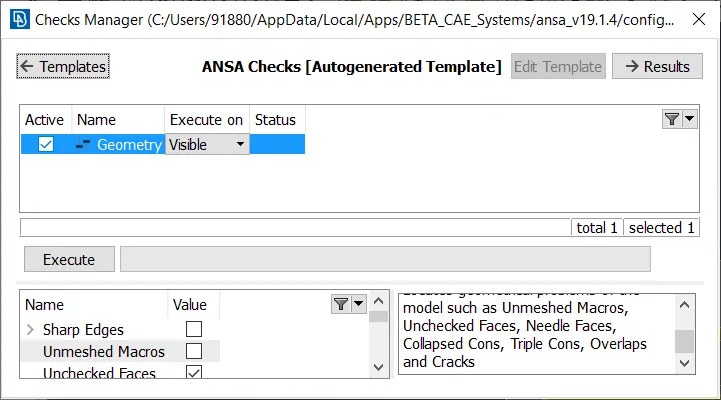
- To check the geometrical errors go to check manager that is available at the tool bar.
- In the check manager select geometry and click execute.
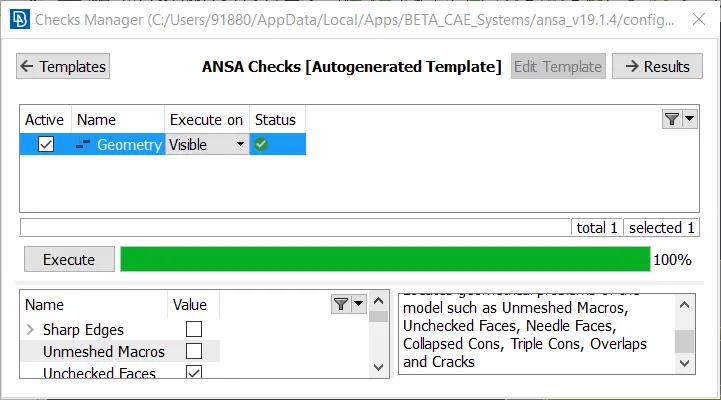
- After clicking on the check geometry the geometrical errors will display.
- The geometrical errors can be fixed manually or automatically.
- In our case we fixed the error automatically by right clicking on the error and click fix.
- Once the model has no error it will show green status in the above image and we can proceed further.
MORPHING:
- To peform meshing operation go to morph module.
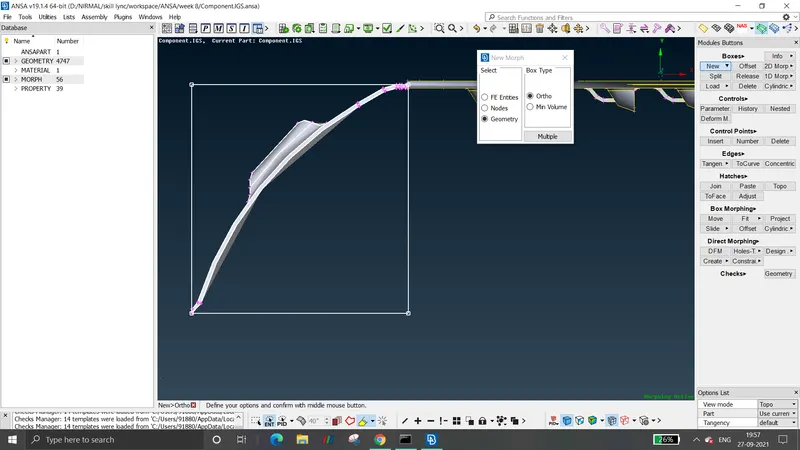
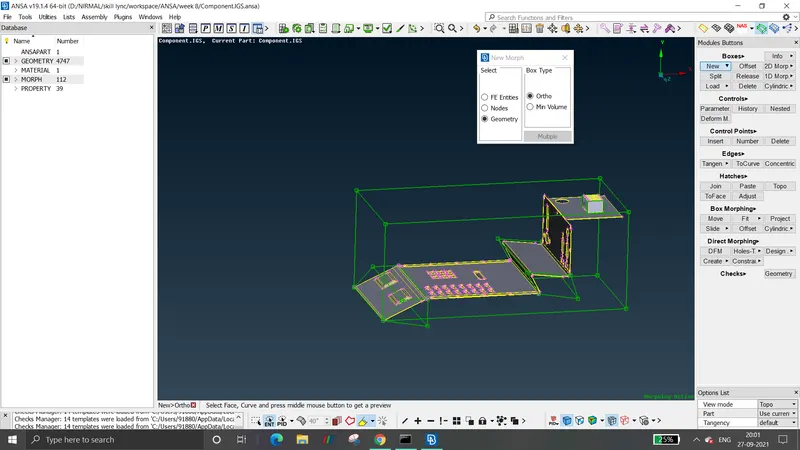
- A box can be created at the geometric location where morphing has to be performed.
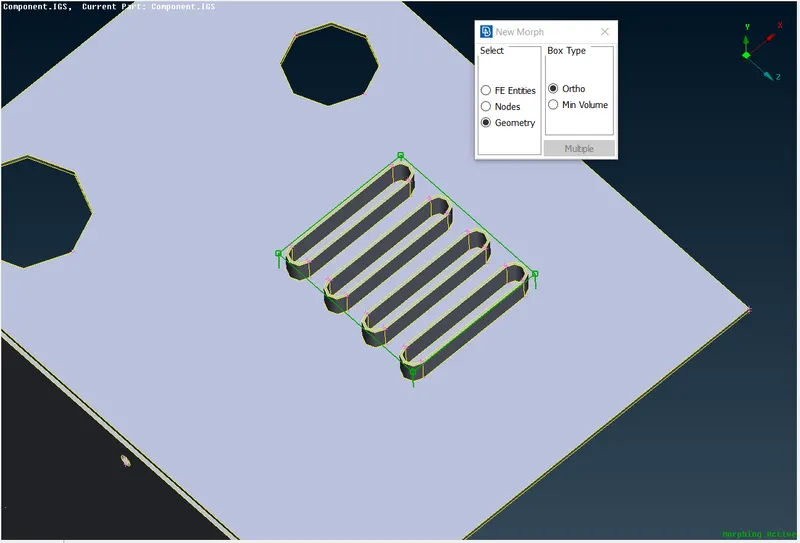
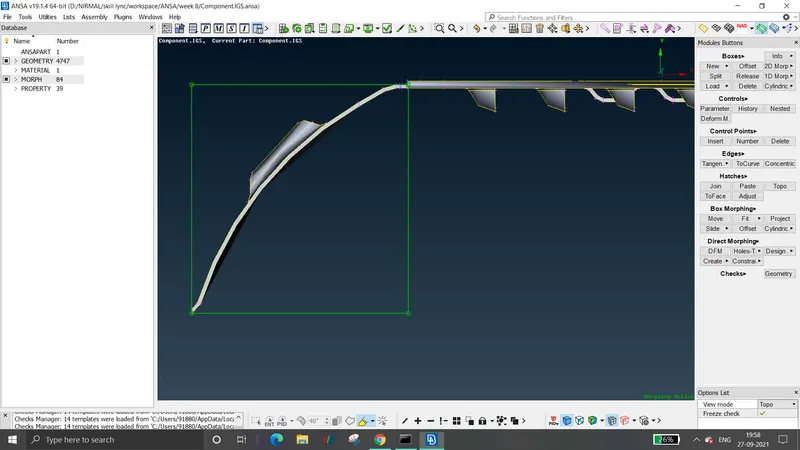
- Morph box is shown as shown above.
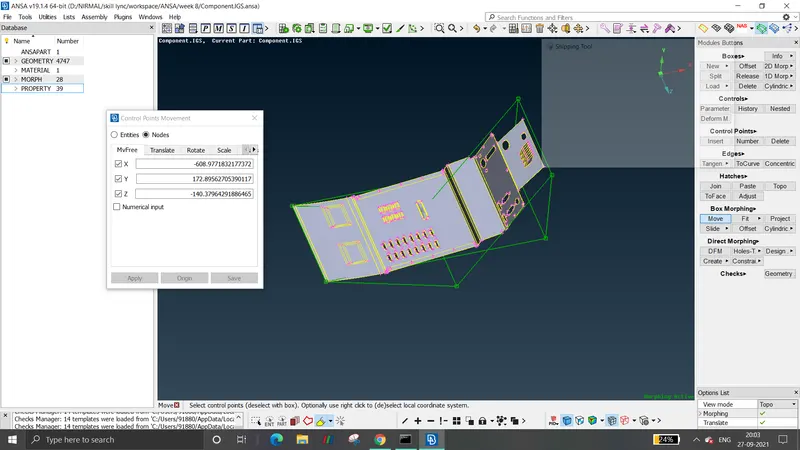
- Then go to morph > move to move the morphing box to reshape the feature.
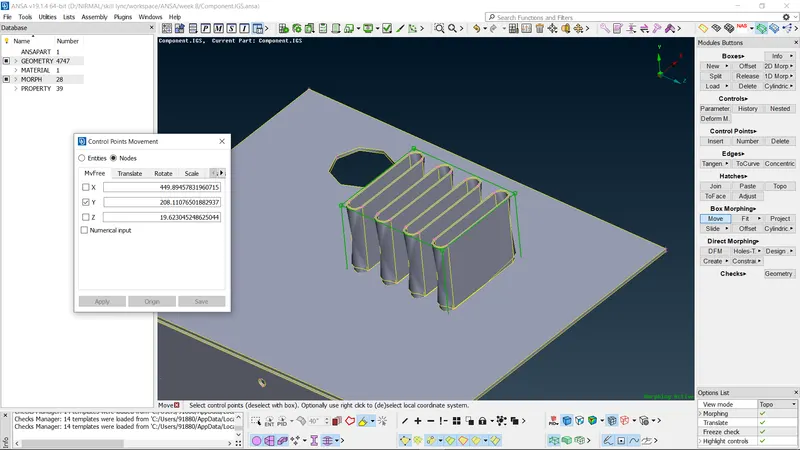
- Similarly the procedure is repeated whereever we want to reshape.
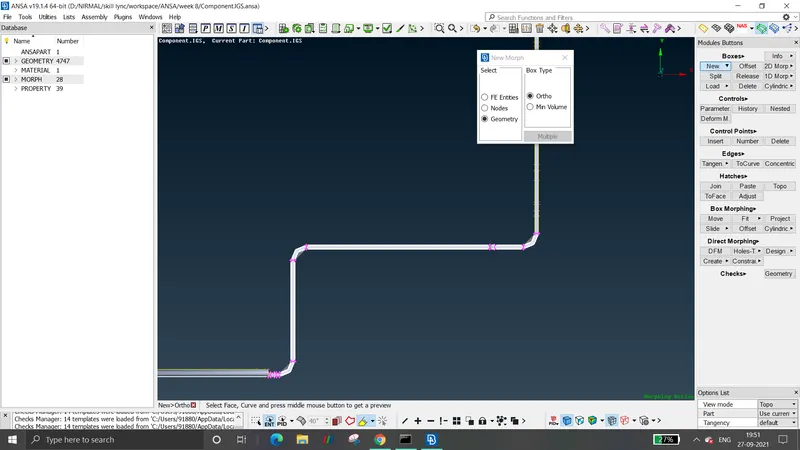
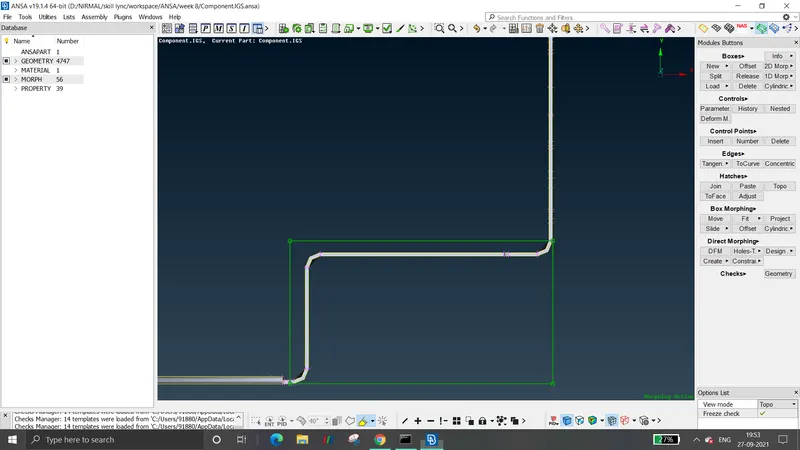
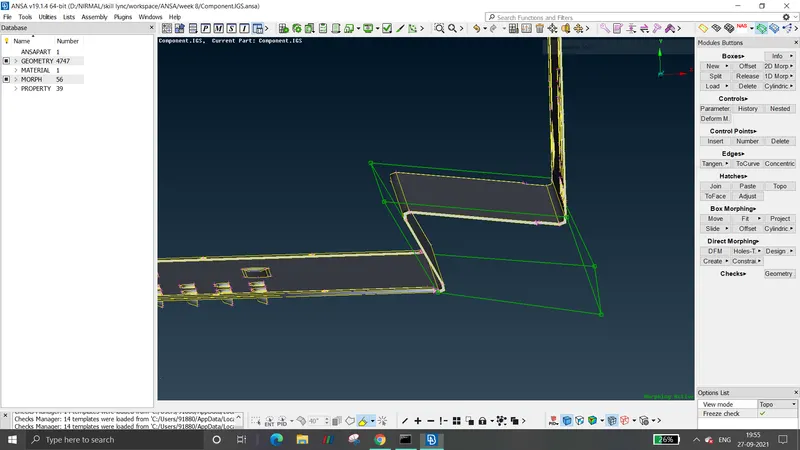
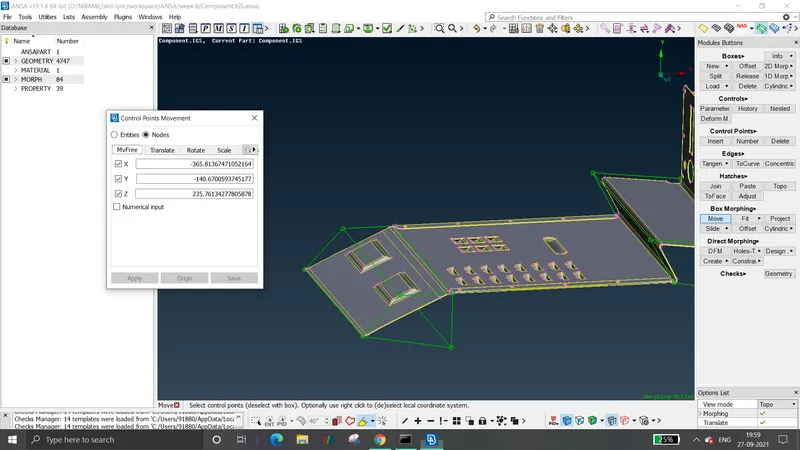
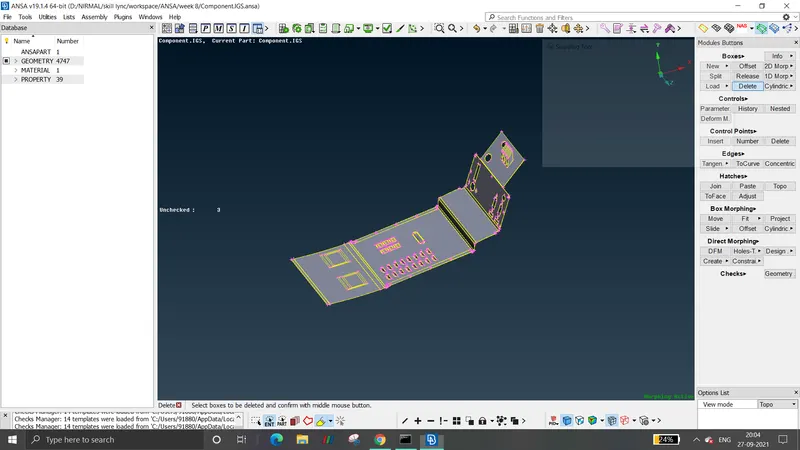
- After finishing the morphing process the morph boxes can be deleted by going to morphing > boxes > delete.
MODEL 2:
IMPORTING:
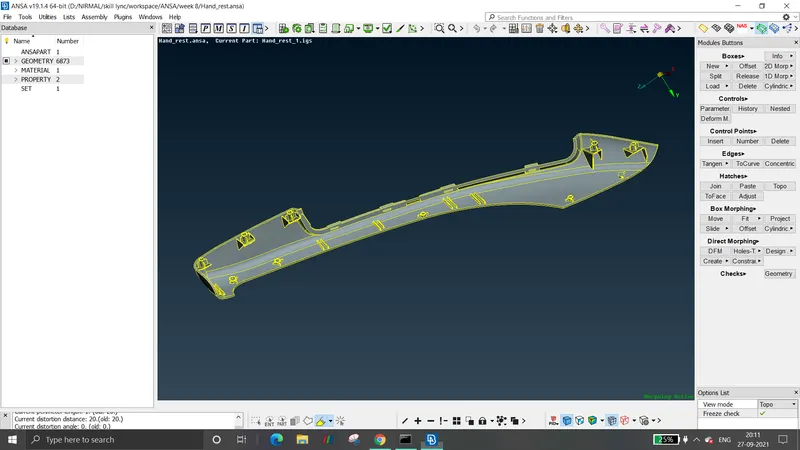
- The CAD model is imported into the workspace by using file > open and select the CAD model.
- The model will be imported into the workspace.
- In ANSA we can import all types of CAD software file formats.
GEOMETRY CLEANUP:
- Before working on the model we need to check whether the model has any geometrical errors.
- To check the geometrical errors go to check manager that is available at the tool bar.
- In the check manager select geometry and click execute.
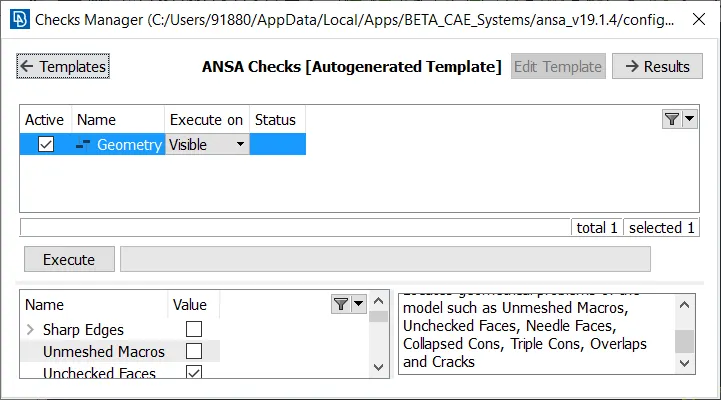
- After clicking on the check geometry the geometrical errors will display.
- The geometrical errors can be fixed manually or automatically.
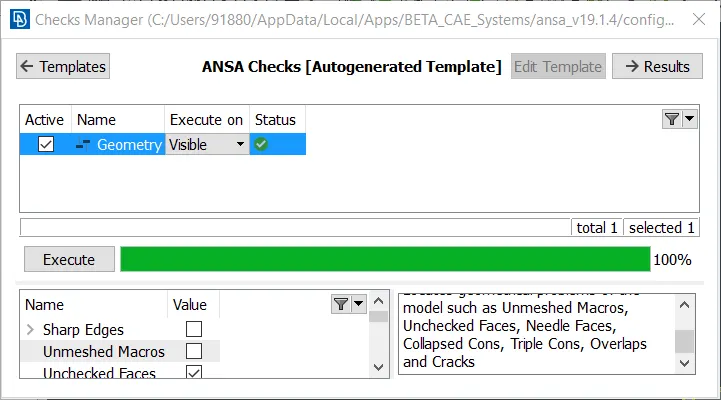
- In our case we fixed the error automatically by right clicking on the error and click fix.
- Once the model has no error it will show green status in the above image and we can proceed further.
MORPHING:
- To peform meshing operation go to morph module.
- A box can be created at the geometric location where morphing has to be performed.
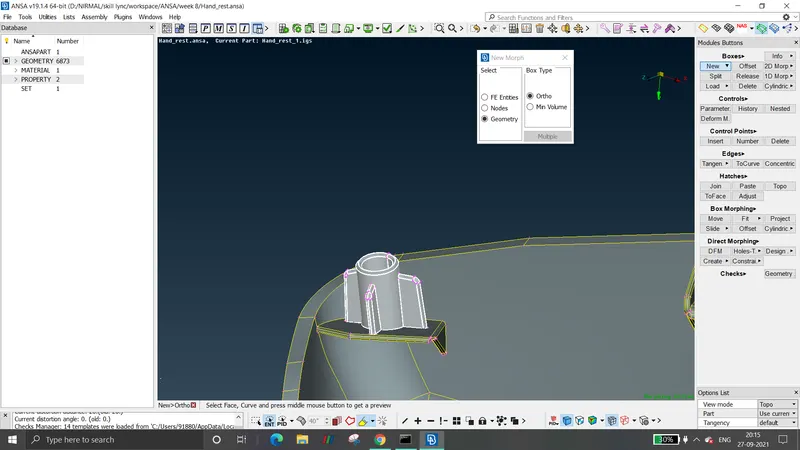
- Morph box is shown as shown above.
- Then go to morph > move to move the morphing box to reshape the feature.
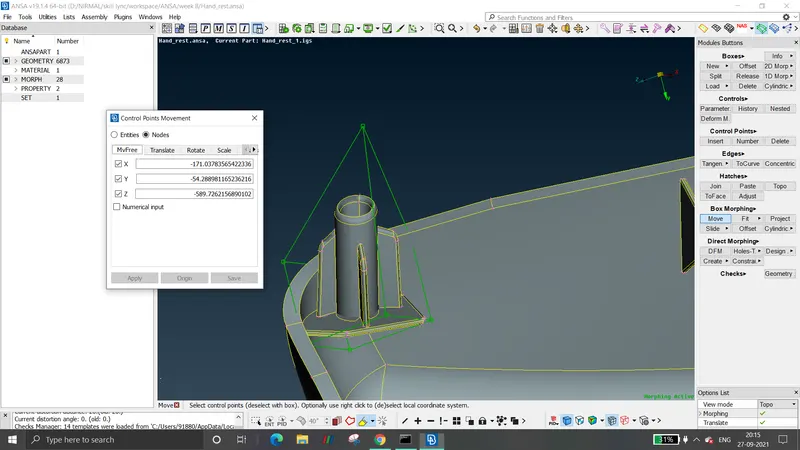
- Similarly the procedure is repeated whereever we want to reshape.
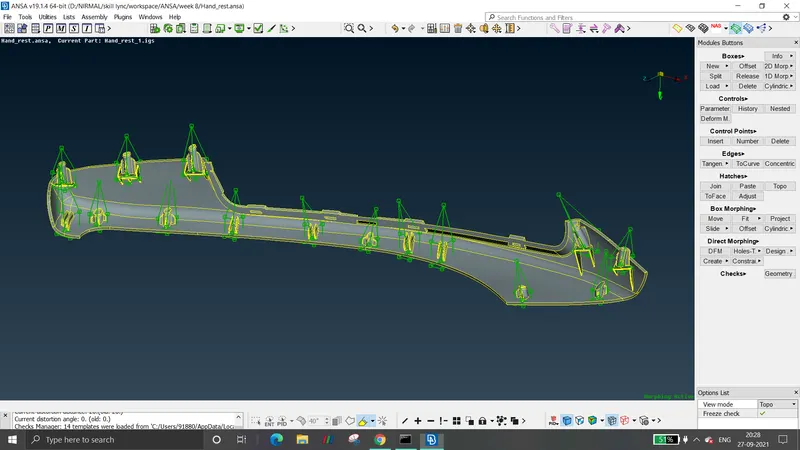
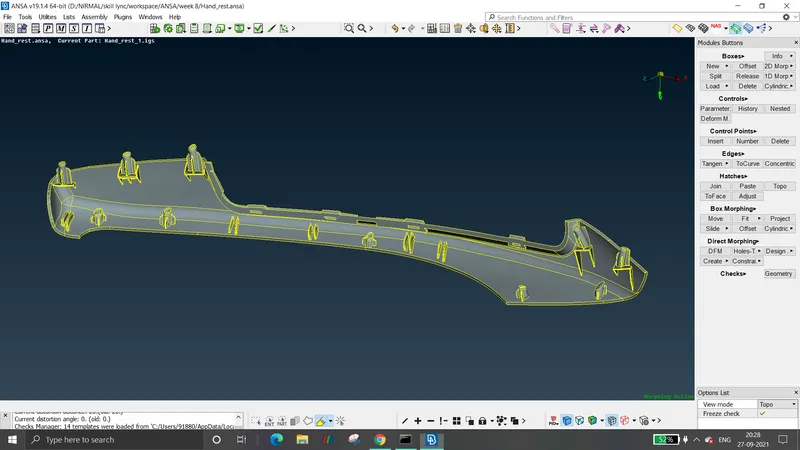
- After finishing the morphing process the morph boxes can be deleted by going to morphing > boxes > delete.
LEARNING OUTCOMES:
Learned how to perform morphing operation on a given model to achieve the required shape.
CONCLUSION:
Morphing operation was carried out on the given models to achieve the necessary alterations in shape.
MODEL LINK:
MODEL 1:
https://drive.google.com/file/d/1XBHa_HQMEcsEzHLz8OzTyK4kSxELnEmE/view?usp=sharing
MODEL 2:
https://drive.google.com/file/d/11w7bxD6pcWu2rCP5vLh3TxUf_hlYb7An/view?usp=sharing