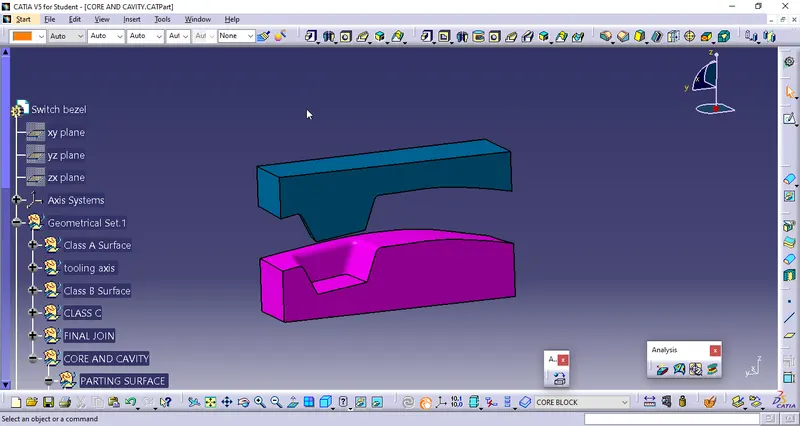
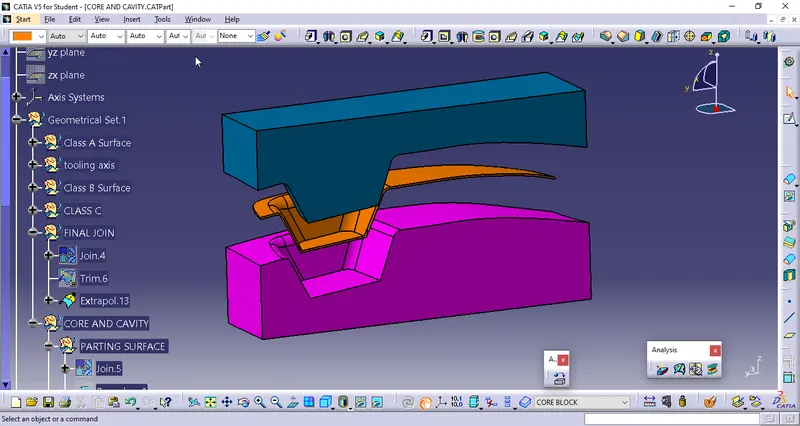
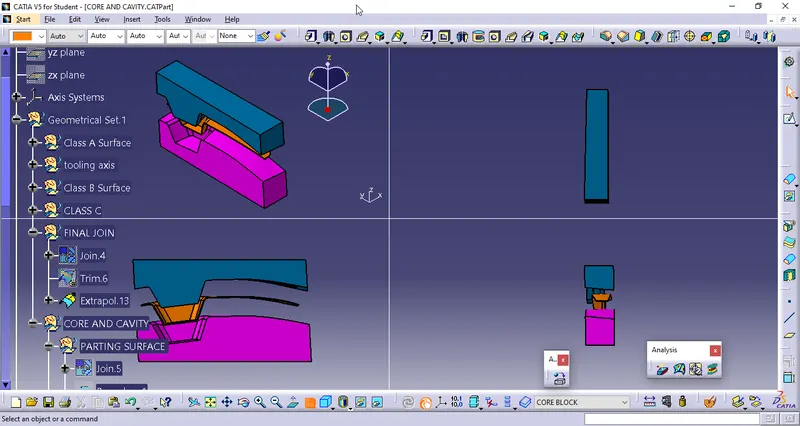
Week 8 - Challenge 6 - Core & Cavity Design
AIM:
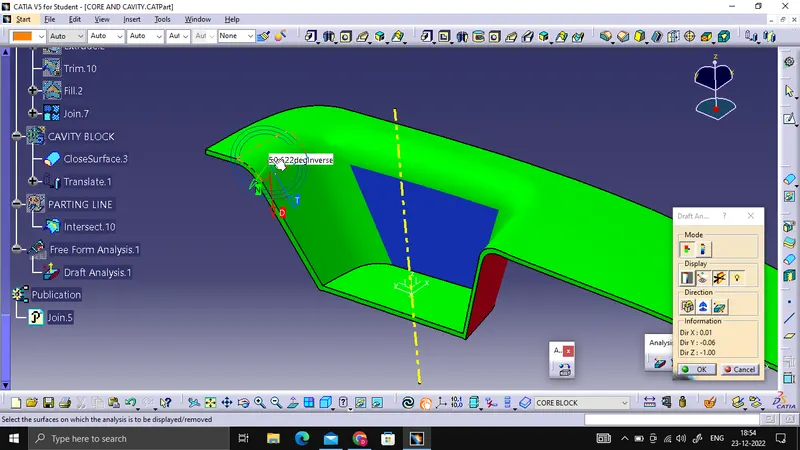
Create Core and Cavity for the existing Switch Bezel design and Show Draft Analysis using existinng Tooling Axis.
OBJECTIVE:
- Create Parting Surface and Parting Line for Switch Bezel.
- Create Core And Cavity Blocks.
- Show Draft Analysis Component with the Core and Cavity.
- Make Solid a Body Using Close Surface Feature from surface.
- Use Publicaton.
CORE & CAVITY:
The core & cavity are the shaped sections in either half of the mould tool which give the plastic product its final shape. The hot molten material is injected into the core & cavity and then sets hard into shape. The design of the core & cavity is essential in the correct formation of the product.
DRAFT ANALYSIS:
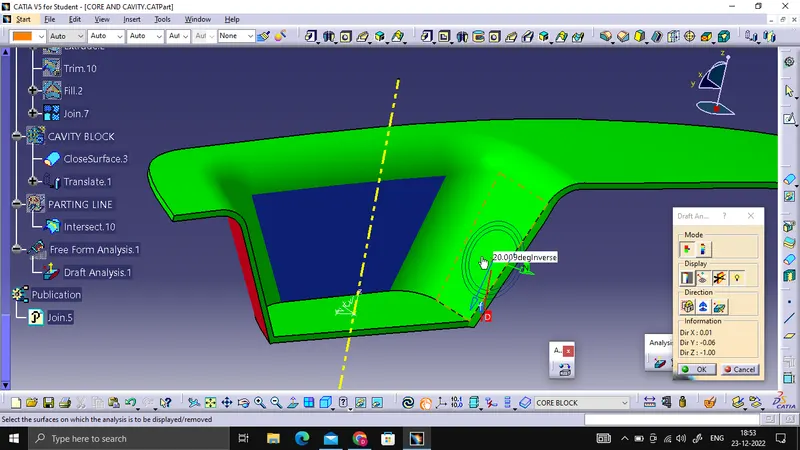
CREATING PARTING SURFACE:
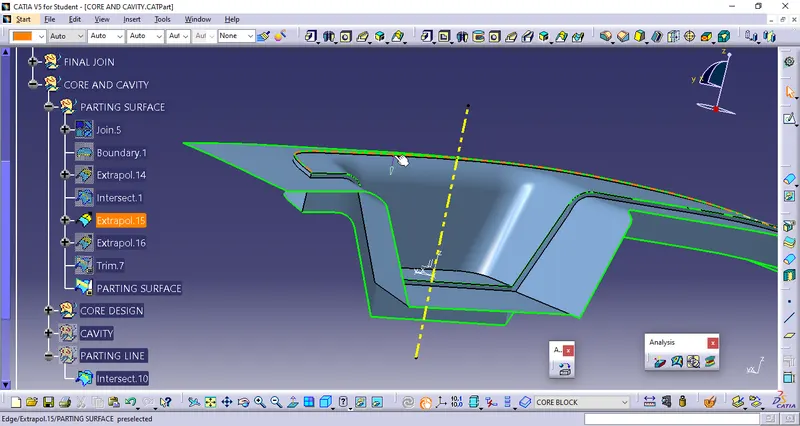
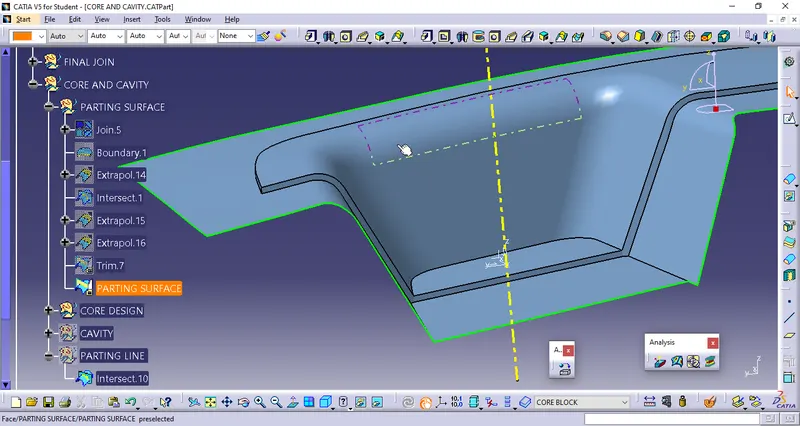
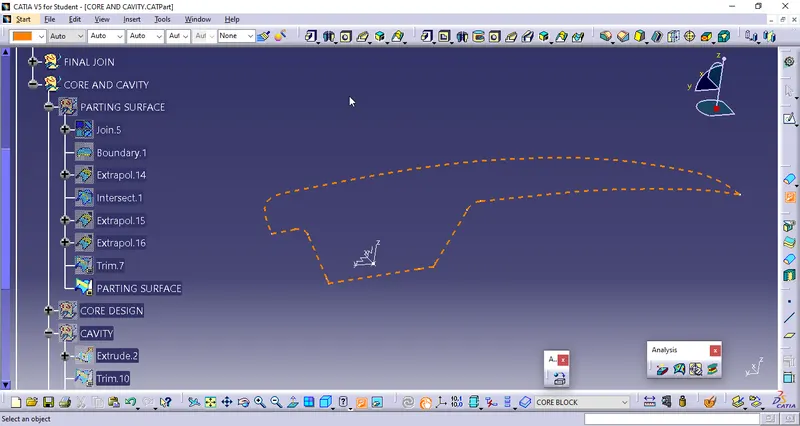
First we will extrapolate the boundary of class a surface of switch bezel and trim ti with the c surface and then we will trim it with B surface ther final sirface which we get will be our parting surface.
PARTING LINE:
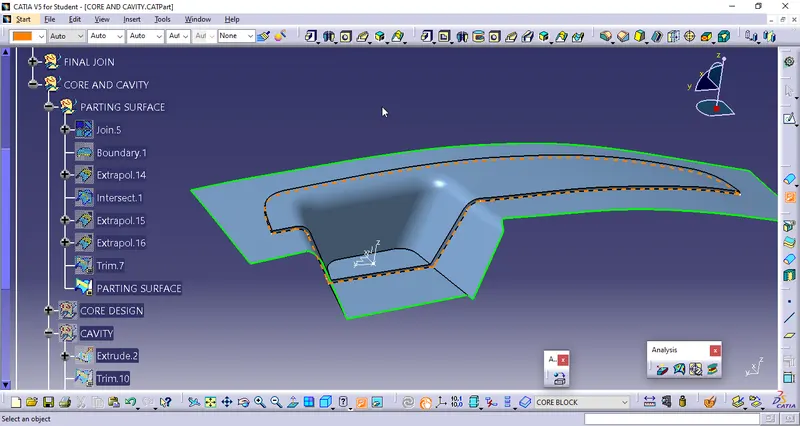
Parting line will be create by using intersect command using upper and lower surface of the parting surface.
CREATING CORE BLOCK:
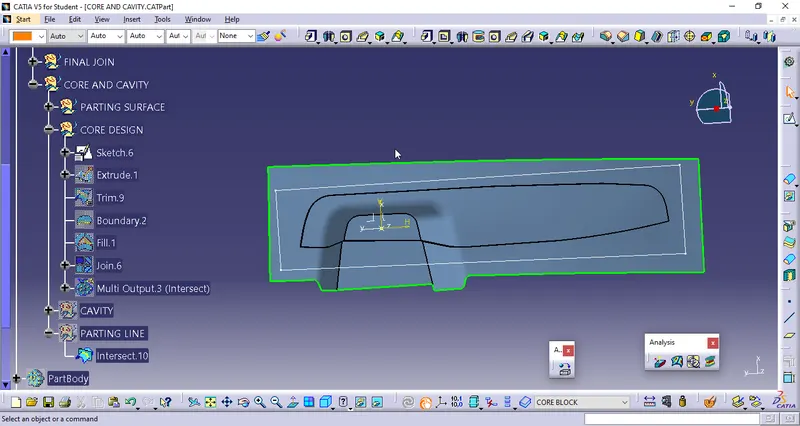
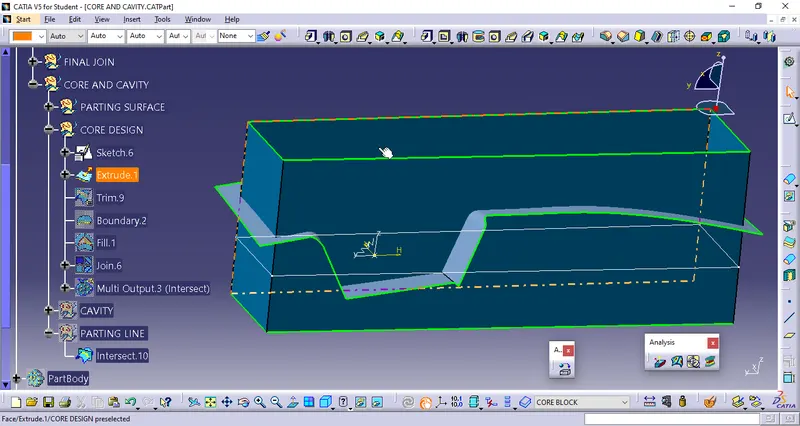
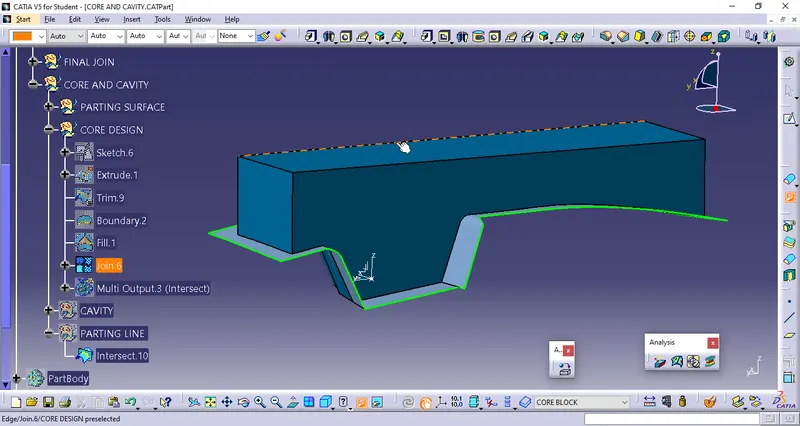
Create a rectangle using sketch command at axis system and extrude it in both direction make sure the rectangle should be in side of the boundary of parting surface. After extrudingg the surface trim the area beneath the parting surface. The rest of the above area will be our core area. Fill the open surface of the top of the block and join in with the walls. Create a soild body using close surface command this will be our solid block.
CREATING CAVITY BLOCK:
Use the same process as we did fore creating core block for the lower area that lower body will be our cavity block.
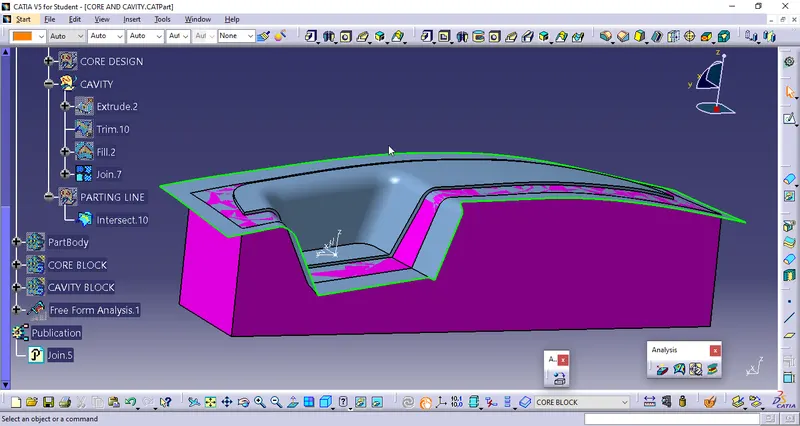
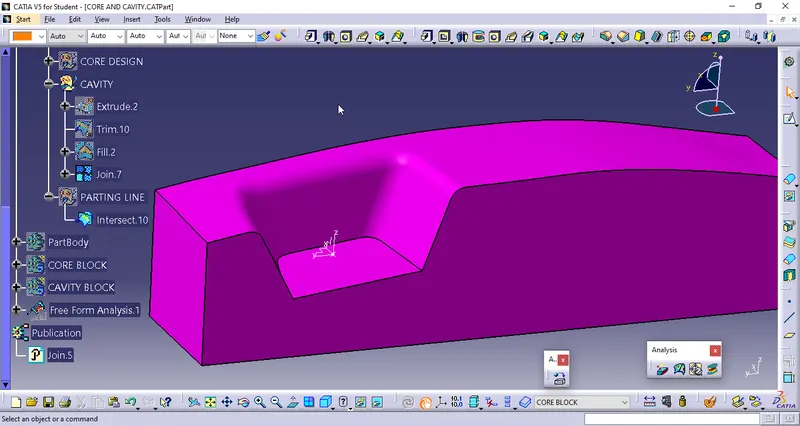
CORE & CAVITY BLOCKS: