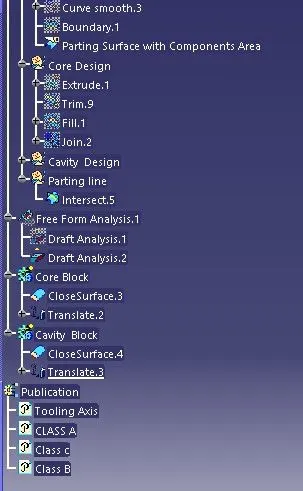
Week 8 - Challenge 6 - Core & Cavity Design
Isometric View
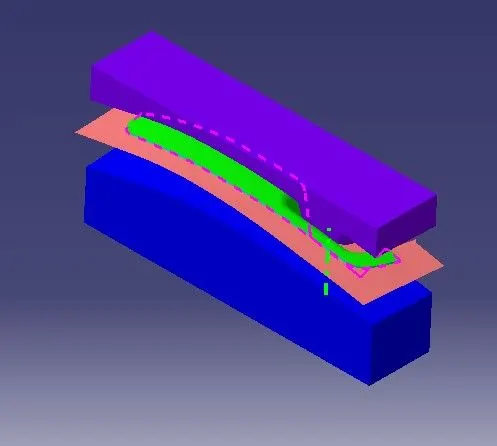
Front View
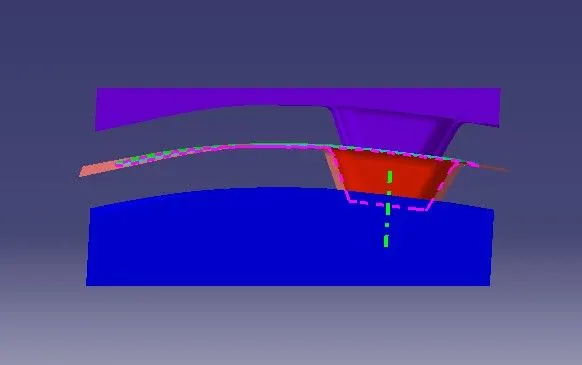
Side View
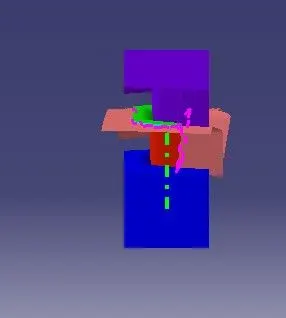
Top View
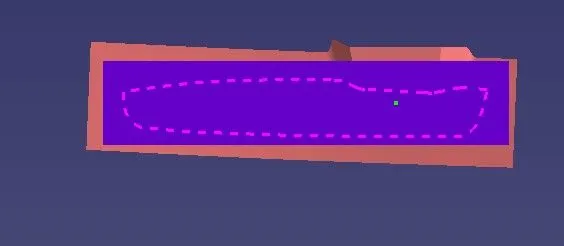
Draft analysis
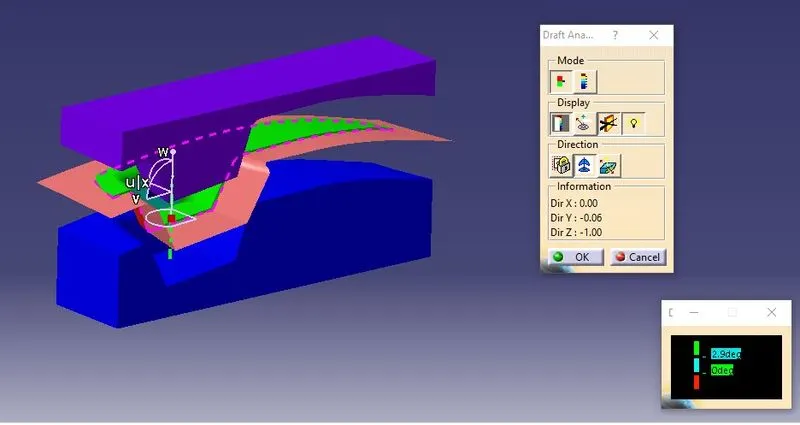
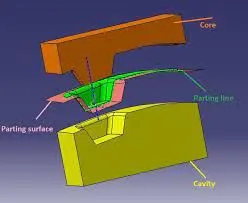
Draft Analysis is done to analyze the draft angle .this allows us to verify whether the product will be easily removed from the tool .when designing a product they need to be angled slightiy so that the tool can be pulled away from the object easily without deformation or damage .This slight angle is called draft I have given the condition for draft angle with a maximum deviation of 3 degrees, anything within that limit is shown in green, whicn means that the part is producible.
Cavity and Core
In a typical injection molding machine, one half of the mold (the A-side) is attached to the fixed side of the press, and the other half of the mold (the B-side) is attached to the moving clamp side of the press. The clamp (or B) side contains the ejection actuator, which controls the ejector pins. The clamp forces the A and B-sides together, molten plastic is injected into the mold and allowed to cool, the clamp pulls the B-side of the mold away, the ejection pins are actuated, and the part releases from the mold.
Let's use a mold for a plastic drinking glass as an example. To ensure that the part stays in the mold half with the ejector system, we would design the mold so that the outside of the glass is formed in the cavity of the mold (A-side) and the inside would be formed by the core of the mold (B-Side). As the plastic cools, the part would shrink away from the A-side of the mold and shrink onto the core in the B-side. As the mold opens, the glass will release from the A-Side, and stay in the B-side, where it can be pushed off from the core by the ejector system.
If the mold design were reversed, the outside of the glass would shrink away from the cavity in the B-side and onto the core in the A-Side. The glass would release from the B-side and stick to the A-side where there are no ejector pins. At this point, we have a serious problem.
At Protolabs, our design staff uses software tools and extensive experience to make the correct A-side vs. B-side choice. On some parts, it is difficult to predict in advance which side of the mold the part will stick to. Well thought-out part design ensures that the part will naturally stick to the correct side of the mold.
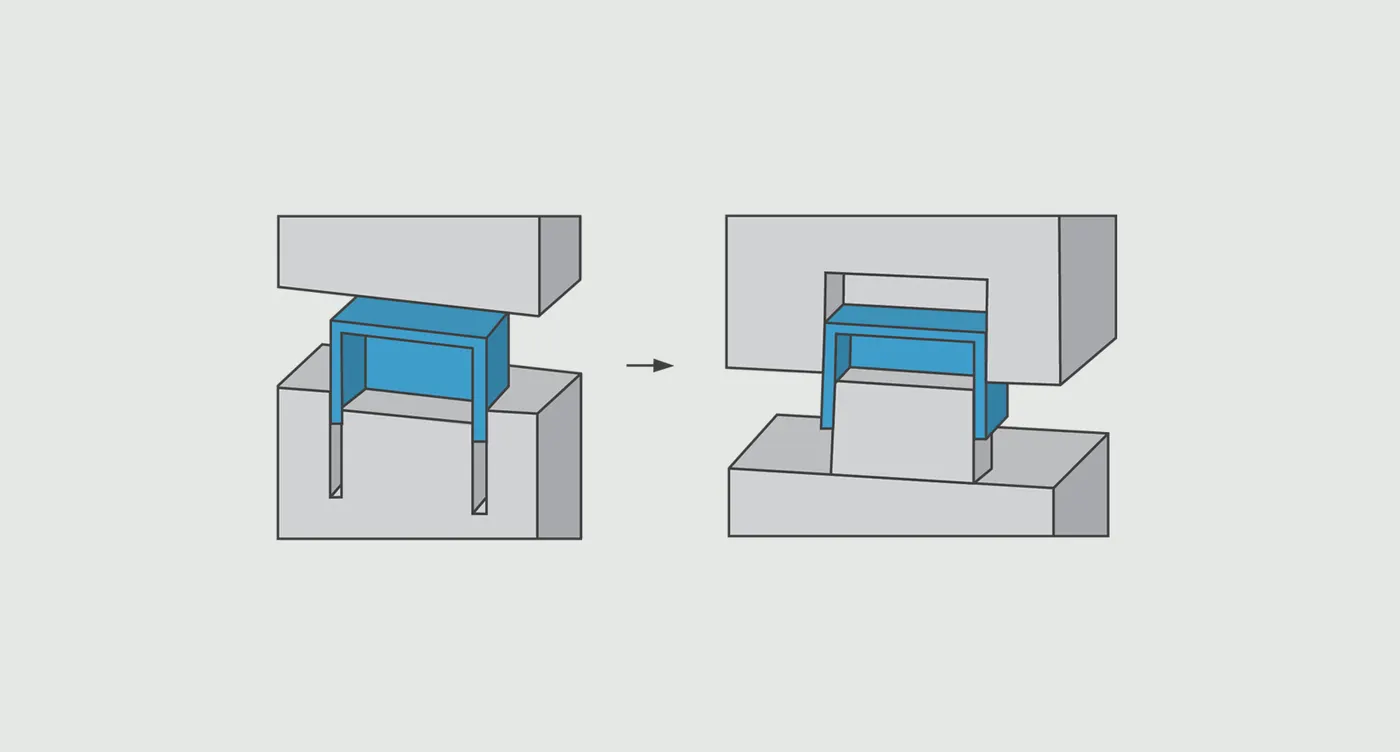
A Rectangular Example
Let's consider a rectangular enclosure with four through holes. The outside of the enclosure will be a cavity in the A-side of the mold and the inside will be a core on the B-side. Design for the holes, however, could be handled in two different ways: They could be drafted toward the A-side, requiring cores in the A-side of the mold, but this might cause the part to stick to the A-side of the mold. A better approach would be to draft the cores to the B-side, ensuring that the part would stick to the B-side of the mold. Similarly, any tab or strip sticking from the part or spanning an internal hole should be drafted to the B-side to prevent sticking in the A-side and bending or tearing off when the mold opens. And, of course, the design should also avoid heavy texture on the outside of a part without adequate draft, as this could cause the part to stick in the A-Side.