Week 8 - Challenge 5 - Core & Cavity Design
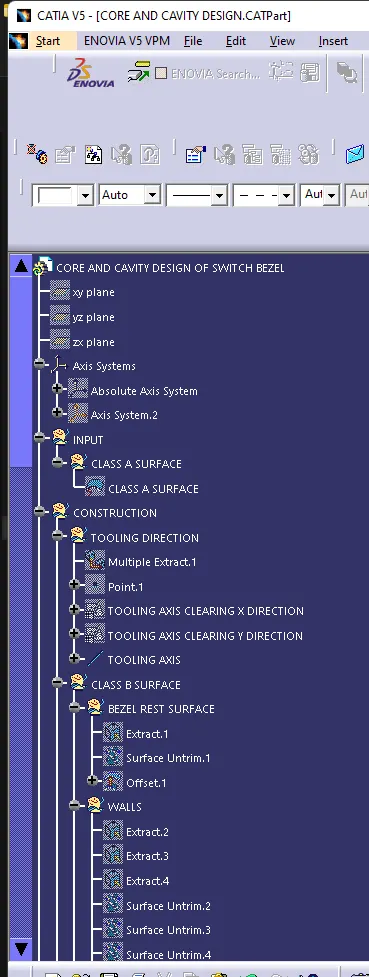
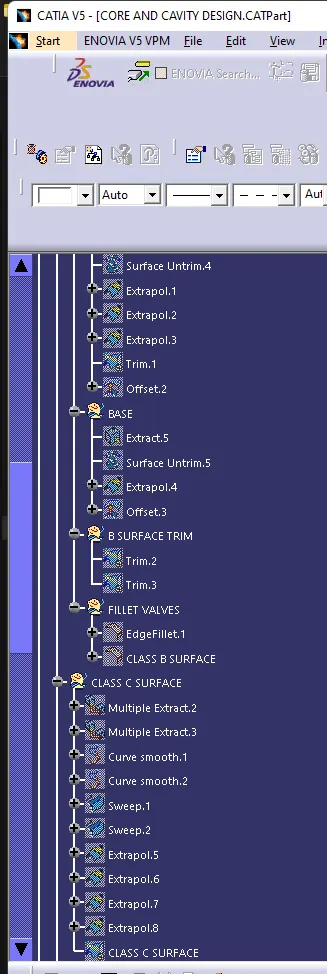
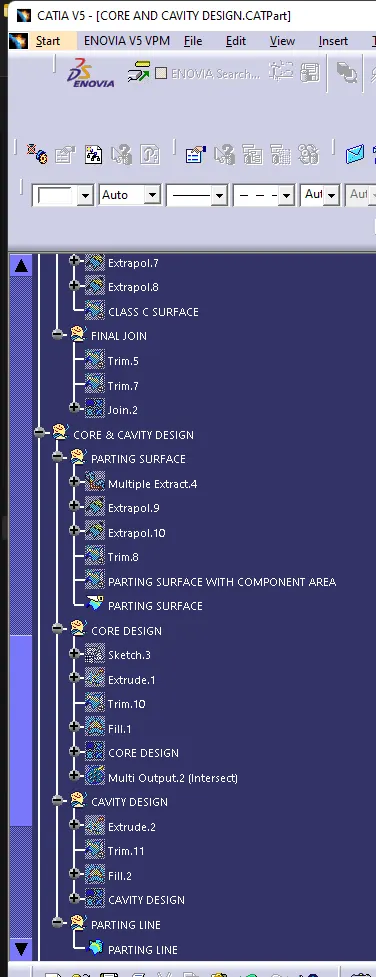
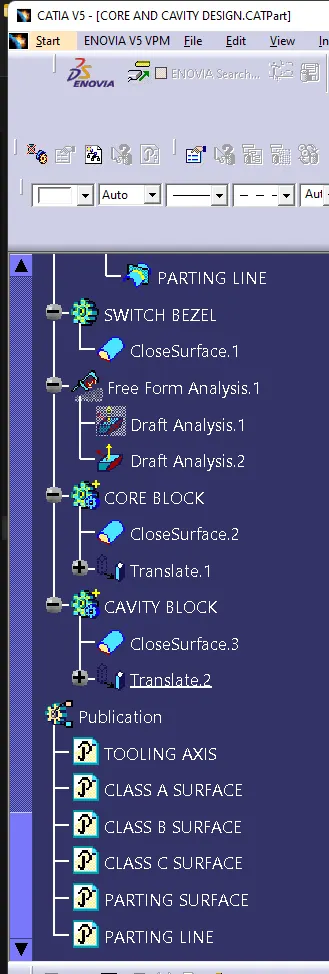
TREE STRUCTURE:
VIEWS:
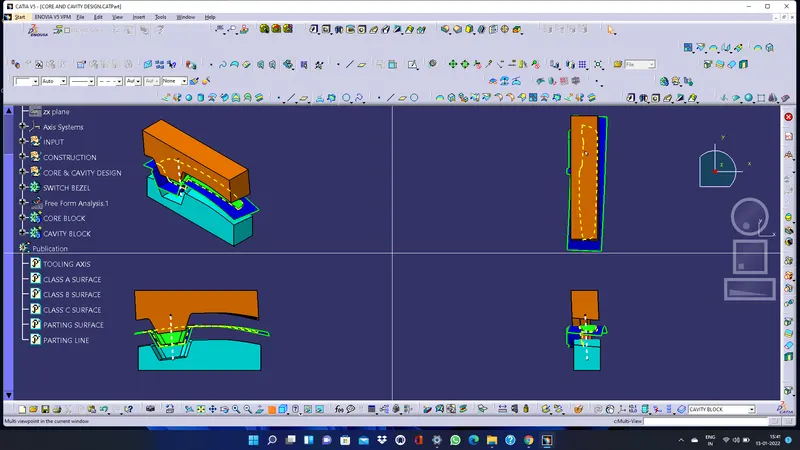
REPORT:
DESIGN AND DRAFT ANALYSIS OF SWITCH BEZEL:
OBJECTIVE:
The objective of the project is to create the class B and C surface for the Base bracket with the given Class-A surface to design a component and carry Draft Analysis by creating the tooling direction for the given Class-A surface.
DESIGN A COMPONENT USING B&C-SURFACE:
Class-A Surface:
It is the outermost surface of the automobile which gives aesthetic look to the vehicle, it is physically touchable. It is obtained from clay modelling by reverse engineering. This surface is given input to plastic product designer to work.
GIVEN CLASS A SURFACE:
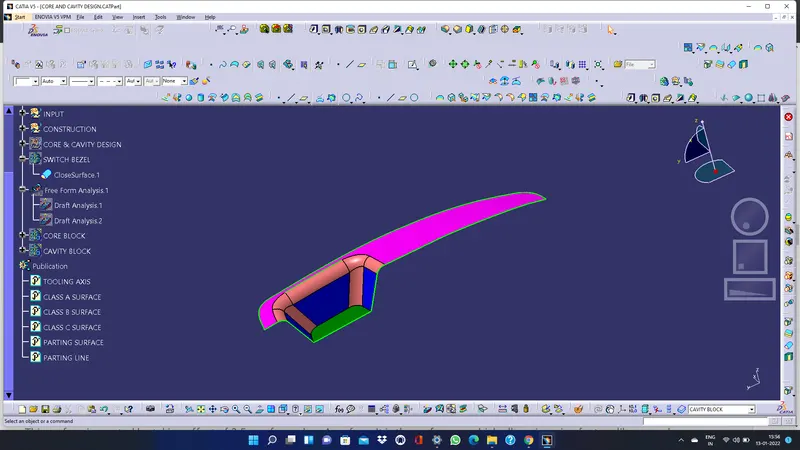
Class-B Surface:
This surface is created by taking offset of 2.5mm from class A surface. It is the surface on which all engineering feature like screw bosses, dog house, ribs & mounting are created.
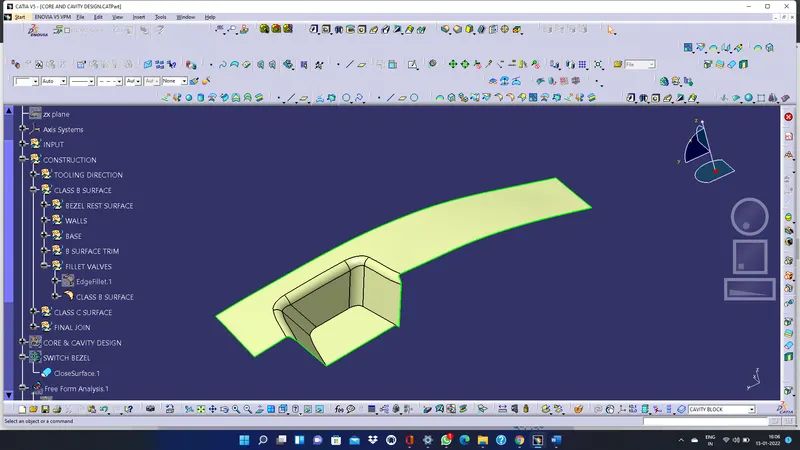
Class-C Surface:
This is the surface that joins class A & class B together.
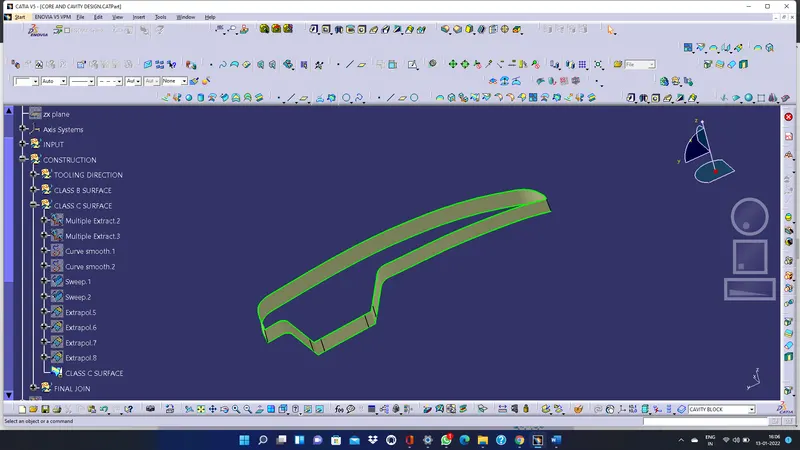
Joining A and c surfaces.
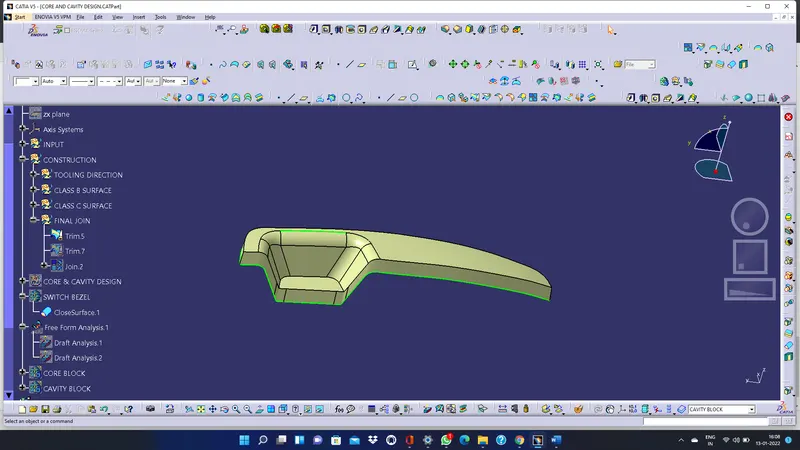
Trimming the B surface and C surfaces to get final trimmed switch bezel.
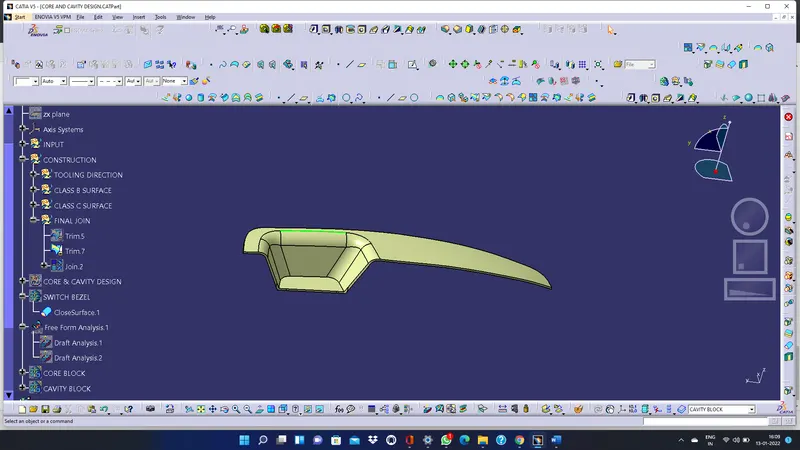
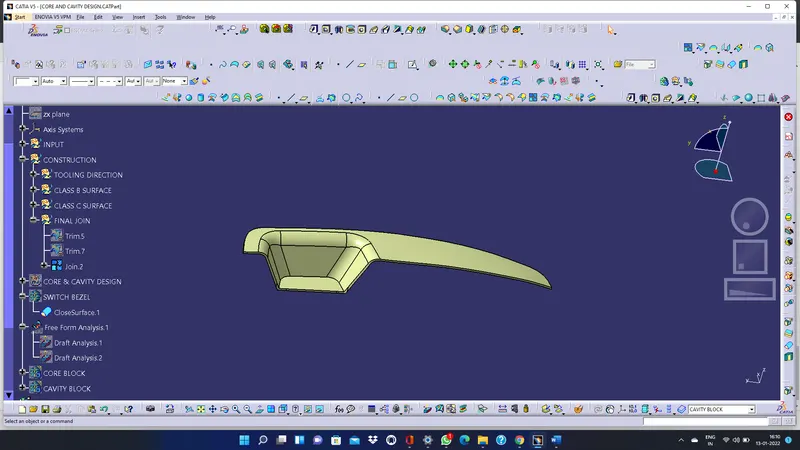
solid catpart is created by using close surface method.
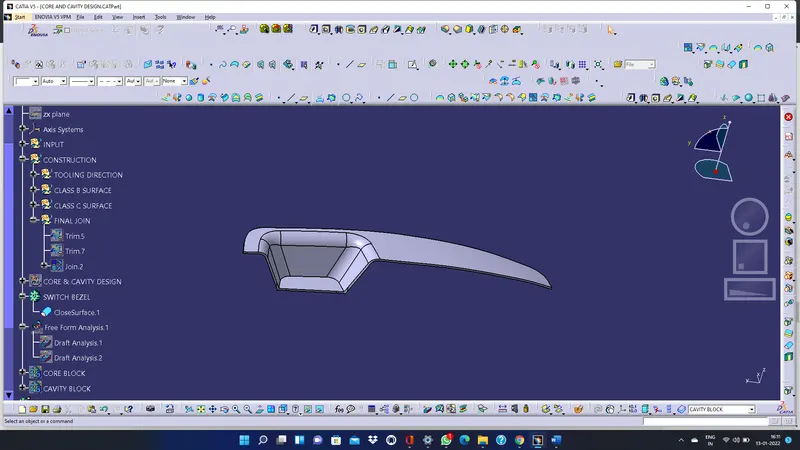
DRAFT ANALYSIS:
INTRODUCTION:
- The Draft Analysis command enables you to detect if the part you drafted will be easily removed. This type of analysis is performed based on colour ranges identifying zones on the analyzed element where the deviation from the draft direction at any point, corresponds to specified values.
- Tooling direction is the main consideration for plastic part and mould parts because it defines the movement of the mould part and the possibility of the plastic part coming out from the mould part (Core and Cavity).
- What is Draft?
- Draft is providing angles or tapers on product features such as walls, ribs and bosses that lie parallel to the direction of release from the mold eases part ej Draft allows for the parts to release from the mold.Draft is required on all parts in the direction of mold movement in order to allow parts to release or eject form mold properly.Draft is the angle in which the parts is tapered to allow it to release. As the part cools, it tends to want to shrink to the core side of the mold. Adding draft helps the part to release. Most parts or applications require minimum of 1/2 to 1 degree, however 3 degrees is widely accepted as the norm.
DRAFT ANALYSIS:
For plastic parts, the nominal angle value for draft analysis is 3 degree but even a 0.5-degree angle can be created for sub assemblies like ribs and slots. (For Sheet Metal 7 degree angle is the nominal value) Insert - Analysis - Feature Draft Analysis.
Draft analysis was carried out by pulling the compass to the tooling axis and an inverse draft axis was carried out if required.
After setting the compass over the tooling axis the compass must be locked to a specific direction.
If the surface was in green then the model passes or else further operations need to be carried out.
PROCEDURE:
First the class - A surface is checked before creating the Class-B&C surface and finally the solid body must be analysed. Both can be done by following the below procedures.
By changing the view mode to custom view parameters - Material mode then the feature draft analysis is enabled.
Then the compass was activated and placed with the tooling axis by dragging the red pointer and then locked it.
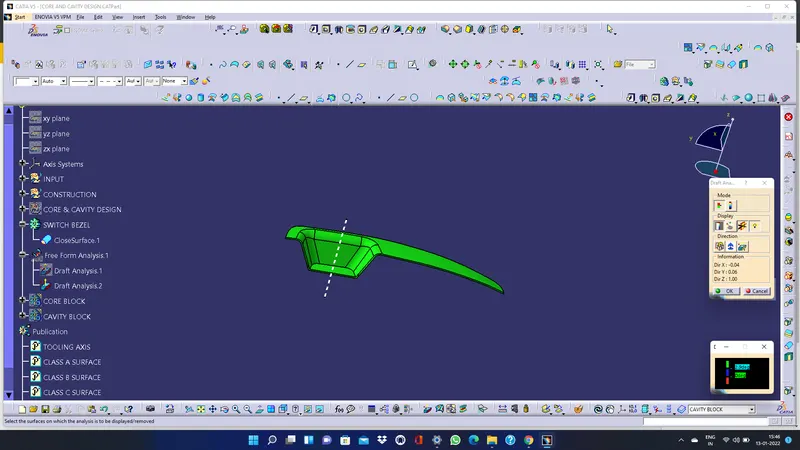
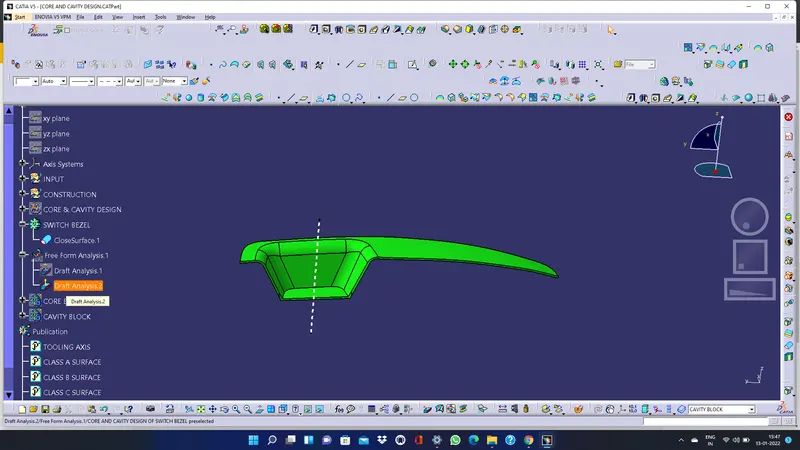
Then, by selecting the quick analysis mode, the nominal value will be 3 degrees and checked for the component's draft angle. The green colour area shows that it satisfies the 3-degree draft angle. If not satisfied then by using the Running point tool the area is measured and then altered to get a successful draft for the created tooling direction.
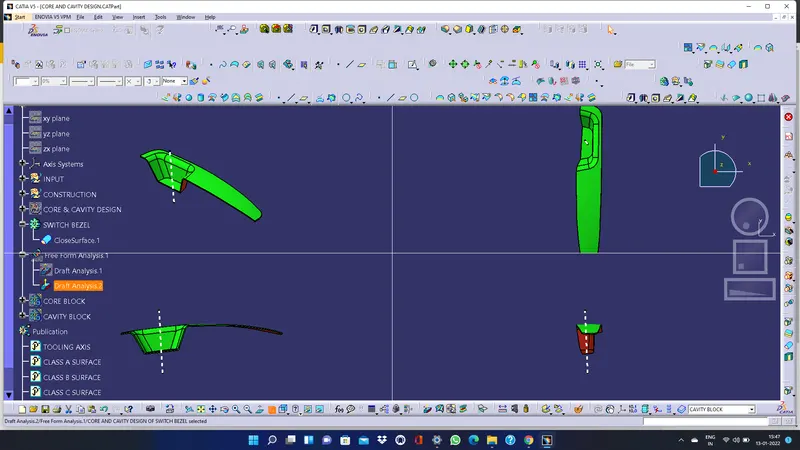
Drafting analysis of a given class A surface:
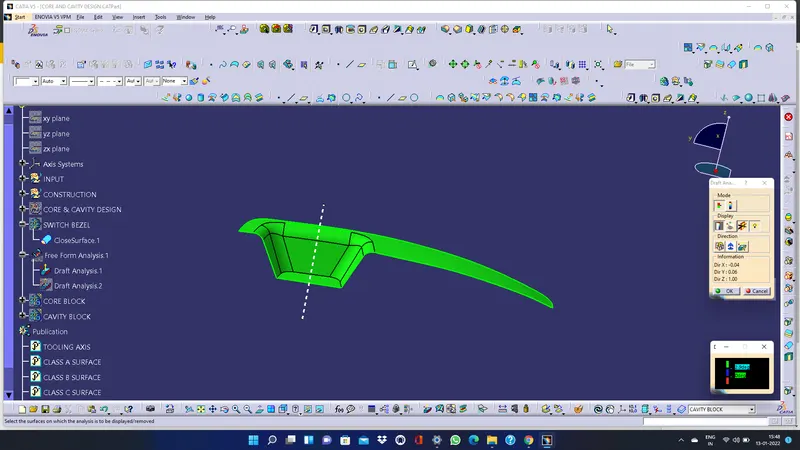
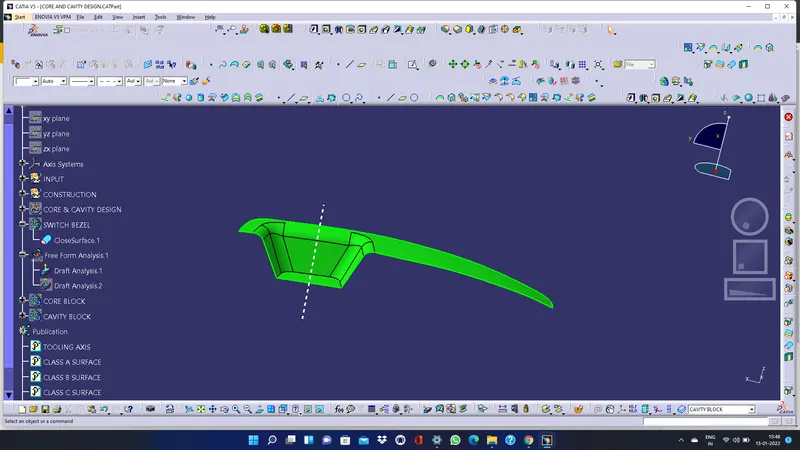
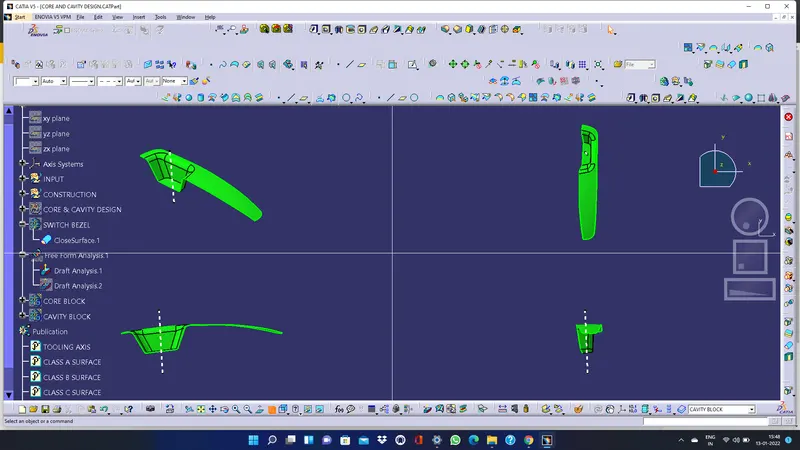
draft analysis of a solid part:
Draft Analysis:
- Draft Analysis is a tool in CATIA which identifies the zones which deviates from the specified values of angles along a defined draft direction using colour codes.
It highlights the regions of draft using colours.
- Draft analysis is the first step performed after receiving the Class A of the component.
- Draft analysis should be passed in order to make the plastic component manufacturable.
Acceptable draft angles are used as range for draft analysis.
CREATION OF CORE AND CAVITY DESIGN:
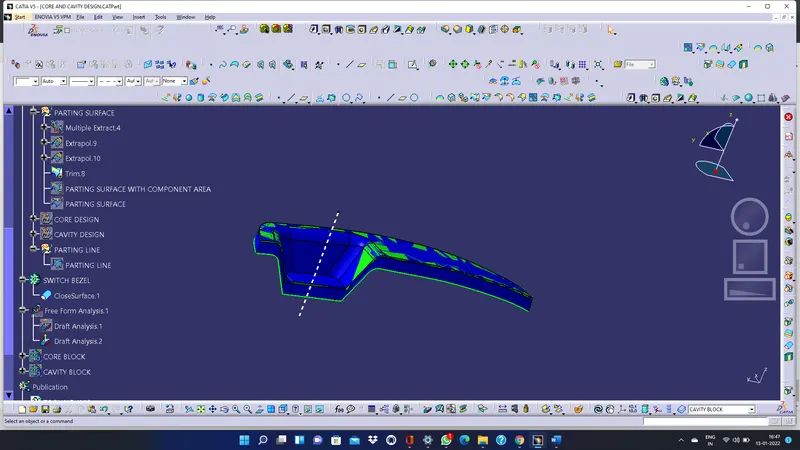
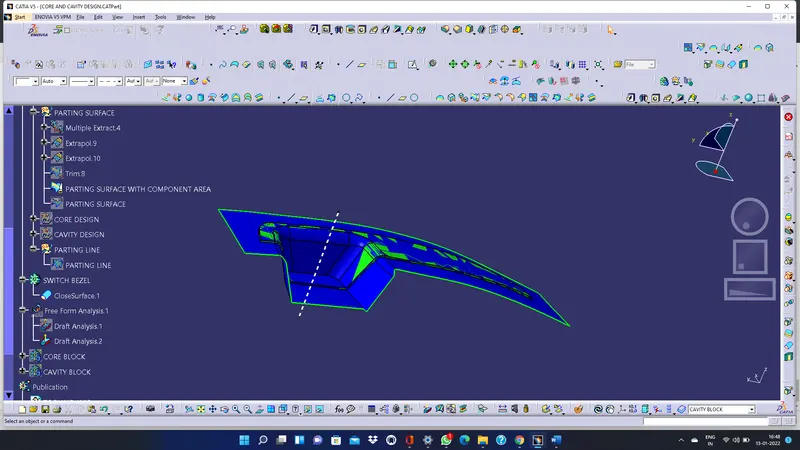
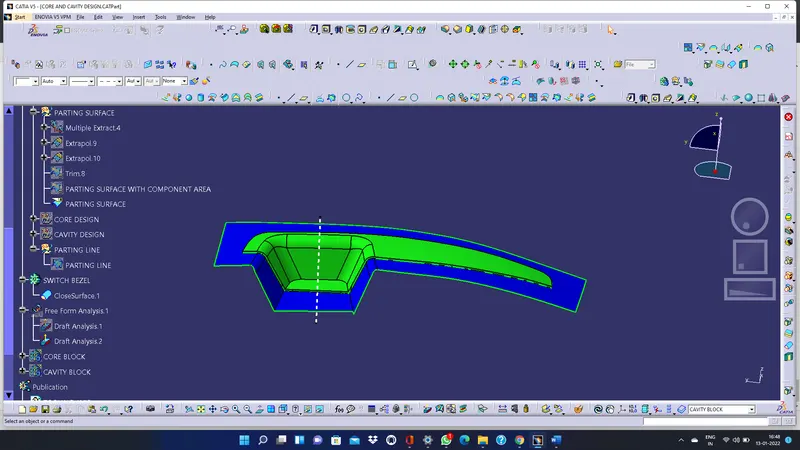
Parting Surface:
Generally Injection Moulding has 2 major components: the Movable Half and the Fixed Half.
During Injection Moulding process, these 2 halves are pressed together tightly to form a sealed hollow to avoid the melt flow leakage and maintain certain holding pressure.
The pressed surface is called the Parting Surface.
Usually the parting surface are the biggest projection outline of the part.
Parting Surface directly affects the Product Quality, Ease of Construction and Operation of the Injection of the Mould, the Mould Design is one of the key factors to the success.
Design of Parting Surface should follow the following Design Principles:
Designing the Mould Structures as simple as possible
Avoid or reduce side parting as much…
Parting surface
What is the injection mould parting surface?
Generally, injection mould has two major components: the movable halve and the fixed halve, during injection moulding process, these two halves are pressed tightly and form a sealed hollow to avoid the melt flow leakage and maintain certain holding pressure, the pressed surface are called parting surface, usually parting surface are the biggest projection outline of the part.
Parting surface design principles
Parting surface design directly affects the product quality, ease of construction and operation of the injection mould, the mould design is one of the key factors to success
Design parting surface should follow the following principles:
- Design the injection mould structure as simple as possible. Avoid or reduce side parting as much as possible to reduce the complexity of mould making.
- Ease of de-moulding. As far as possible, for instance, the plastic parts should stay in fixed halve of the injection mould and ejected by ejection system, avoid side de-moulding action.
- Ensure the dimensional accuracy of the moulded parts. Try to make the parts with similar dimensional accuracy requirements in the same module to reduce manufacturing and assembly errors.
- Ensure appearance requirement of the moulded parts. Flash or mismatch occurs usually on parting surface, so the parting surface should not be designed on any high quality requirement surfaces.
- Ensure adequate venting. If possible, parting surface should be place at the end of the mould flow. This is going to be a good advantage of filling and venting.
Parting Line:
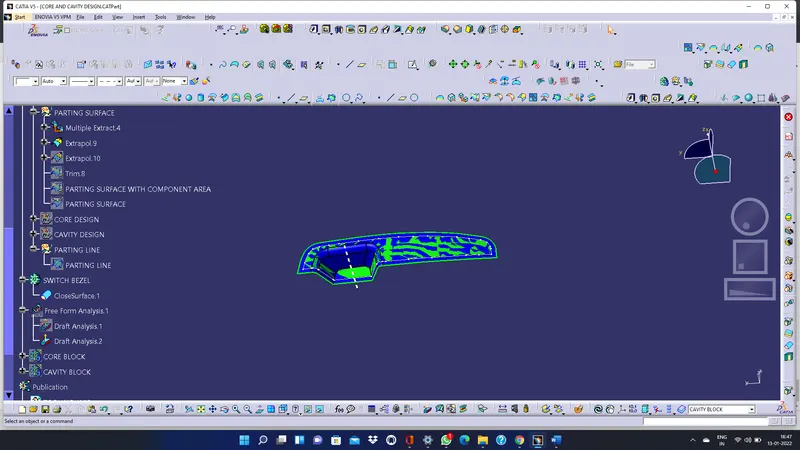
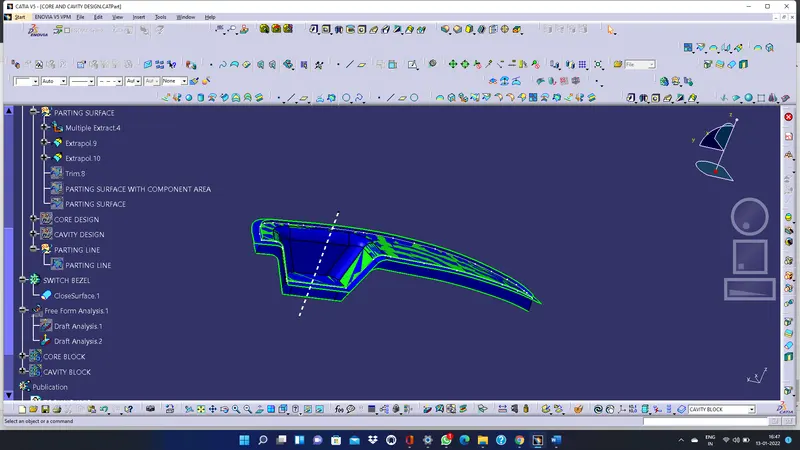
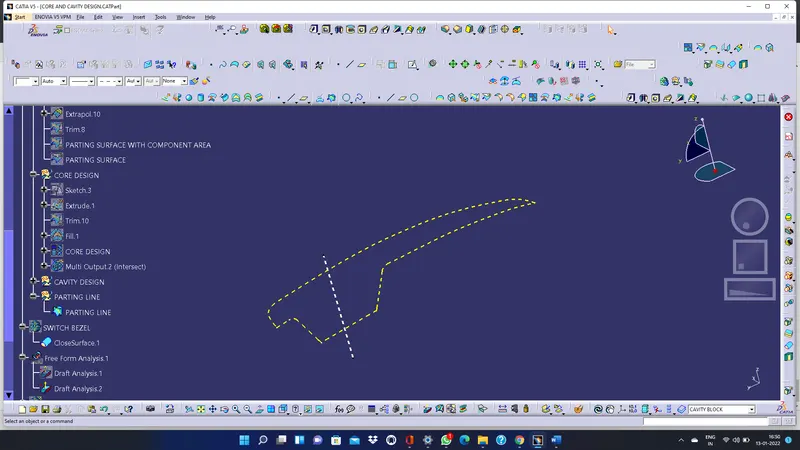
Parting Line of Switch Bezel is shown in Figure
- Intersection of the Plastic Component with the Parting Surface is called the Parting Line.
- It is the Bordered Outline of the Component along the Parting Surface
-
Draft:
- Draft is an angular tapering given at the design stage to every Plastic Component that has to be manufactured.
It is given in the direction of the Mould Movement.
- The Draft allows the parts to release easily from the mould without creating friction between the surface of component and the core and cavity plates.
- When a Plastic component cools down inside the mould, the natural tendency of it is to shrink and attach to the core or cavity half.
- The movement of mould opening causes friction on the walls of the component as well as the core/cavity blocks.
This reduces the life of the mould as well as the component itself.
- The component may also have rough surface finish as well as weak structure due to this.
Tooling Axis:
Tooling Axis is the direction in which the Mould opens and closes. Part Drafts are given along this axis.
CORE BLOCK:
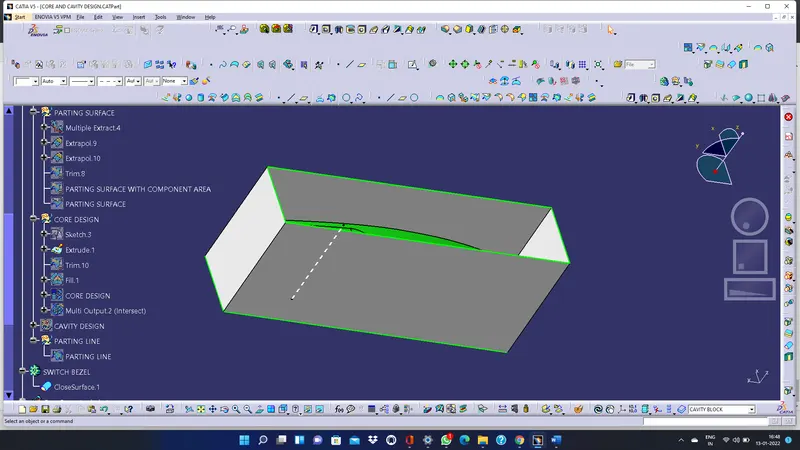
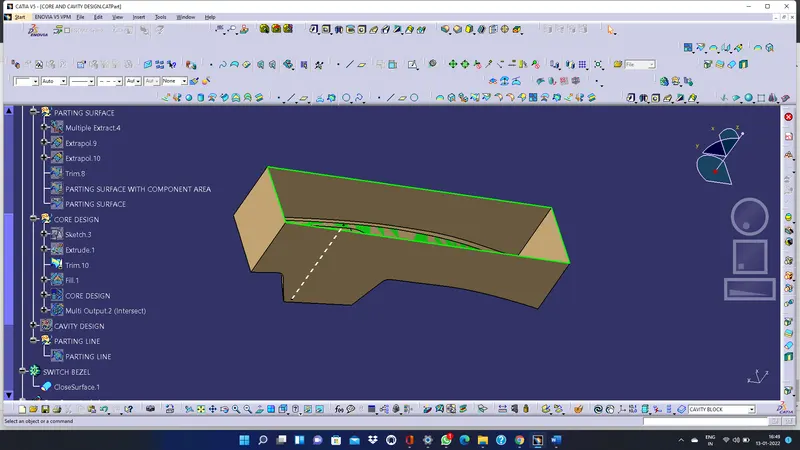
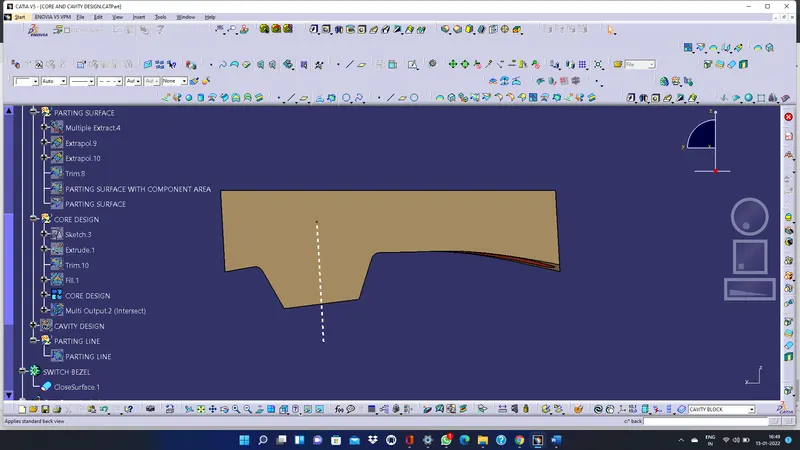
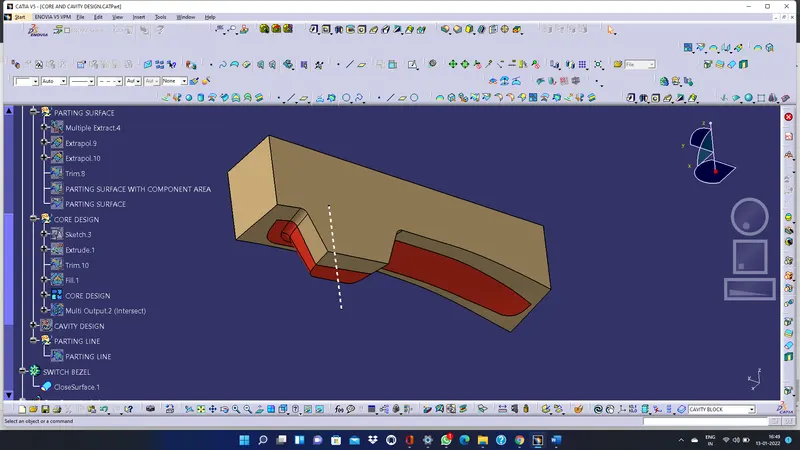
CAVITY BLOCK:
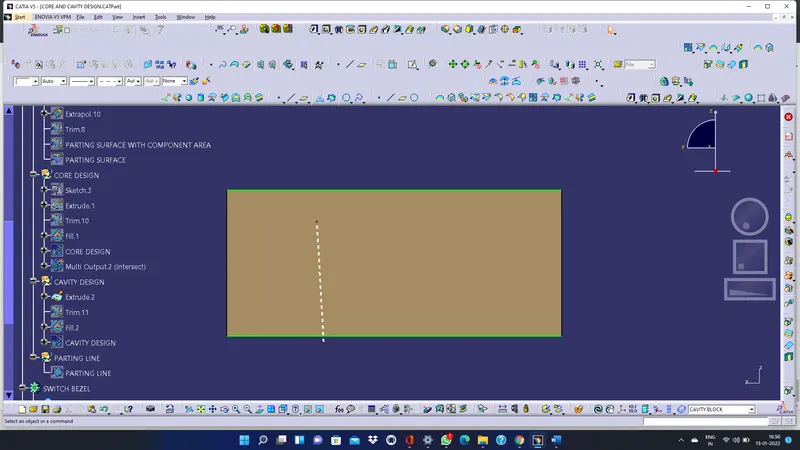
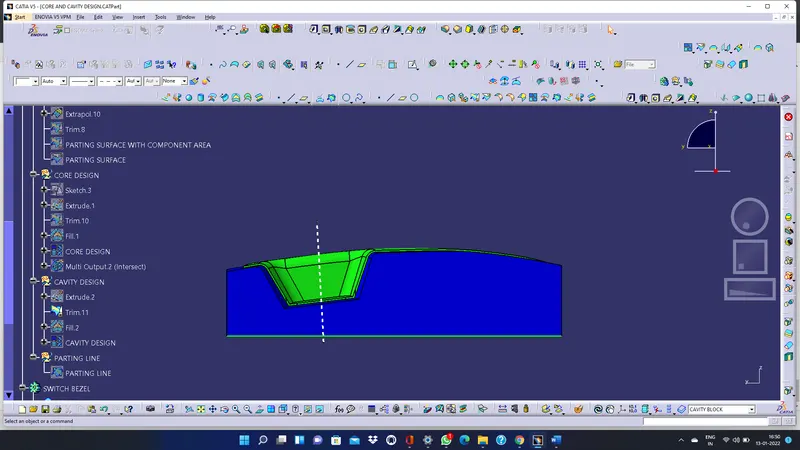
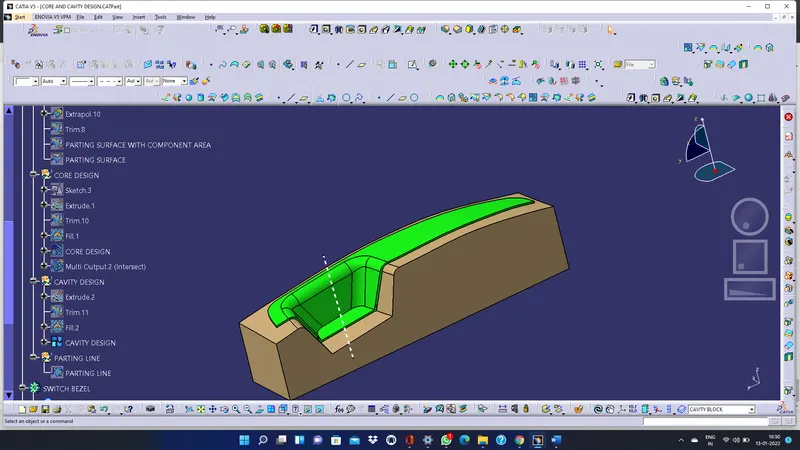
CORE AND CAVITY DESIGN FORMATION OF PARTING LINE AND PARTING SURFACE:
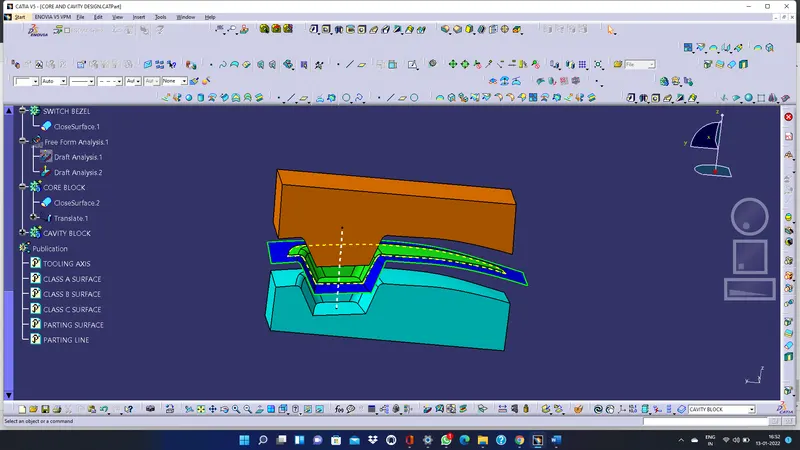
Conclusion:
The Design of Core and Cavity for the Mould of Automotive Plastic Component-Door Switch Bezel is completed using concepts of Parting Surface, Parting Line, Draft angle, Draft Analysis for Class A and Final enclosed surface. Tooling Axis creation and implementation, Class B and Class C creation and conversion to a solid part maintaining the part thickness at 2.5mm.