Design of Coin Holder using CATIA V5
AIM: To create Coin Holder and add thickness to it.
Procedure:
Create tooling axis:
Tooling direction is the direction in which mold opens or Core and Cavity opens.
- To create the tooling axis, we need proper orientation or view thatgives the correct featues and draft available in the component.
- So here the component view from the Z direction gives the proper view for the tool to see the features present in the geometry.
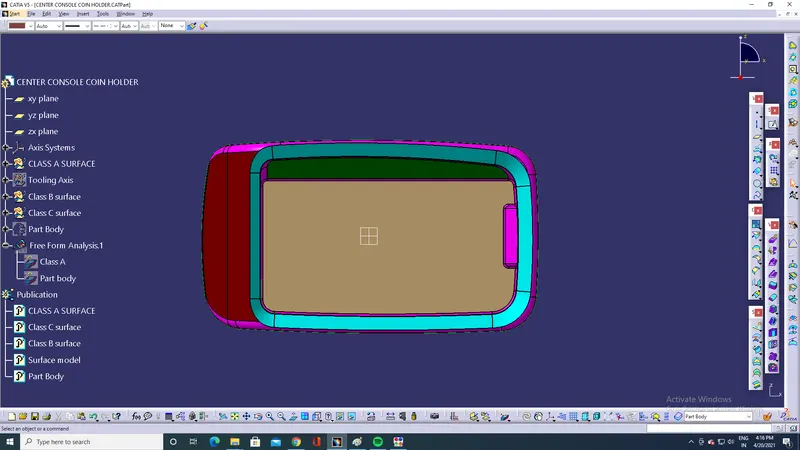
- To create the tooling axis from the Z direction we need the tooling axis from the other X direction since it gives the draft available at the slanted part.
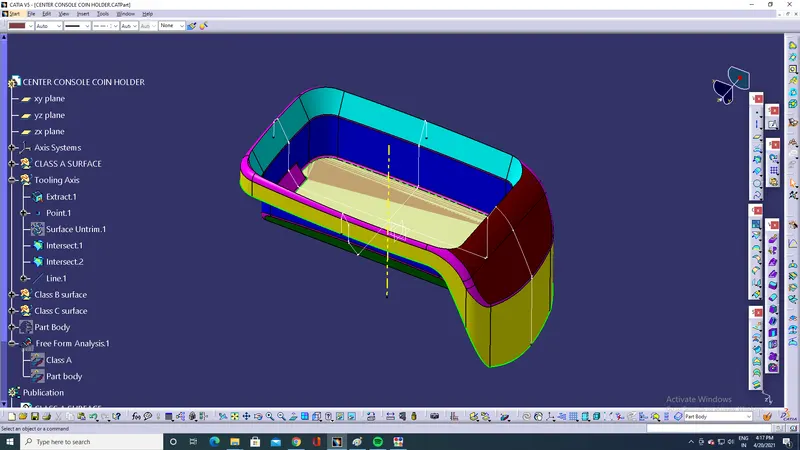
- Tooling axis is created by using Bisecting method.
Procedure
- The base surface is extracted.
- Then the center point is created using the point>on the surface at 0.
- Axis system is created at that point.
- Then the lines are created using 'lines'>'Point to point' along the slant surfaces.
- Bisecting line is created from these lines by using 'lines'>'Bisecting line'. This is the tooling axis for the part.
Draft Analysis:
Draft : Drafts are defined on molded parts to make them easier to remove from mold.
Drafting methods:
- By explicitly selecting the object.
- By selecting the neutral element
Major industries uses minimum draft angle of 3mm.
- Change the shading style to "shading with material".
- Go to insert>analysis>Feature draft analysis.
- Select compass icon in draft analysis dialogue box and drag the compass and place it on tooling axis and select lock draft direction option.
- Swith to quick analysis mode to see whether the surfaces are passed draft angles or not.
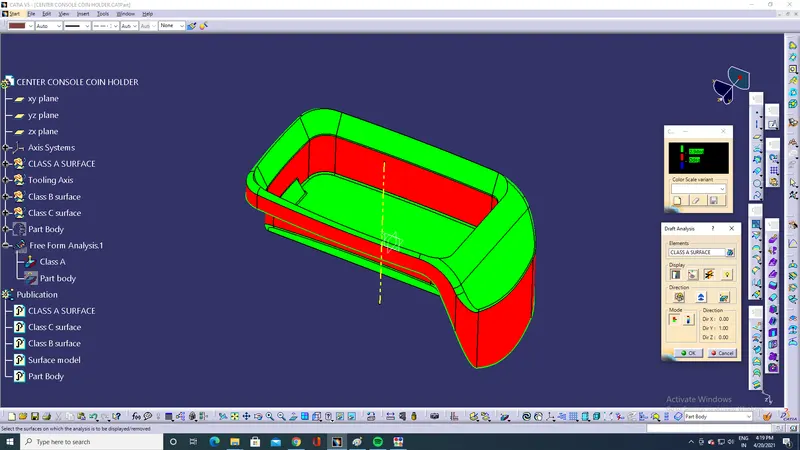
As we can see many surfaces are not passing Draft angle so changes in the class A surface is required.
Create Class B surface
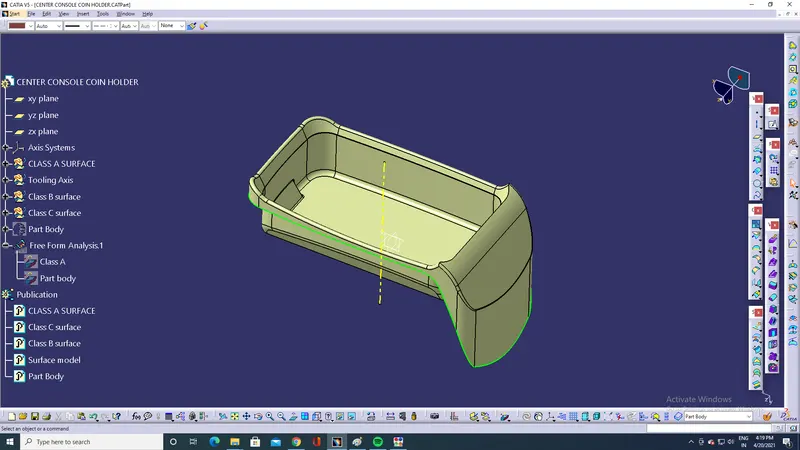
- Class B surface was created from the class A surface using Extract or MultiExtract option.
- Class B surface was offseted at a distance of 2.5mm thickness from the class A surface.
- Fillets were applied after necessary calculations.
Create Class C surface
- Class C surface was swept along the boundary of Class A using Sweep option at an angle normal to the class A surface with respect to the tooling axis.
- A nominal draft angle of 3 degrees was applied.
- The Class C surface joined along withhe class A surface.
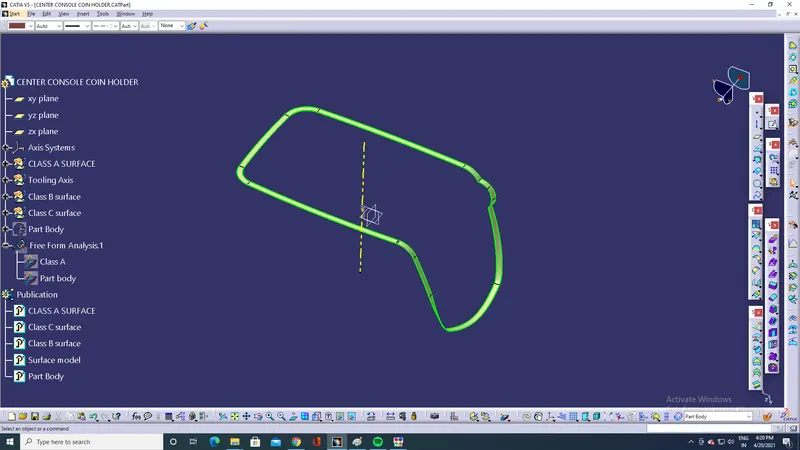
Create a closed surface
- Class A, B and C surfaces were joined together to form a single closed surface.
- Trim the Class B surface with the joined Class A and C surface to get closed surface.
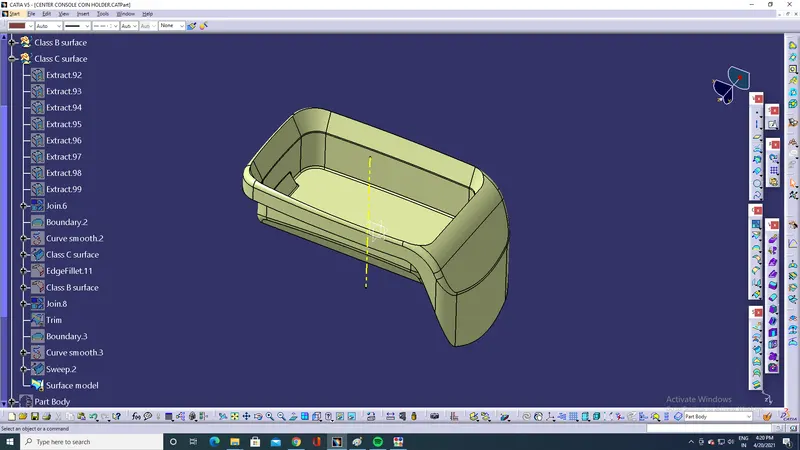
Create a solid part from closed surface
Insert a part body and create a solid part using closed in part workbench.
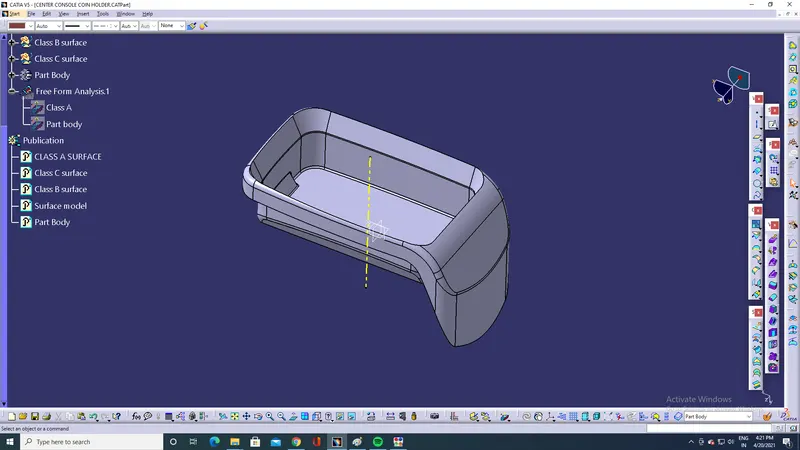
Final Model:
Draft analysis of final part:
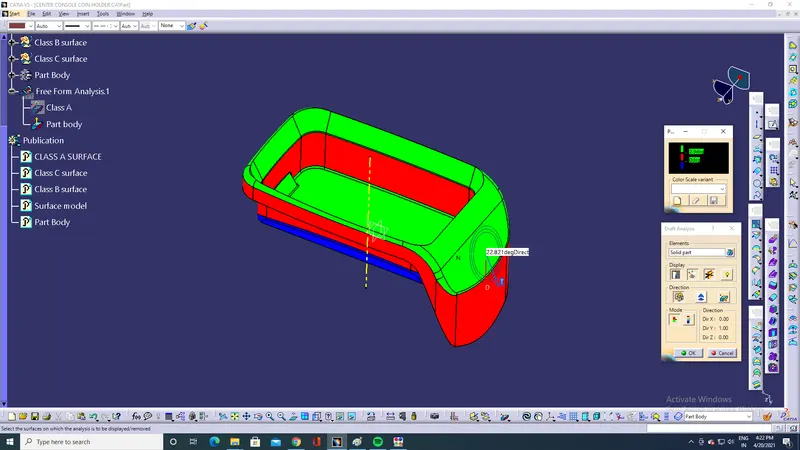
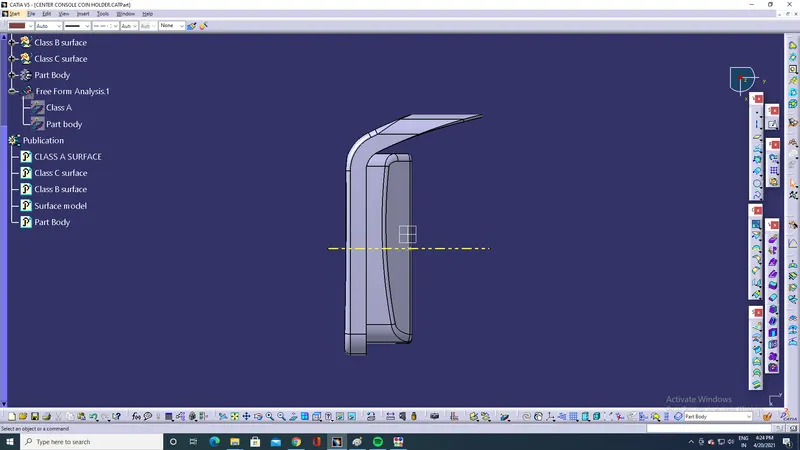
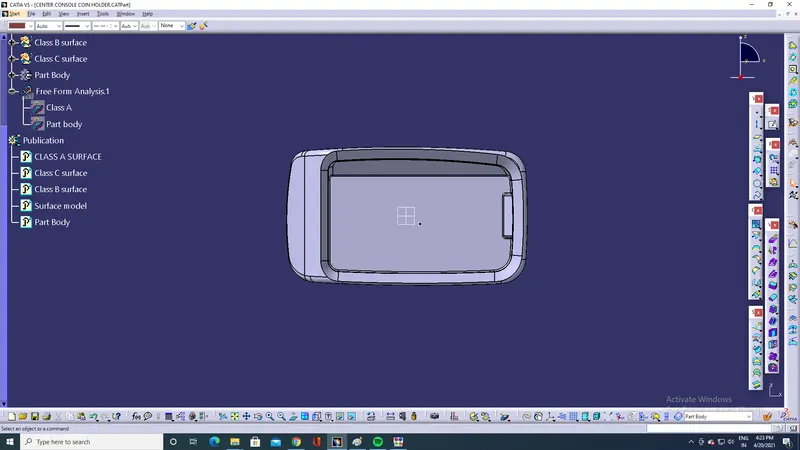
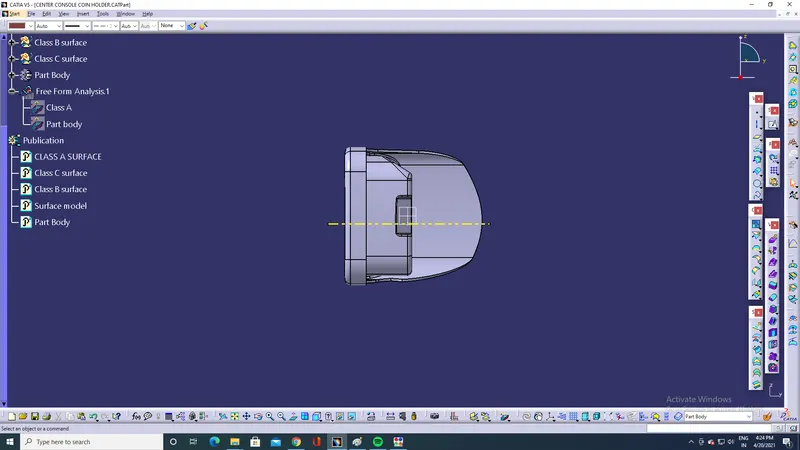
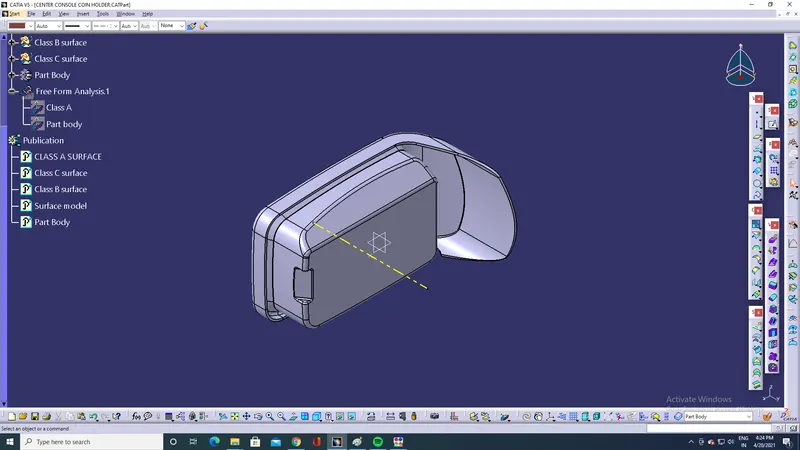
Final solid part:
Front View
Top view
Side view
Isomeric View
CONCLUSION:
- Created tooling axis for Class A surface and checked for draft for the same.
- Created Class B and Class C surface and Joined Class A, B and C surface and Converted into Solid Part.
- Draft analysis is performed for solid part.