Week 8 - Challenge 4 - Coin Holder Design
DESIGN AND DRAFT ANALYSIS OF COIN HOLDER
AIM:
To design the centre console coin holder and to perform the draft analysis.
PROCEDURE:
After receiving the class-A surface we have to check for any gaps, it is necessary to check the surface for gaps. If there is any gap the close surface will not works and there will be some problems in creation of solid, so it is necessary to check the class-A surface for any gaps.
We can check the class-A surface by executing the boundary command, in that boundary command we have to select the class-A surface and after that disassemble it into two domains
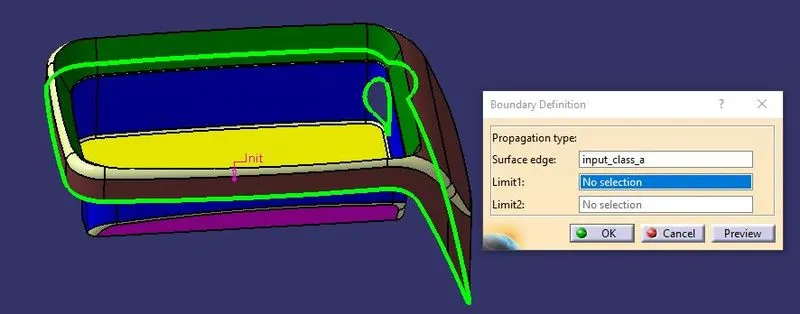
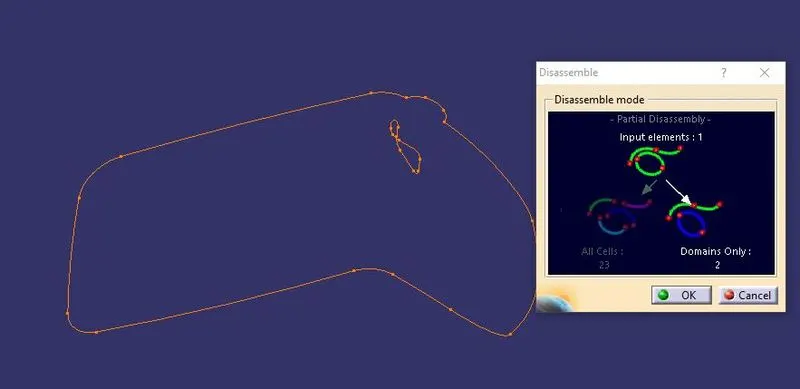
After disassemble we can check for any opening in surface or any patches presented in it. Once after checking the surface we can start working with that A-surface.
As first step we need to create the tooling direction for the class-A surface given. We can follow either compass method or bisecting method for tooling axis creation.
Here we use the compass method for creation of the tooling axis. We have to see the various orientations of the part with the help of compass, and have to go with the view which is clearing most of the area, from the below images it is clarified that y direction clears most of the area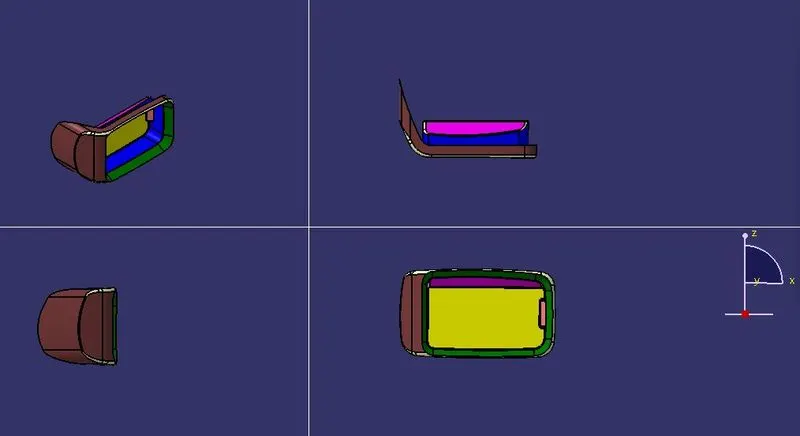
Now we know that our tooling axis should be going to lie on the Y-direction, so we have to insert a point on the class-A, for creating the point we have to extract the surface from the class-A, and insert point on the geographical centre point of that surface and insert the axis system on that point as shown in the below image, always make sure that the axis system should not be current,
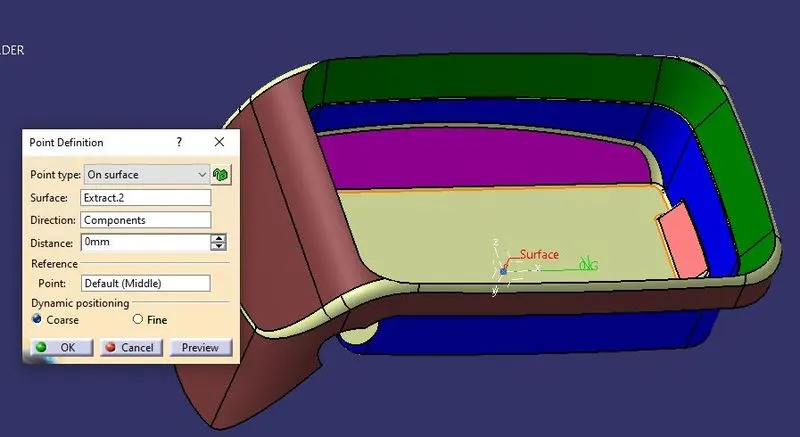
After creating the axis system now we have to create the line on that axis system using the point and direction option in the line command, here we have to select the point we have created already and the y axis in the axis system as direction.
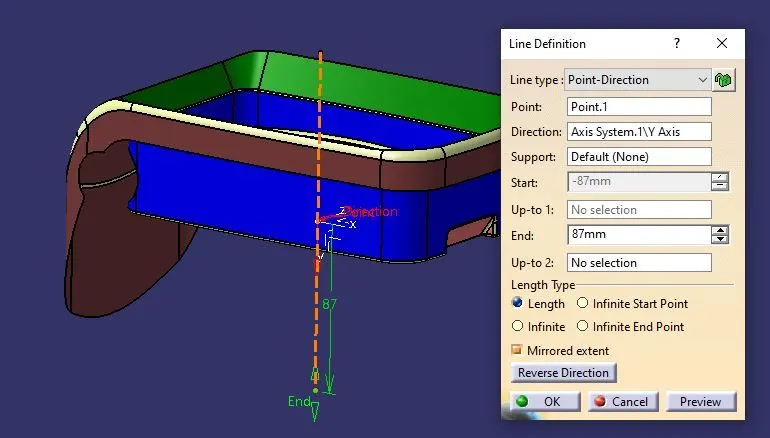
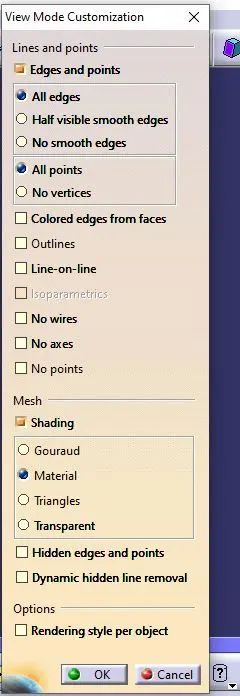
Now name this line as tooling axis, after naming it we have to perform draft analysis, here we have select draft analysis tool from the insert drop down analysis-draft analysis.To perform draft analysis we have to put the customize view parameters mode in the view mode and after entering into customize view mode we have to select the material mode as shown in the below image,
Then perform the draft analysis by selecting the draft analysis icon or by selecting Insert-Analyse-Draft analysis, then we have to select the compass icon on the direction tab of the draft analysis tool bar. And place the compass on the tooling axis by picking and dragging it on the middle point of the compass, after that press the lock icon on the same tool bar, and click on the any of the surface of the part to perform the draft analysis.
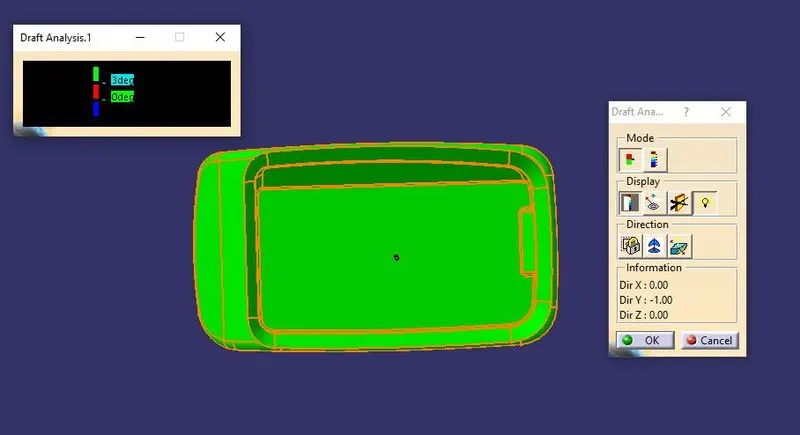
In this above shown view every thing shown in green colour can be cleared.
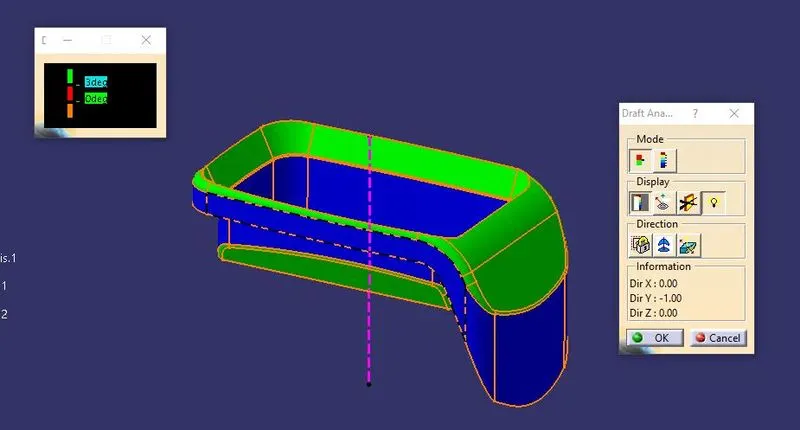
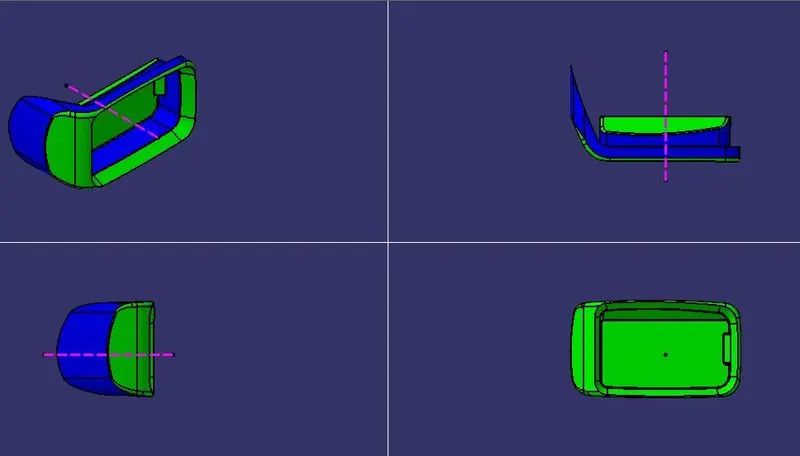
But in the above shown image some of the area is shown in blue colour, this shows that the class-A surface given here is having negative draft angle so we have to make changes on the class-A surface to avoid this negative draft angles. But here we are proceeding further to design the class-B and class-C surfaces, to design the b_surface we have to extract the surfaces of the coin holder area and un-trim it and extrapolate them.
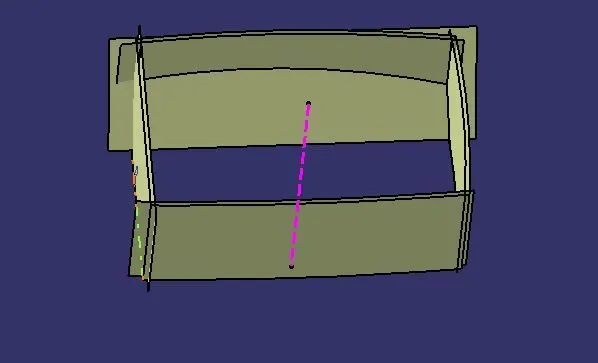
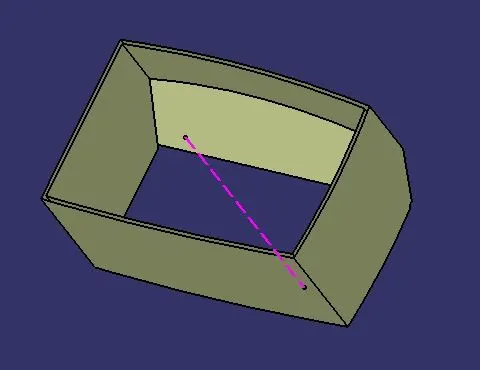
After trimming them make sure to offset it according to the thickness of the product. Also extract the top wall surfaces of the class-A and also un-trim, extrapolate, and trim it to the side walls surface, before trimming it to the side walls give the correct fillet dimension to maintain the constant wall thickness of the component.
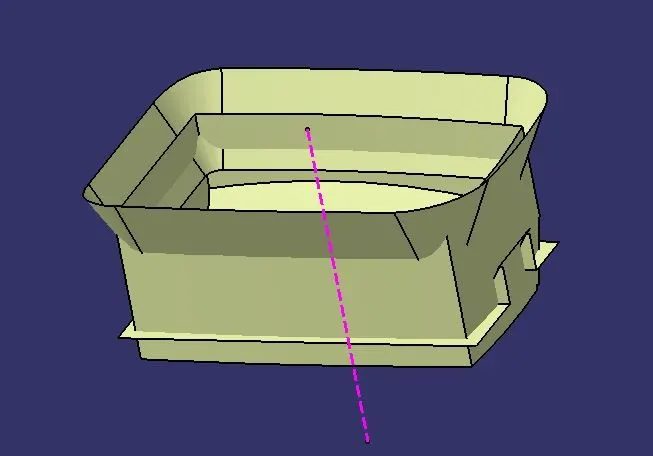
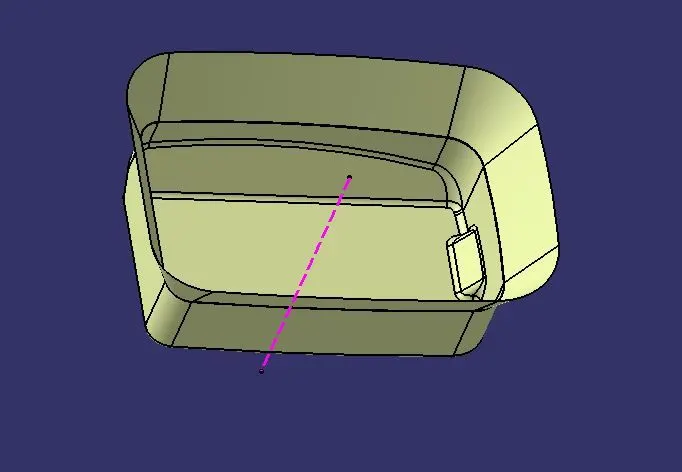
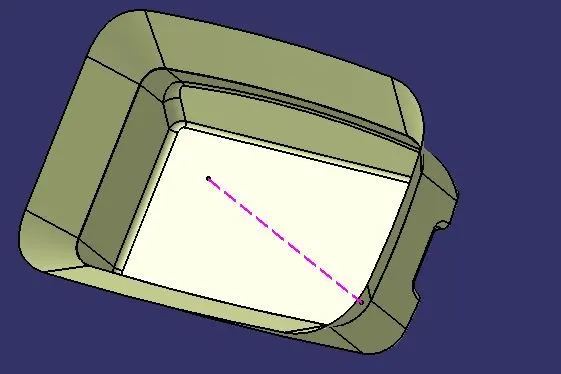
Now we have to extract the other surfaces and to offset them according to the thickness to form the remaining b_surfaces,
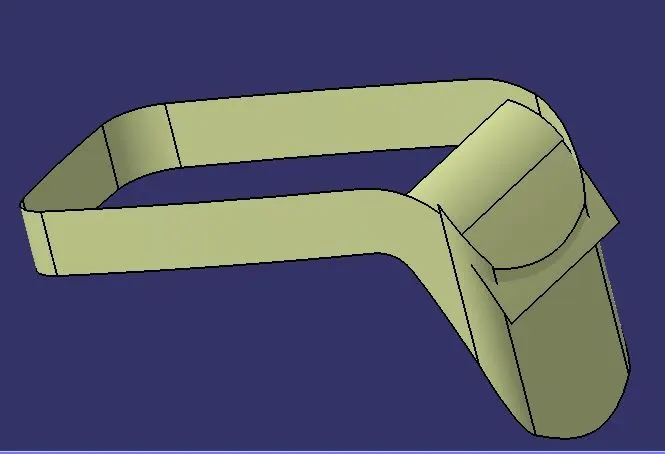
and after trimming them we have to trim this surface with the already created inside wall surfaces, and also selecting the correct direction.
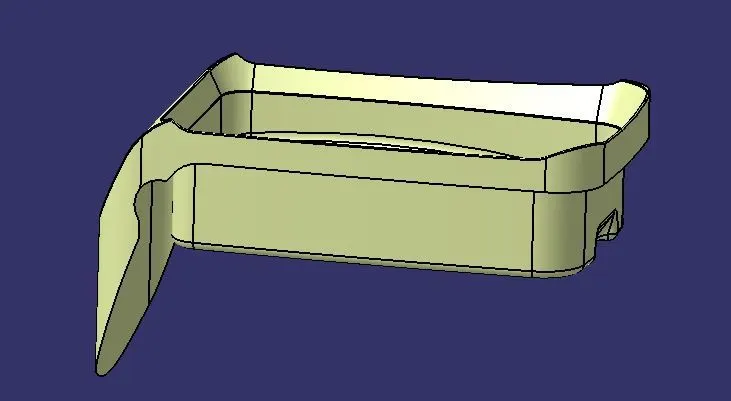
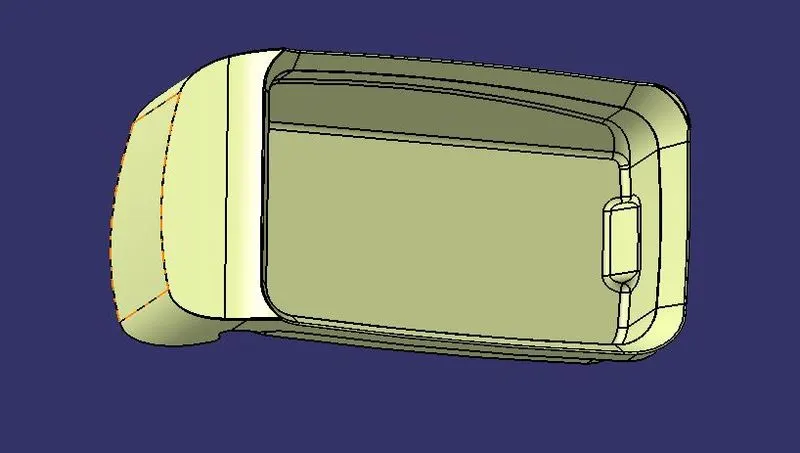
Then we have to create the c side surface, for the creation of the c-surface we have to extract the boundaries of the given class-A surface. And execute sweep command for creating the closing surface, it is shown in the below images.
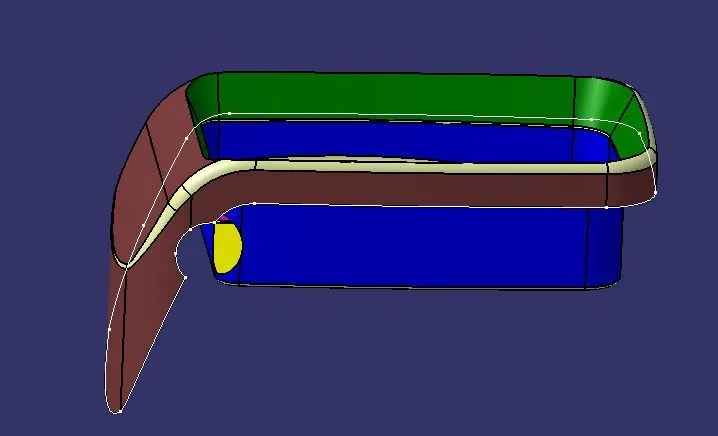
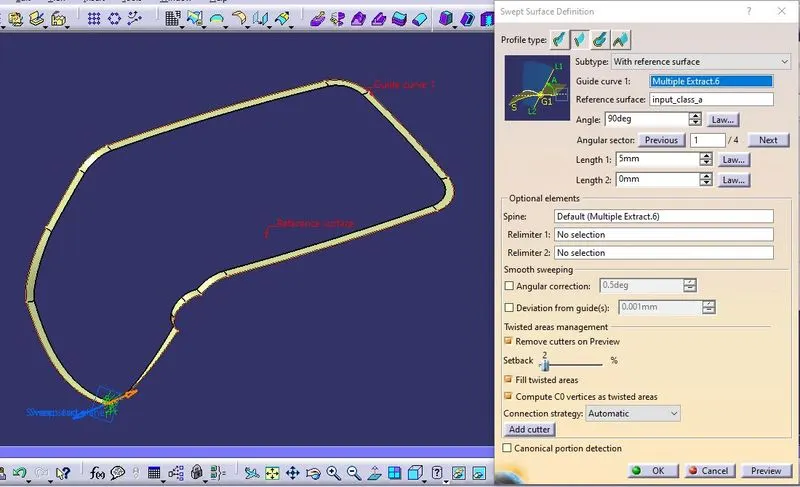
In the sweep option use the with reference option to create the c side surface
also extrapolate the created c_surfaces and trim it with the b_surface, also do this same sweep for the hole in that class-A surface also , and finally trim all the surfaces with correct direction. Finally we can get the closed surface model of the coin holder.
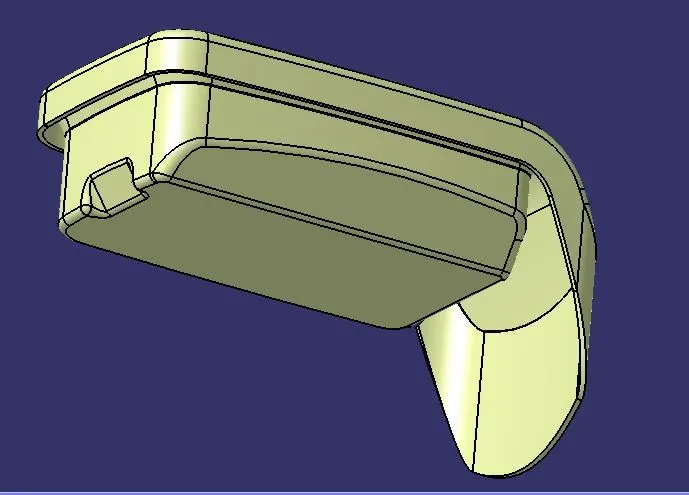
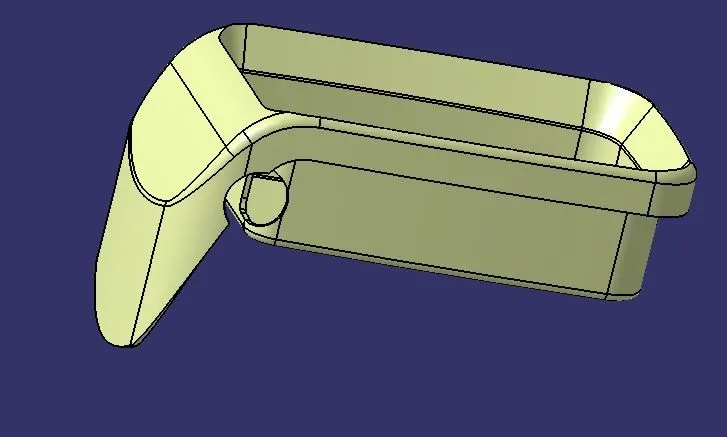
Now we have to use the close surface command in the part work bench to create the solid part out of this closed surface model.
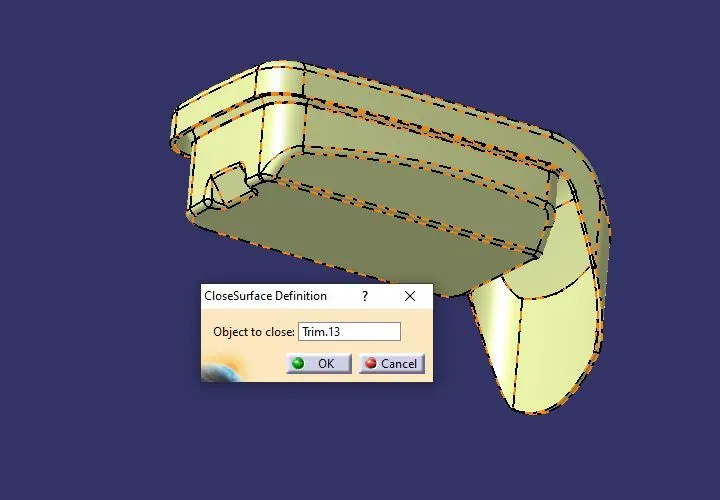
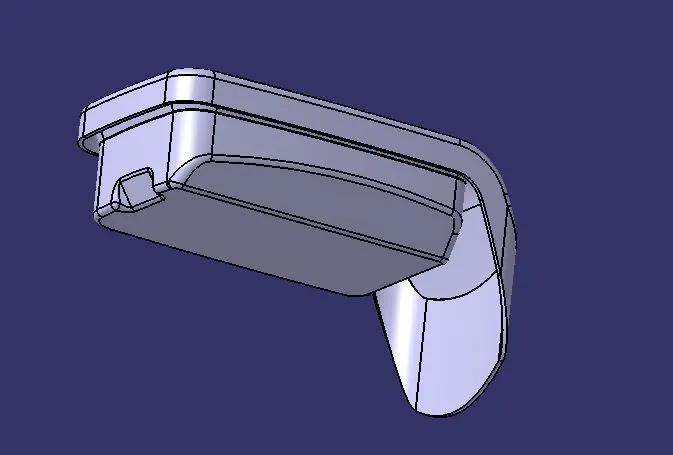
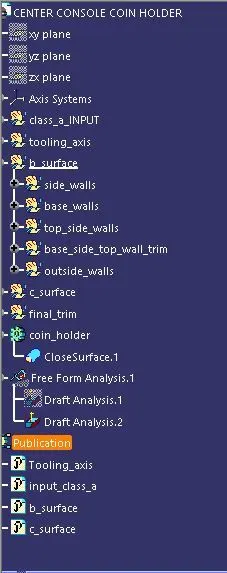
after creating the tooling axis, b-surface,c-surfaces we need to publish them using tools dropdown publication option for ease of access and it is shown below.
After creating the solid part we have to perform the draft analysis for that final part also by following the same method shown above, draft analysis for the complete part is also shown below
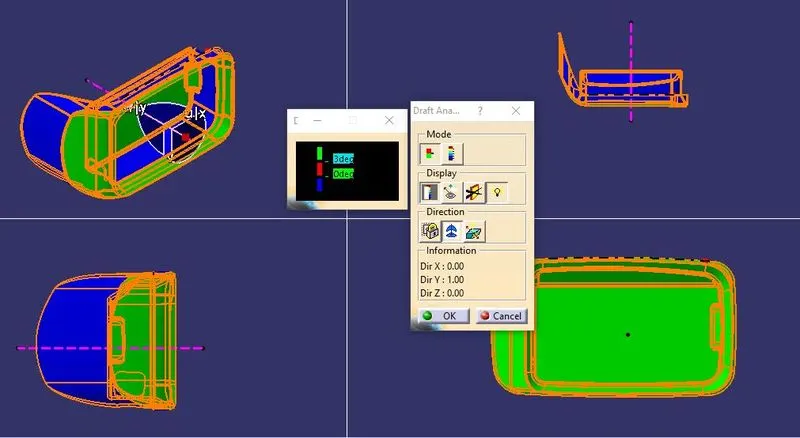
In the draft analysis of this final part, some of the area is shown in blue colour it shows that there is negative draft. So we have to contact the styling engineer to correct the class-A for adequate draft angle.
CONCLUSION:
Thus the design and draft analysis of centre console coin holder is done.