Week 8 - Challenge 4 - Coin Holder Design
COIN HOLDER DRAFT ANALYSIS REPORT
- Creation of Tooling axis
The first step is to create the tooling axis for the surface. The tooling axis is the direction along which the core and cavity will move so that the plastic part can be tooled or produced. If the plastic part can clear the tooling along this tooling axis then the plastic part is considered to be toolable or can be produced.
The first step is to create an axis system at the center of the base of plastic part. For this create a point at the center of base on the plastic part and then create an axis system at that point.
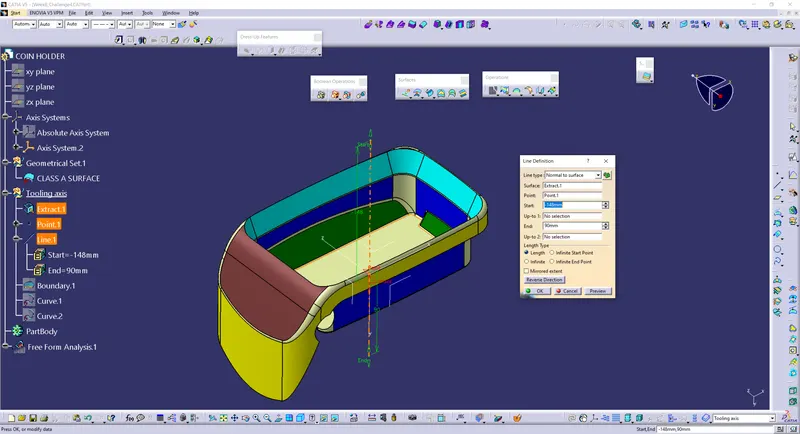
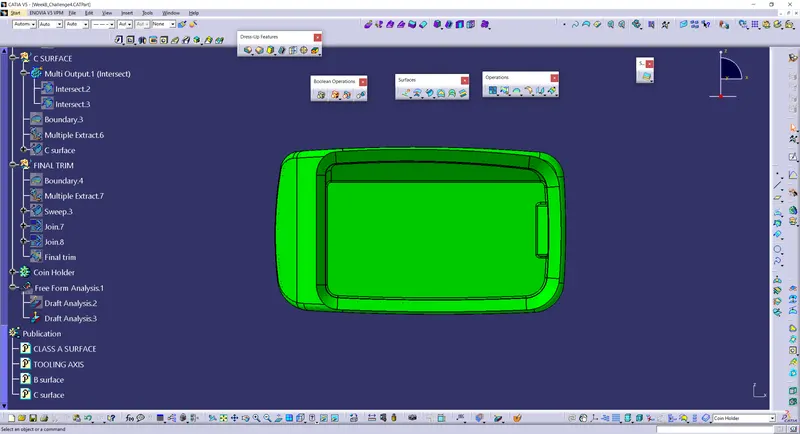
At first glance we can see that along z axis the surface can be easily tooled.
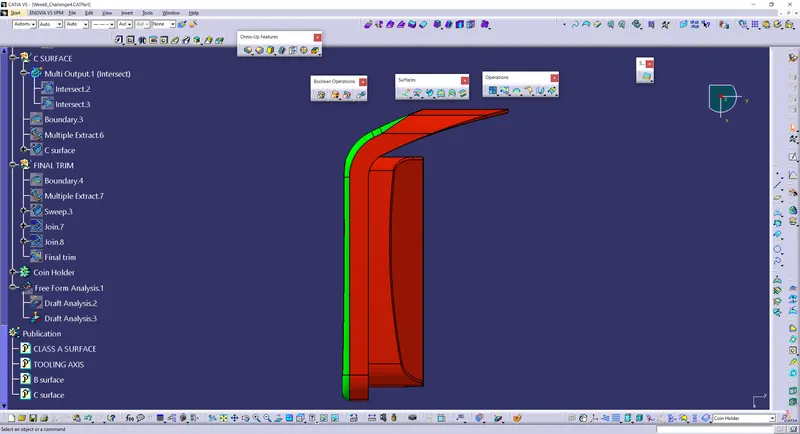
When we intersect the surface with YZ plane we see that the walls are at 90 degree to base. There is no sufficient daft provided on A surface and hence the tooling axis is taken as perpendicular to base.
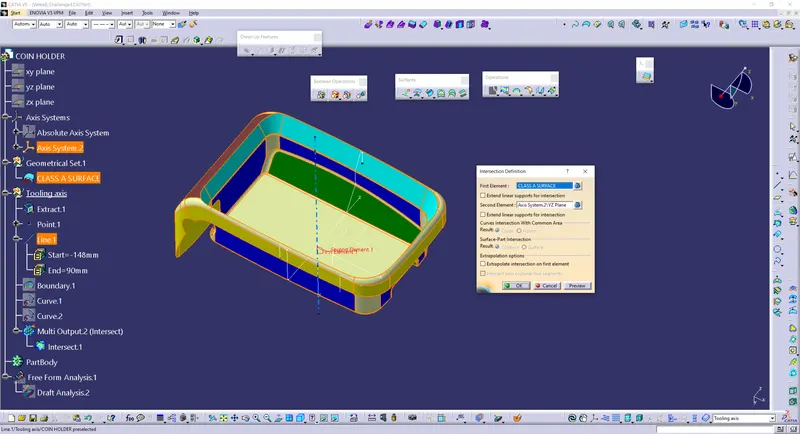
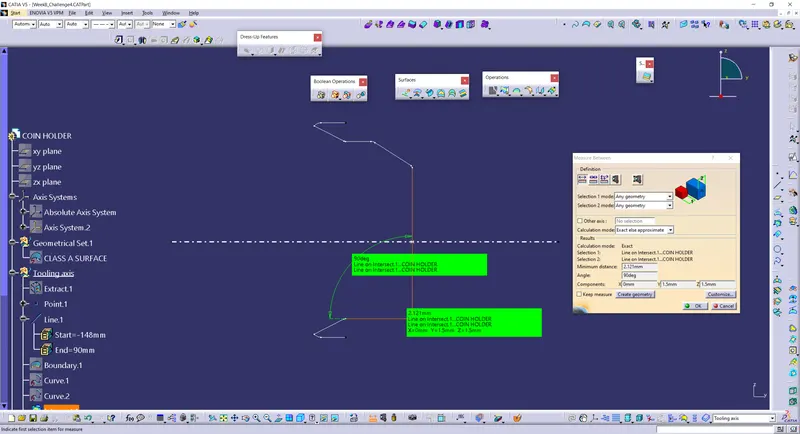
- DRAFT ANALYSIS
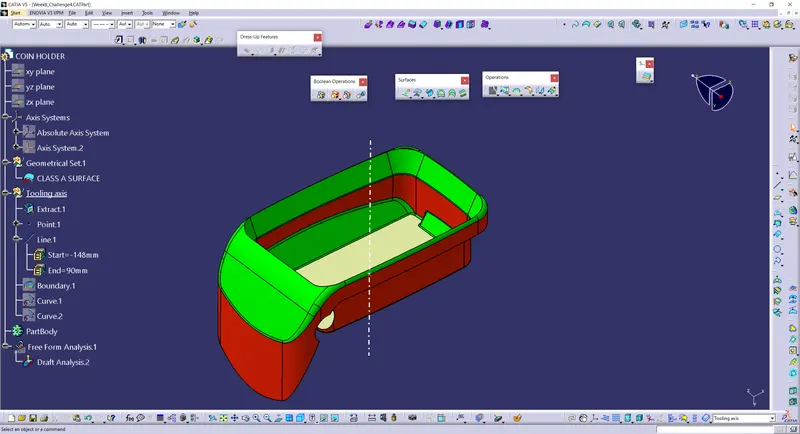
To begin with draft analysis on surface click on insert – analysis – feature draft analysis.
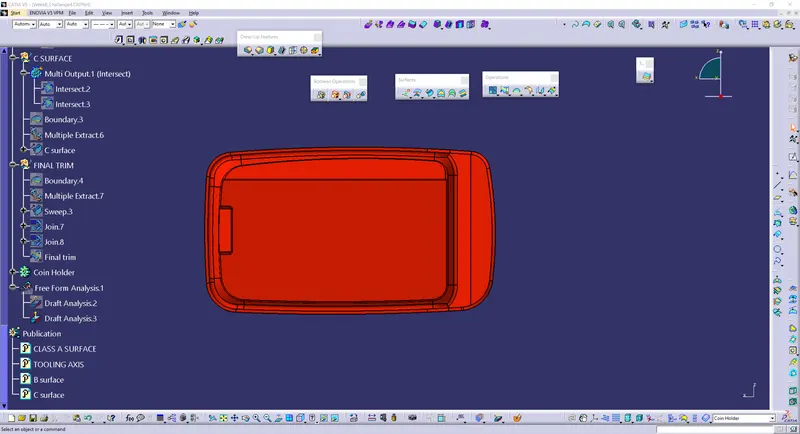
Two dialog boxes appear. The big dialog box is used to perform draft analysis and the color code dialog box shows the color code according to the draft angle range we set. Green is for positive angle, red is for zero angle and blue is for negative angle.
In the first dialog box click on the compass symbol and drag the global compass when the mouse pointer turns red and place it on the tooling axis.
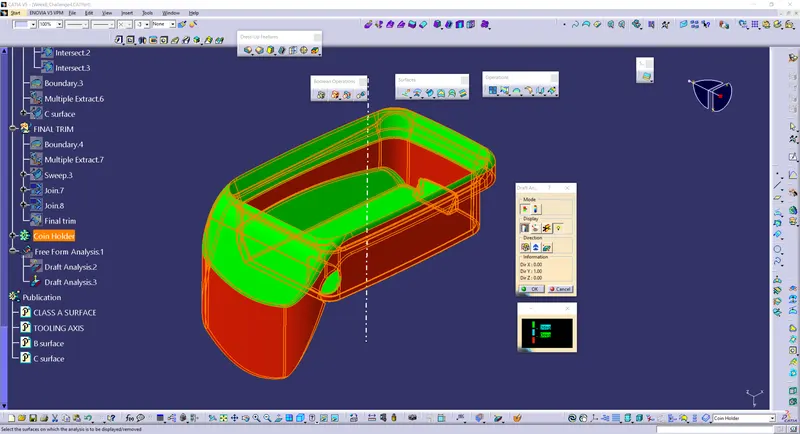
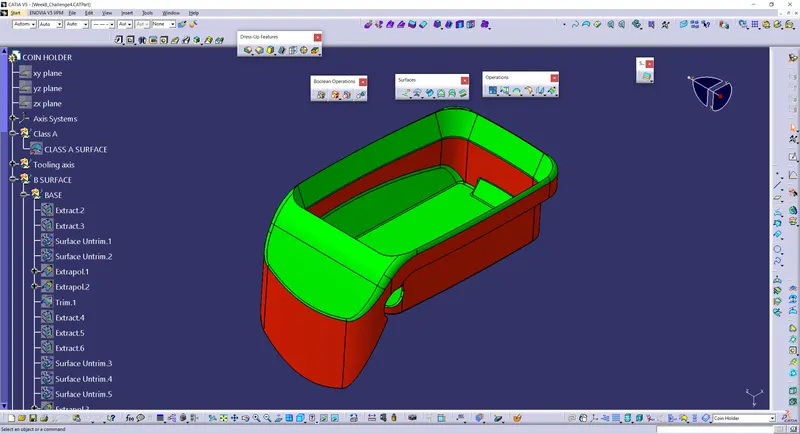
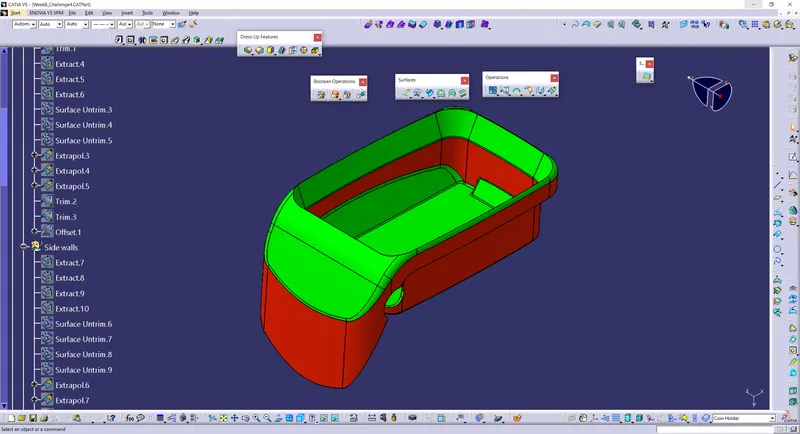
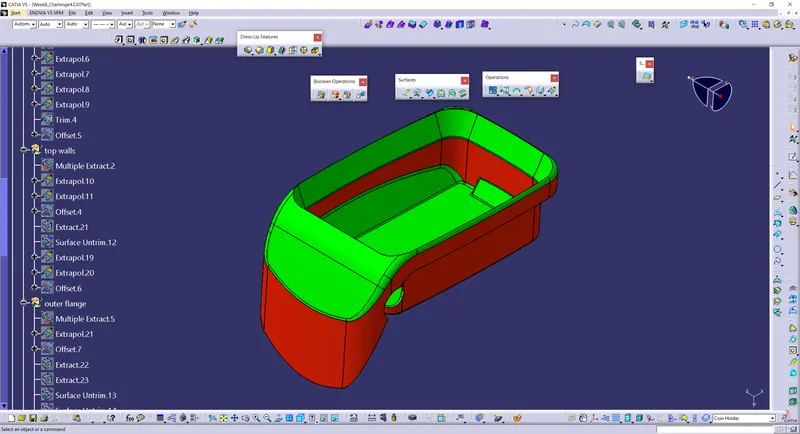
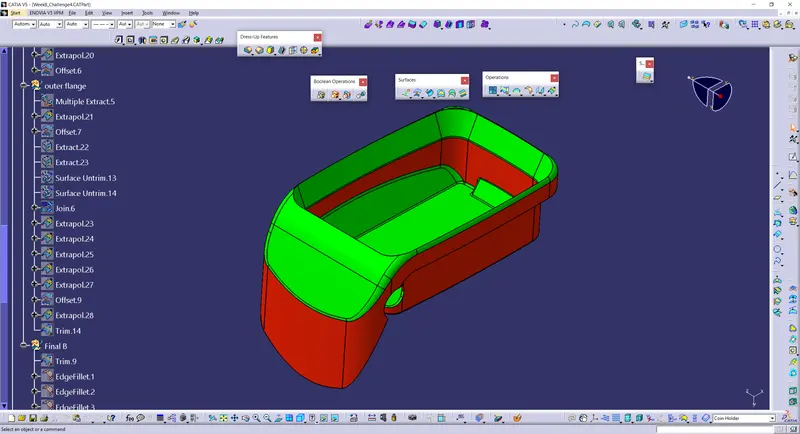
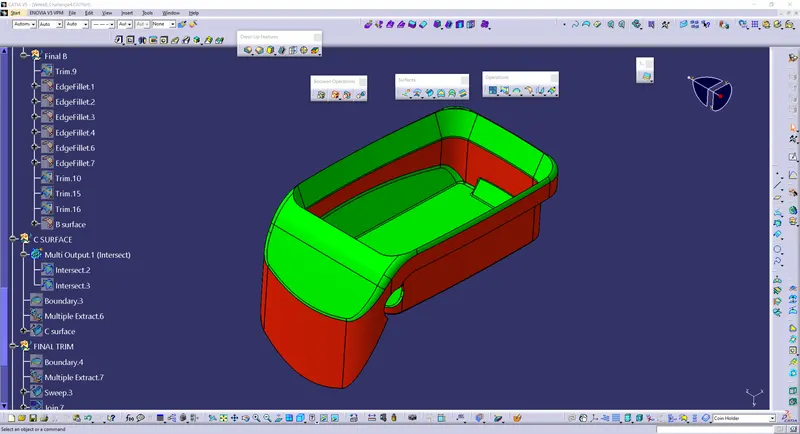
Next click on the lock symbol to lock the draft direction. Now click on the surface . We can see that the mouse pointer will be red and then we can click on the surface. We can now notice that the some surfaces are green and some are red. This means that the draft angle which we have set for 3 degree is not sufficient to clear the tooling for this component. The A surface has to be re designed to provide necessary draft angle to the side walls and outer flanges. We can use the analysis under running point symbol to check the angle of the surface at any point to the tooling axis.
Also there might be a need for side core to tool the hole on the side of the component.