Week 8 - Challenge 3 - Switch Bezel Design
SWITCH BEZEL DRAFT ANALYSIS REPORT
- Creation of Tooling axis
The first step is to create the tooling axis for the surface. The tooling axis is the direction along which the core and cavity will move so that the plastic part can be tooled or produced. If the plastic part can clear the tooling along this tooling axis then the plastic part is considered to be toolable or can be produced.
The first step is to create an axis system at the center of the base of plastic part. For this create a point at the center of base on the plastic part and then create an axis system at that point.
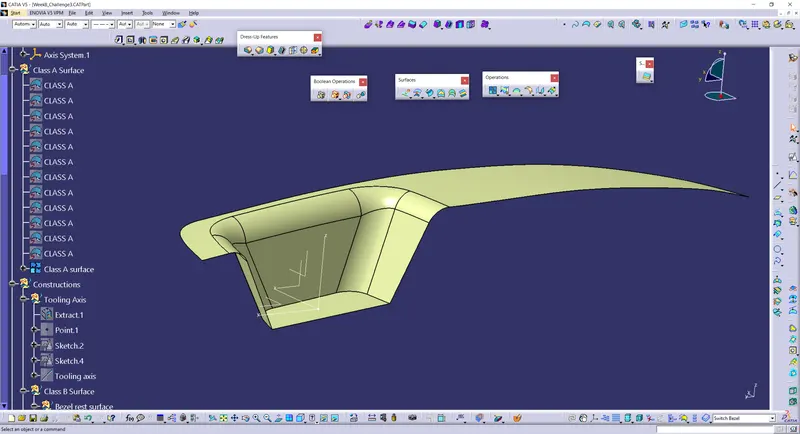
At first glance we can see that along x and y axis the tooling should be created and then these two tooling direction should be bisected to get main tooling direction. Along z axis the surface can be easily tooled.
To create the tooling axis we first need to create the tooling axis clearing in both X and Y axis and then bisect the two in order to get the final tooling axis. But as seen from the surface, tooling clearing x direction is not necessary to use bisecting lines in this case.
Let us first start by creating a tooling direction along the Y direction.
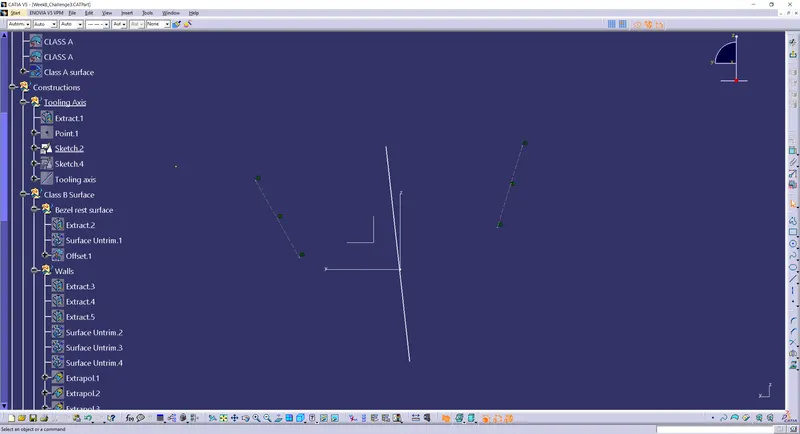
In order to create the tooling axis clearing Y direction first we need to intersect the YZ plane with the switch bezelsurface. This will provide us with an intersection curve. The two slant curve needs to be checked for tooling. Hence we need to create lines along the slant curve and extend them a little bit on both sides. Then a bisecting line should be created between these two lines which we just created. The bisecting line would be the tooling axis in this case along Y direction.
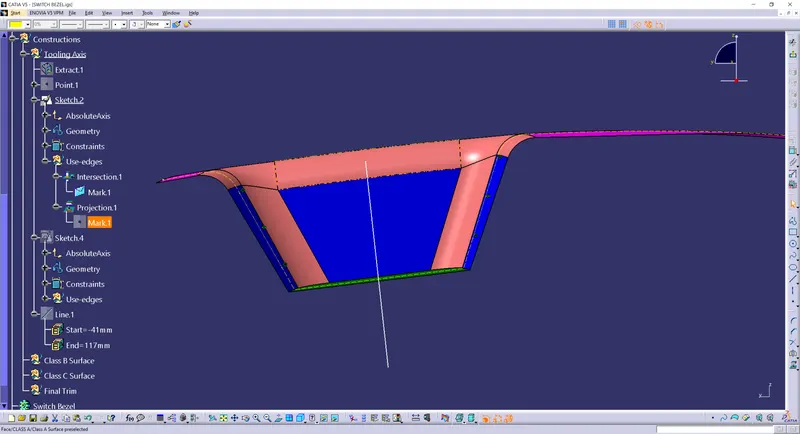
In the next step we create tooling in X direction. Since we don’t have two slant edges to bisect in this case we intersect the switch bezel surface with the XZ plane and draw a line from mid point of axis system at a minimum angle of 3-4 degrees from the slant intersect curve.
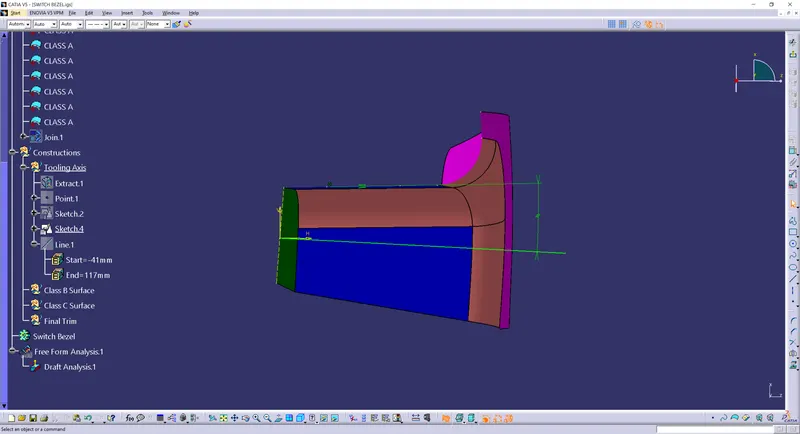
The two tooling directions are then bisected to get main tooling.
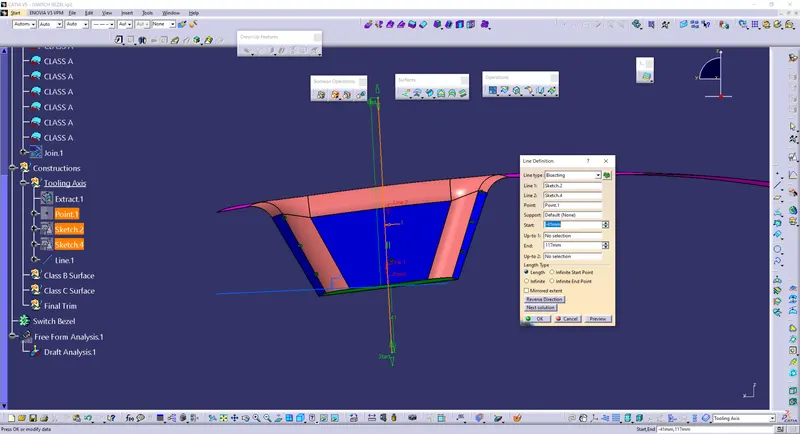
The resulting tooling axis is published in order to make it more accessible. To publish it click on the tooling axis and go to tools and publication. Now the draft analysis can be performed along the Tooling axis.
- DRAFT ANALYSIS
To begin with draft analysis on surface click on insert – analysis – feature draft analysis.
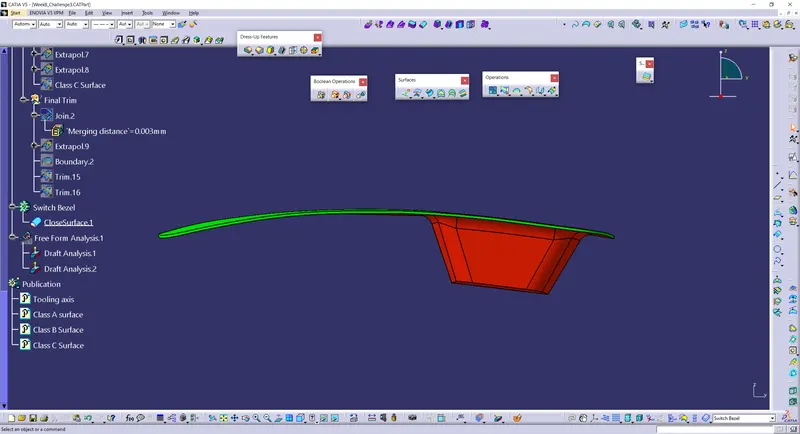
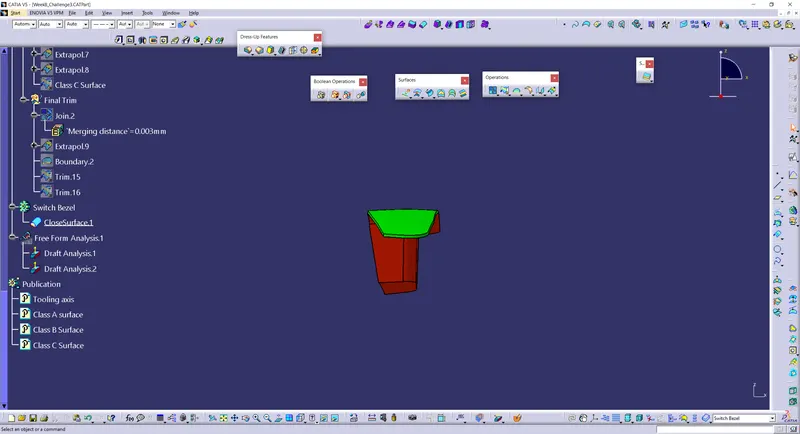
Two dialog boxes appear. The big dialog box is used to perform draft analysis and the color code dialog box shows the color code according to the draft angle range we set. Green is for positive angle, red is for zero angle and blue is for negative angle.
In the first dialog box click on the compass symbol and drag the global compass when the mouse pointer turns red and place it on the tooling axis.
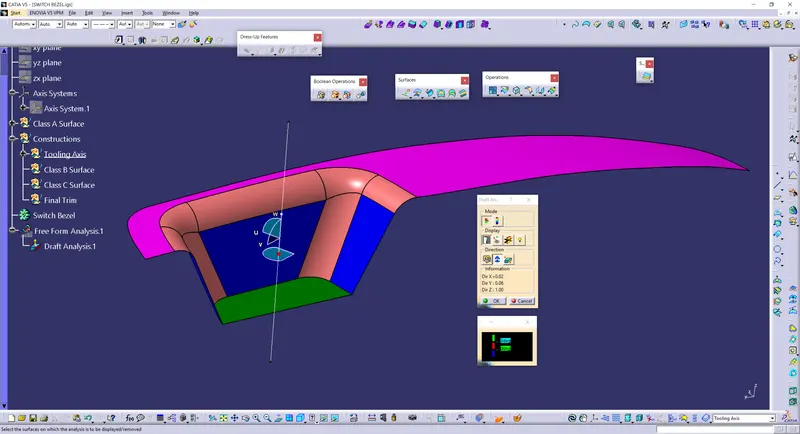
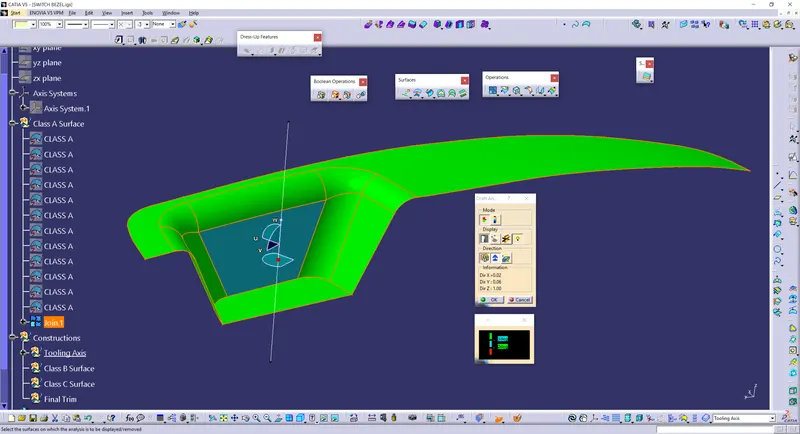
Next click on the lock symbol to lock the draft direction. Now click on the surface . We can see that the mouse pointer will be red and then we can click on the surface. We can now notice that the surface is green except for one patch shown in blue. This means that the draft angle which we have set for 4 degree is not sufficient to clear the tooling for this blue patch. We can use the analysis under running point symbol to check the angle of the surface at any point to the tooling axis.
Therefore we need to increase the angle between the X tooling direction and intersect from surface with XZ plane. We use an angle of 6 degrees. The bisecting line is now changed to get a new main tooling direction. The draft analysis is run again to see the results.
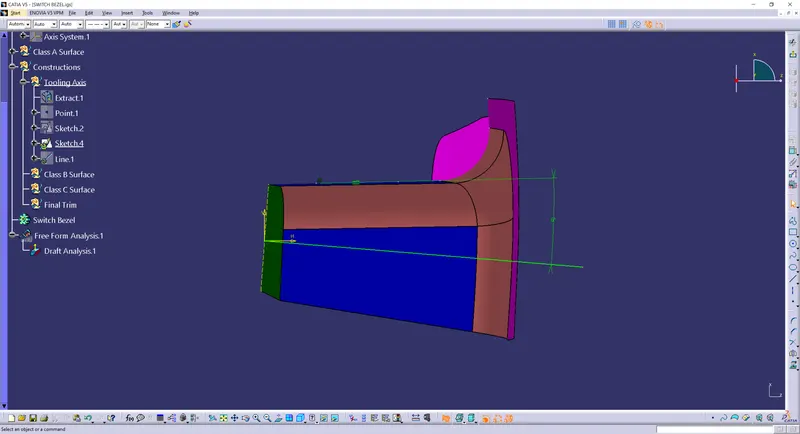
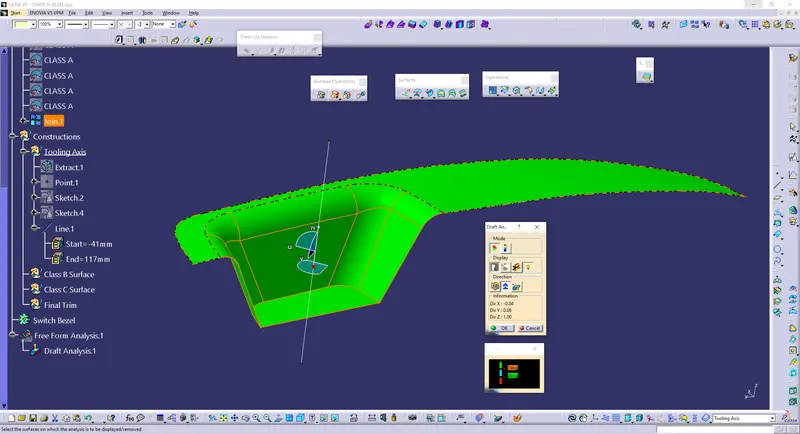
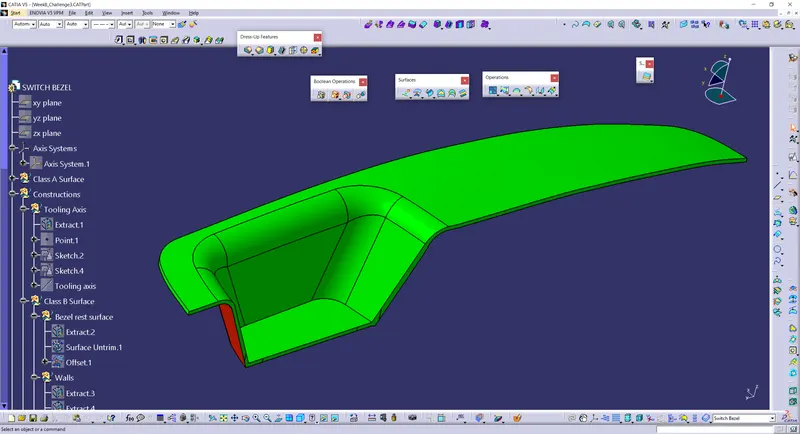
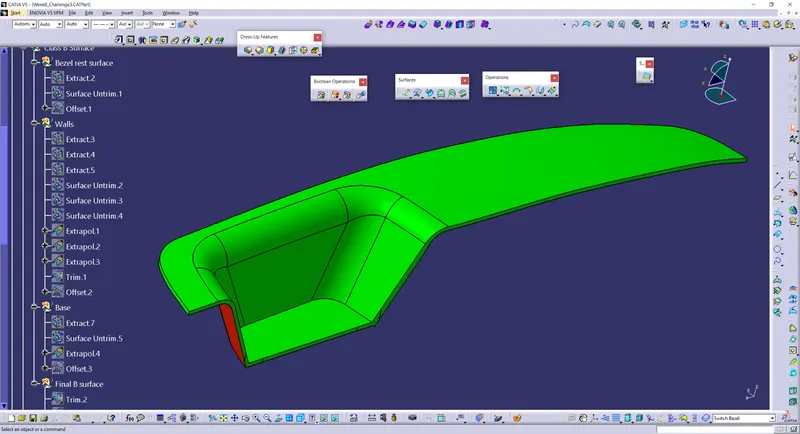
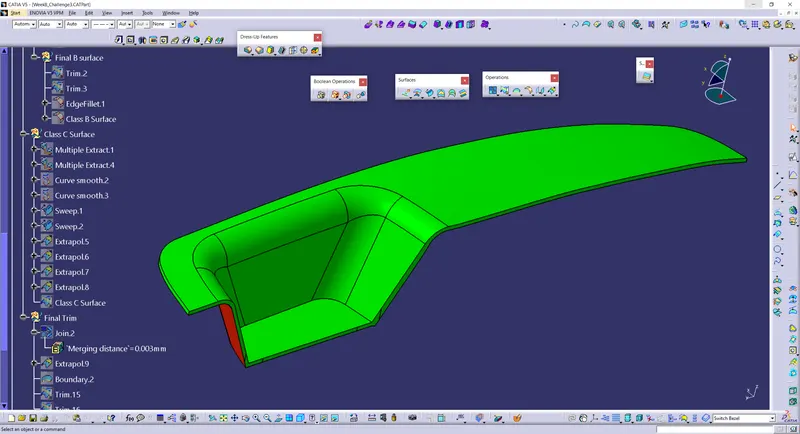
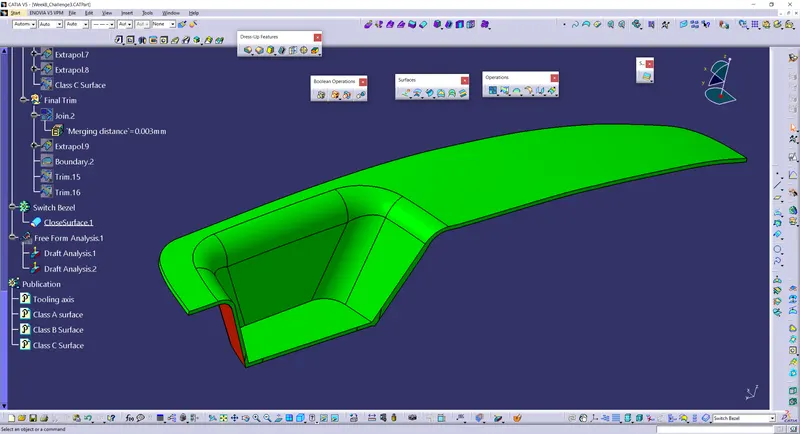
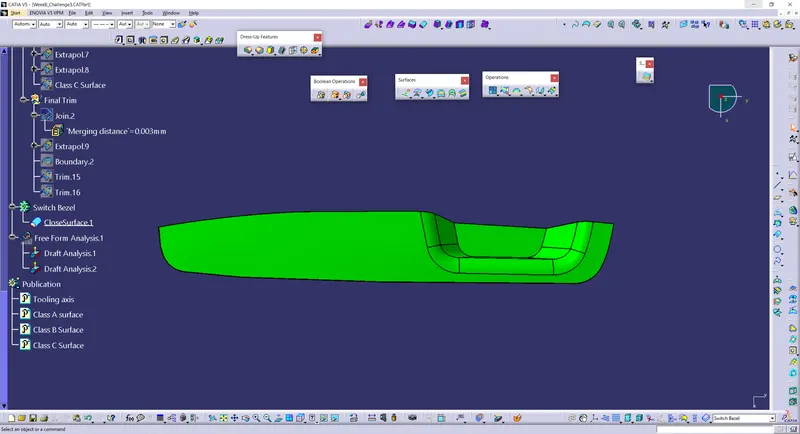
After increasing the angle to 6 degrees we can see that now our main tooling direction is sufficient to clear the tooling as the surface is completely green. The same procedure is repeated for the solid body and the results are as follows.
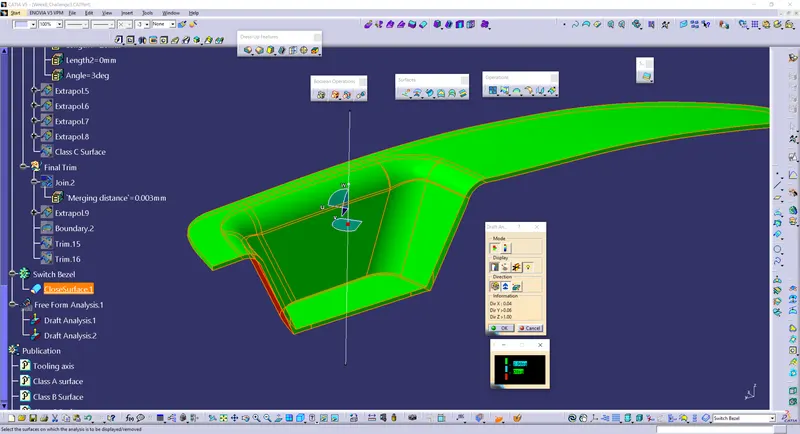
In this case we are able to clear the tooling along main tooling axis. Only one change is made that is the minimum required draft angle is reduced to 2.9 degrees because we want to shift the parting line towards B side so that A side has now flaws.